Monthly Archives: October 2015

Lady Tremaine (Part 3)

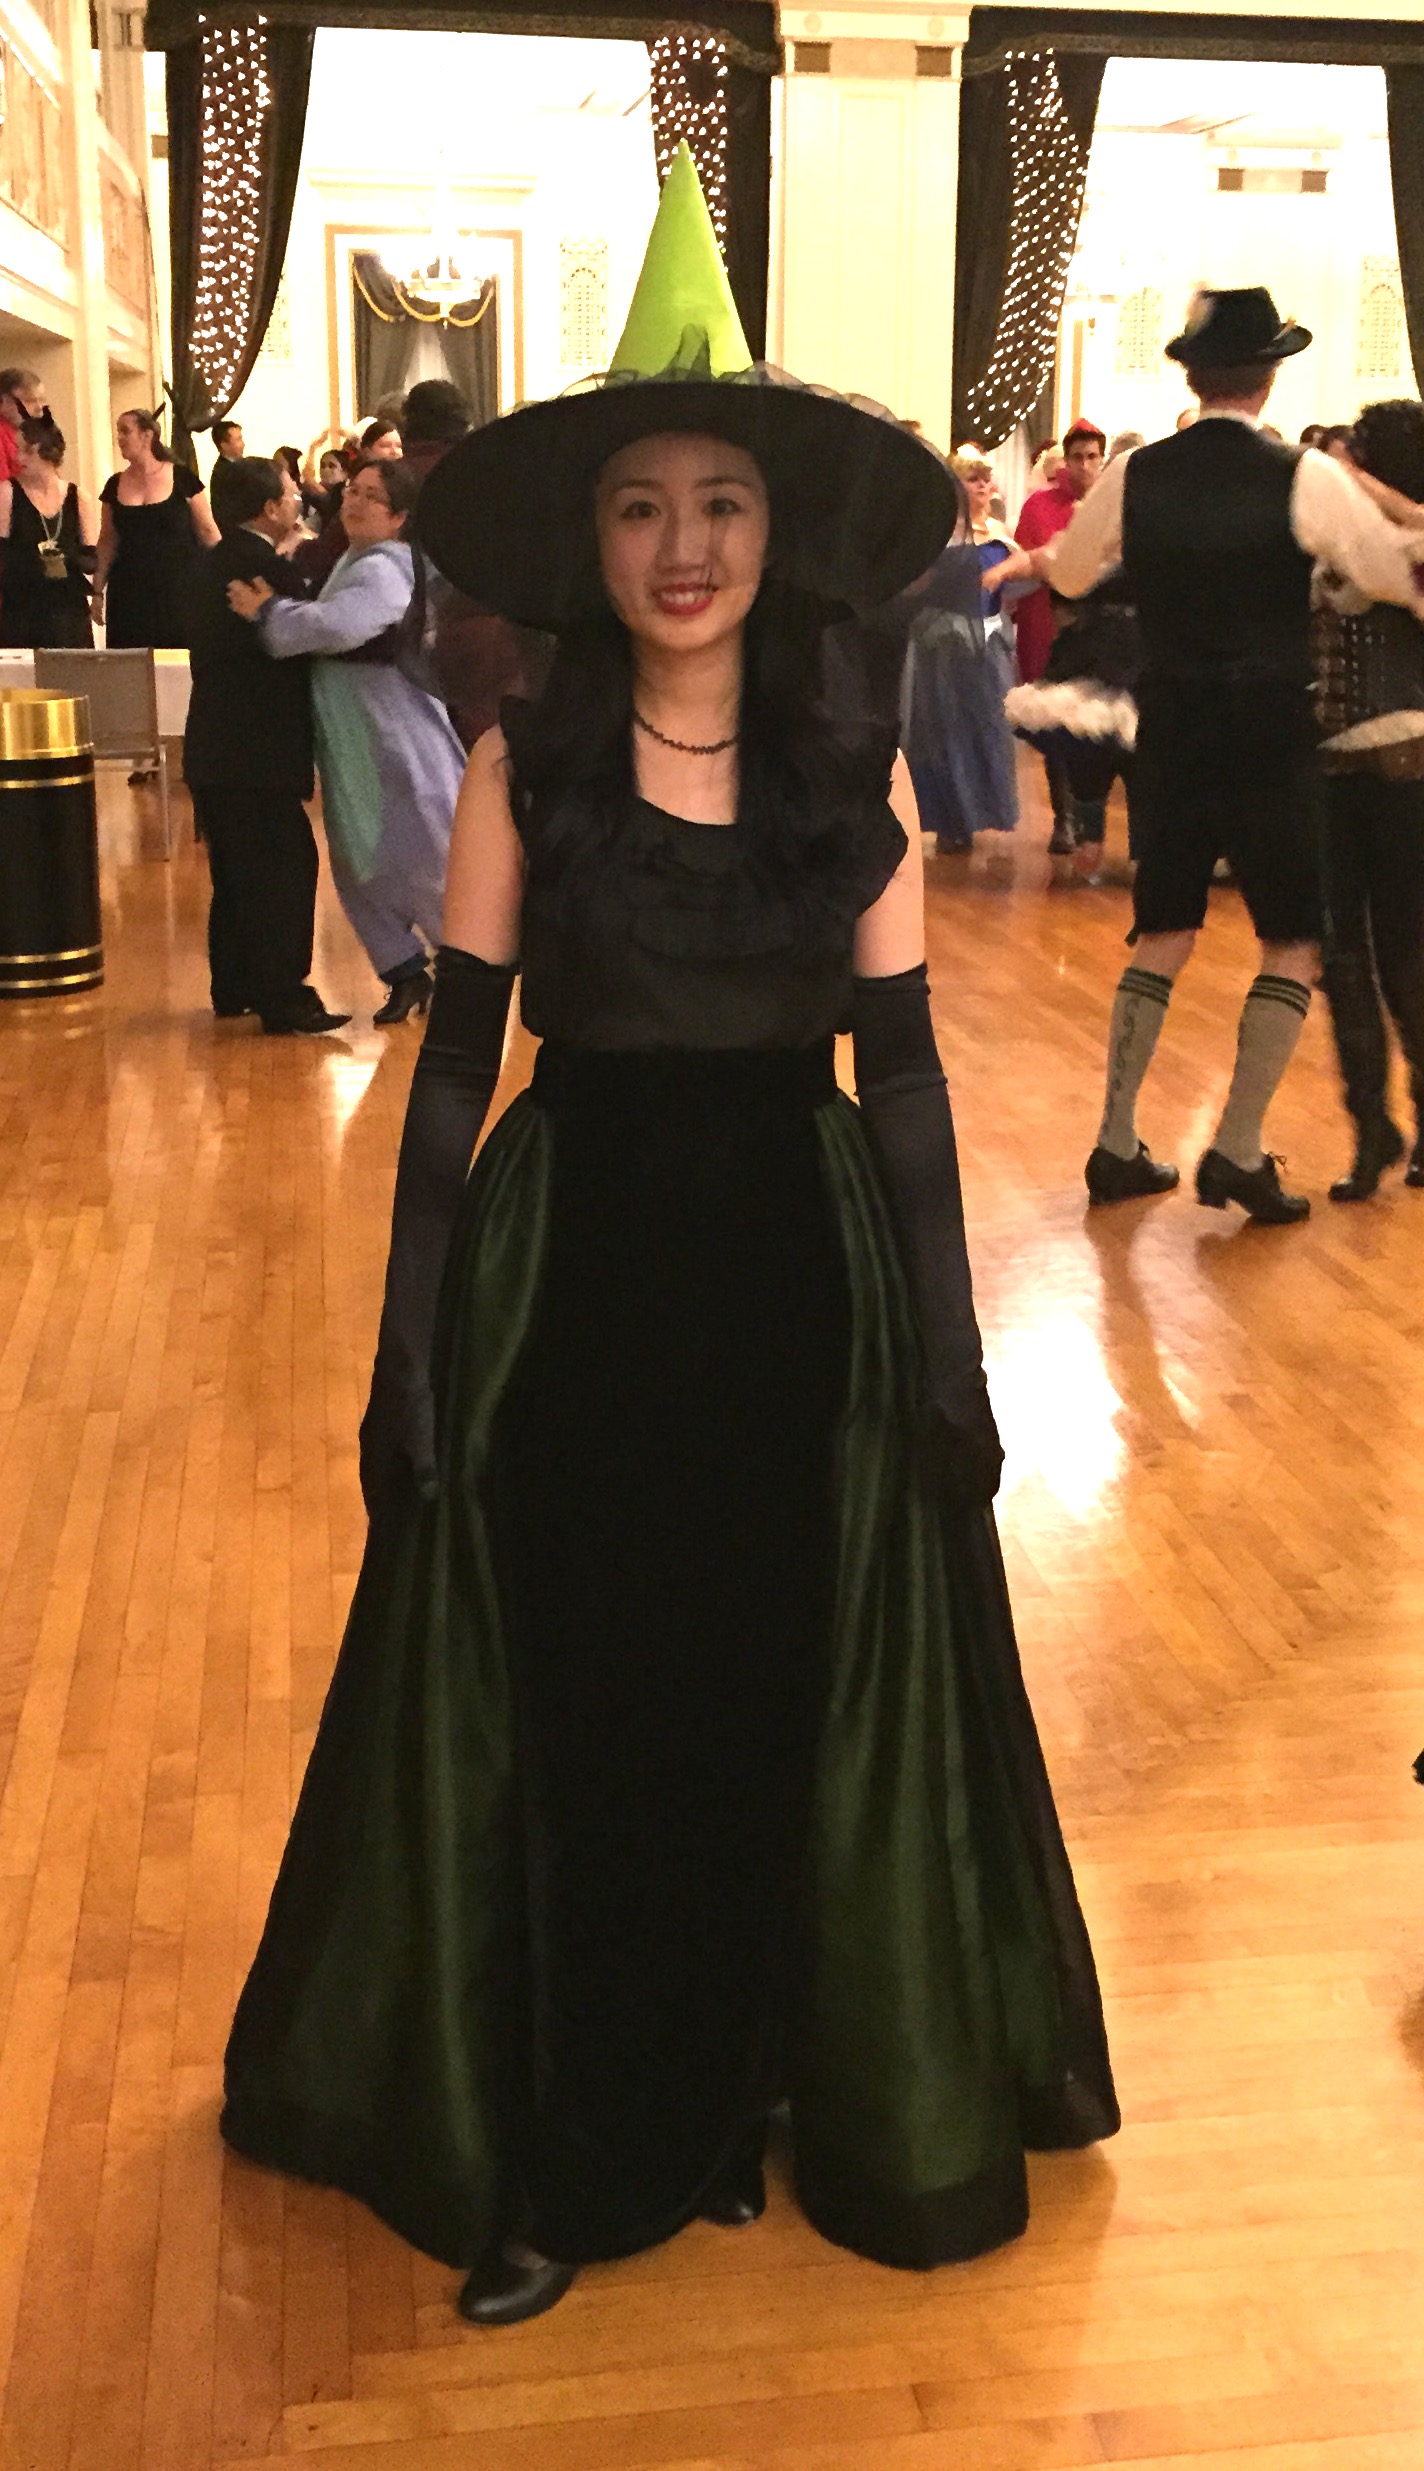
I am done with the base of the green and black overskirt, and am about ready to start making and attaching the floral appliques to my Lady Tremaine traveling outfit. Last night I wore the skirt (and the velvet underskirt from Part 2) with a matching green and black witch hat and veil to the Gaskell Halloween Ball.

IMG_5847 IMG_5848

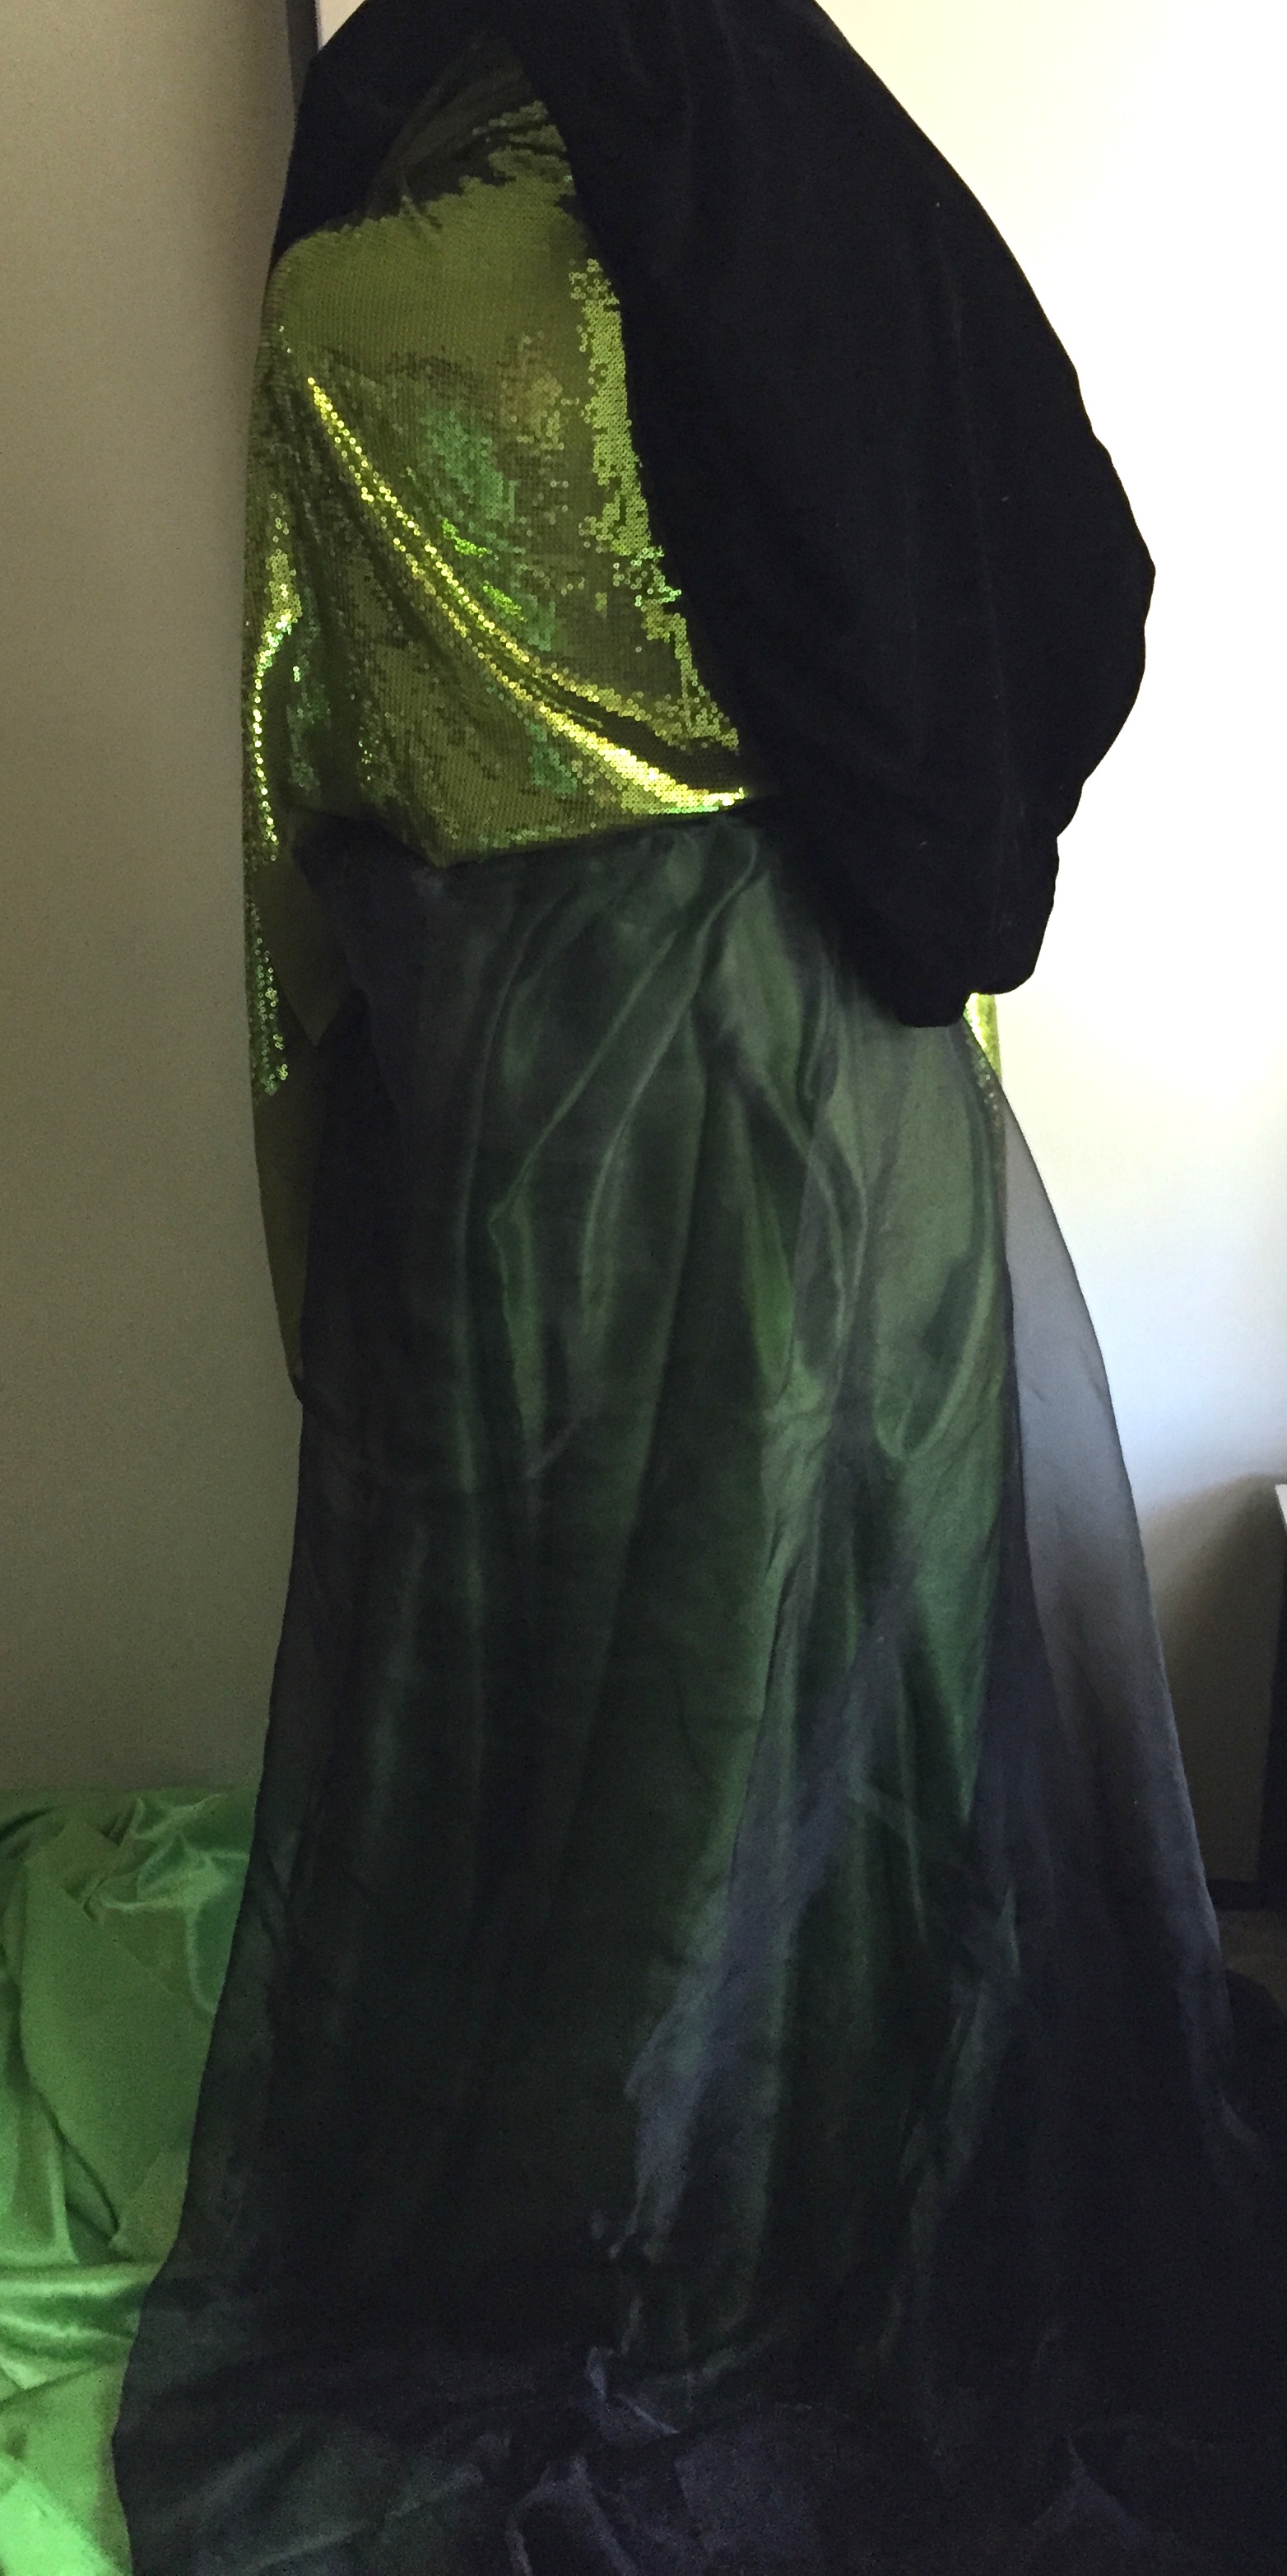
The satin portion is 2 layers of satin fabric, flat-lined for extra drape. Sandwiched in between the layers is a 6-inch wide band of horsehair crinoline sewn into the hem to give it more body. The crinoline actually cost more per yard than the fabric (and it doesn’t even show!), but it gave the hem the slight pop that I wanted. The sheer portion is 2 layers of organza, with an extra wide seam allowance at the bottom to form a black decorative band. The black and green portions were sewn separately, and then serged together at the top and pleated as one. I don’t do anything fancy; I just “eyeball” it and decide it’s even enough. =)

IMG_5811

The waistband is velvet with heavy interfacing inside, to blend in with the velvet underskirt. The waistband closes with hooks and eyes on the side of the skirt near one hip.

I waffled back and forth between knife and cartridge pleats a few times. At first I intended to knife-pleat, since the movie skirt appears to have simple pleats. However, when I started that I realized my fabric was so bulky it was better to cartridge pleat. Then when considering cartridge-pleating 4 yards of 4 layers of fabric into a 14-inch area, I started thinking “Gee, I wish I used taffeta instead!” (Taffeta is so much thinner than the 2 layers of satin I’m using, but I decided to go with satin because I wanted a heavier drape and liquid-like flow, like the satin of Lady Tremaine’s ballgown, shown below).

Cinderella stepmother Ball gownPhoto from this blog.

In the end, I had to use knife-pleats, even though my waistband was a little bulky, because the skirt would have been much too short if I folded over the top edge to allow for cartridge-pleating.

For practical reasons my skirt is shorter than the movie version. I will be roaming around Costume College next year in this dress, and don’t want to trip because I am clumsy. Plus, trains get terribly dirty, and I can’t do a dust ruffle because it would show in the front. I am glad I made the choice to make a shorter skirt, because I was able to dance in this outfit. I loved the way the skirt swirled when I spun!

IMG_5878

Lady Tremaine Costume (Part 2)

I’ve made some progress on the Lady Tremaine costume by finishing the black velvet underskirt. It is just a simple column skirt, so it didn’t require a pattern. (You can find basic drafting instructions here). I started sewing the green and black overskirt, but have been stalled a few times by a comedy of errors (more on that below).

Photo AI have the overskirt cut out and partially sewn. I am using 8 yards of green satin and 10 yards of black organza. I am putting two layers of organza over the satin, since one layer is too sheer.

IMG_5607Here is the crazy apple green sequined fabric I’m using for the bodice! I am almost afraid to cut into it.

IMG_5602

I received the Vintage Pattern Lending Library basque pattern I am going to adapt for the bodice.

IMG_5749

I threw everything on my dress form to see how the colors work together but I’m missing the supplies for the floral appliques.

IMG_5623

I’ve had a few sewing hiccups recently that conspired to prevent progress. Some problems have been resolved, and some are ongoing.

  1. The foot pedal on my vintage sewing machine started crackling so I had to stop using it. I found and purchased a replacement, and now I no longer hear scary electric noises!
  2. My fabric wasn’t feeding correctly and the thread kept snapping, and eventually I realized the feed dogs had collapsed. I opened the machine and tightened things up the other night, and now it’s running smoothly again.
  3. I planned to use iron-on flocking for the floral appliques on the skirt. I thought it was a great way to save time, and avoid the fraying that would come from velvet. Unfortunately, the “chartreuse” flocking I ordered turned out to be a very bright and unflattering neon green, so I had to scrap that idea.
  4. I settled on using wool felt for the appliques but decided to ask for swatches this time to make sure I could find the right color. It’s been 2 weeks and I haven’t received them. The shop says they were shipped, but if so I fear they have been lost.
  5. Meanwhile, I went on the hunt for very thin black double-sided fusible interfacing by the yard to apply the wool to the sheer organza. It was easy to find single-sided, or pre-cut sheets, but not something that fit all my criteria. I finally found and ordered some, but the shop later emailed me to say they only had part of my order in stock, and asked if they could send me white instead of black! Now I will have to make a second order somewhere else and pay for shipping again.
  6. It would have been nice to avoid some of these problems by buying in person, but I am looking for very specific supplies that aren’t always available locally. Plus I work full time and have a toddler so shopping online is blessing (and just plain fun).
  7. I decided to add some body to the hem of the green layer of overskirt by adding in horsehair braid. I did find that at a nearby shop, but they had 6 inch instead of 3 inch, which cost more per yard than the satin it is going to hide inside, but the skirt won’t look right without it.

This project keeps accumulating miscellaneous expenses, but I am still quite excited and hope it will be worth it in the end!

Read my previous post with my costume analysis here.