RSS Feed

Monthly Archives: July 2015

Victorian Bathing Suit

Costume College is just days away! Yesterday I finished my Victorian bathing suit for the Thursday night pool party.

I was inspired by this bathing suit from the Met Museum.

IMG_4848
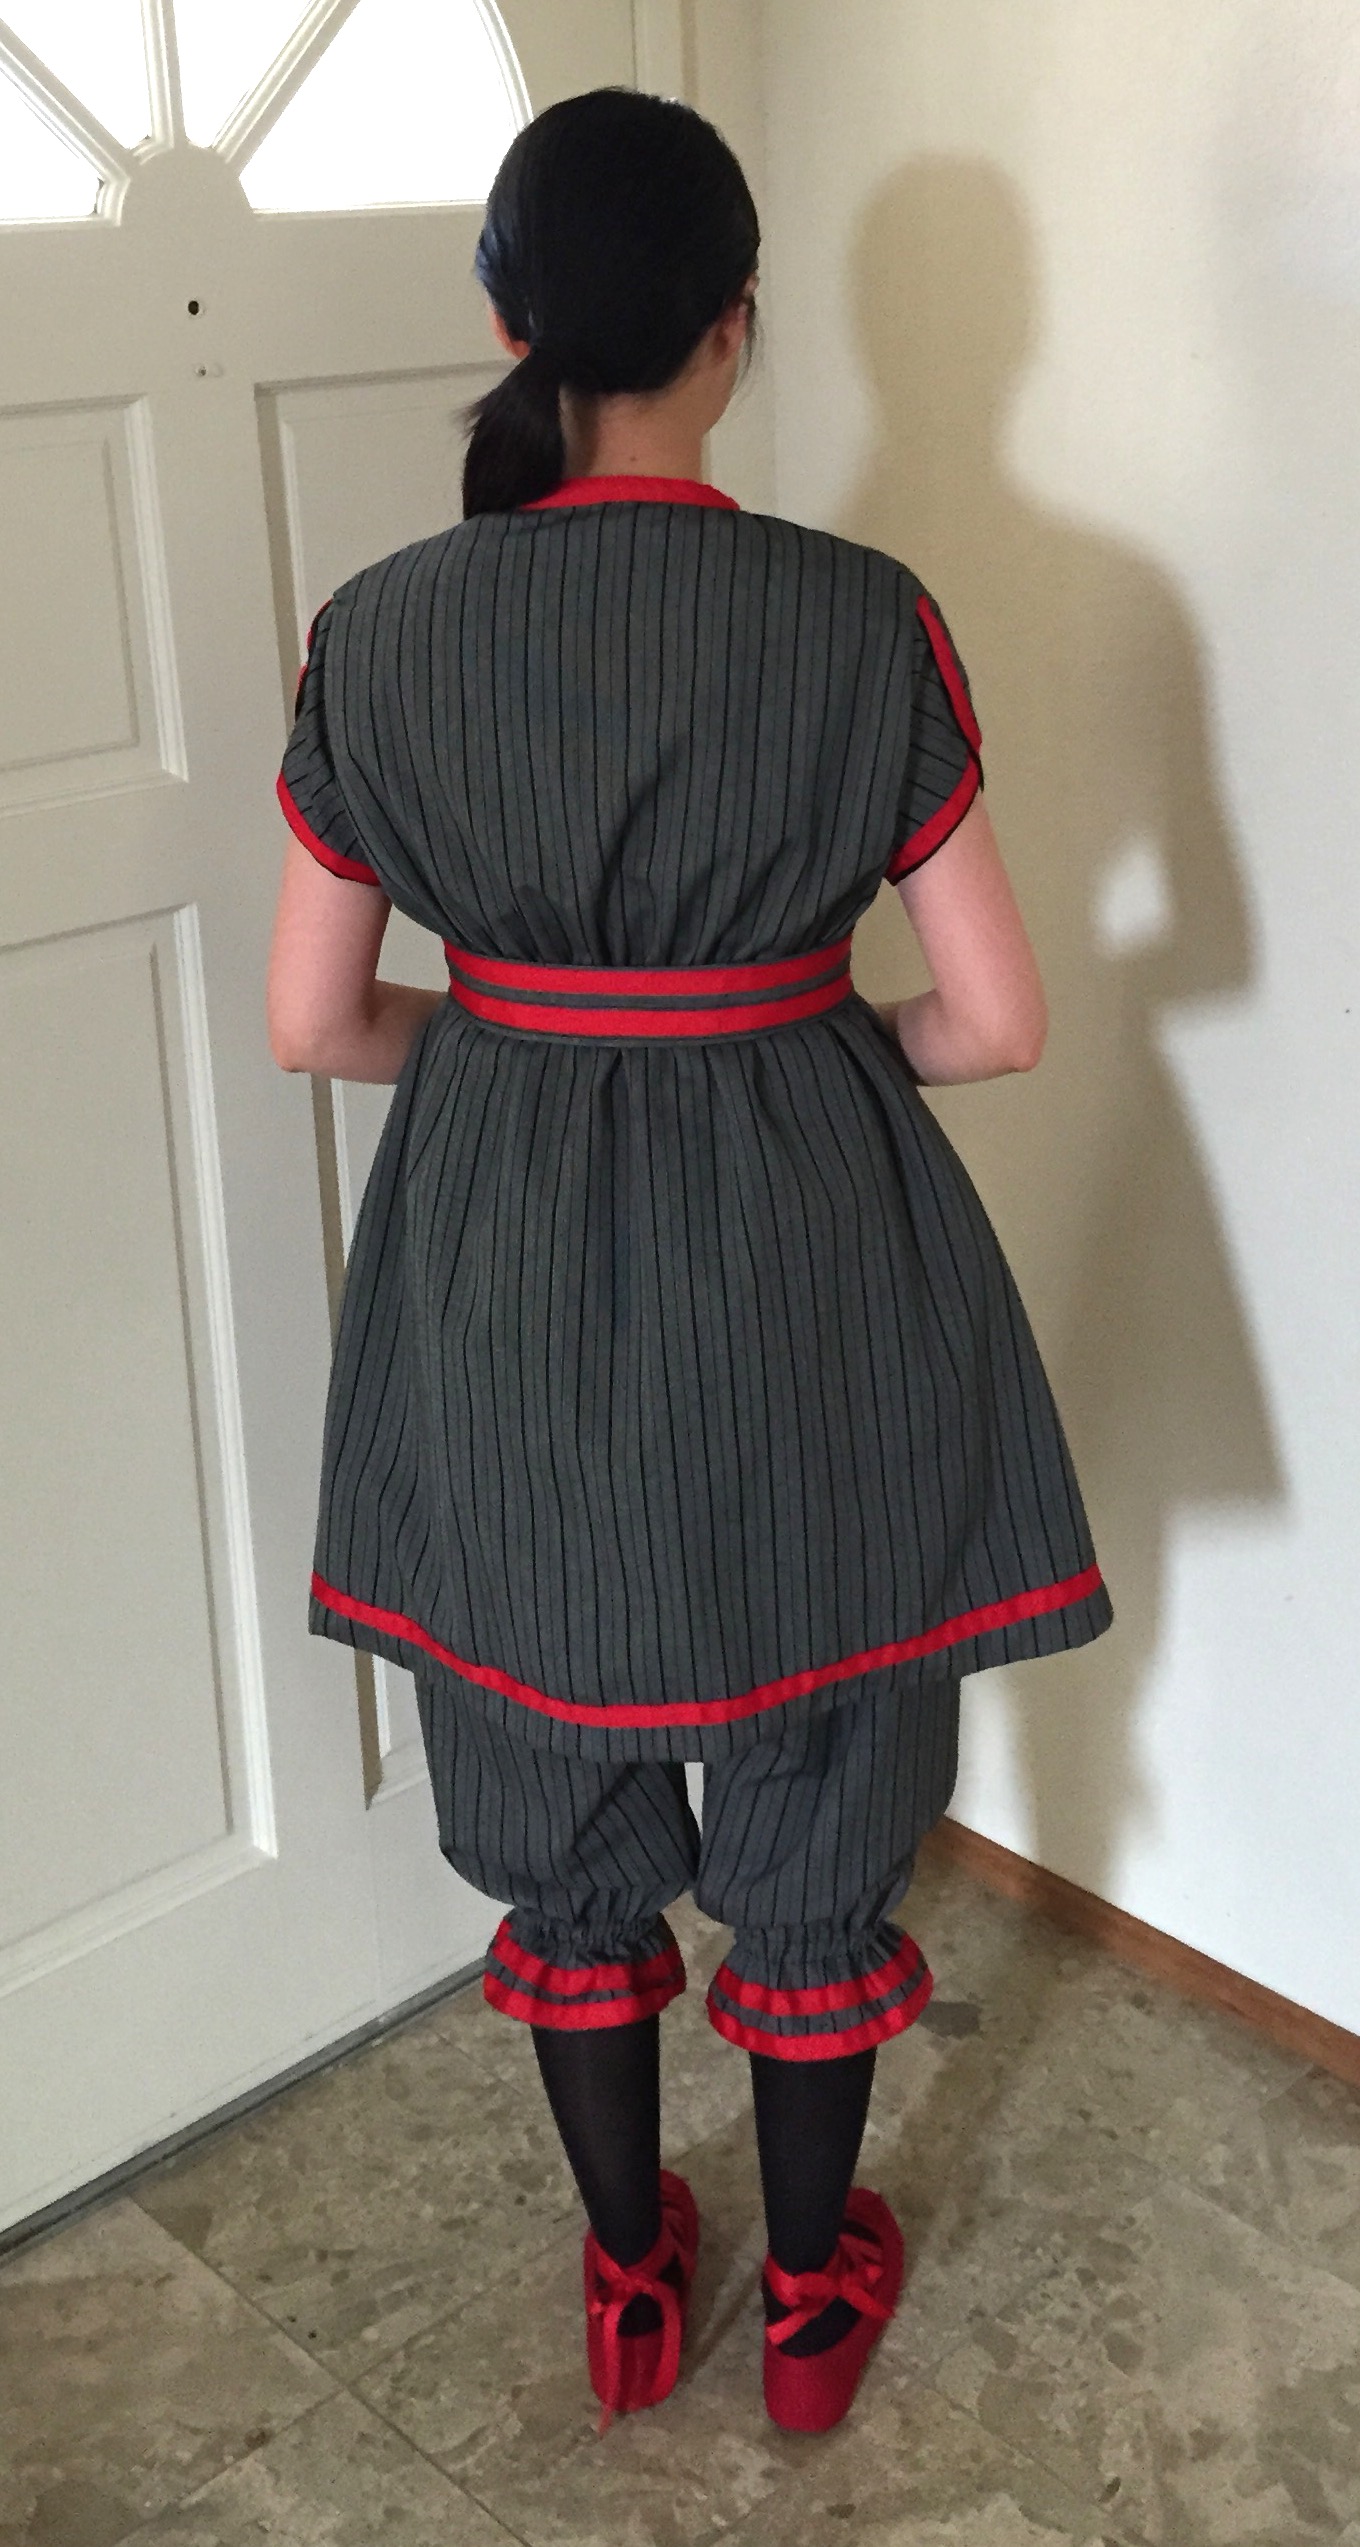
I made mine out of a gray and black wool/polyester blend. I didn’t have time to order red petersham, so I used grosgrain ribbon for the trim. It looks nice on straight lines, but doesn’t curve as well as I would have liked for the collar and sleeves.

Here are a few quick photos of the outfit!

IMG_4932Oops, I didn’t notice I put my belt on off-center.IMG_4934 IMG_4936 IMG_4938
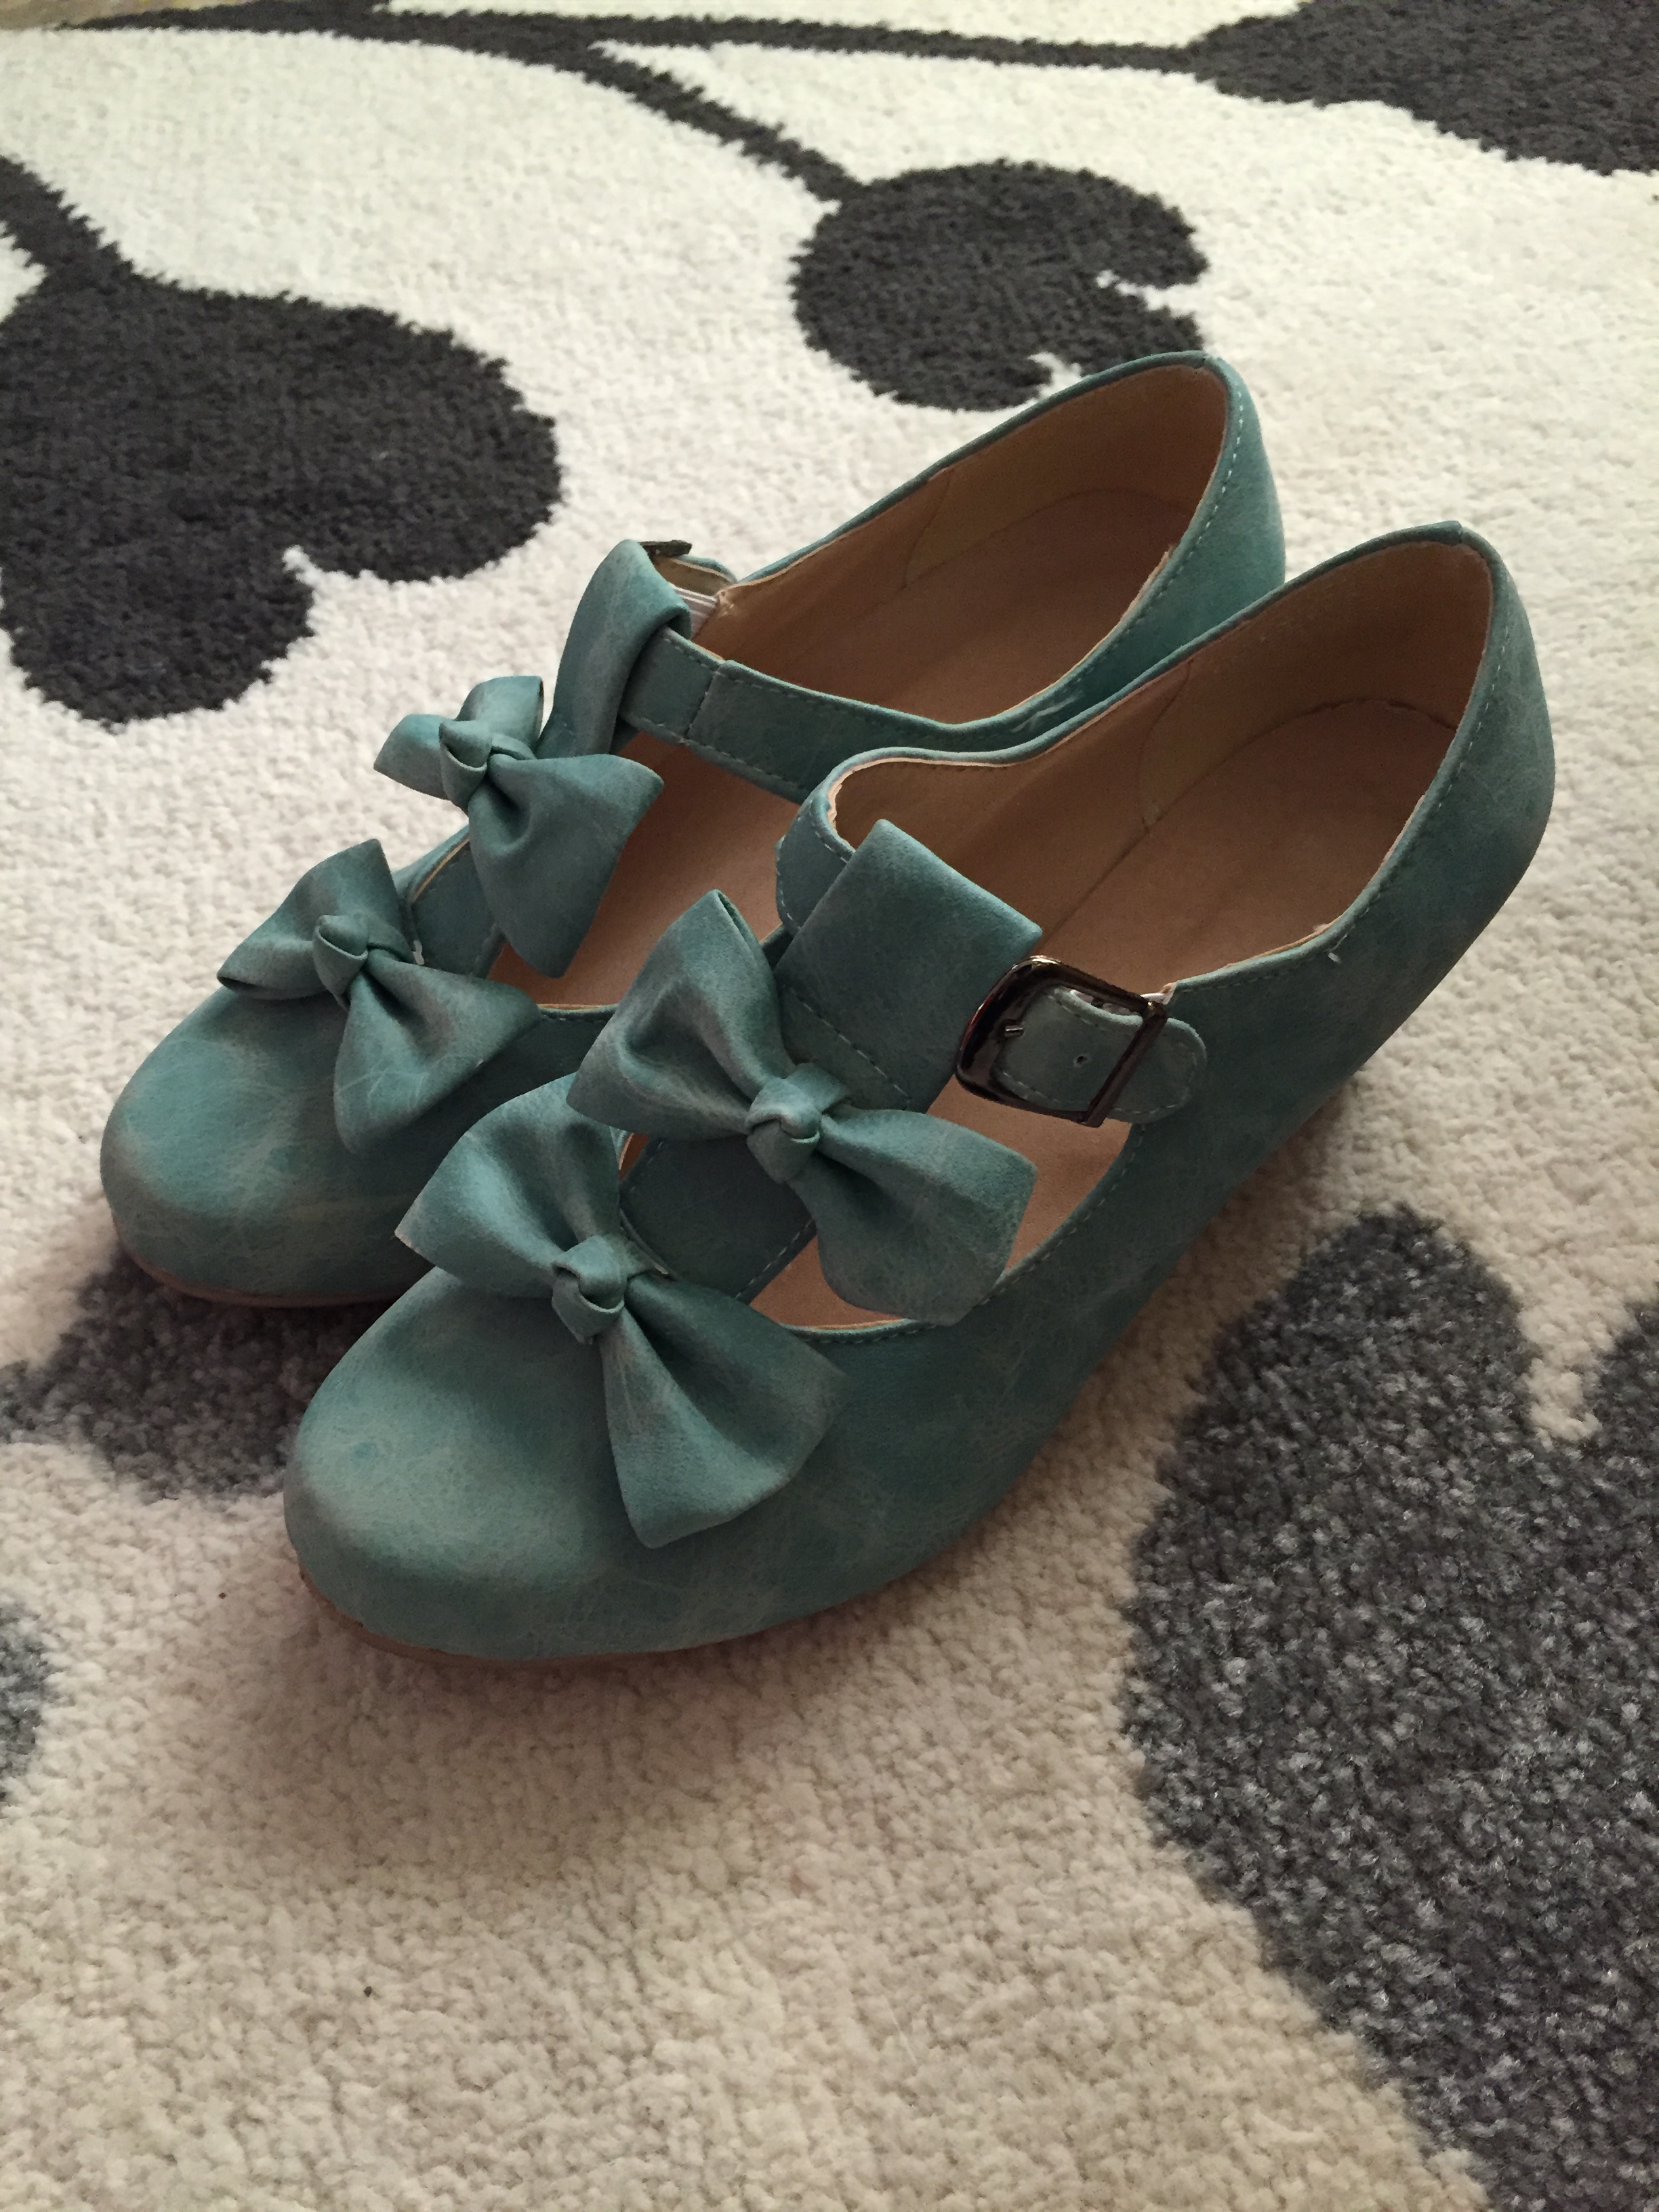
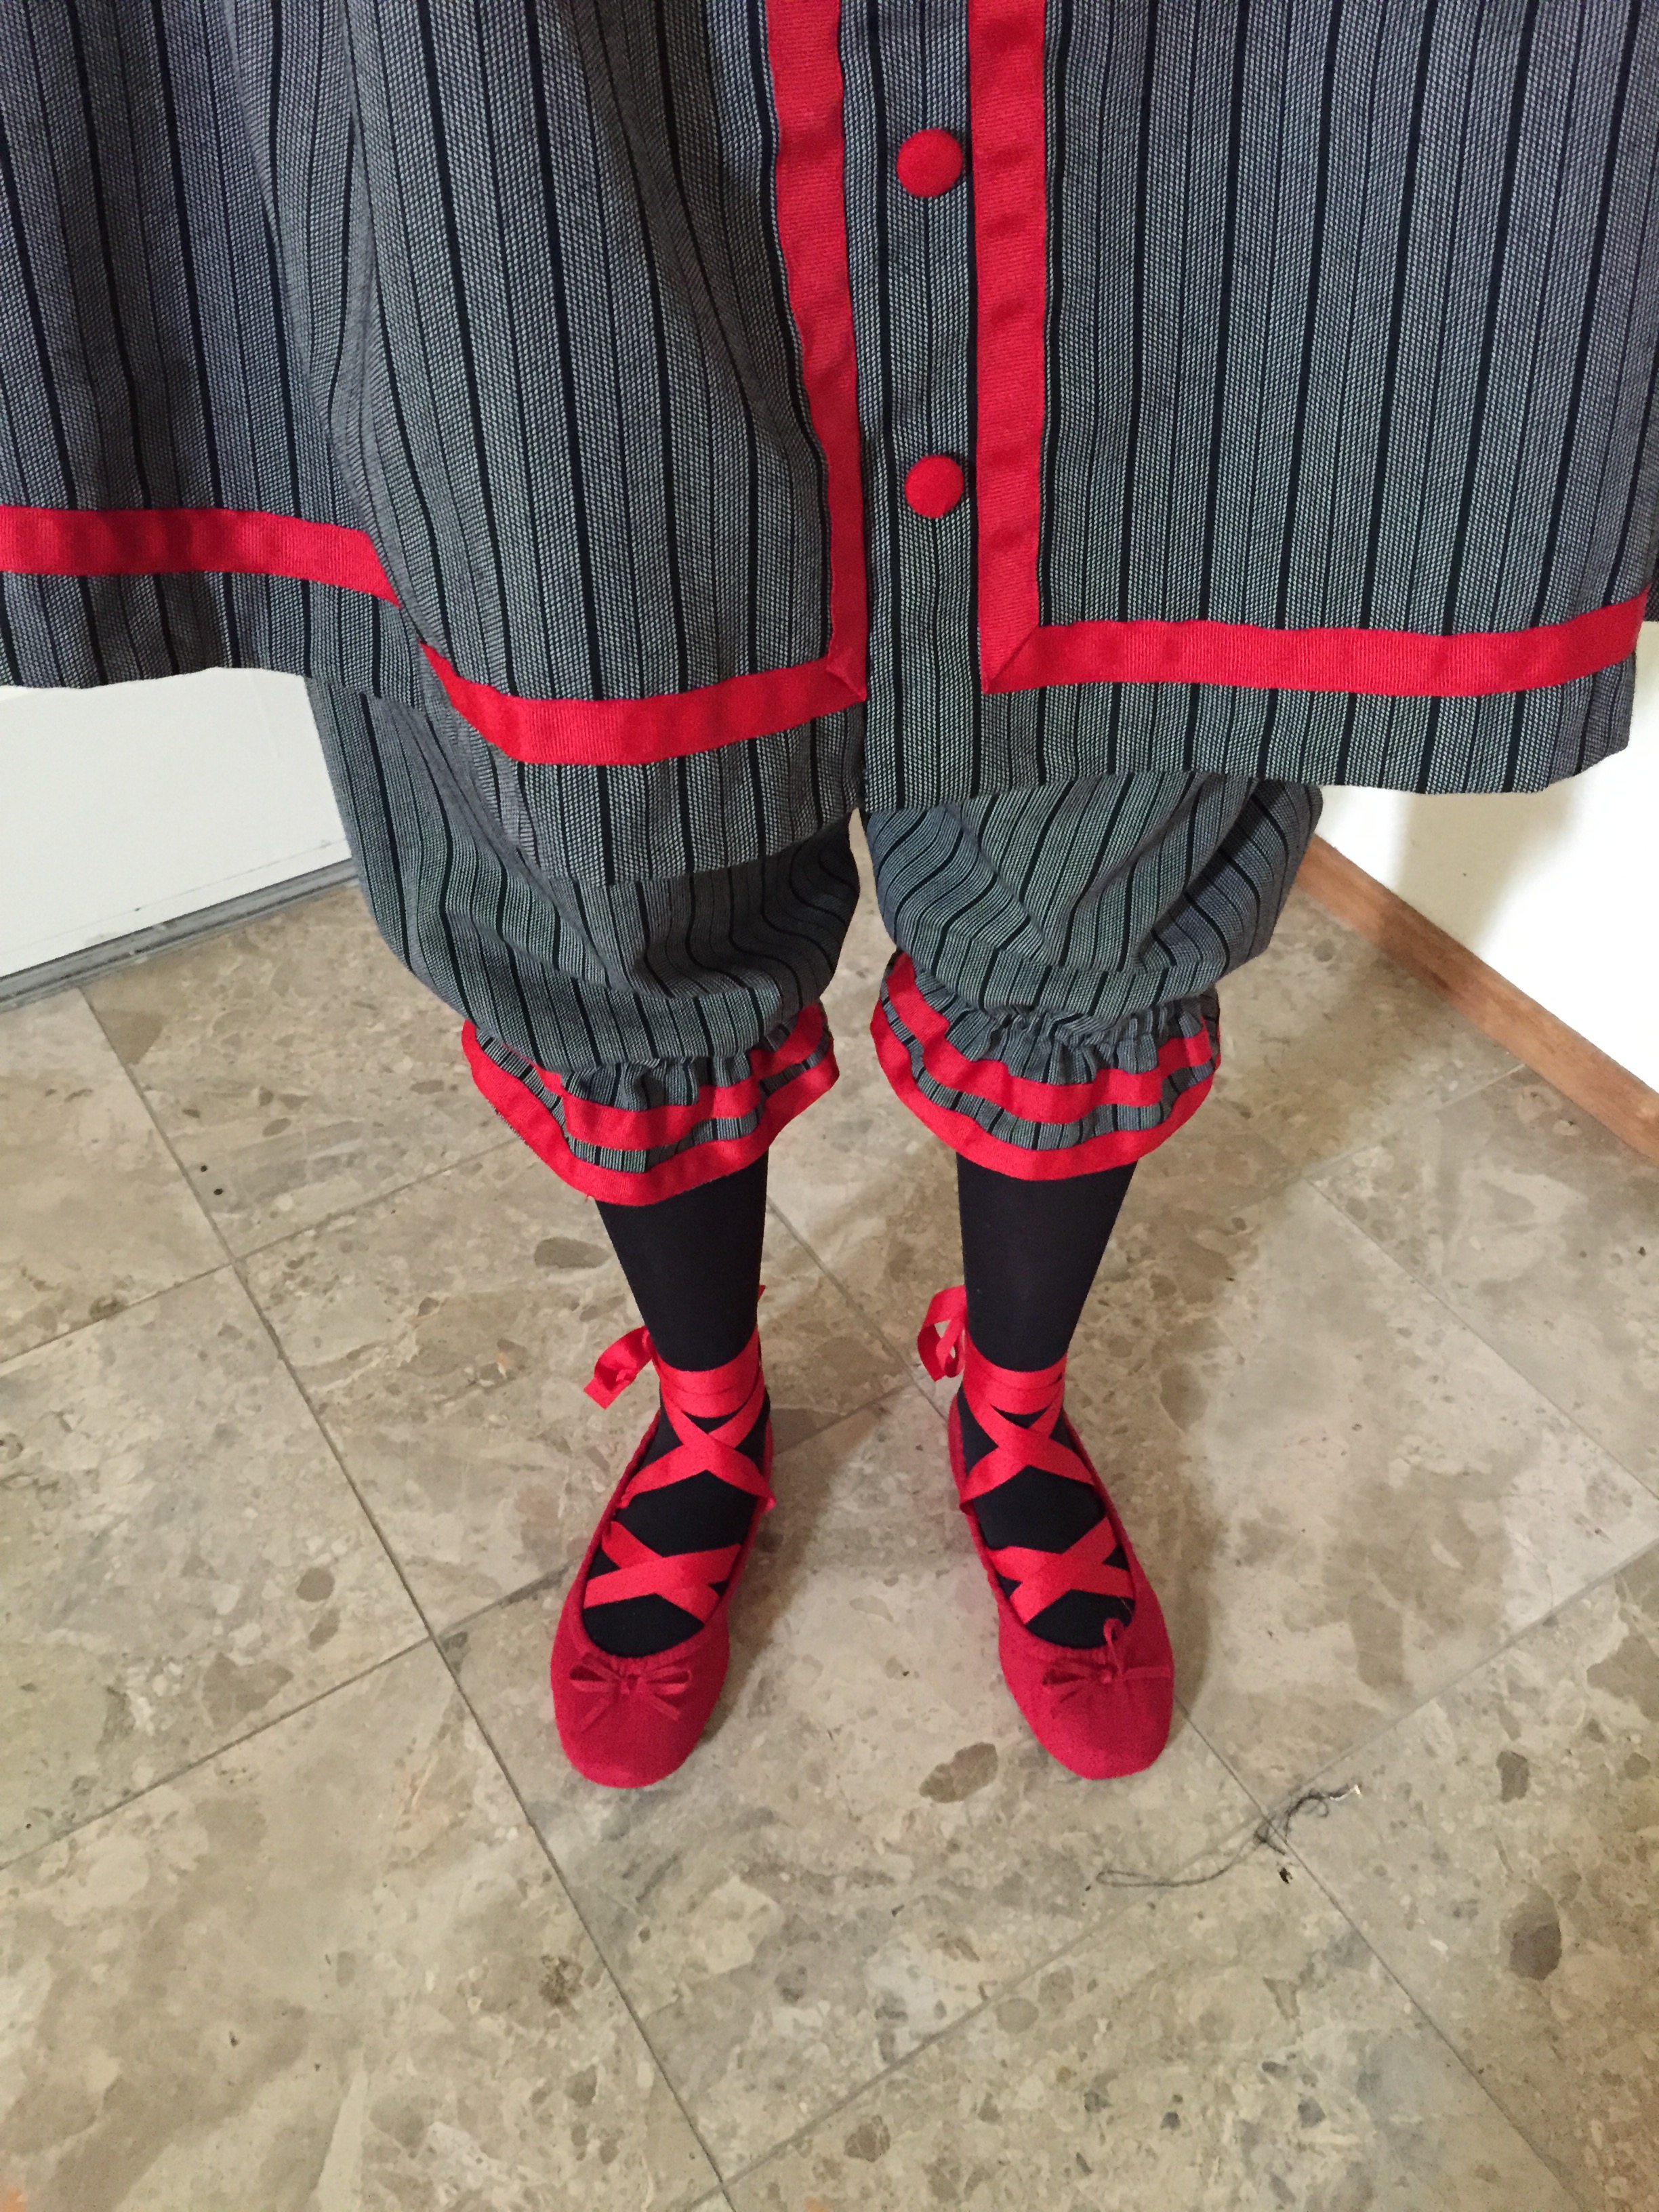
I didn’t have time to make bathing shoes, so I bought some cheap $6 flats from Amazon and used up the rest of the ribbon I had left. This photo looks like it was taken by someone else, but really I leaned over, then turned it upside down!IMG_4941I used Ageless Patterns #1410 to make the dress and bloomers.

1410
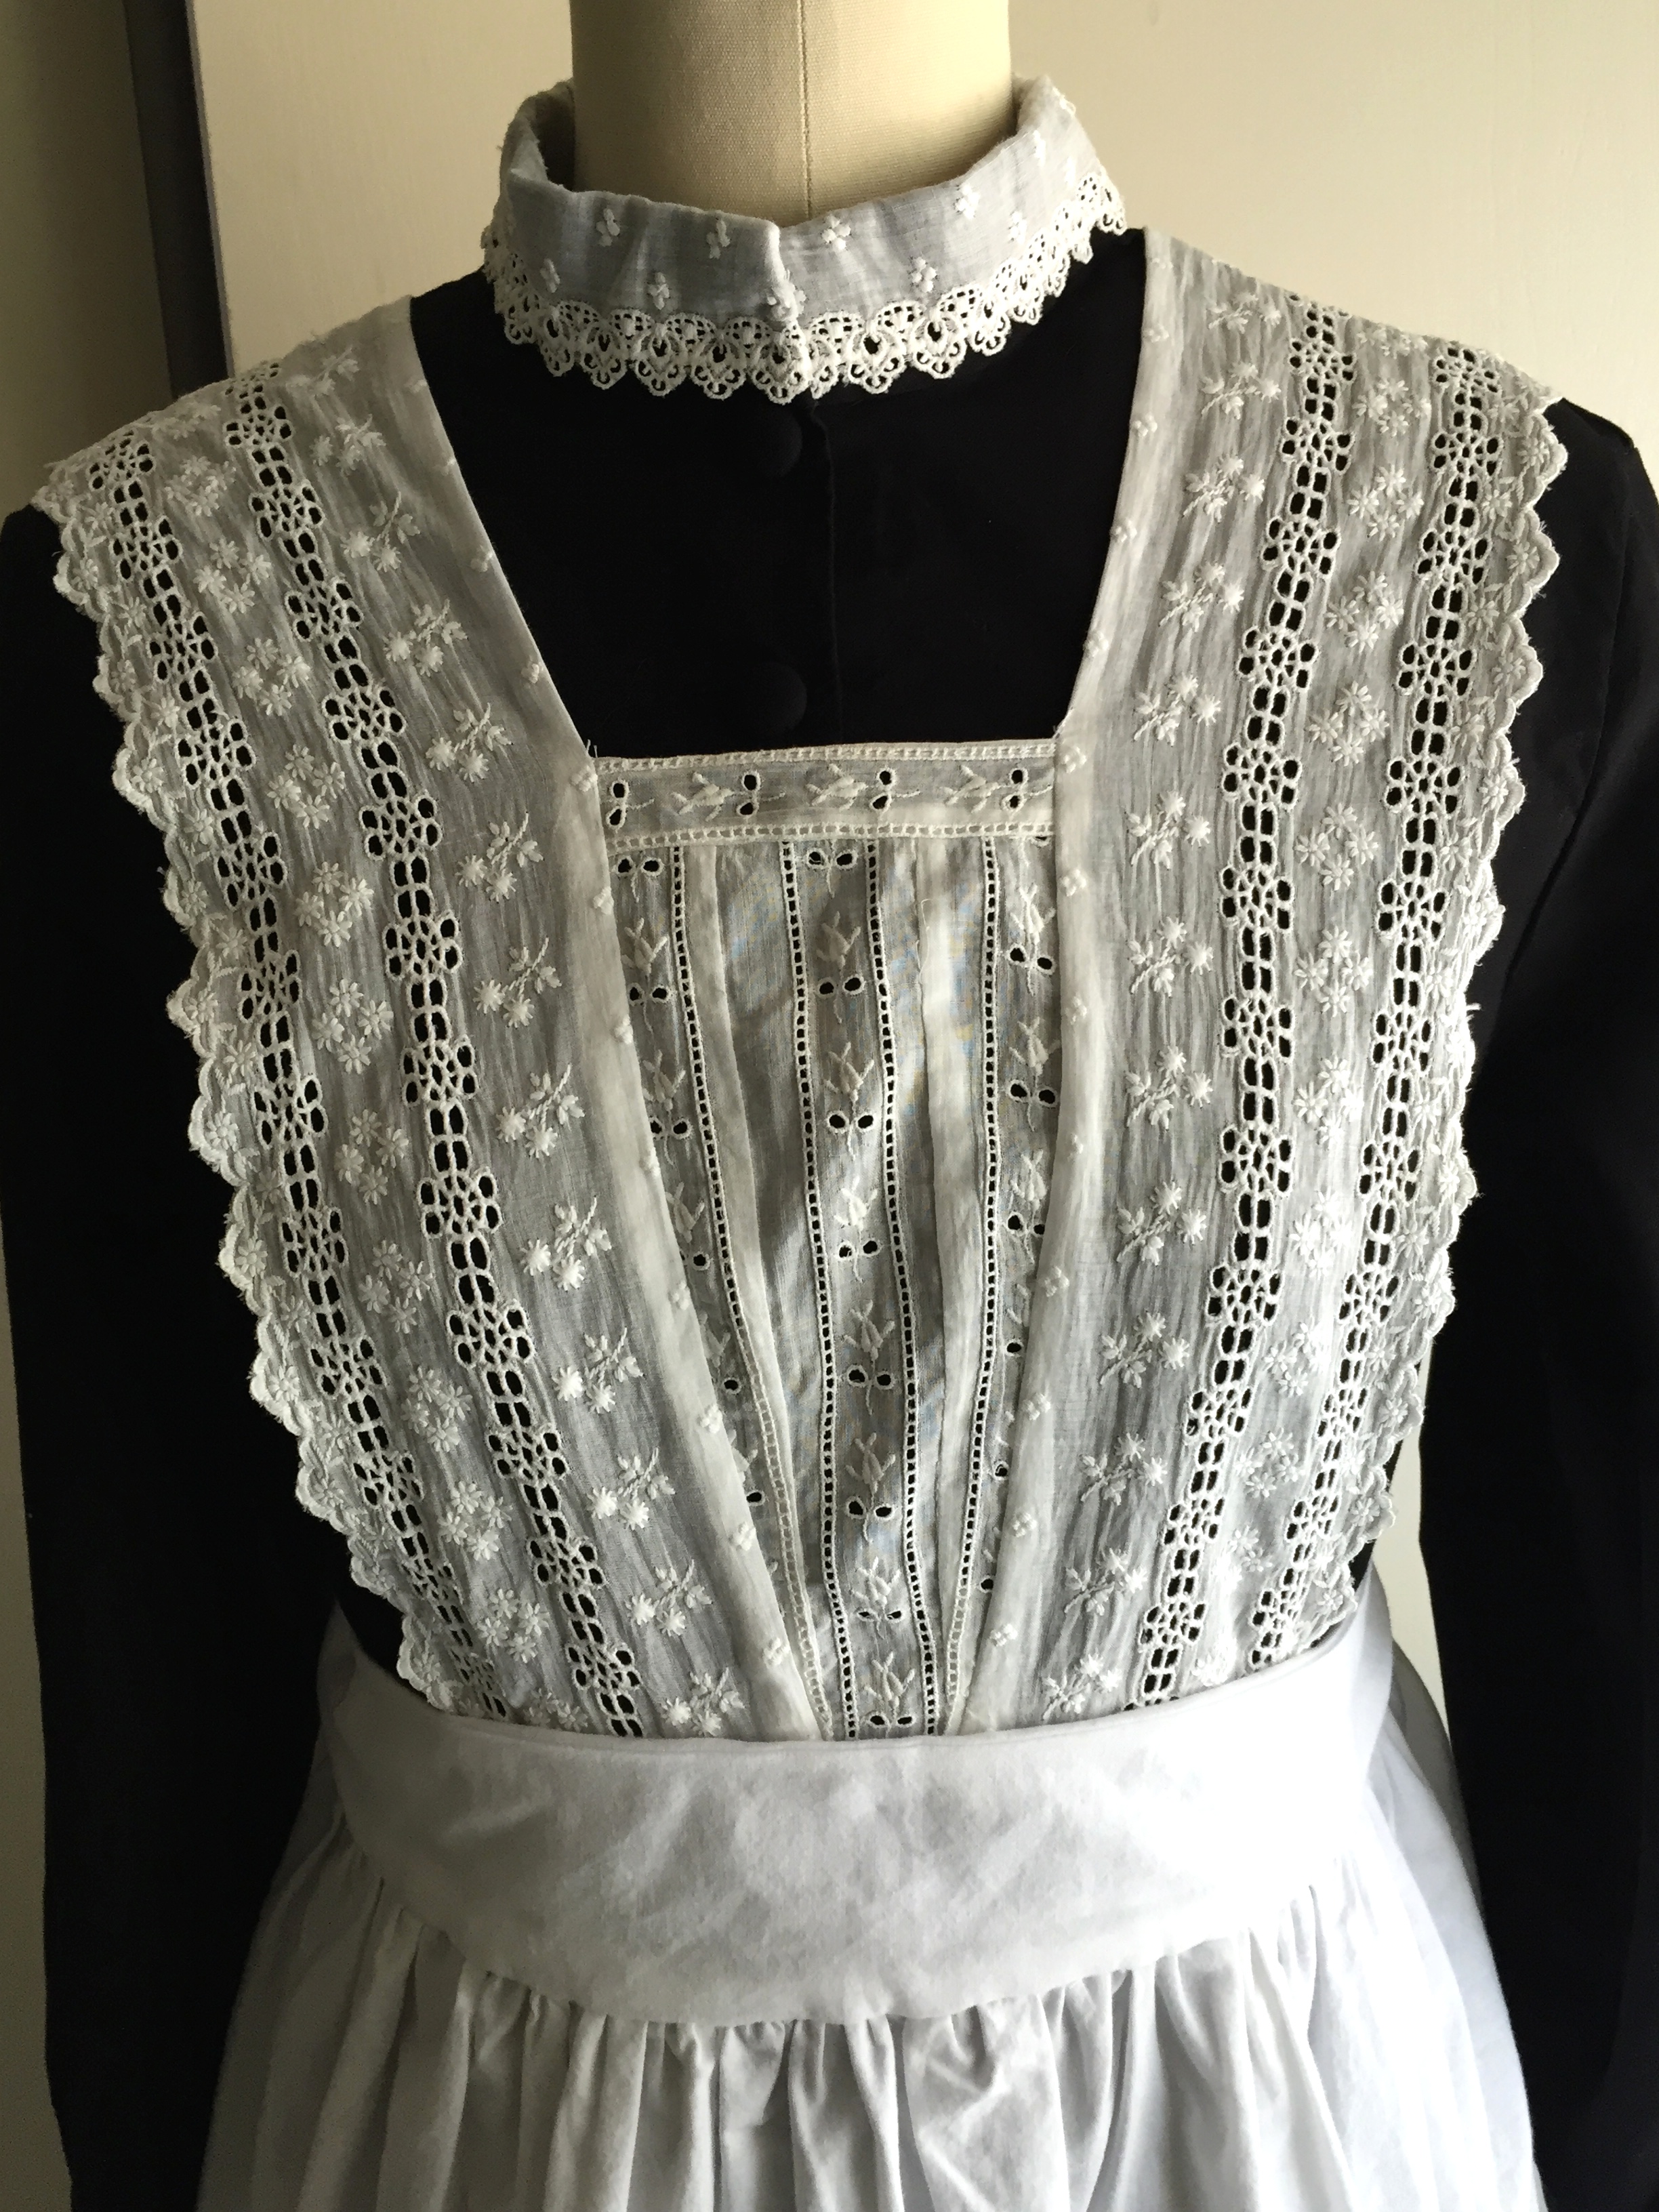
The pattern isn’t awful, but I can’t really recommend it. Ageless Patterns are traced from extant patterns and magazines of the period, which makes them historically accurate, but lacking in directions and specifics about size. This pattern was simply listed as “medium.” (I think it fits more like a large). The arm holes are also strangely big, the shoulders are rather low, the sleeves didn’t quite fit right, and the collar piece was completely useless. It was a bizarre shape and didn’t fit. I eventually gave up and just bound the neckline.

The good thing about the pattern, aside from the sleeves and collar, is that it is ridiculously easy to put together. The dress consists of one back piece and 2 front pieces, and you gather at the waist. The bloomers consist of a front and back for each leg.

Since the pattern was large on me I was able to cheat on the closures. I put an elastic channel into the waist, which is covered by the belt. The dress from the waist down is sewn shut, and the top half closes with hooks and eyes. The buttons are false! No making buttonholes! I just pull this dress over my head, put the belt on, and then hook up the top. Super easy, and comfortable, too!

Project cost:

  • 4 yards wool blend: $54.35 including tax (hooray for the clearance table at Britex!) – I still have more than 1 yard left
  • 3 yards Kaufman Duet Linining: $6.86 including tax and shipping (with a coupon and free shipping from Fabric.com)
  • 2 rolls of grosgrain ribbon: $5.23 including tax (with a coupon from Michael’s)
  • 10 buttons: $0, kit left over from my maid dress
  • shoes: $6.27 including free shipping from Amazon
  • pattern: $15 + $4.85 shipping from Etsy

Total: $92.56

(Edit: Post updated! I forgot to add in the price of the pattern).

Advertisement

Midsummer Night’s Ball and Tulle Fairy Tale Skirt

Last night I went to the Midsummer Night’s Ball, hosted by Sam and Monica of Overattired.  I made myself a tulle skirt filled with flower petals that I am calling the fairy tale skirt. IMG_4895I originally intended the skirt to be worn with a mint green petticoat and top, so it was made with a green waistband matching sash. However, since I am busy sewing for Costume College I did not have time to make a mint green top so for the ball I decided to go with a cream coordinate, and wear the skirt over a H&M chiffon dress I already had in my closet. This is what the skirt looked like at home.IMG_4787The tulle and chiffon are from Fabric Wholesale Direct, and I wrote a step-by-step tutorial with pictures for their website. Tulle skirts are easy and fast!

My antlers are from Sweet Mildred, and are lovely both from the front and back.IMG_4916 IMG_4919The shoes are an eBay find from a few years ago. I’ve also worn them with a 20s tea outfit.

IMG_4915The belt is also from eBay, and the acorn necklace is from LOTV Designs.IMG_4921A silly pose!

IMG_4897At the ball I delivered a dress I made to Jean, editor of San Francisco/Science Fiction Magazine. I made this for myself years ago, prior to this blog, so I don’t have any construction photos to post. I am glad the dress has found a new home! It is a damask dress based on Italian Renaissance design, and trimmed with gold and white twist with gold beads. I also made the puffed-sleeve blouse worn underneath. IMG_4910

18th Century at the Pelican Inn

Last weekend a group of friends decided to gather at the Pelican Inn in Muir Beach to have dinner and take photos. The Inn is a very charming building, and we thought it would be nice to go there wearing 18th century outfits, and also visit the beach just down the road. I also finished my hedgehog wig, and so it was the perfect opportunity to take daylight pictures of my sheer striped silk organza chemise a la reine!

DSCN1524 DSCN1525I also wore my red hooded mantle when it got cooler in the evening on the beach. It matched perfectly with my red American Duchess Kensingtons!

DSCN1557I made the wig the day before, so it was a little rushed and not perfect, but I think a little more careful trimming will make it into something quite nice. I used the instructions in Kendra’s 18th Century Hair book, and I highly recommend it. There are wonderful step-by-step instructions and lots of color photographs. The overall steps were:

  1. Comb out a portion in the back that will remain straight.
  2. Put the rest of the hair in curlers.
  3. Boil the wig to set the curls.
  4. Tease the curls, except for 2 large side curls.
  5. Trim off the extra length.

We had a delightful time at the Inn, and it is a nice place for a small gathering.

DSCN1598Although you must be on the lookout for highwaymen!

DSCN1532But fear not, you may be rescued!

DSCN1578Or maybe not.

DSCN1572For more fun photos see my Flickr album.

Downton Abbey Edwardian Maid Dress (Part 3) Finished!

My Downton Abbey Edwardian maid outfit is finished! It was actually completed last week, but I didn’t have time to take and post photos.

Here are the front, side, and back views with the apron on:

IMG_4826IMG_4828IMG_4830Here are close-ups of the top and bottom of the apron, featuring the same antique lace:
IMG_4836IMG_4839The lace on the collar and cuffs are the same, and also antique lace purchased in the same lot as the apron lace.

Here is the dress by itself. Although I originally thought of using wool, I ended up using black Kaufman Kona cotton, which I found to be decently thick, and a good value. I made the fabric-covered buttons using a button cover kit.

IMG_4816I used Butterick B6229 pattern for the dress (but not the apron), which I recommend. I found the pattern to be true to size, and the pieces fit together nicely. I used the pattern mostly as-is, with a few small changes:

  1. I made the cuffs smaller. I found them to be disproportionately large compared to my small hands.
  2. I shortened the height of the collar. If I followed the pattern the collar would be rather tall, and cover most of my neck. Although you can find old photos of Edwardian maids with similarly high collars, I wanted the shorter collars featured on the show.
  3. I lengthened the belt an inch or two; I found it a little short.
I normally don’t pay full price for a Big 3 pattern, but it was so new it was not in my local Joann’s or being sold for cheap on eBay, so I had to order it online. However, given how easy it was to work with I think it was worth it!

For the headpiece I sewed two pieces of antique lace together and gathered the center.

IMG_4832

I sewed wig clips to the back to hold them in my hair.IMG_4835  Project total costs:

  • Antique lace: $16.95 + $2.50 shipping (from Etsy)
  • Butterick pattern: $12.50 + $5.58 shipping and tax (from butterick.com)
  • 5 yards black Kaufman Kona cotton: $24.82 including tax (It’s normally $5.98/yard from Fabric.com but I had a coupon, free shipping bundled with other items, and a bonus half yard for free)
  • 3 yards white cotton broadcloth: $8.24 including tax (normally $2.98/yard at Fabric.com)
  • Button cover kit: $5.75 + $2.25 shipping (from Etsy; I still have buttons left over)

Total cost: $78.59. (I still have 2 yards white cotton, and a lot of lace and buttons left over for another project).

See parts 1 and 2 for more details.