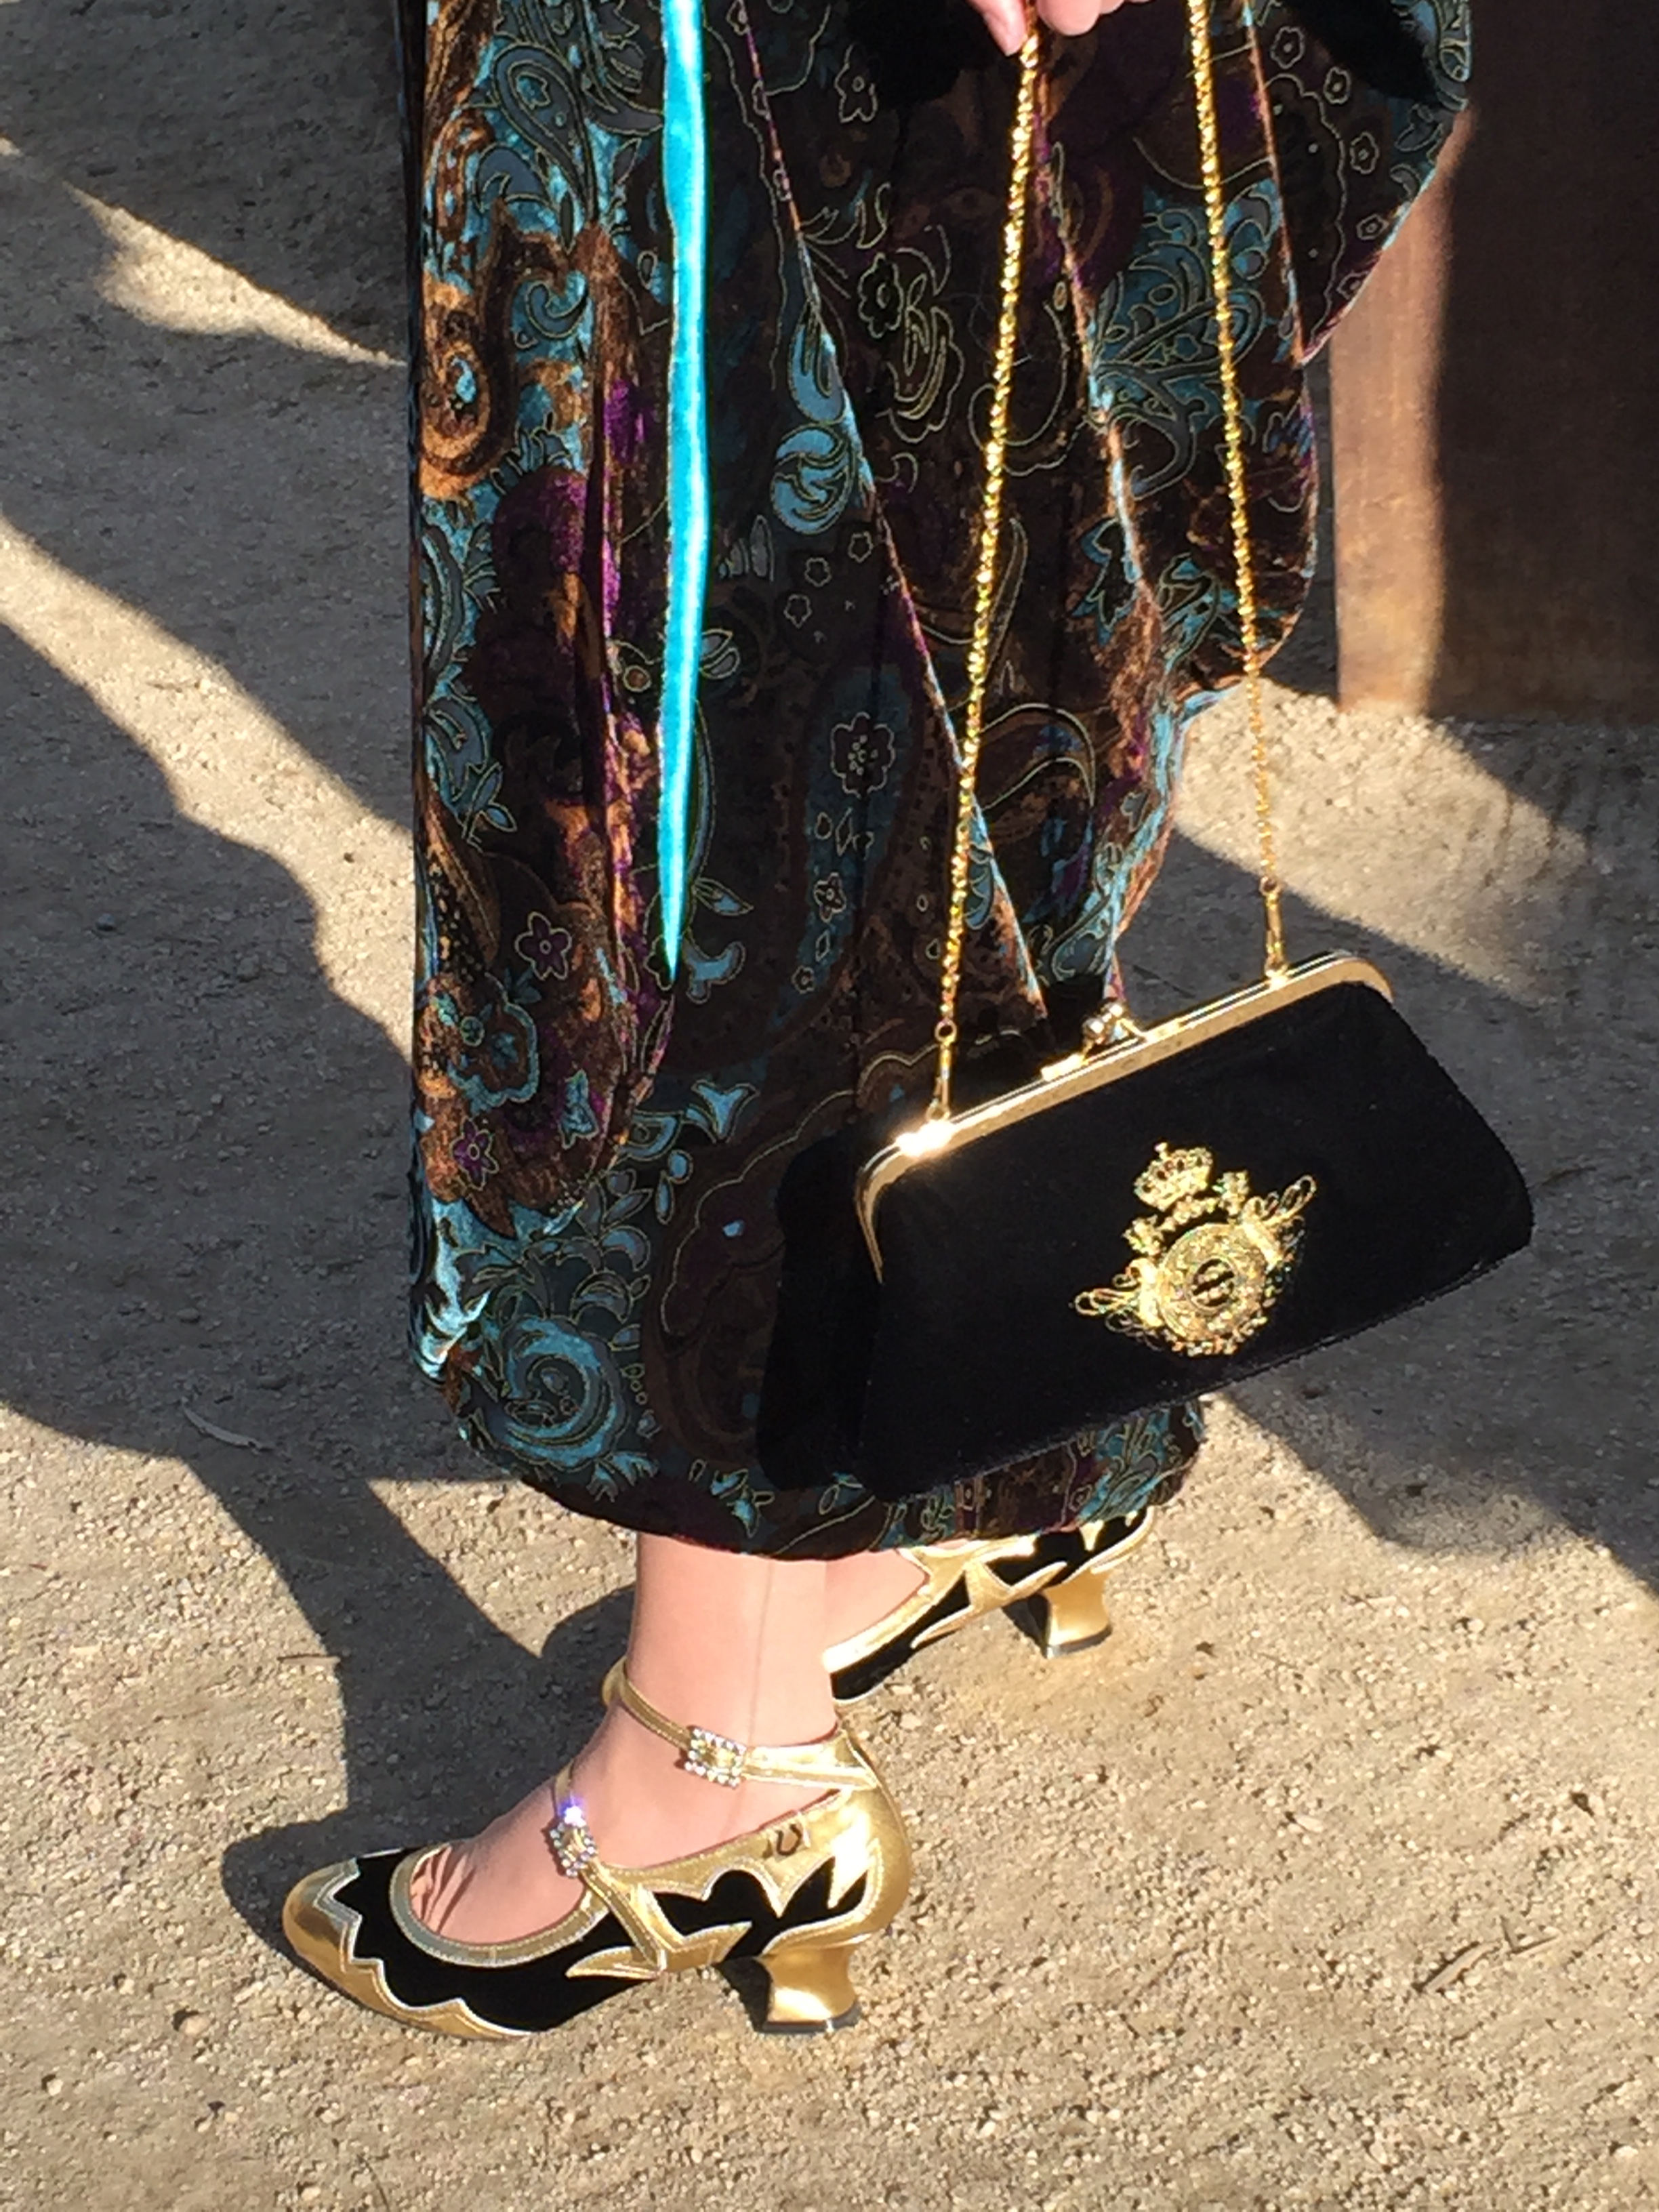
I enjoy sewing for many historical costume eras, as those of you who follow my blog or watch my costuming content on my Instagram know, and I always have fun considering the accessories. My biggest piece of advice for making your look complete is to consider not just the gown, but the hats, shoes, gloves, stockings and especially the jewelry! I wear many historically-inspired costume jewelry pieces that I have either made or purchased, vintage or new, but I also like to admire genuine antique pieces. (All jewelry photos in this blog post were kindly provided by Antique Ring Boutique, who sponsored this post, but allowed me to write whatever I wish).
I thought it would be fun to share in this post a few eras I like to costume from, some inspirational images, and of course some beautiful genuine antique jewelry!
Whether you are a new historical costumer looking for an overview, or an experienced maker wanting to gaze at some lovely shiny things, I hope this post gives you some inspiration.
For each ring I’ve included a main image plus a link to a page where you can see even more photos of different views, and read about the piece.
Georgian (1714-1837)
The Georgian era is named after the start of the reign of King George I in 1714 and includes the end of the reign of King George IV in 1830 and the regency period of William IV in 1837.
I love costuming from the 18th and early 19th century, and have made a number of outfits from this time. This mauve silk dress is a favorite (photo by In the Long Run Designs).
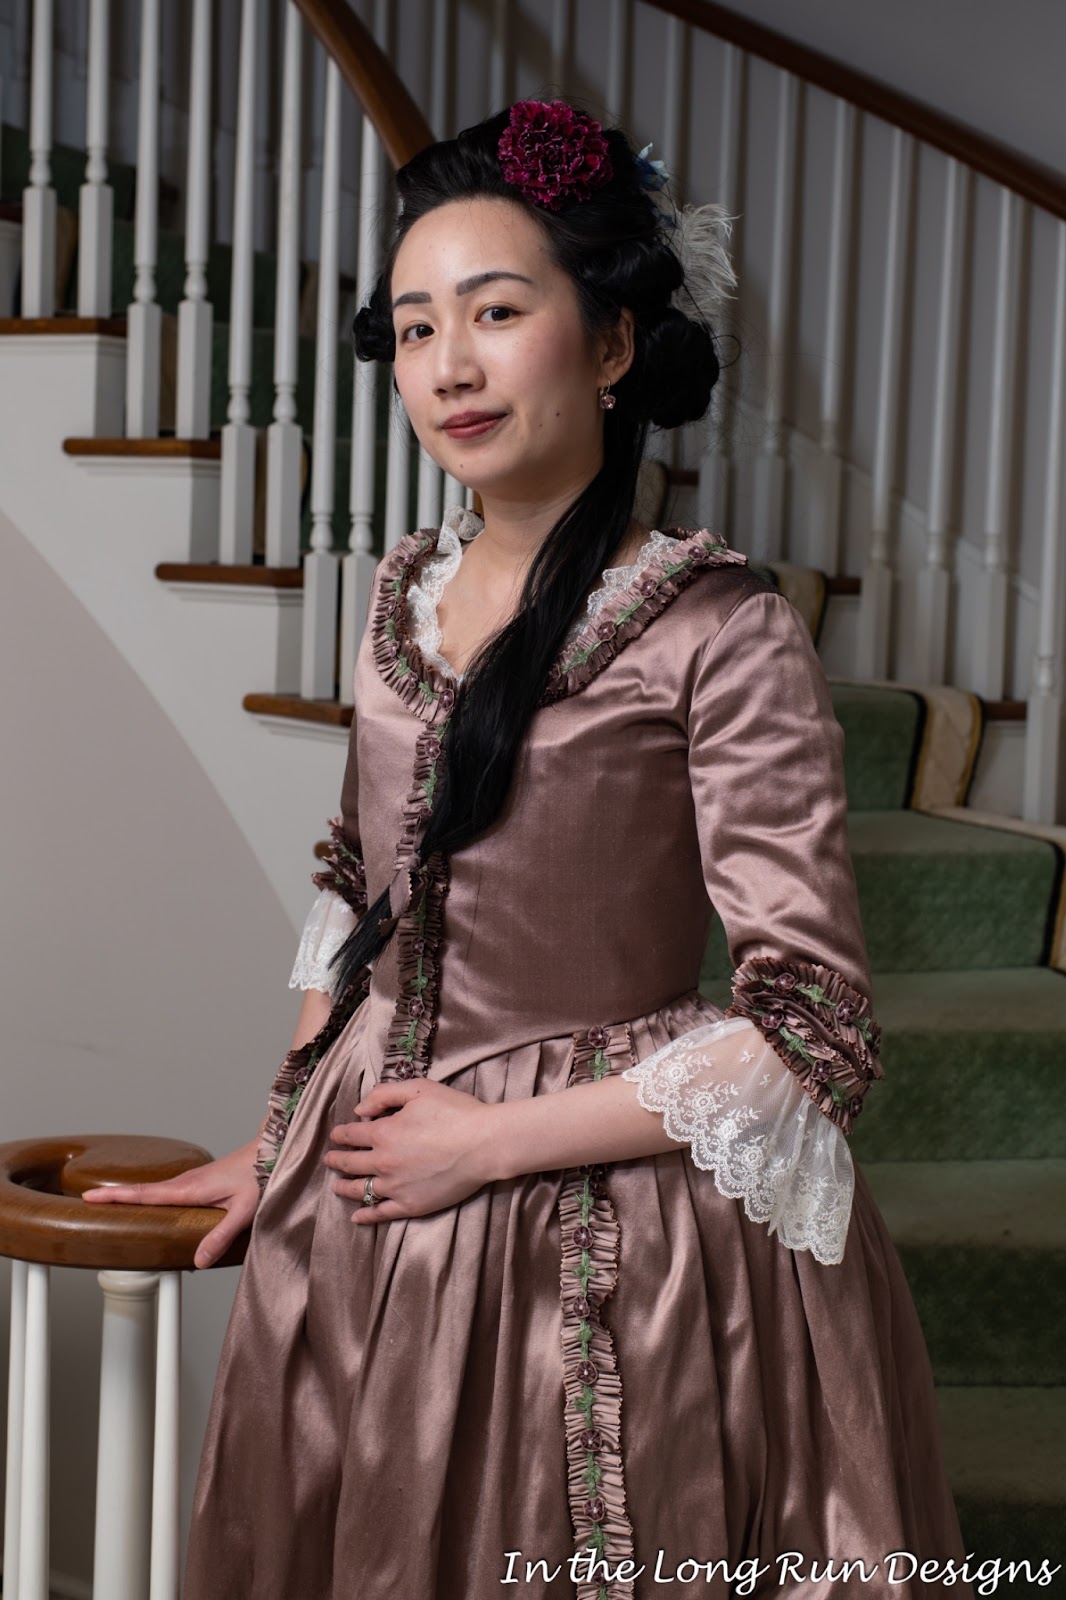
The 18th century brings to mind Marie Antoinette, silk gowns, panniers, and big hair! Extravagant jewelry, especially with foil-backed stones, glittered under candlelight at court. Rose gold, yellow gold, and silver were popular metals for rings.
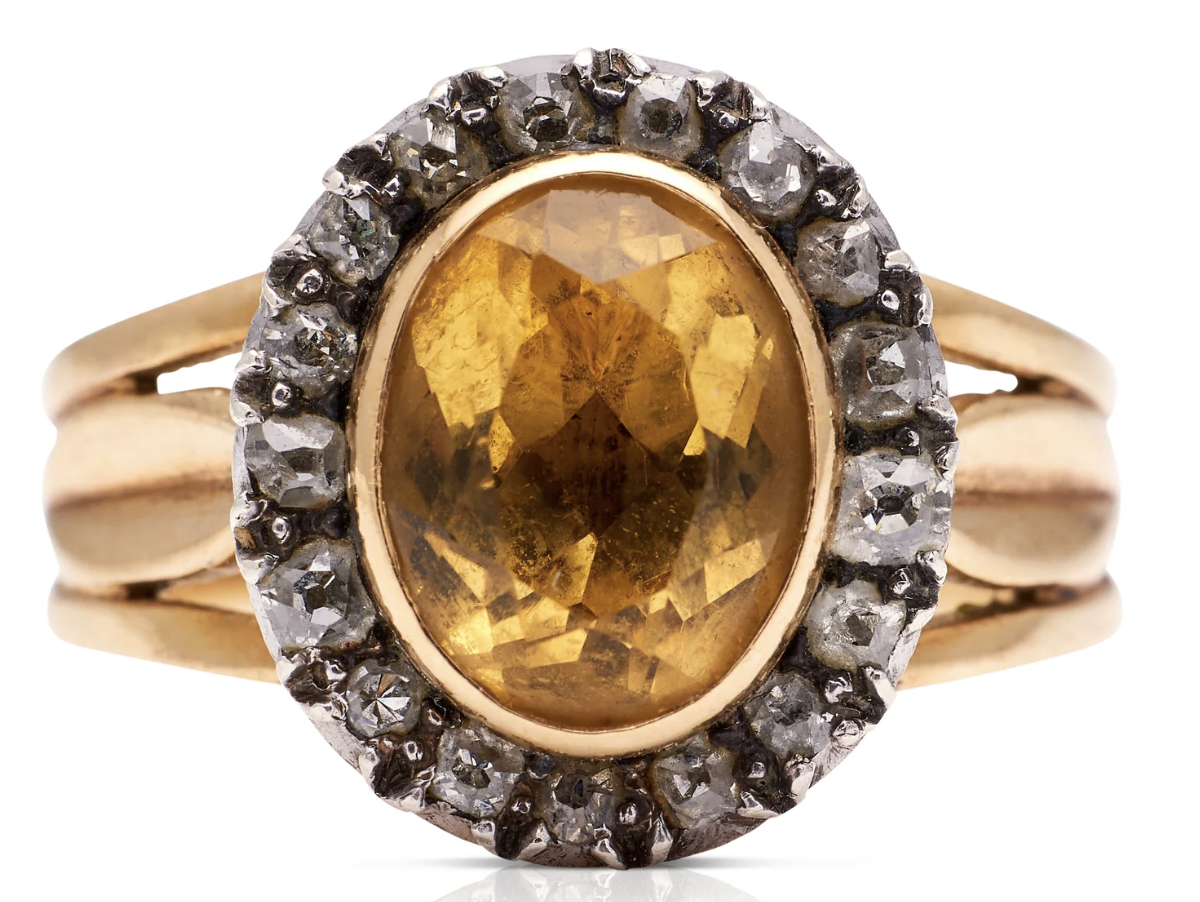
This antique citrine and diamond cocktail cluster ring would have looked amazing with a pretty yellow gown.
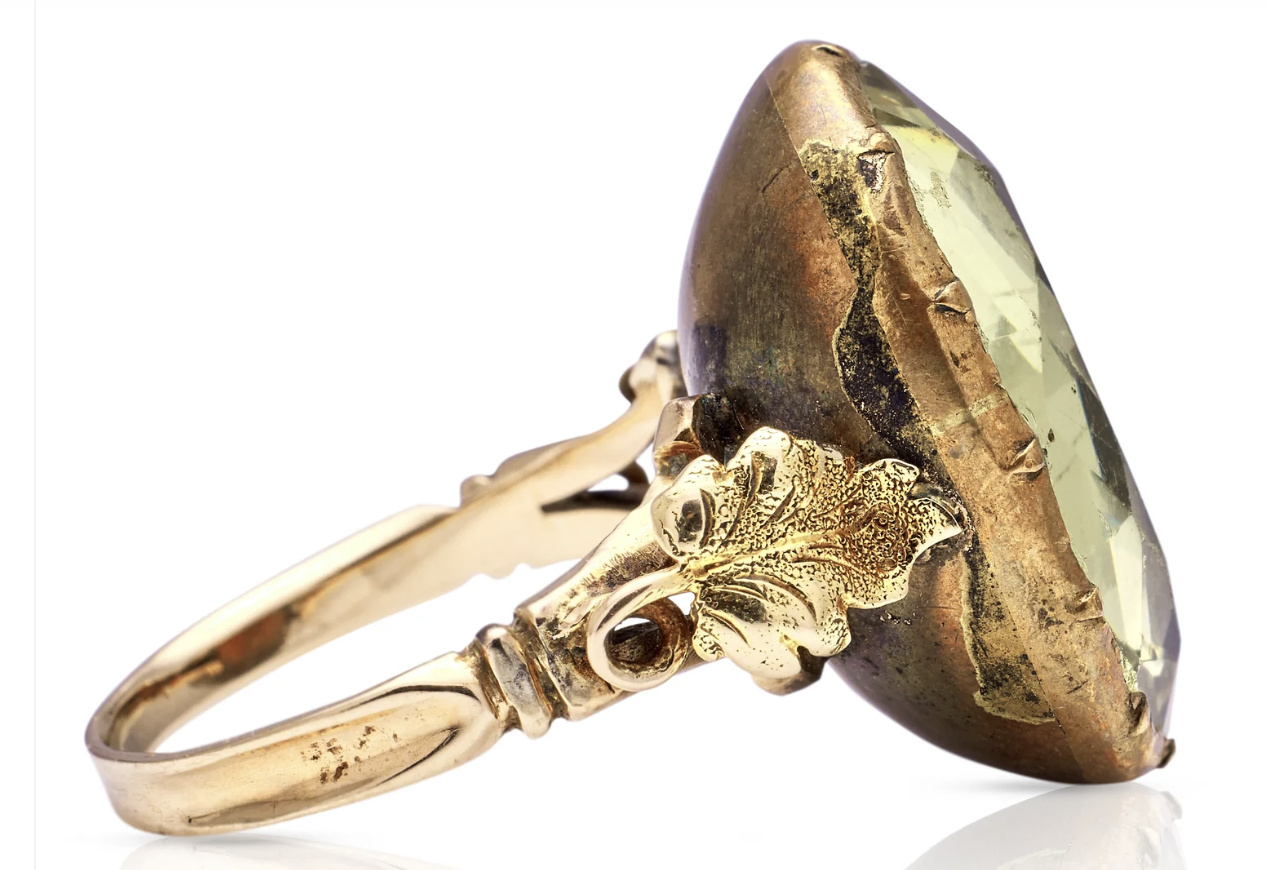
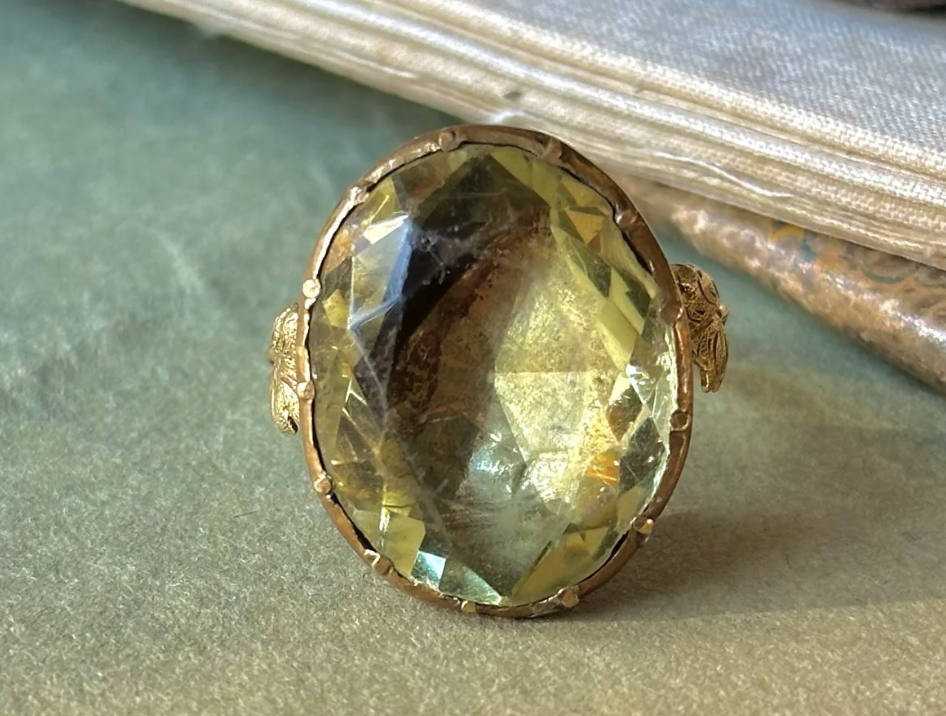
Paste stones (imitation gems) were also very popular in the 18th century, as seen in this eye-catching large green foiled paste stone ring.
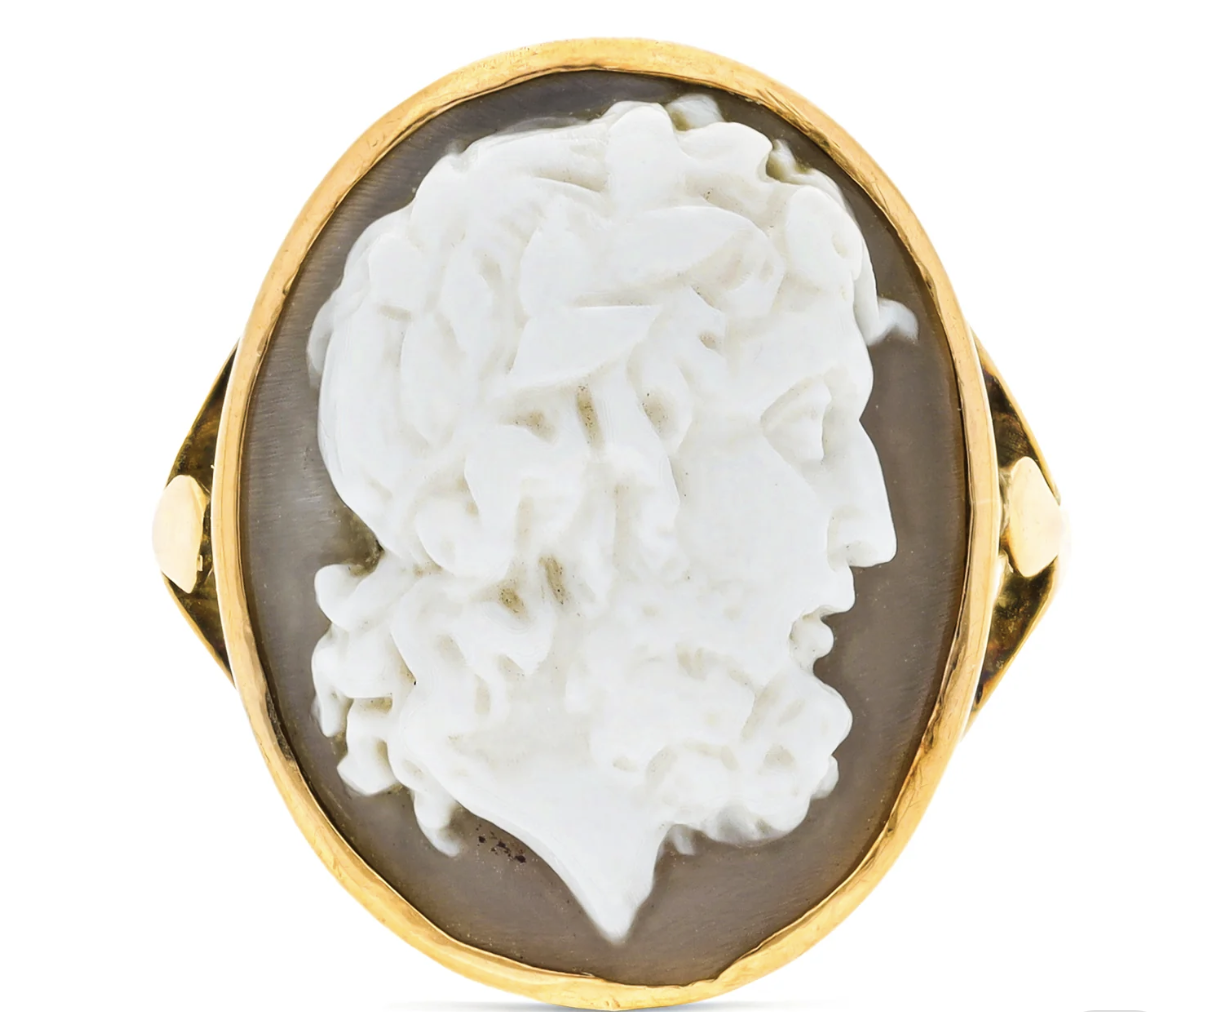
And finally, cameo jewelry was also quite popular (and still popular today!) This intaglio ring is a fine example.
Victorian (1837-1901)
The Victorian period was named after long-reigning monarch Queen Victoria of England. Since the period was so long, there were many silhouettes, including the full short dresses of the 1830s, the hoop skirts of the 1850s, and bustle dresses of the 1870s and 1880s. I am particularly fond of bustle dresses like this one I wore to a museum event. (Photo by John Carey Photographic).

During the Victorian era, diamond rings were very popular. Different materials such as amethyst, emeralds, agate, pearls, and even hair! (often found in mourning jewelry) were used. Carved cameo and intaglio jewelry continued to be popular, such as this lapis lazuli ring.

I think this ruby and diamond 3 stone ring would go great with a pink bustle dress!

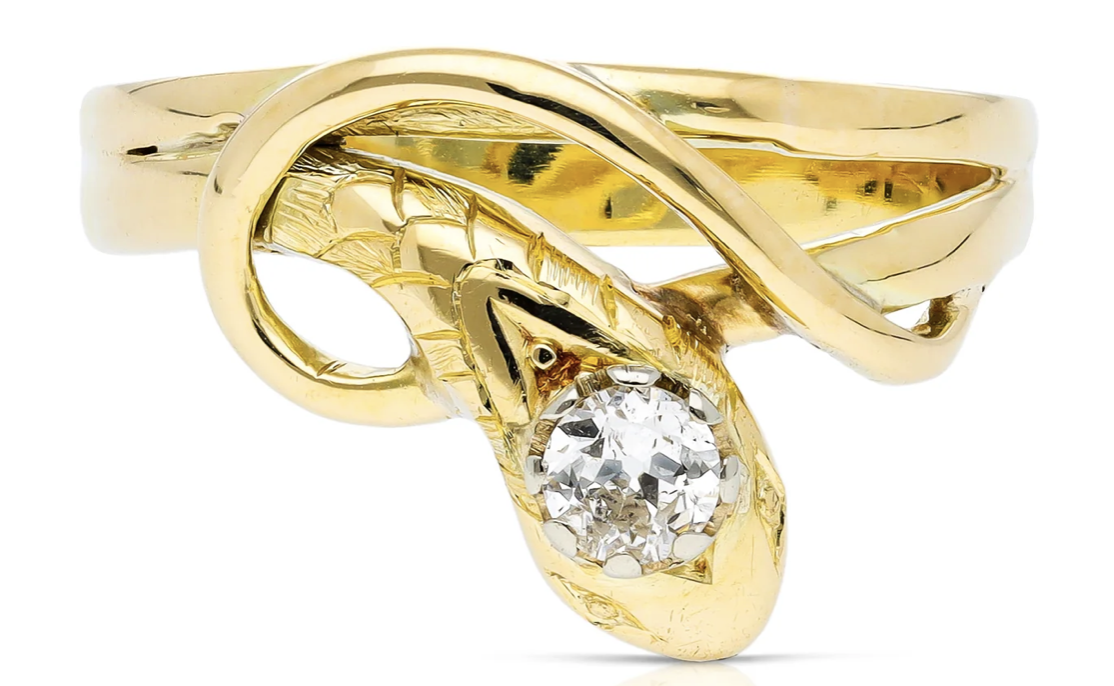
This diamond snake ring looks so modern!
Edwardian (1901-1910)
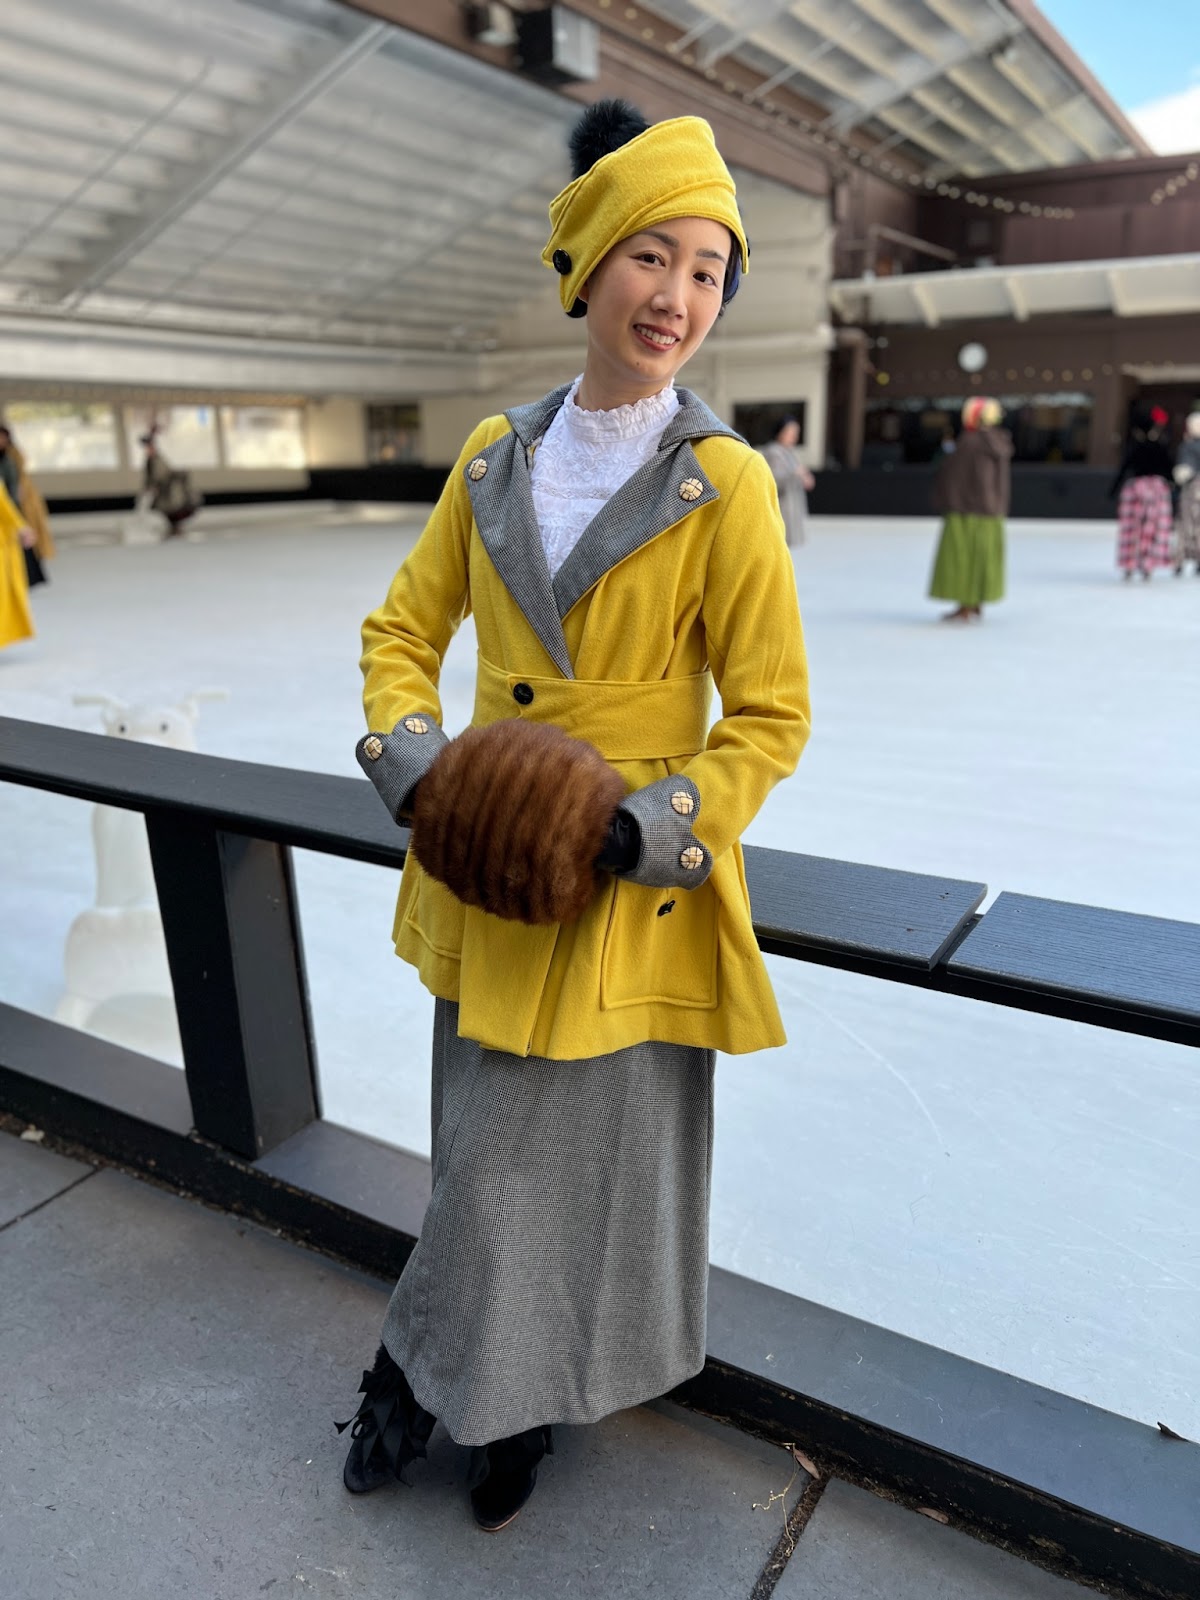
The Edwardian period was named after King Edward VII, and the time of some very elegant designs. The blouse and walking skirt combination was common for daywear, and an easy way to get into historical costuming. Suits and stylish jackets were also common, and we also saw women’s sportswear. This wool suit I made and wore to a historical ice-skating party.
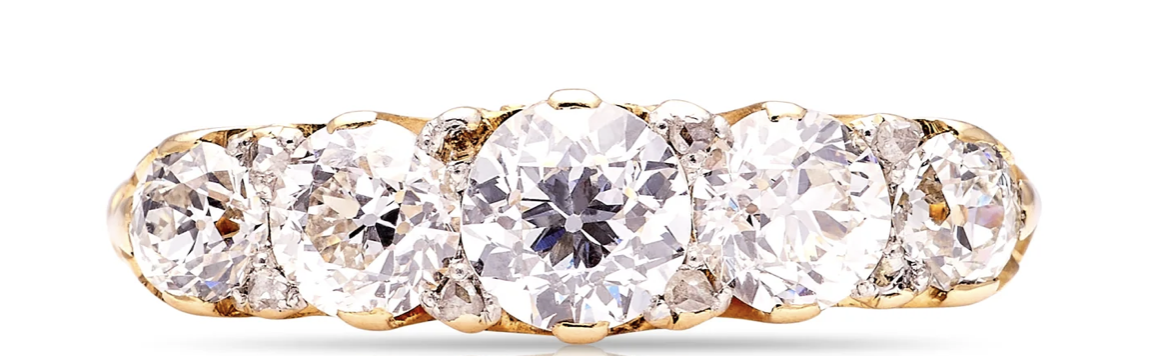
The Edwardian era includes part of the Belle Epoque and Art Nouveau eras, and some designs that are still very wearable today, such as this five stone diamond ring:
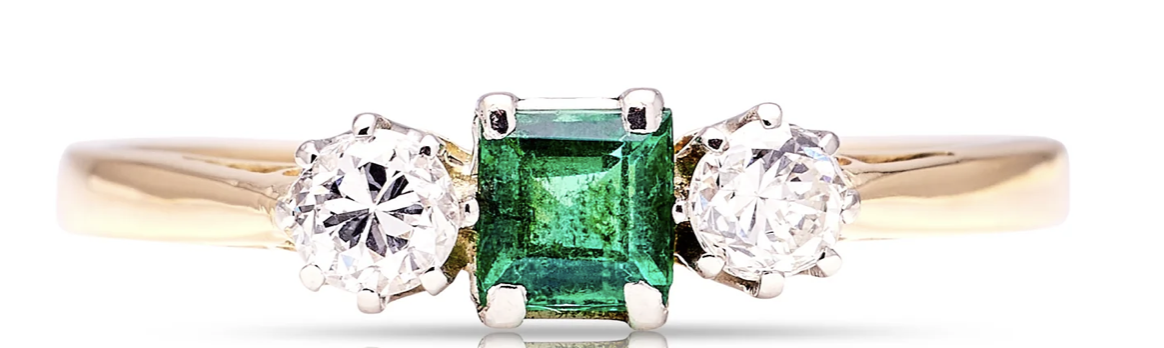
This emerald and diamond two stone ring is striking.
I would gladly wear this pearl and diamond ring!

I’m also partial to this diamond daisy cluster ring because it reminds me of my own engagement ring.

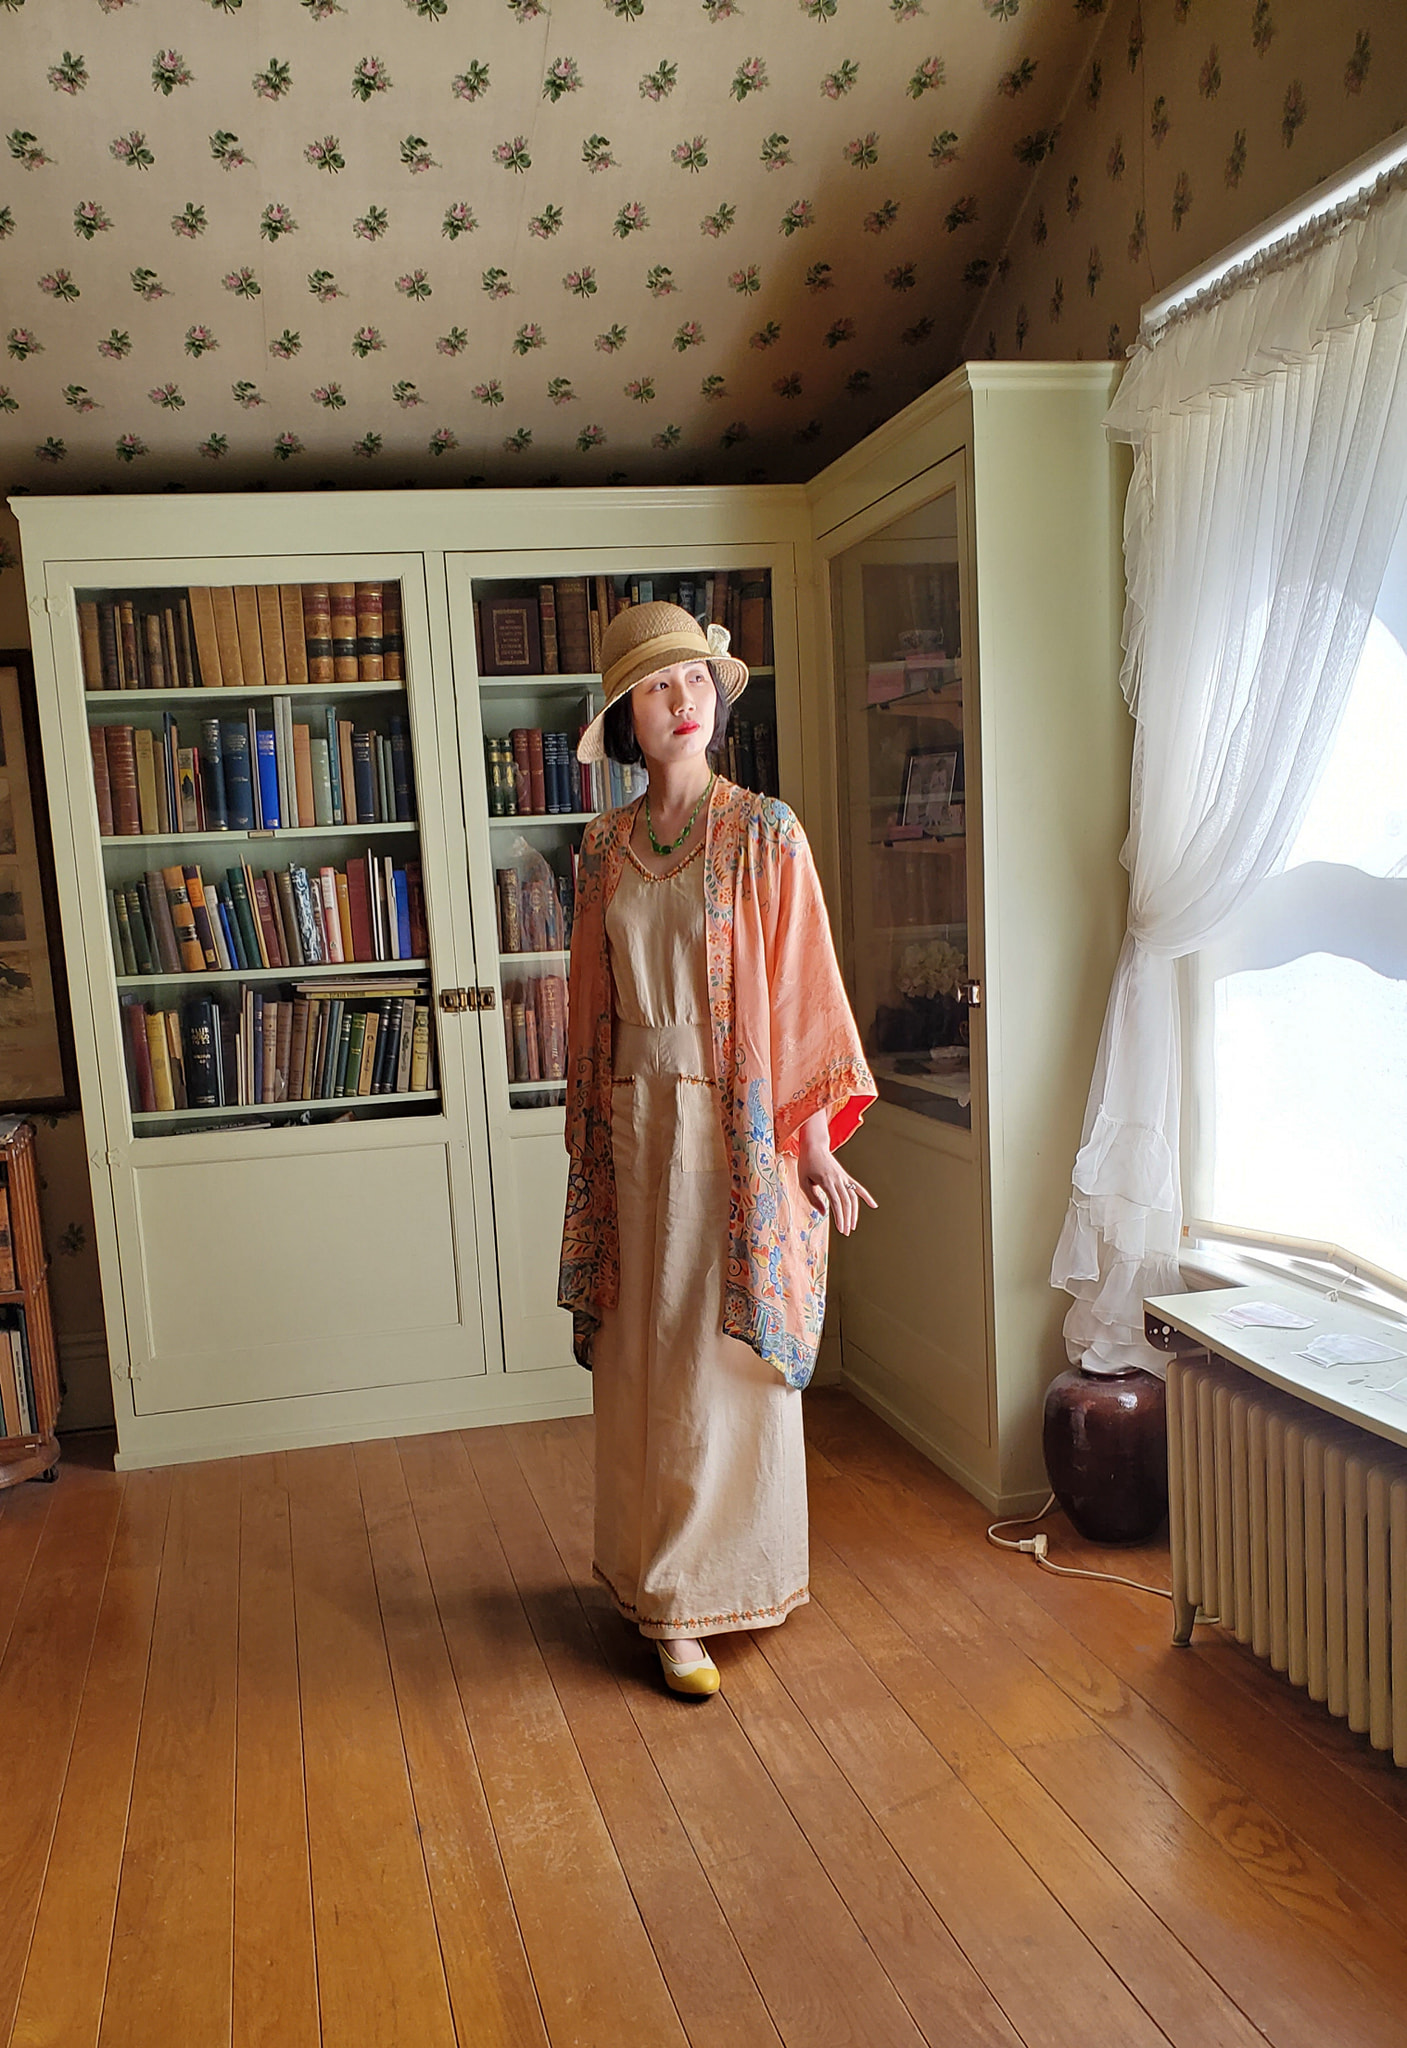
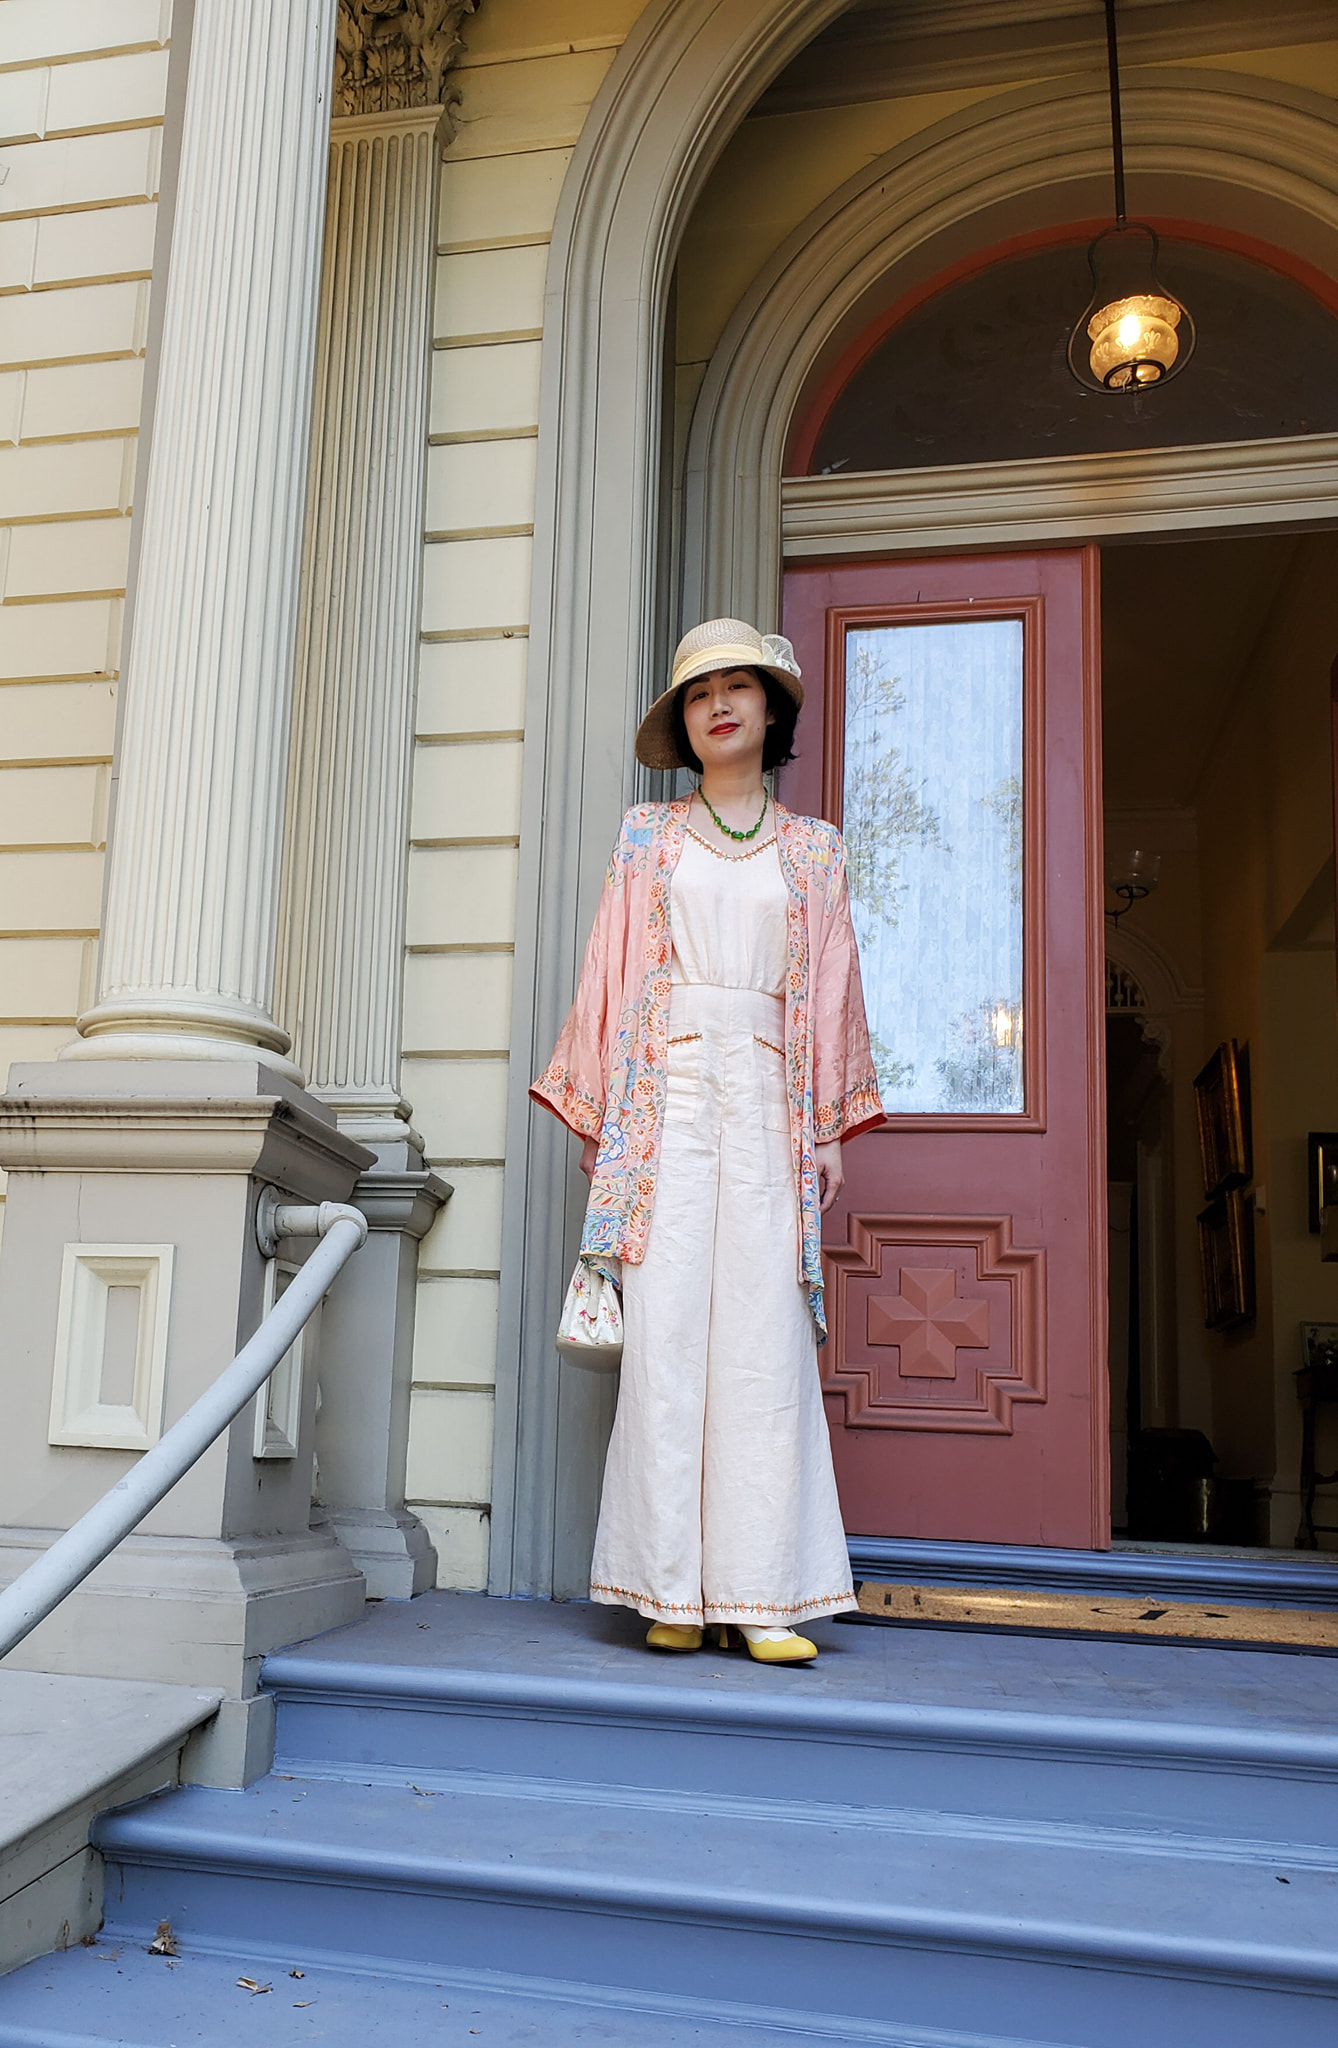
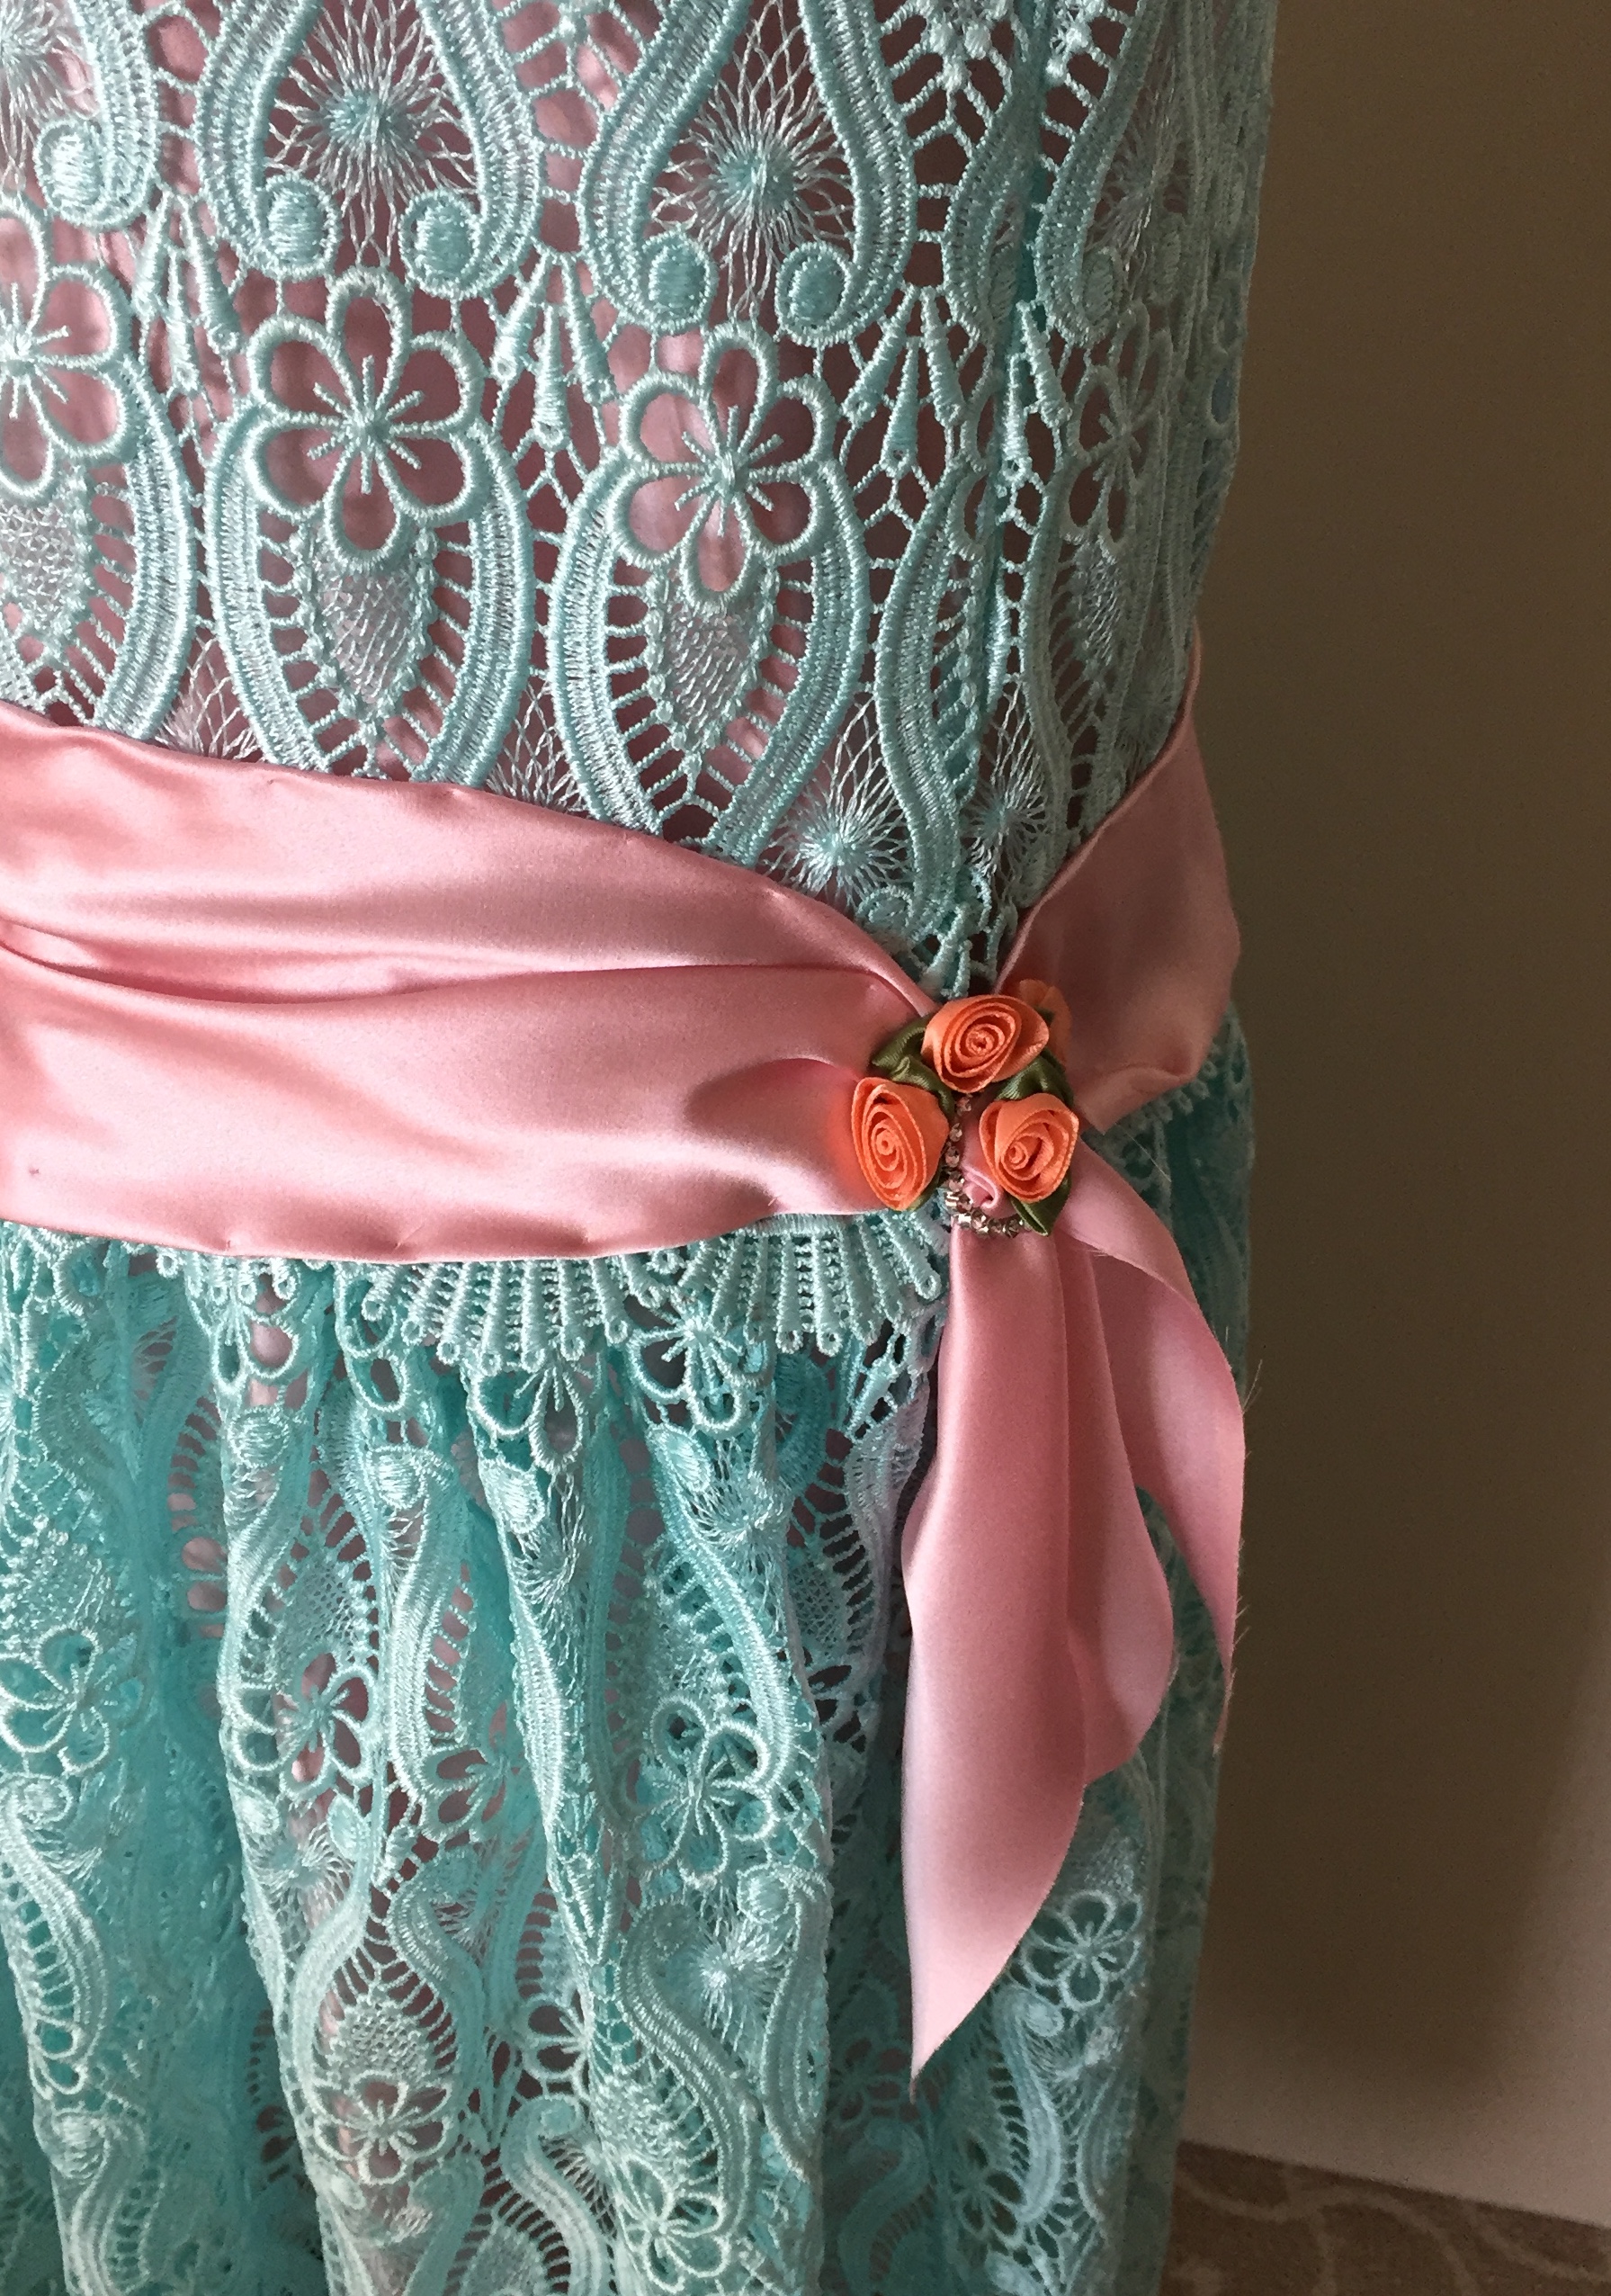
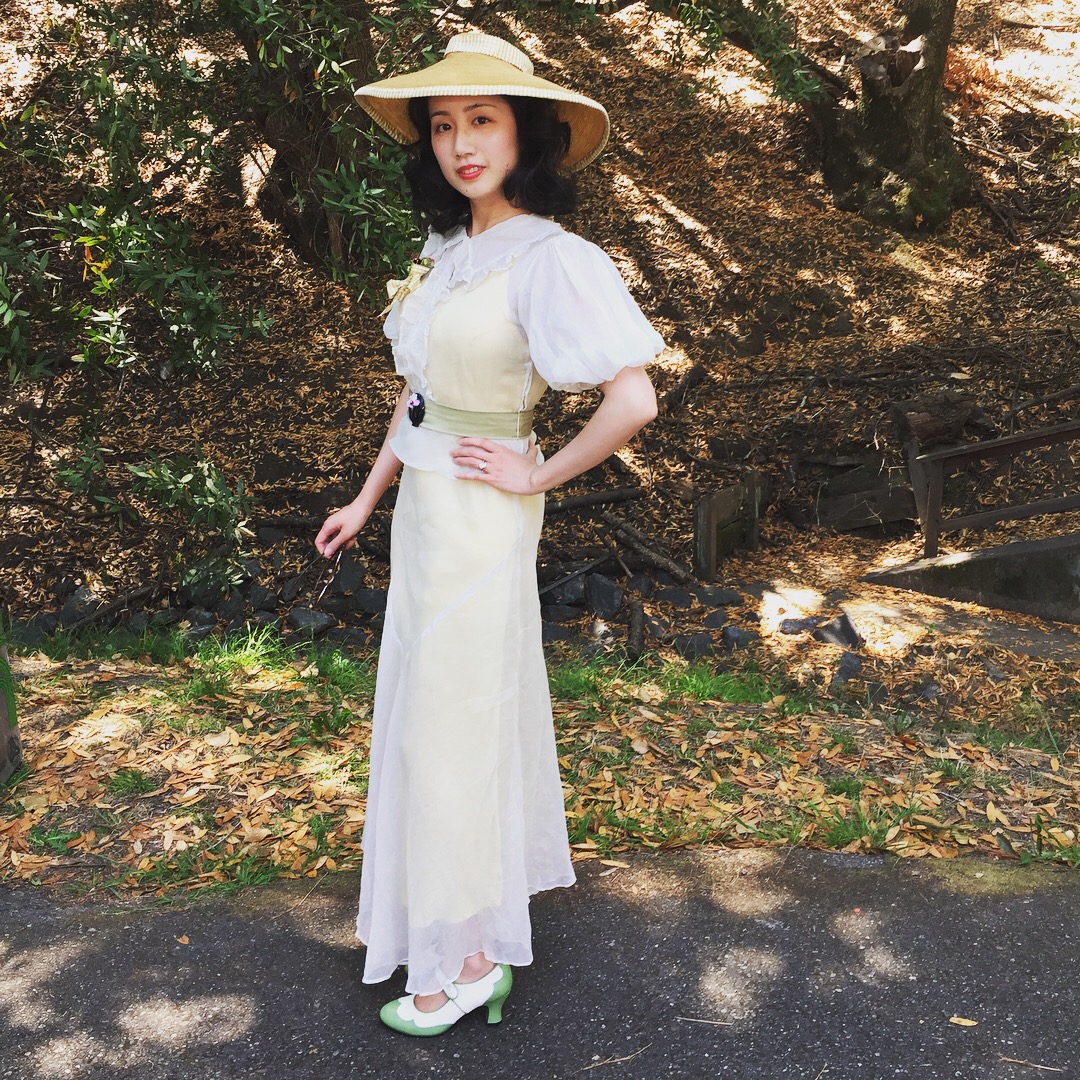
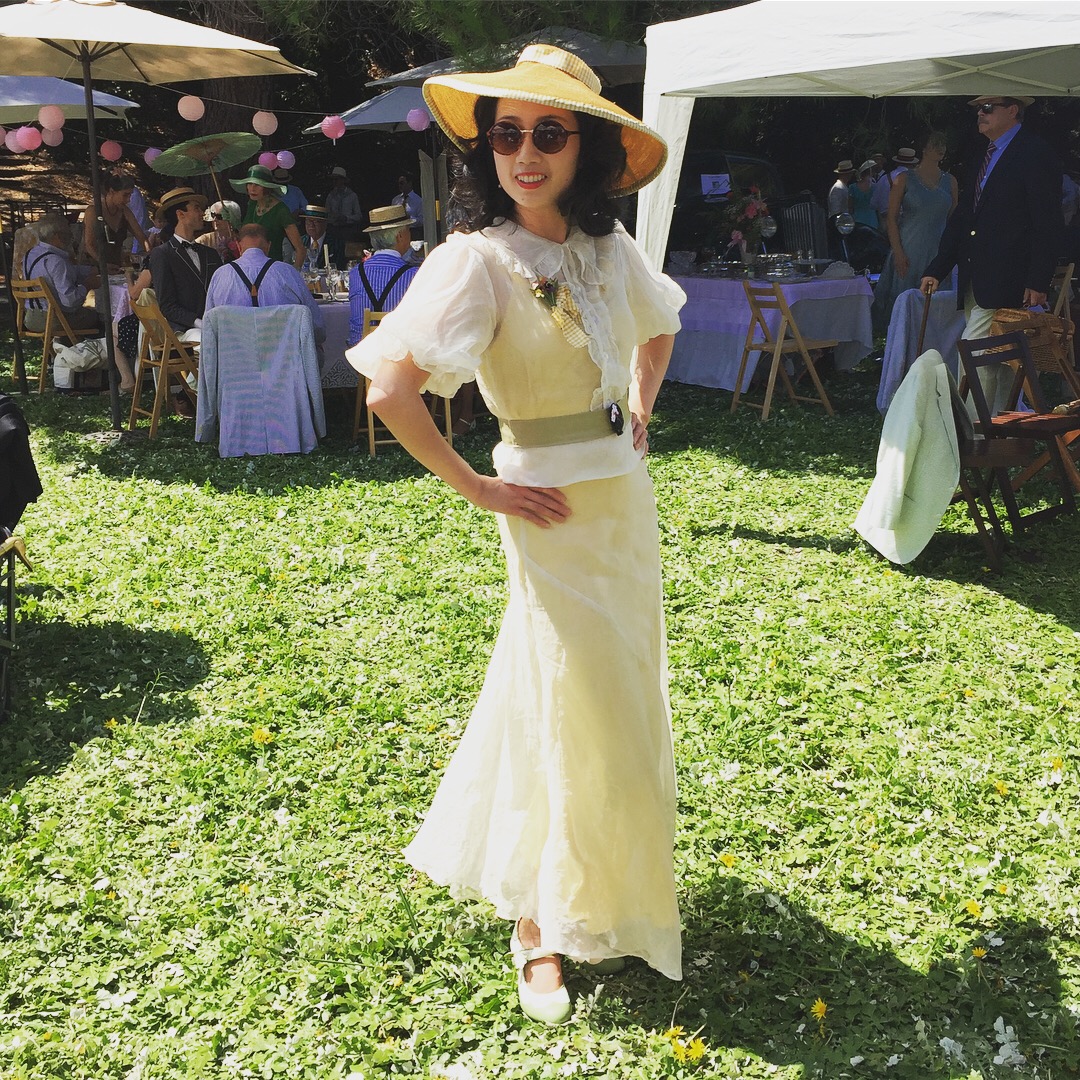
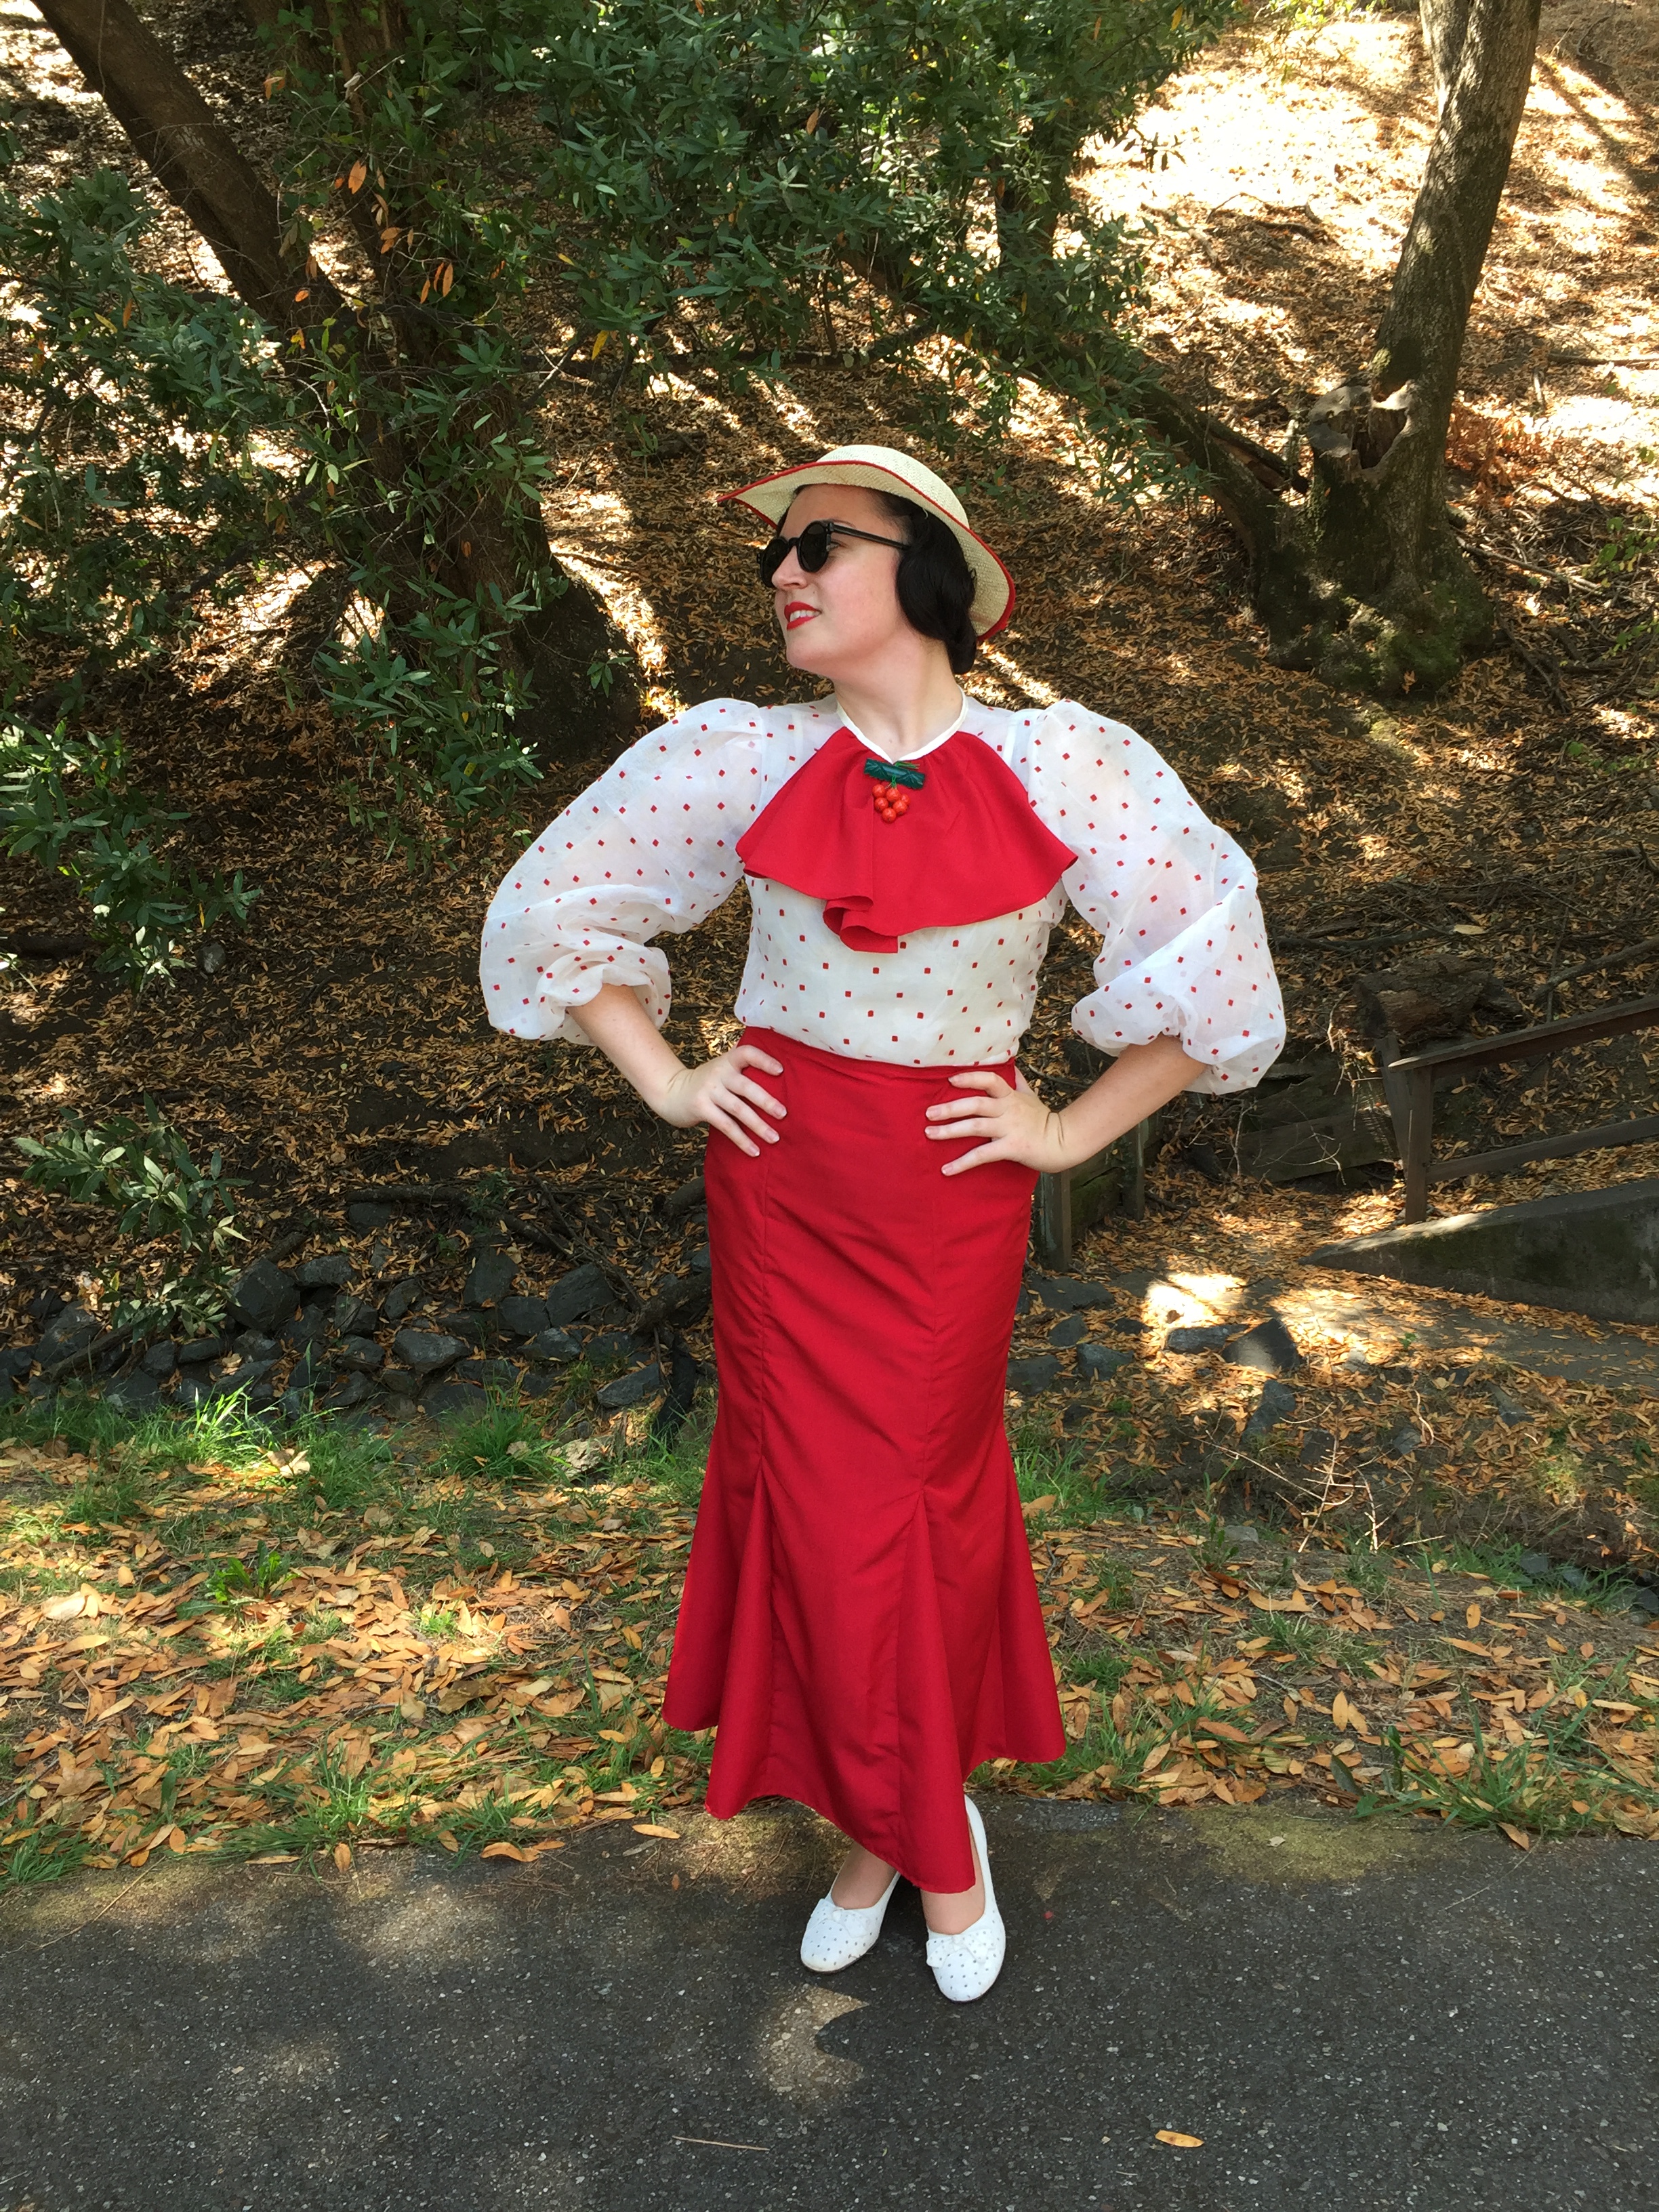
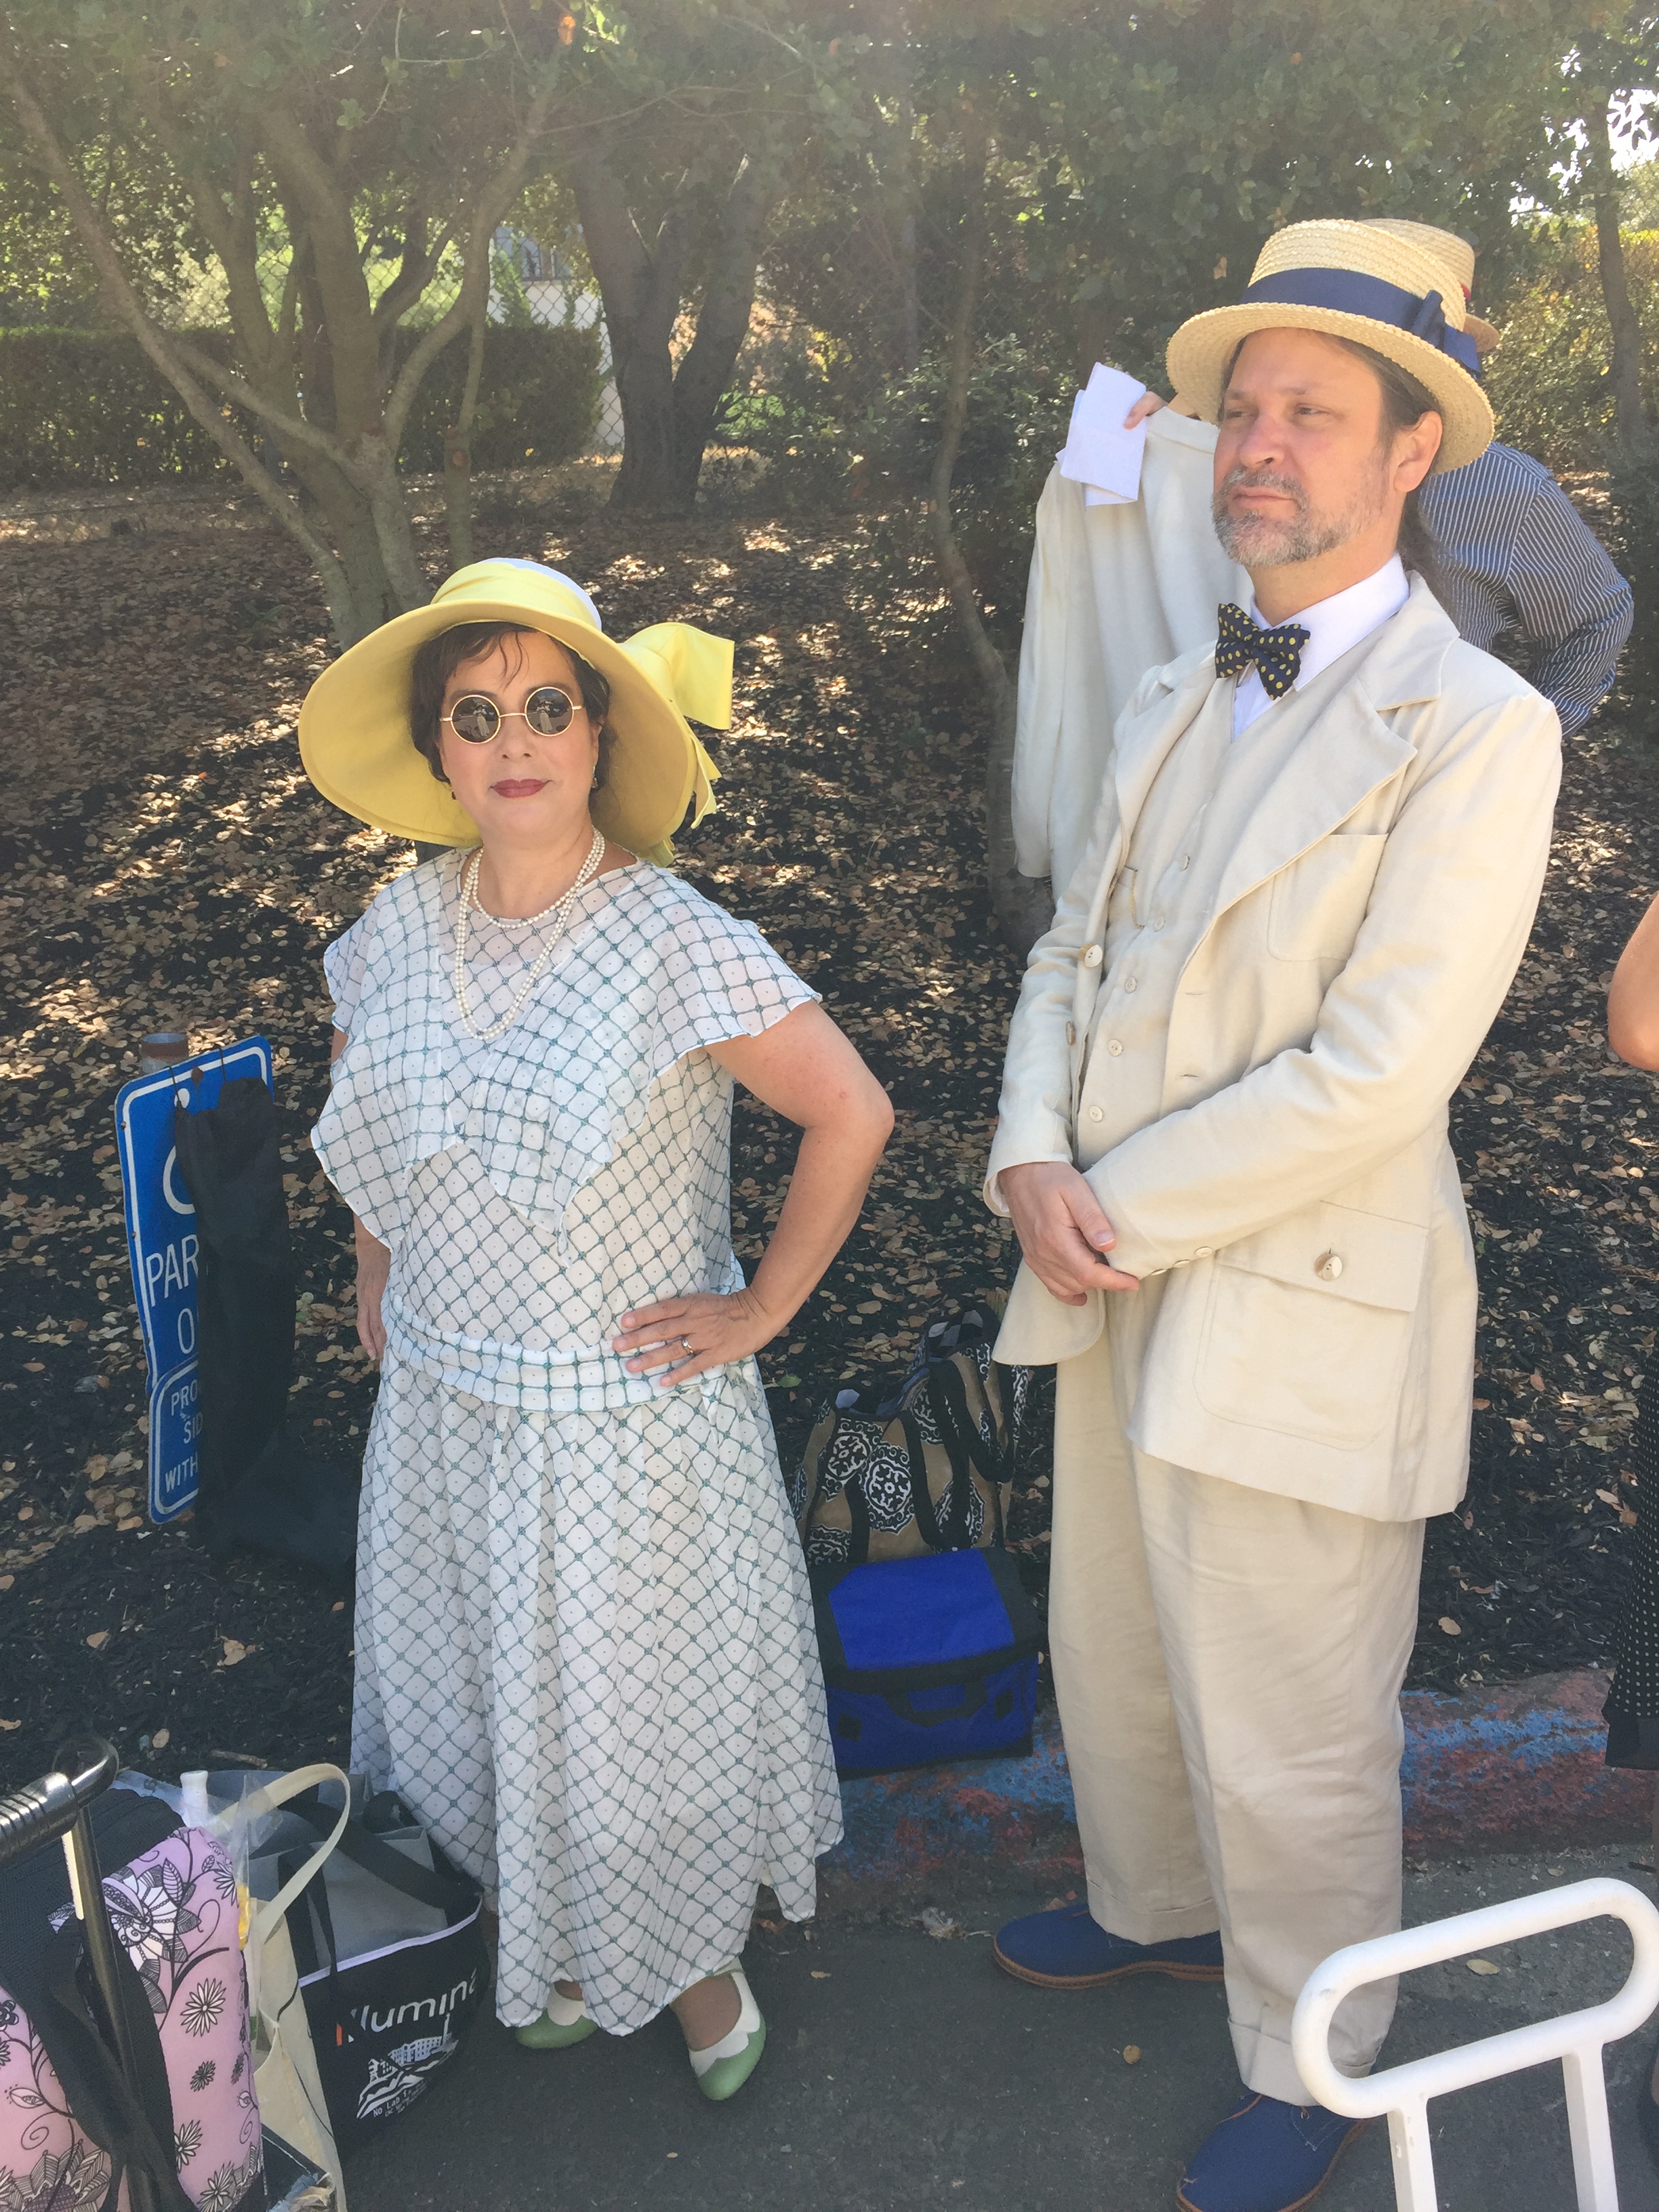
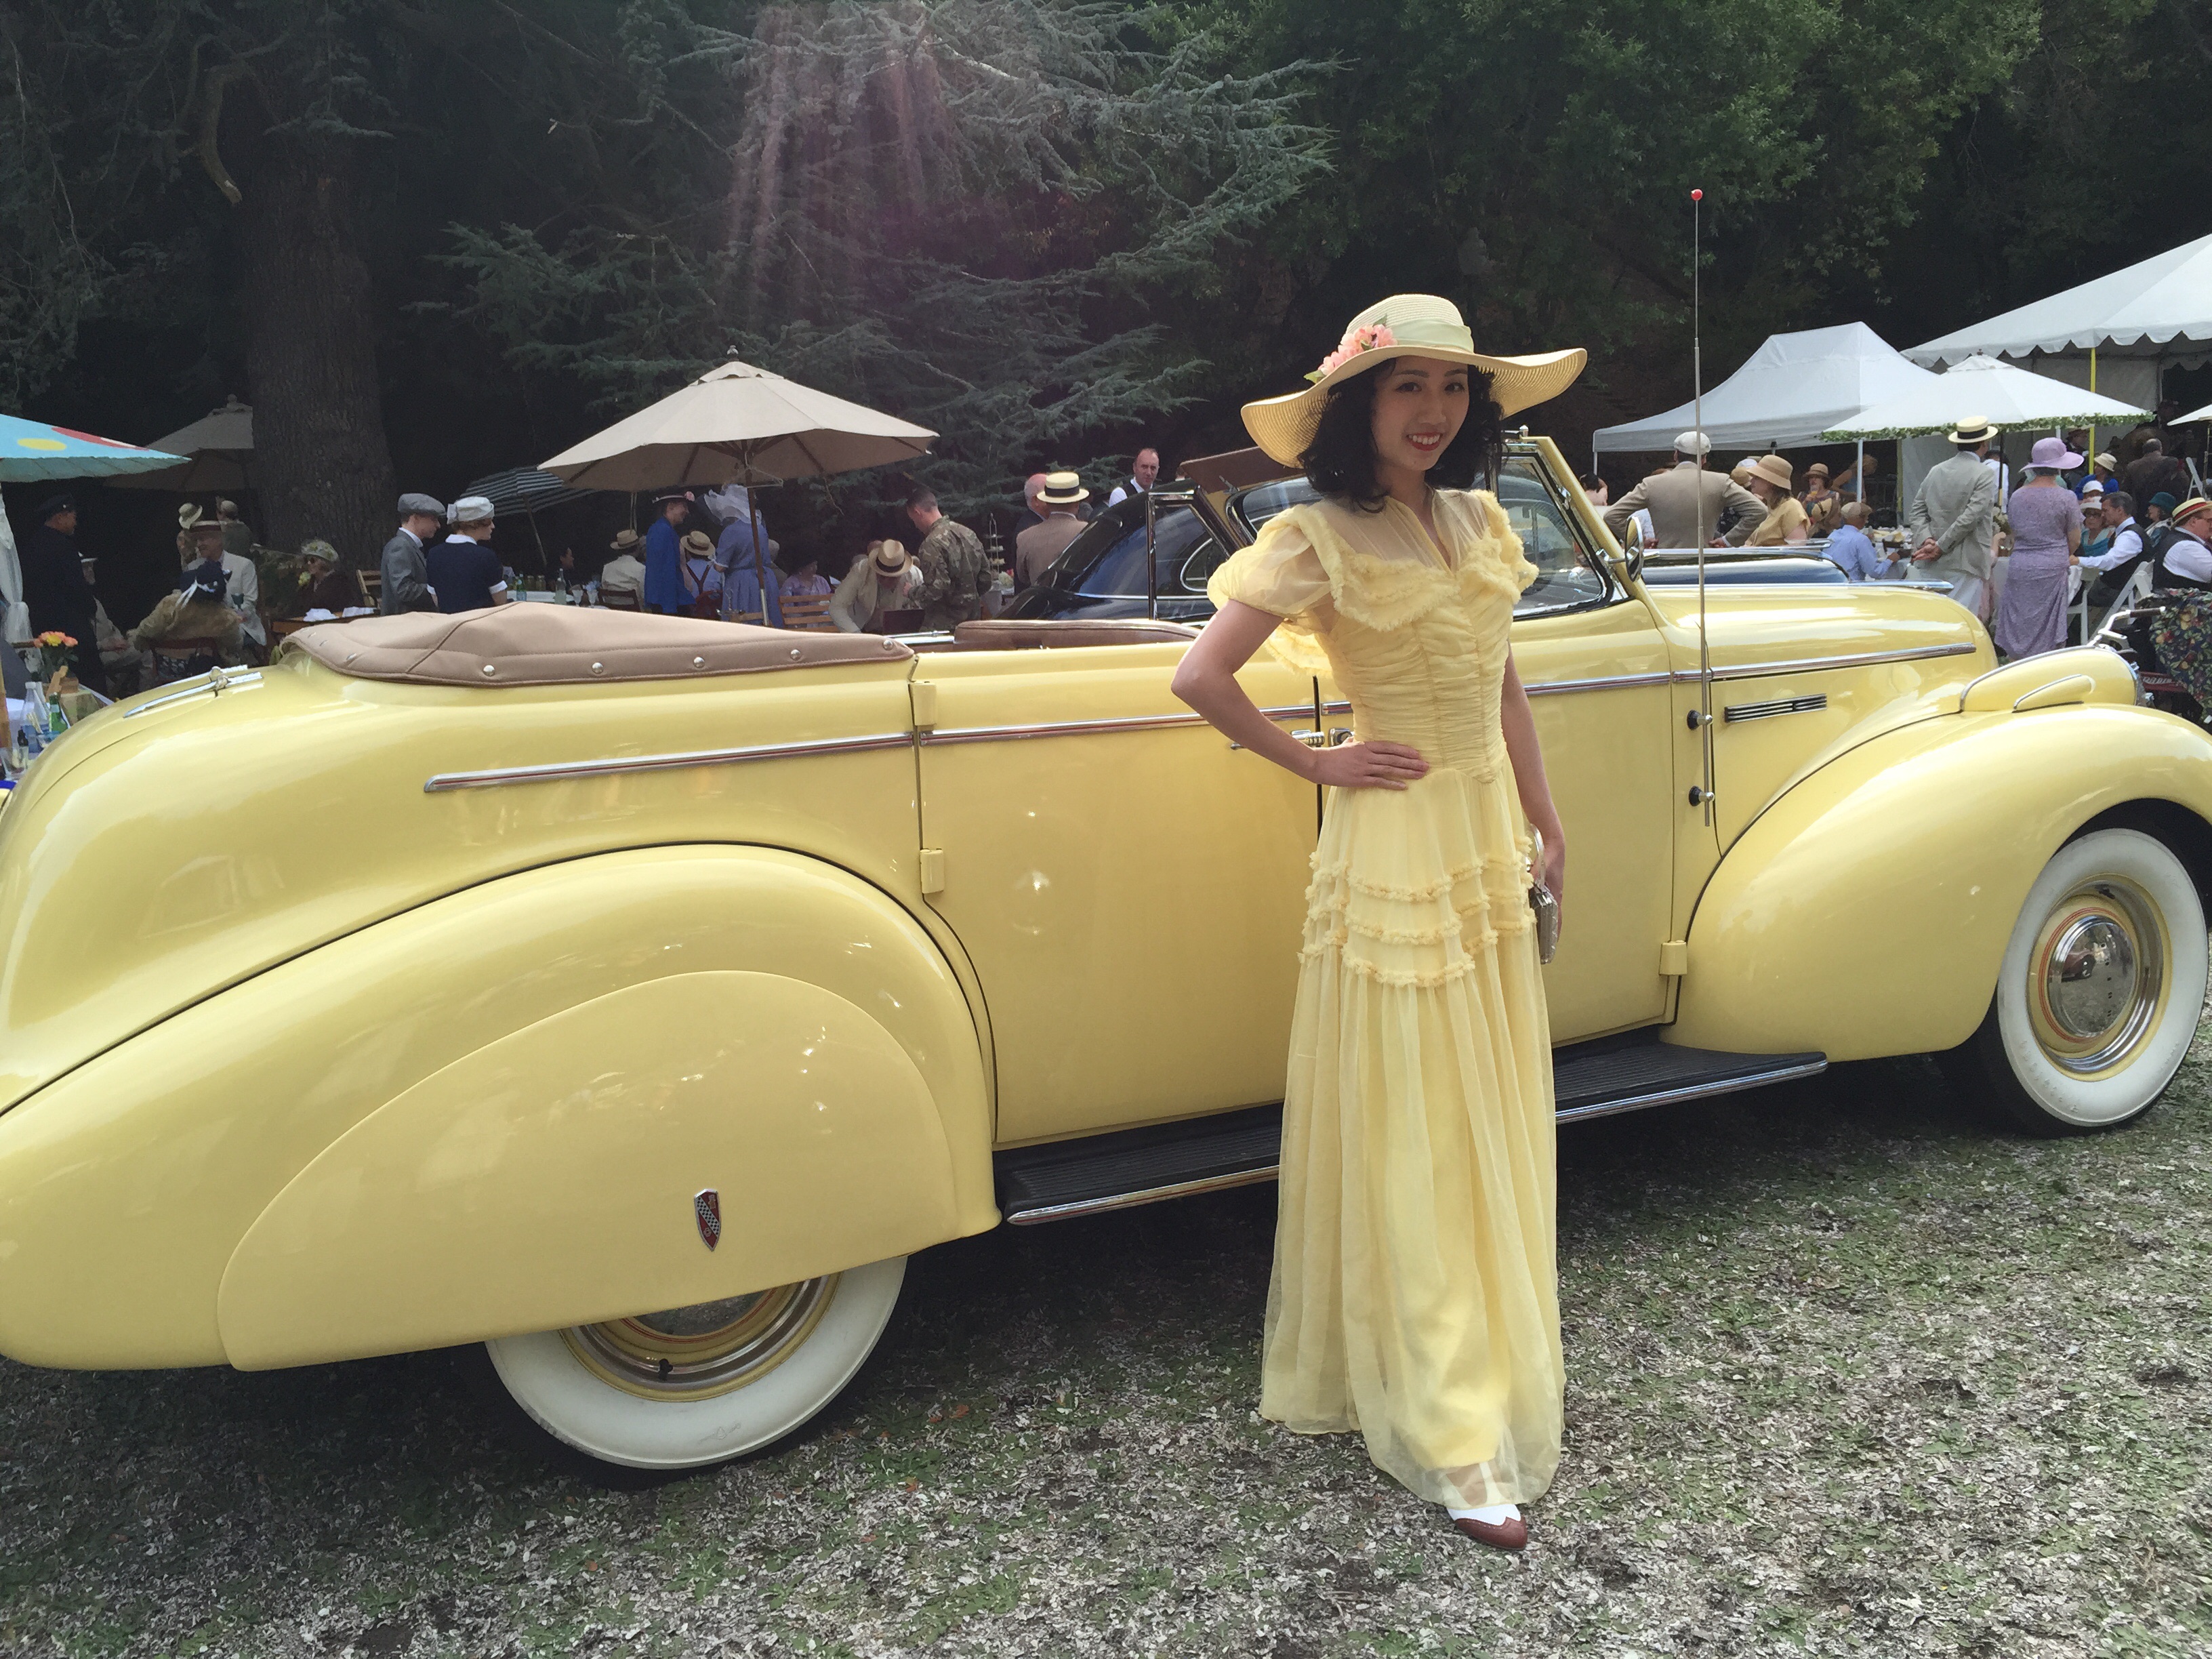
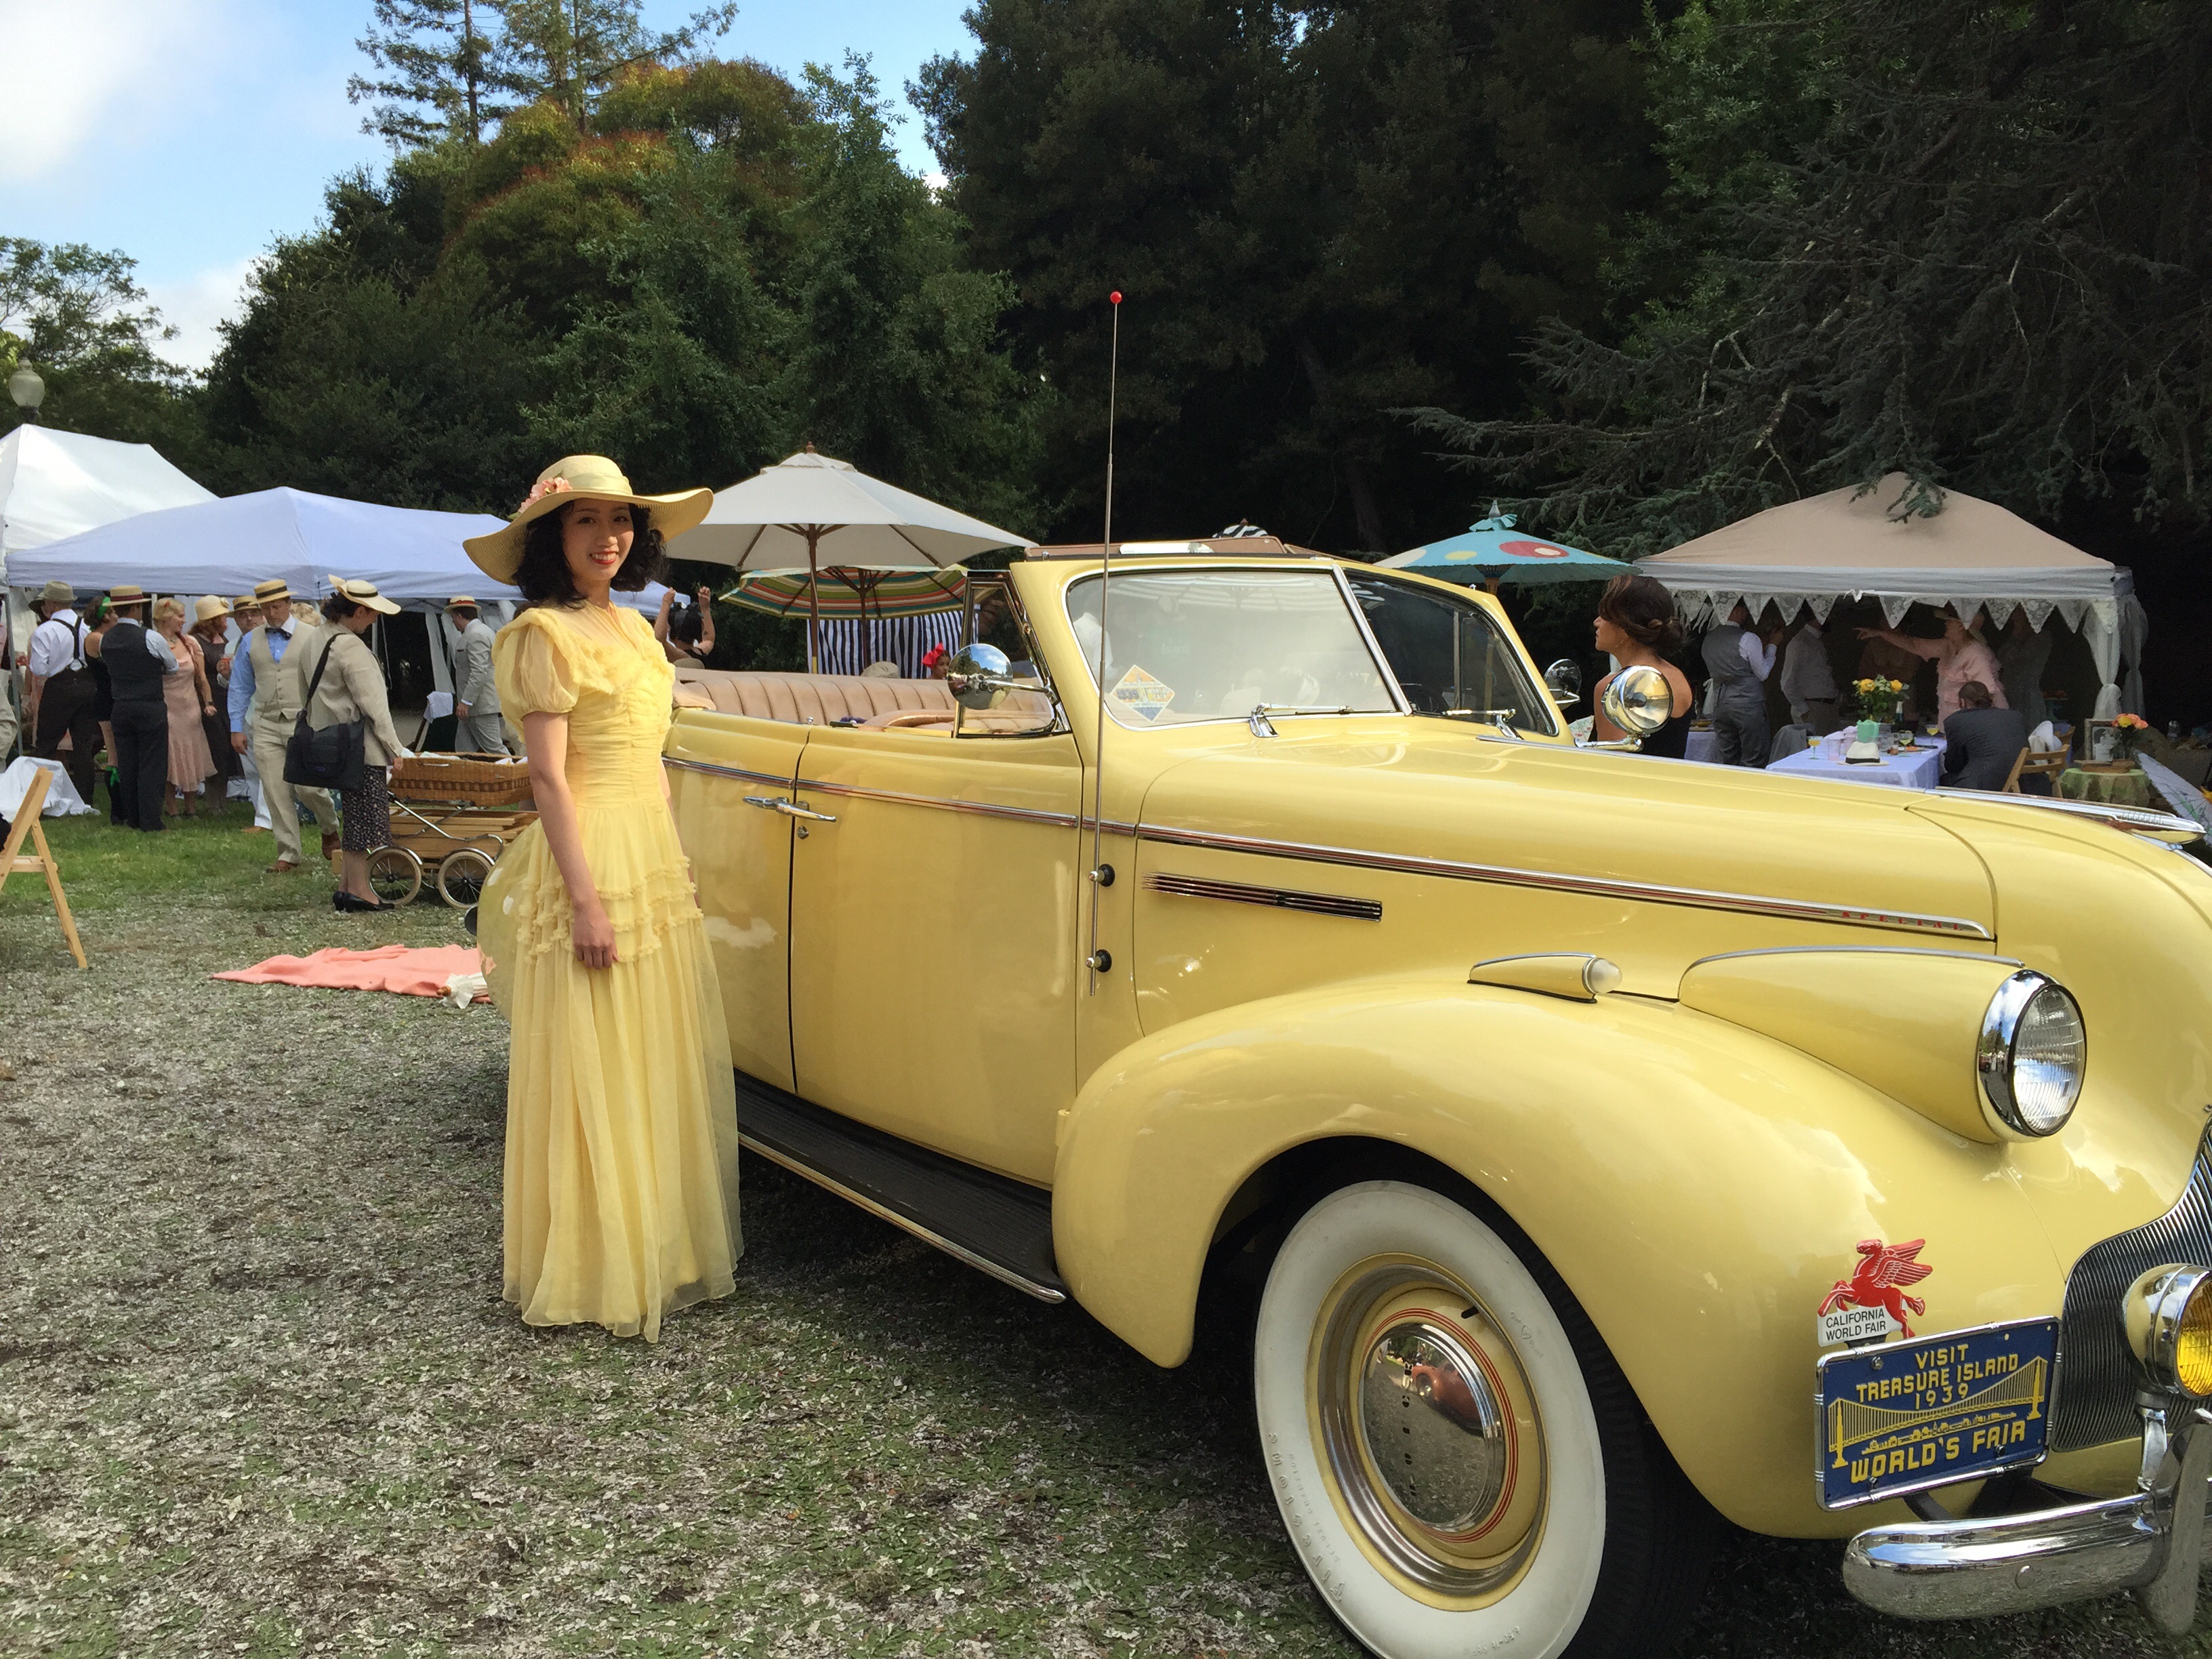
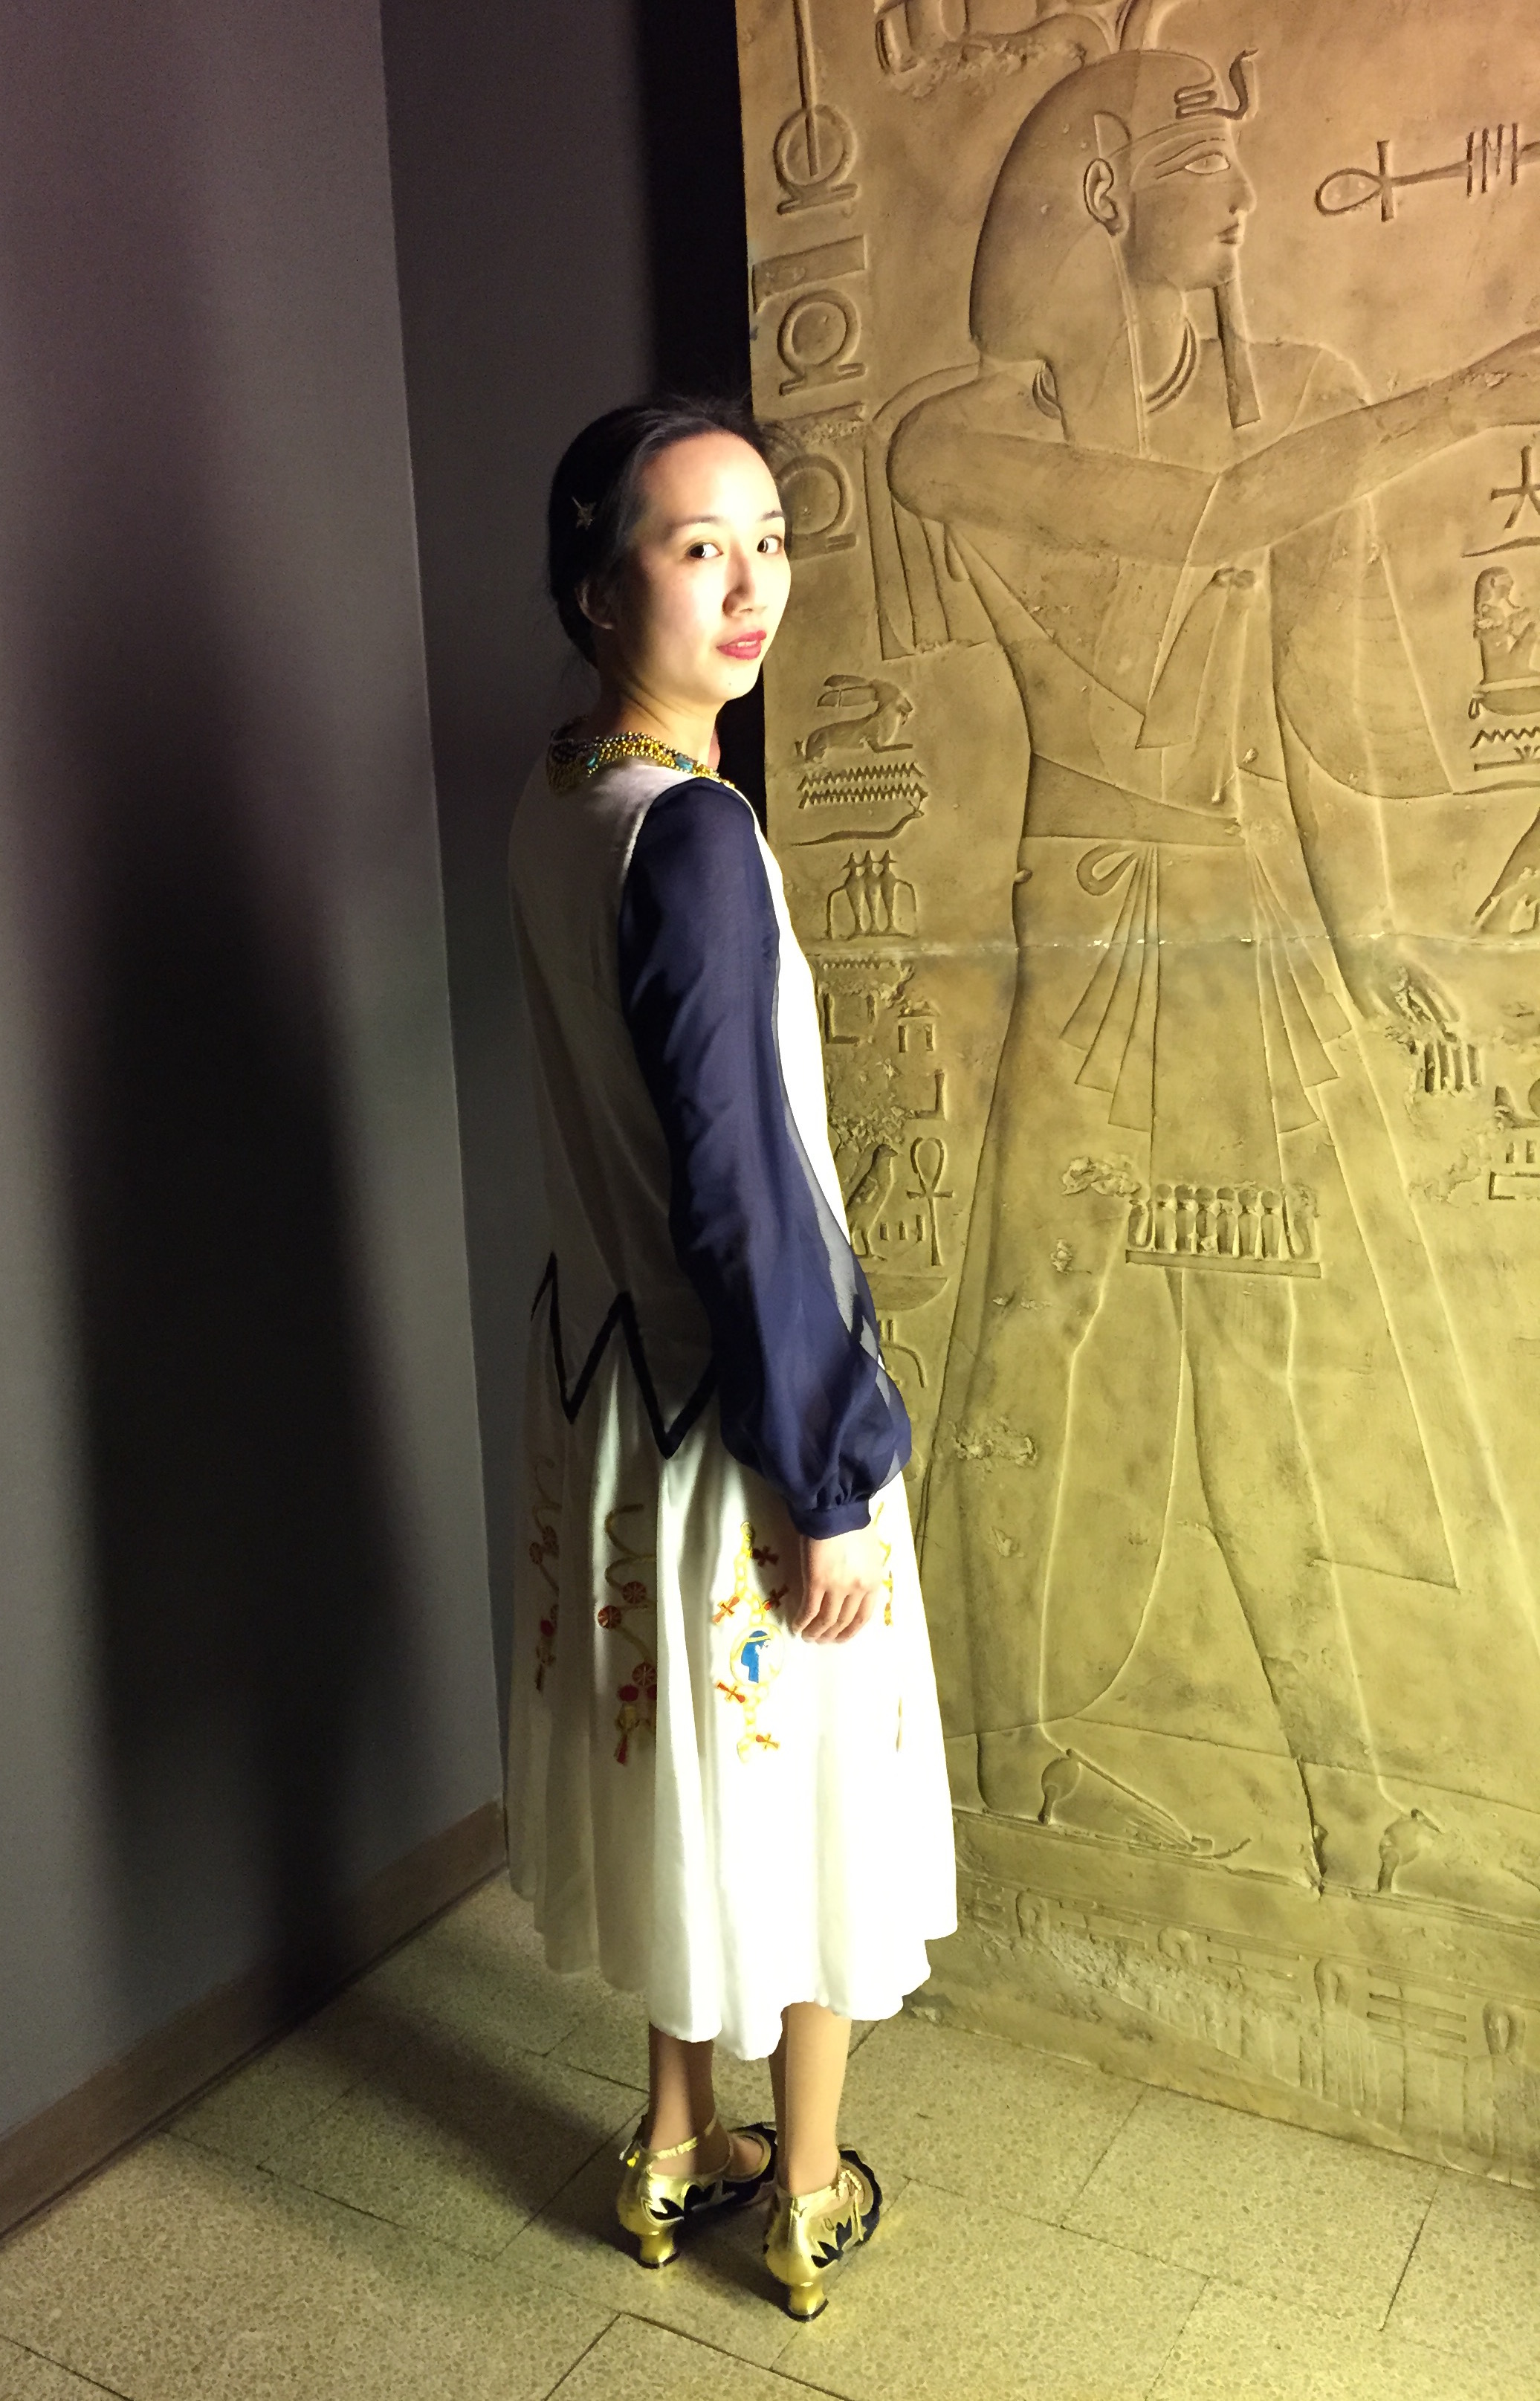
Art Deco (1920s/1930s)
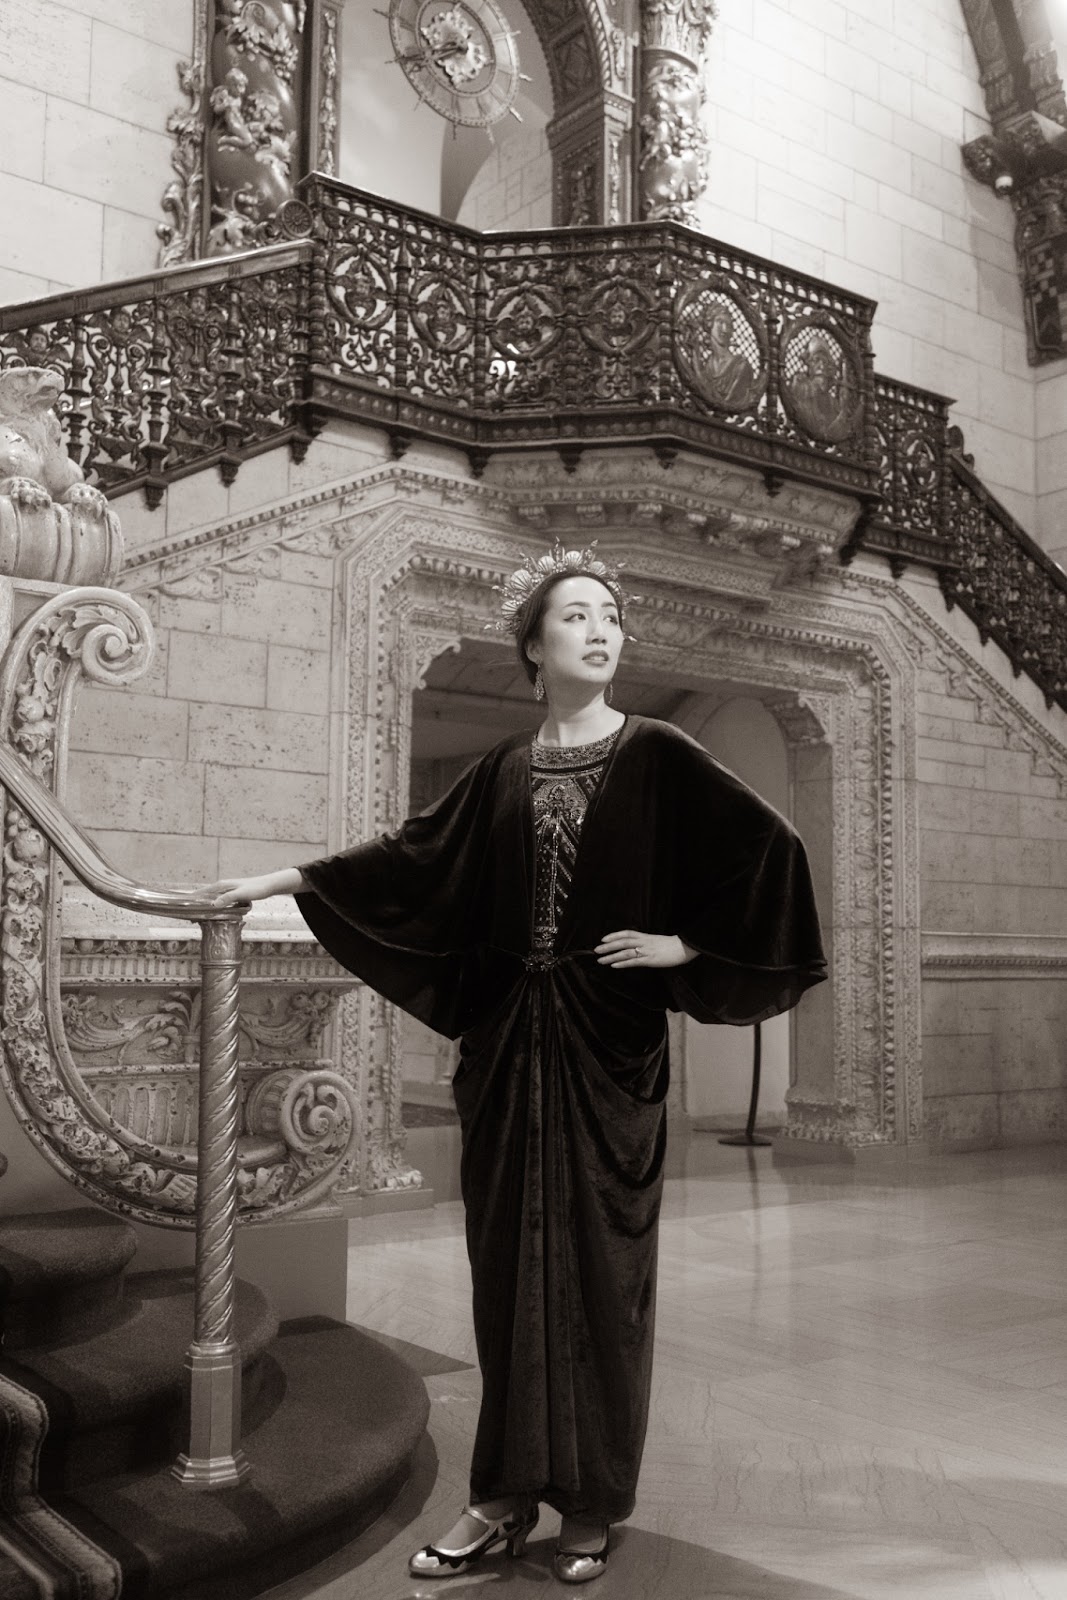
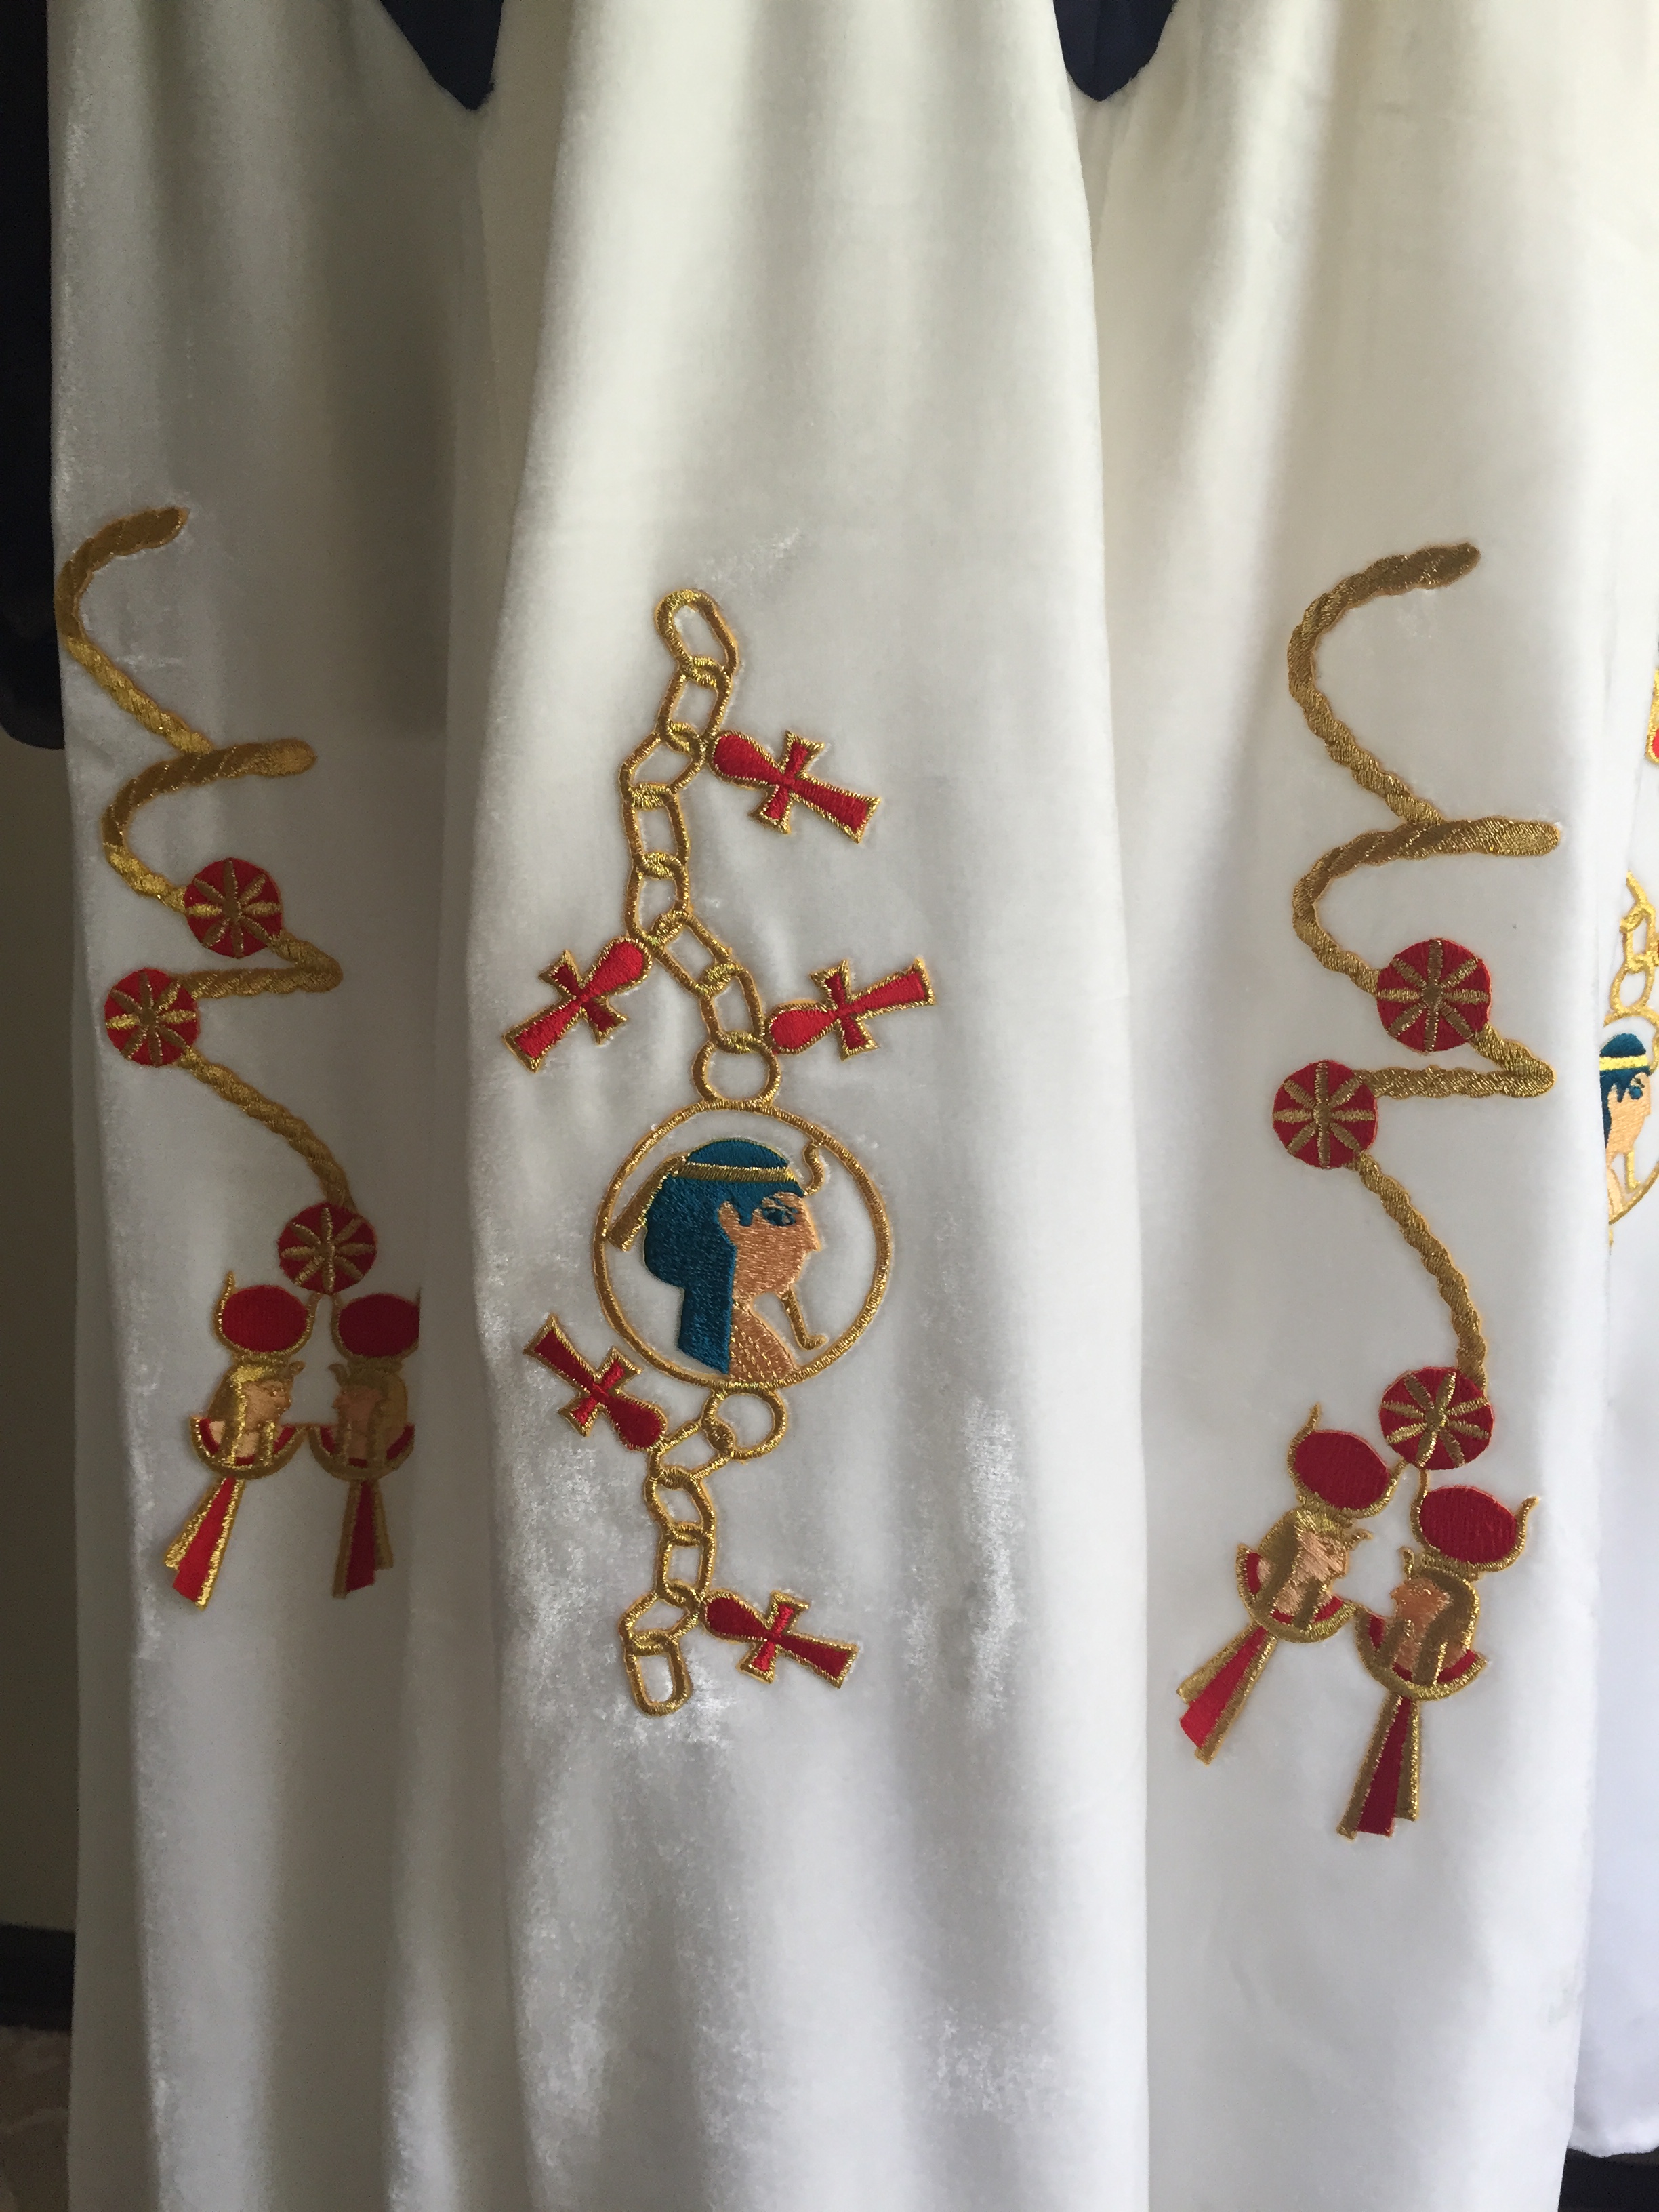
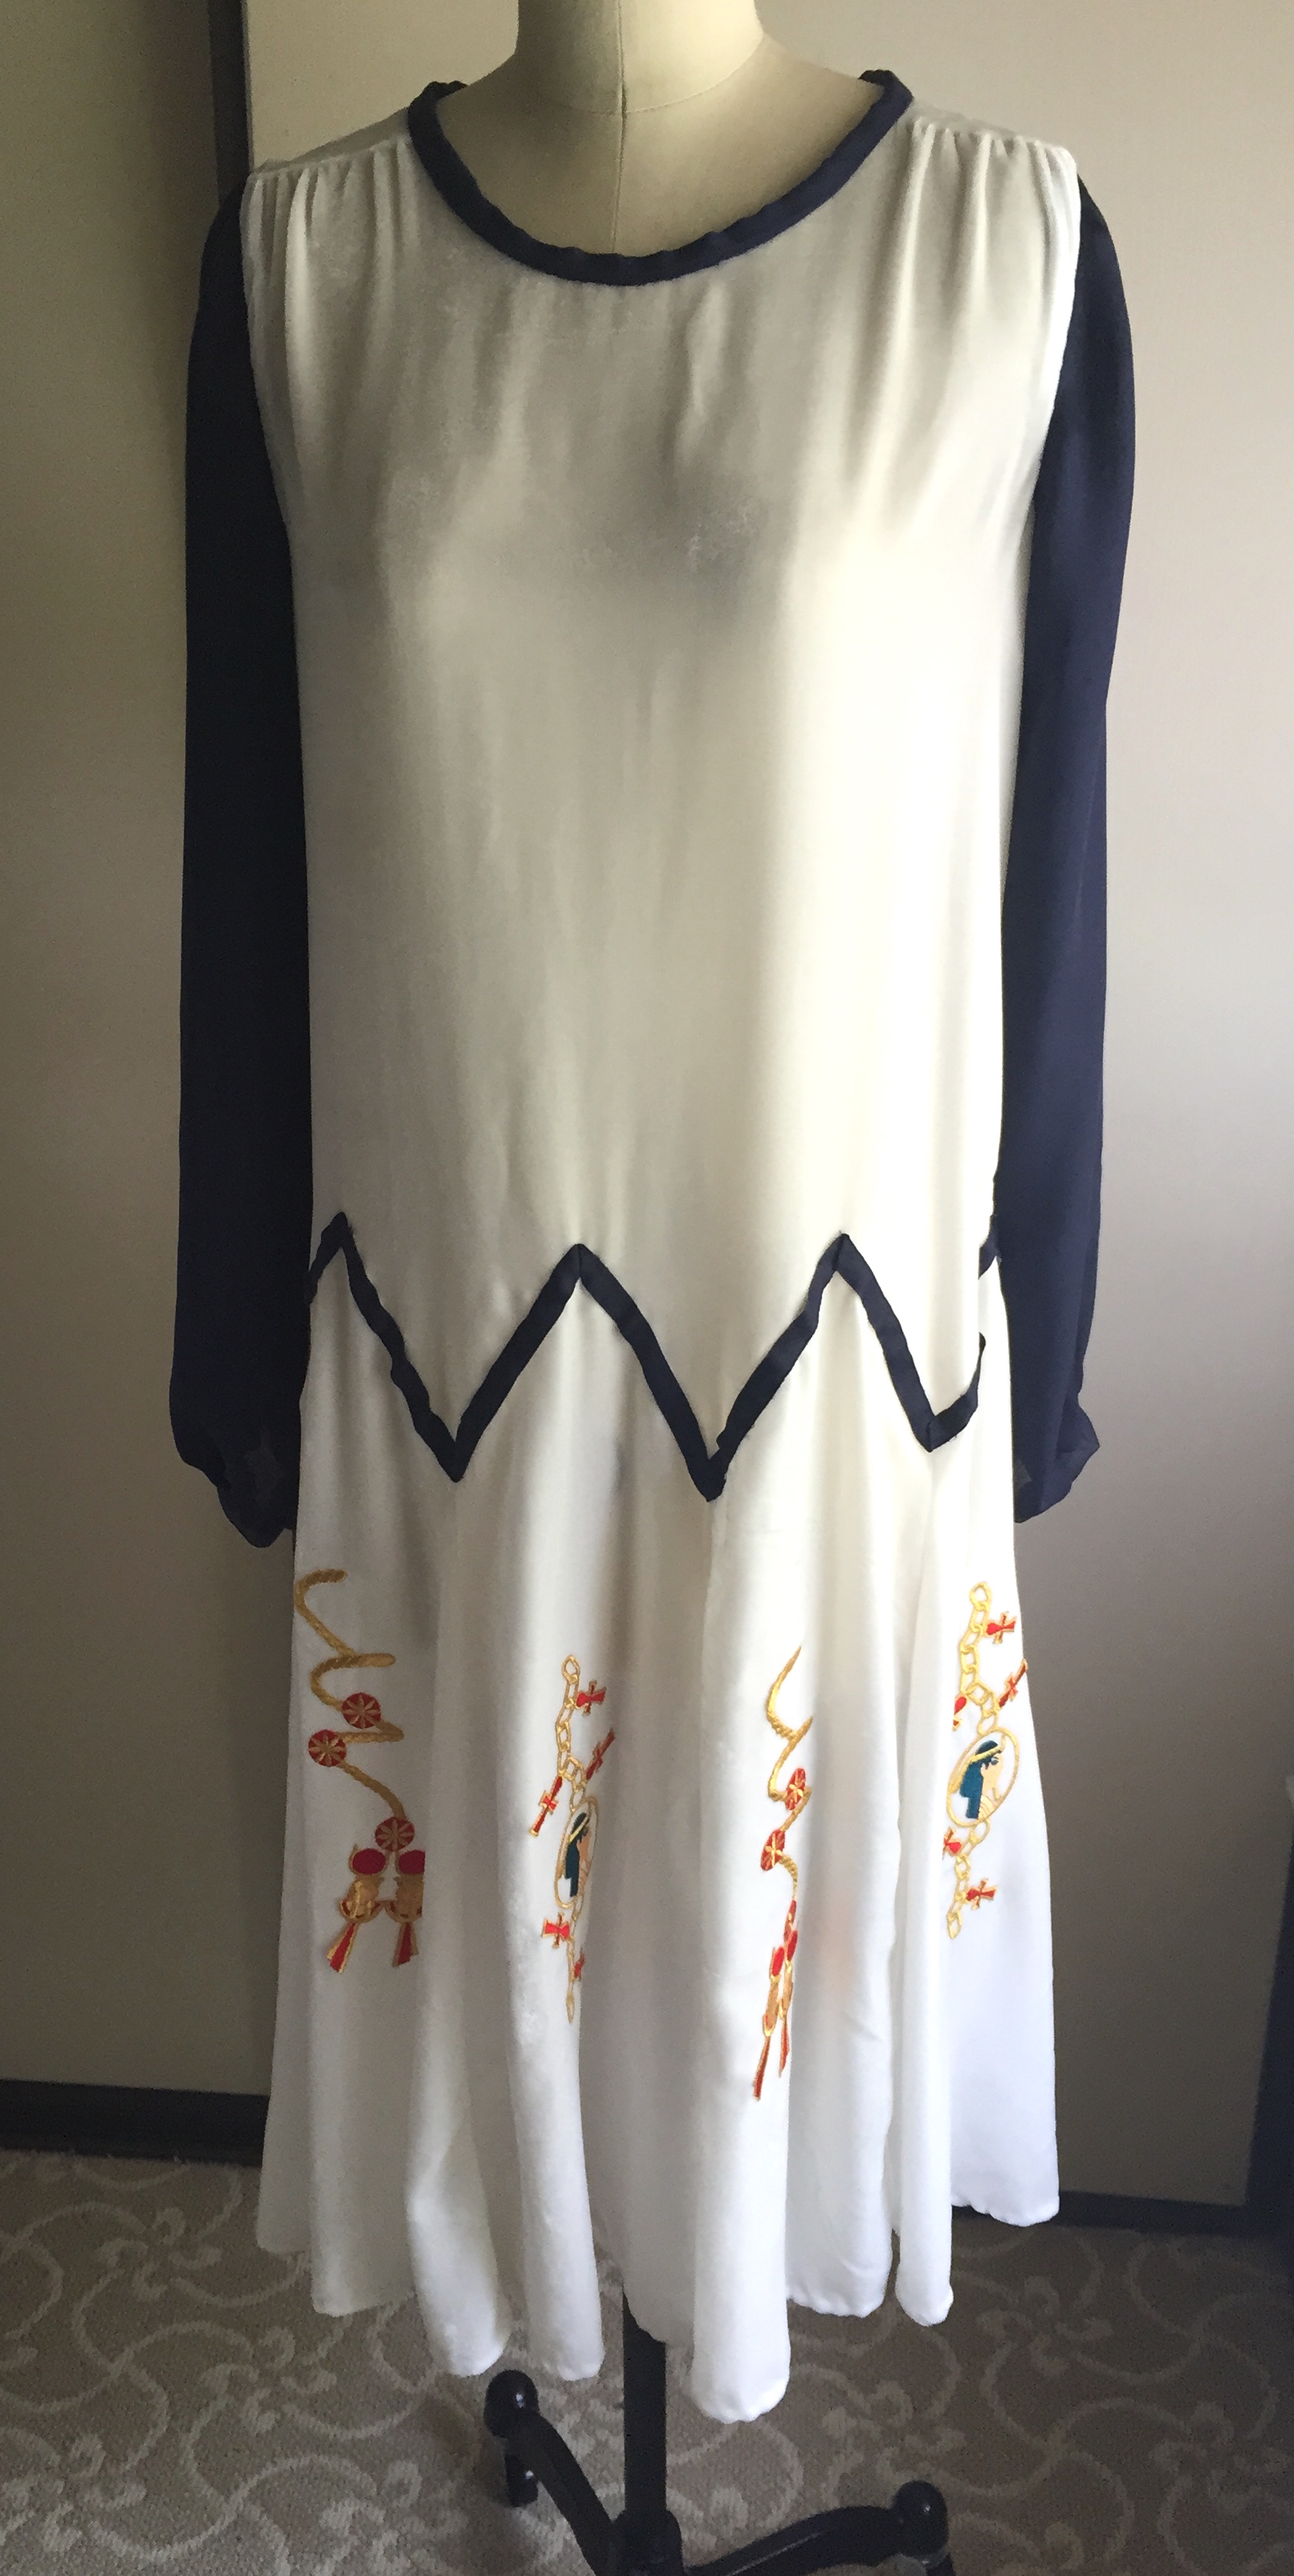
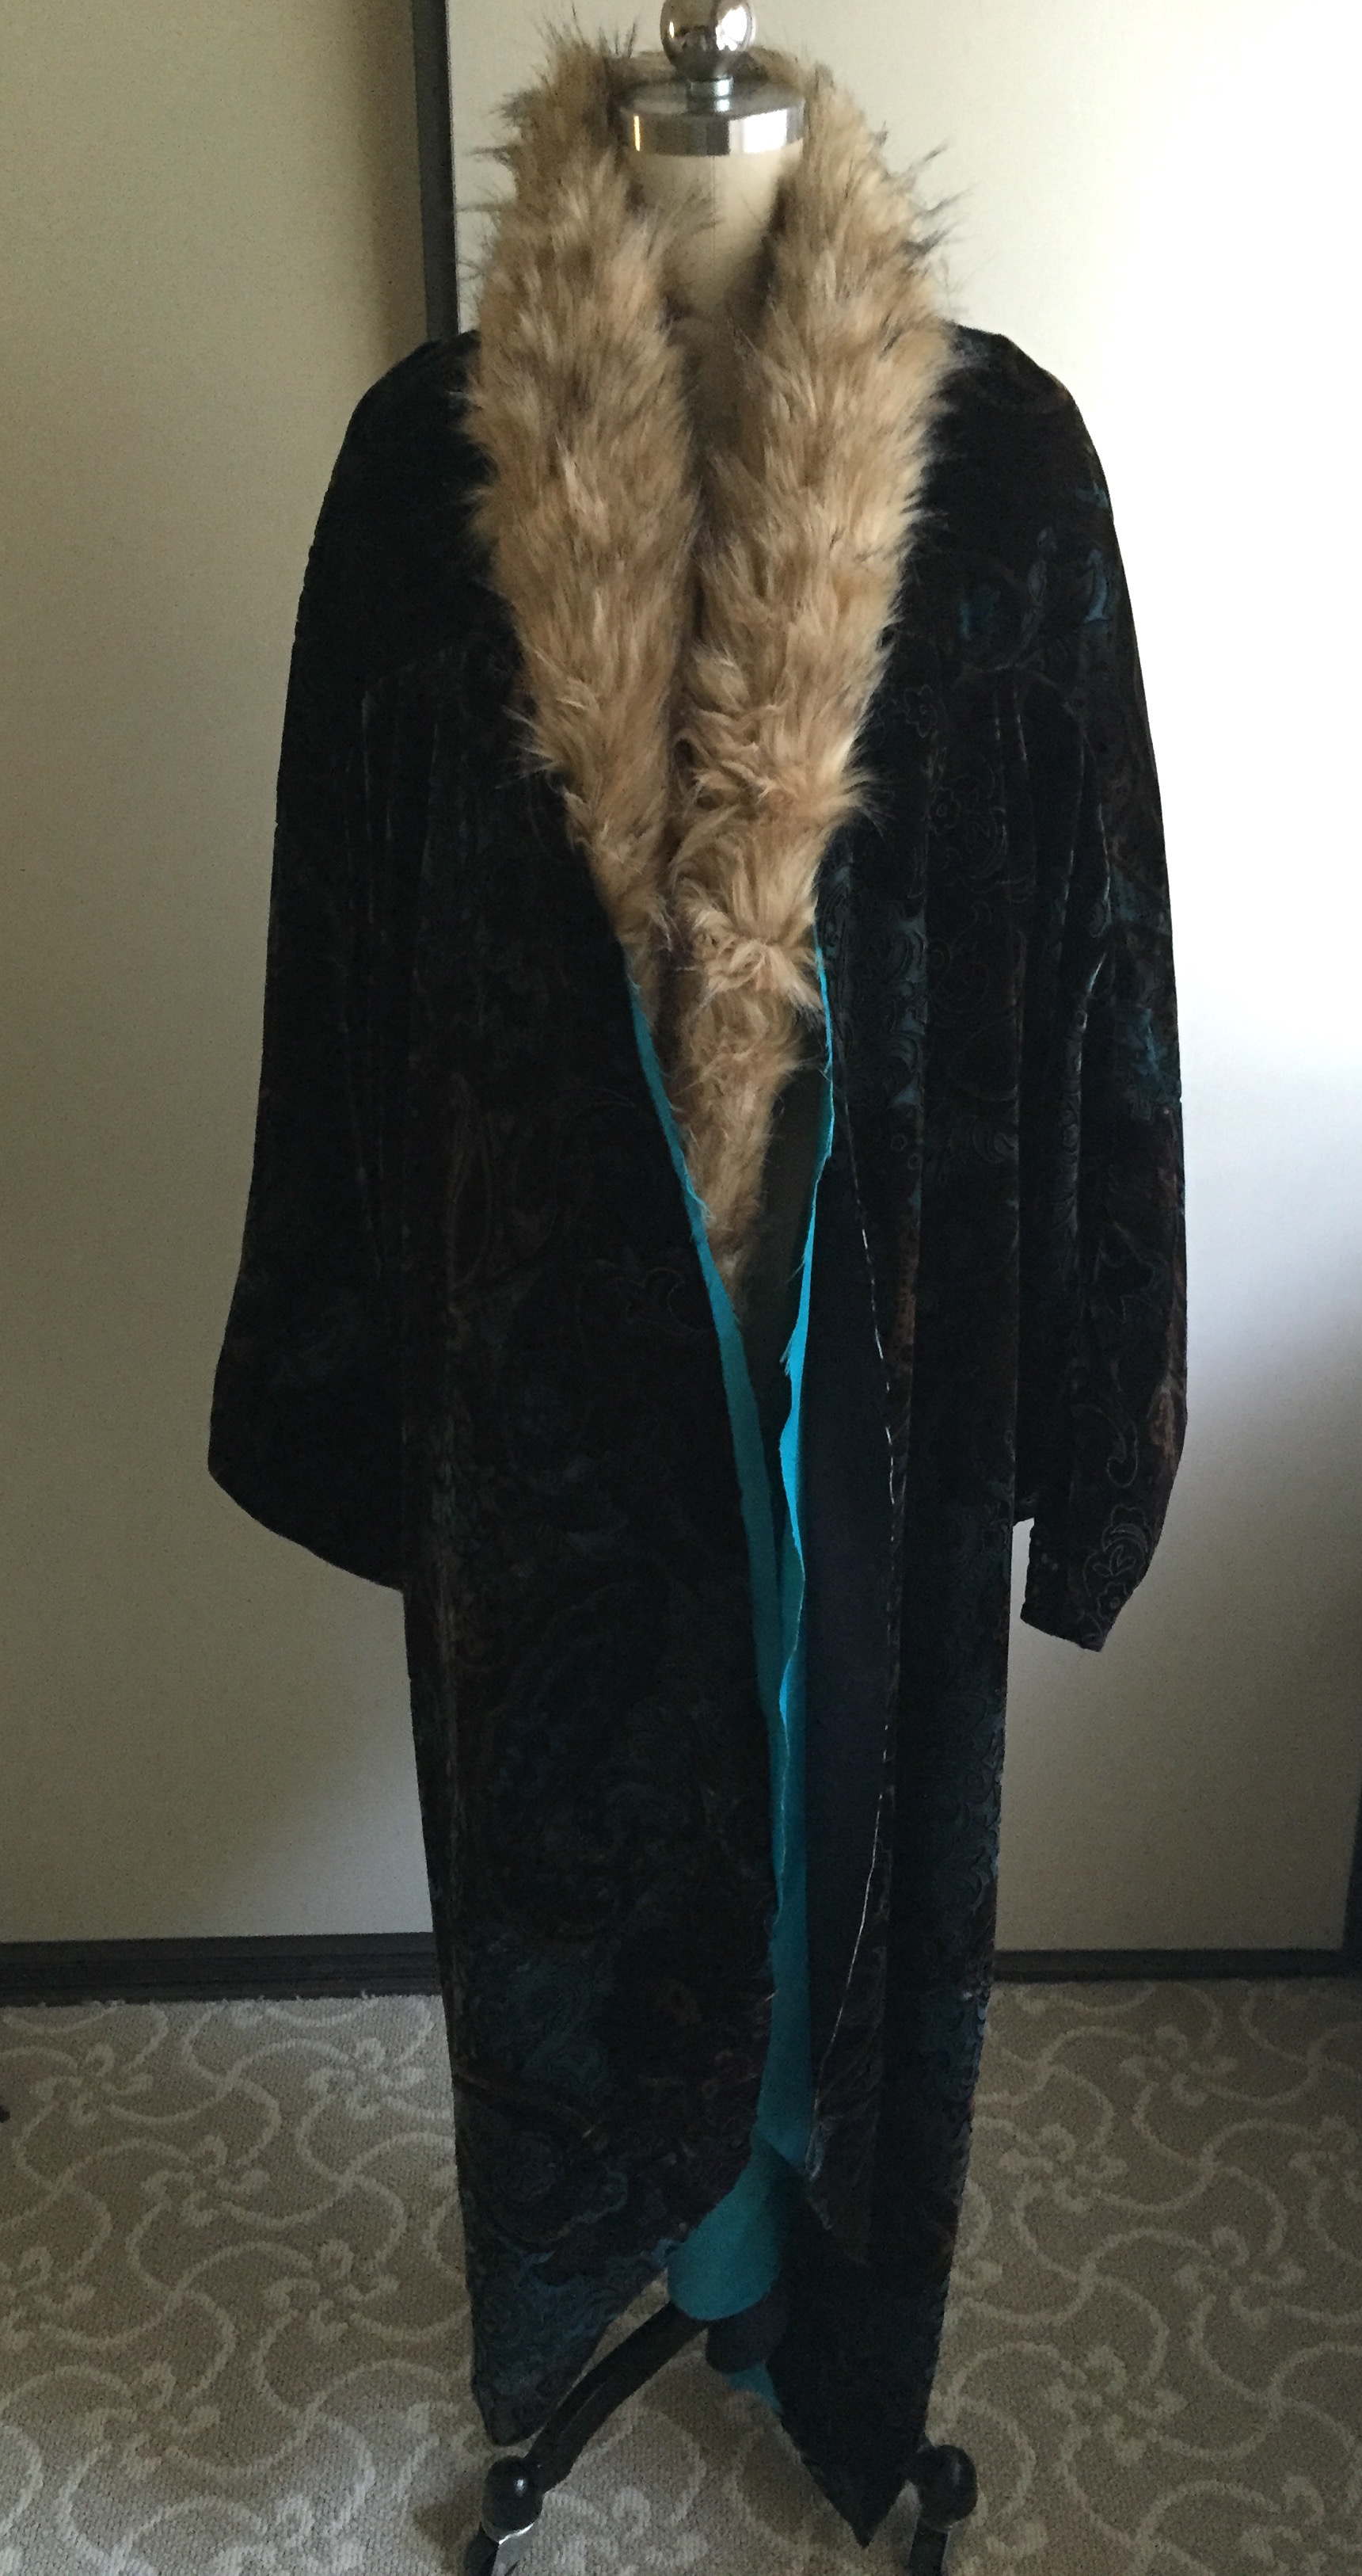
If you love Old Hollywood glamor or flapper dresses, the Art Deco era is for you! I own a number of 20s-inspired dresses, but my heart also lies with the long gowns of the 1930s. I do pull inspiration from each. This photo was taken at the historic Biltmore Hotel in LA by Jason Holmes Photography.
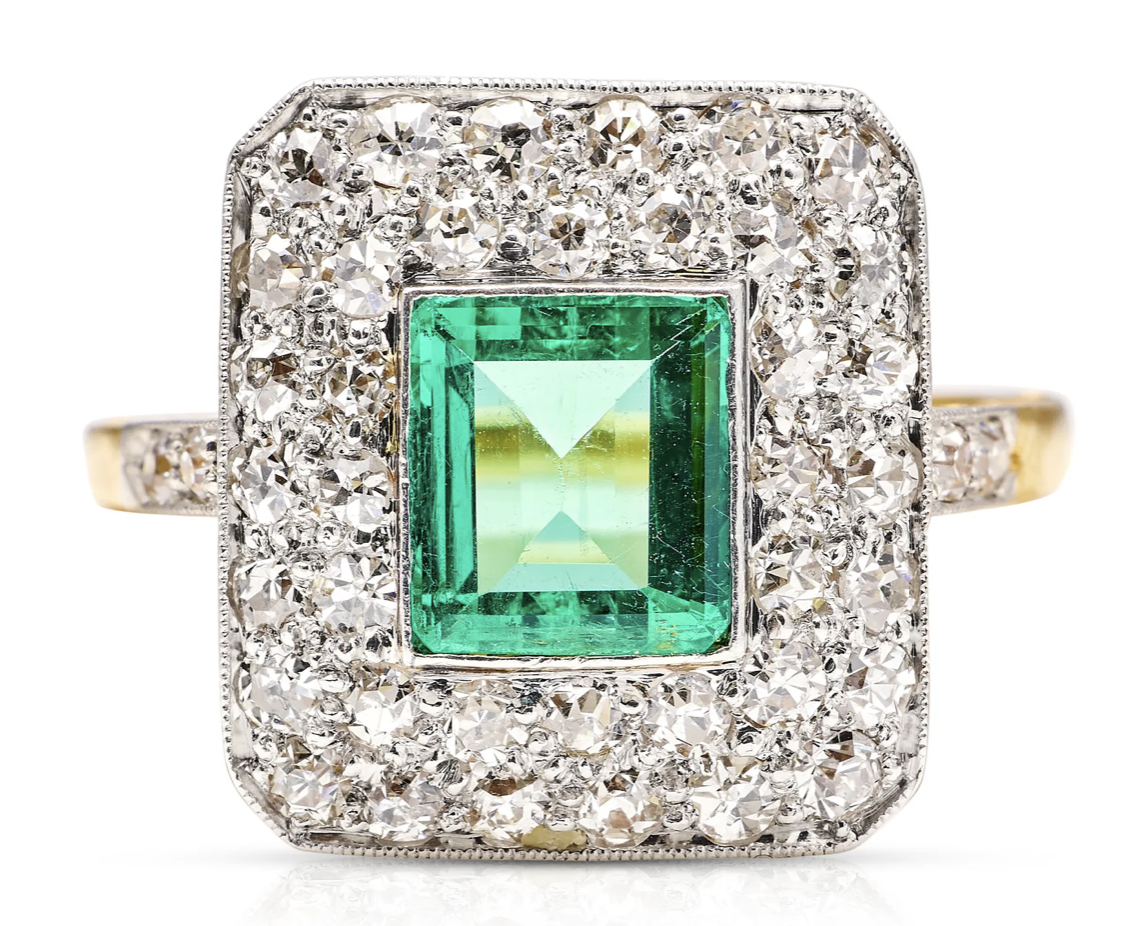
This Art Deco emerald and diamond ring is such a stunner!
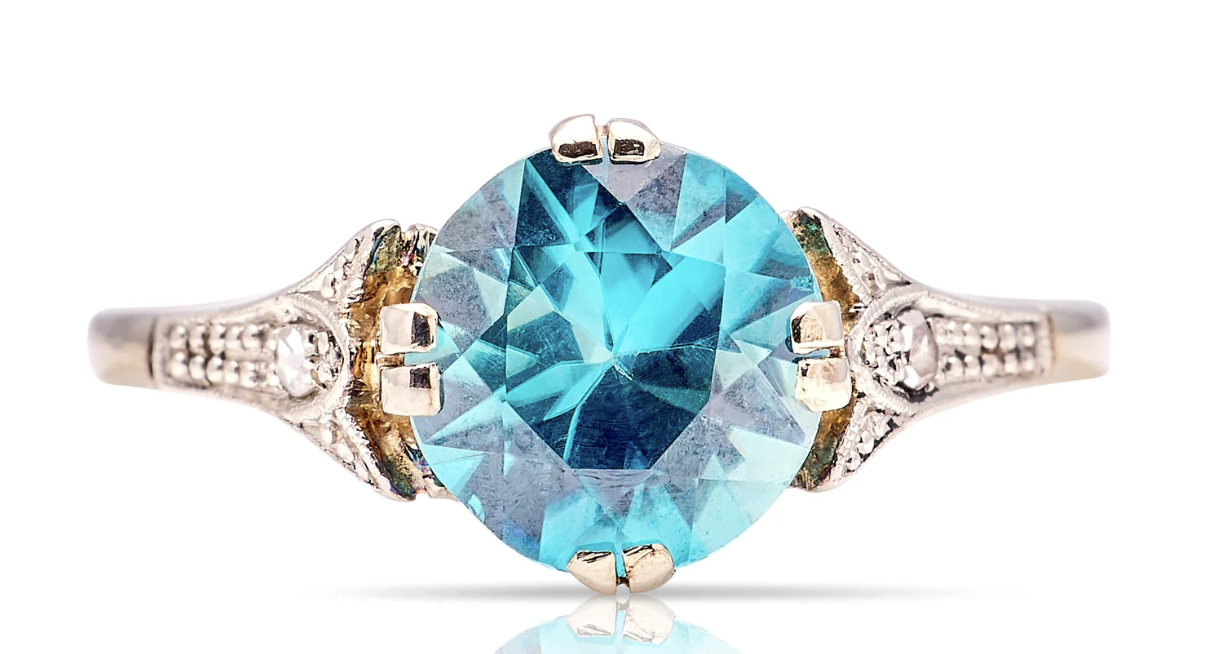
This blue zircon and diamond ring from about 1925 is such a pretty thing.
This Art Deco diamond cluster engagement ring reminds me of the Edwardian daisy cluster ring from earlier in thist post.

I hope you’ve enjoyed looking at these rings. If you have a favorite, either from the ones I’ve shown you or from the Antique Ring Boutique site, let me know! (Or you might let someone in your life know you deserve a sparkly treasure for the holidays).


 12-14-19")
