Tag Archives: vintage

Vintage-Style Purple Silk Satin Pajamas

I was in the mood to make something comfortable, yet luxurious for my last winter 2020 project. March may be a little late to document my last finished project of 2020 but I had a bit of of backlog to get through. My next post will be the 2020 Costuming Year in Review (finally!)

IMG_4678

I used the Wearing History 1930s day or evening blouse for the top. (I previously used the short sleeve version of the pattern for the my floral blouse). For the bottoms I used the Gertie Harlow Pajamas pattern.

IMG_4658

To make the Wearing History pattern suitable for PJs you’ll want to cut a larger size so that it is loose. I also cut the bottom of the sleeves a little wider. (In the original you have tapered sleeves and buttons at the cuffs and I didn’t want that for PJs). I didn’t have any buttons that were right so I used snap closures. (In the original pattern the front closes with a placket and hooks and eyes, so you’ll want to add a little extra fabric for the overlap if you use buttons or snaps). I also added some black lace appliqués to the shoulders.

IMG_4589

I purchased 4 yards of 53″ wide purple silk satin and had enough left over to cut out a camisole and still have a large remnant piece. I bought the satin on eBay but the last time I checked the seller seems to not be around anymore.

I wore black bedroom slippers with a big fuzzy pompom for a fun touch. IMG_4695

This was a fun project to round out 2020. It was nice to have something that was both glamorous and comfortable!

1930s Floral Blouse and Sporty Shorts

1930s Floral Blouse and Sporty Shorts

It’s not a secret I love the 1930s, and my usual daily uniform consists of a buttoned vintage-style blouse, high-waisted pants, and a cardigan. I originally purchased the Wearing History 1930s Day or Evening pattern intending to make solid-colored, long-sleeved, long-peplumed blouse for a fall outfit, but decided to start with the short-sleeved, short-peplumed version.

The fabric I used is a Liberty of London print that was a holiday gift. It’s a modern print with flowers and strawberries but I thought suited the 1930s pattern very well. The green buttons, chartreuse grosgrain ribbon, and white buckle were all vintage.

I did modify the pattern to allow for buttons since that’s my favorite style of blouse. The original pattern has 2 closure options for the center front: a hidden placket with snaps, or button loops and buttons. This means if you use the pattern as-is, your right and left fronts will meet in the center. If you decide to modify the pattern to have buttonholes, you need to take account adding enough ease in your fabric to allow for the overlap. You don’t need to change any other pattern pieces. Please also note that if you like the center bow in the stock images, using the pattern as-is may be a better choice.

My shoes are from American Duchess. The hat is an 18th century straw bergere that I trimmed with flowers and ribbon. The purse is a crocheted 1930s reproduction.

Another small modification I made was to take the shoulders in slightly. This is not an issue with how the pattern is drafted; I have narrow shoulders so that is a change I normally make for many patterns. The other consideration is that strong shoulders are historically appropriate for 1930s and 1940s blouses, but can be overwhelming on my smaller frame. I cut out the blouse and sleeves as directed, but at the attachment point I took a larger seam allowance in the upper half of the armscye. This allows for a slight reduction in both the bodice and sleeve without the need to redraft.

I paired this blouse with a some sporty shorts I made out of a white pique fabric. I made the shorts with the same pattern hack I used to make my plaid shorts: I used the upper portion of the pants of the Decades of Style 1930s Last Resort Beach PJs pattern I used for my own set then added a waistband.

There is an invisible zipper down the center back seam and a hook and bar at the waistband. The bottoms are finished with simple turned up hems.

I’m happy to add this 1930s blouse to my wardrobe and to recommend this pattern!

Gatsby Summer Afternoon 2018 Picnic

(Hi everyone! Sorry I’m a bit behind on blogging because I’ve had to limit my computer time due to a hand injury, so posts are written slowly, bit by bit. I haven’t forgotten that I need to give details of my Crimson Peak outfit, and I have posts planned for my Gibson Girl project!)

Last month I went to the annual Gatsby Summer Afternoon at the Dunsmuir House in Oakland, CA. It went by so quickly I didn’t take a lot of pictures this year but I’ll share the ones I have!

Here I am with Kelsey (in 1930s sportswear) and Natalie (in a self-made dress using vintage fabric).IMG_1943

My dress is vintage, but actually 1970s vintage that happens to look like a 1930s dress! (Although the colors, cut, and print are correct for the time period I could tell it wasn’t really 1930s because of the label inside the dress, and because the brown trim is serging instead of piping). It was apparently quite convincing, because I was a finalist in the fashion contest!IMG_1896

You can barely see them but I am wearing Gibsons from American Duchess, an 18th century straw bergere that I trimmed, and vintage Bakelite and cut steel bangles.IMG_1878

I considered a few other pairs of shoes but ultimately chose the ones in the middle.IMG_1828.JPG

We might have gotten a little rowdy at some point. Kelsey found a croquet mallet that matched her outfit perfectly and decided to menace Mena with it.IMG_1951

As always there were vintage cars!IMG_1971

Thank you John Carey of these following photos of me with the other Vintage Style Council gals!41497323_1687158268078098_3411786410644996096_o41572276_1687159128078012_7237750721100120064_o

I had a lovely time as always. See you there next year!

Vintage-Inspired Star Wars First Order/General Hux Costume

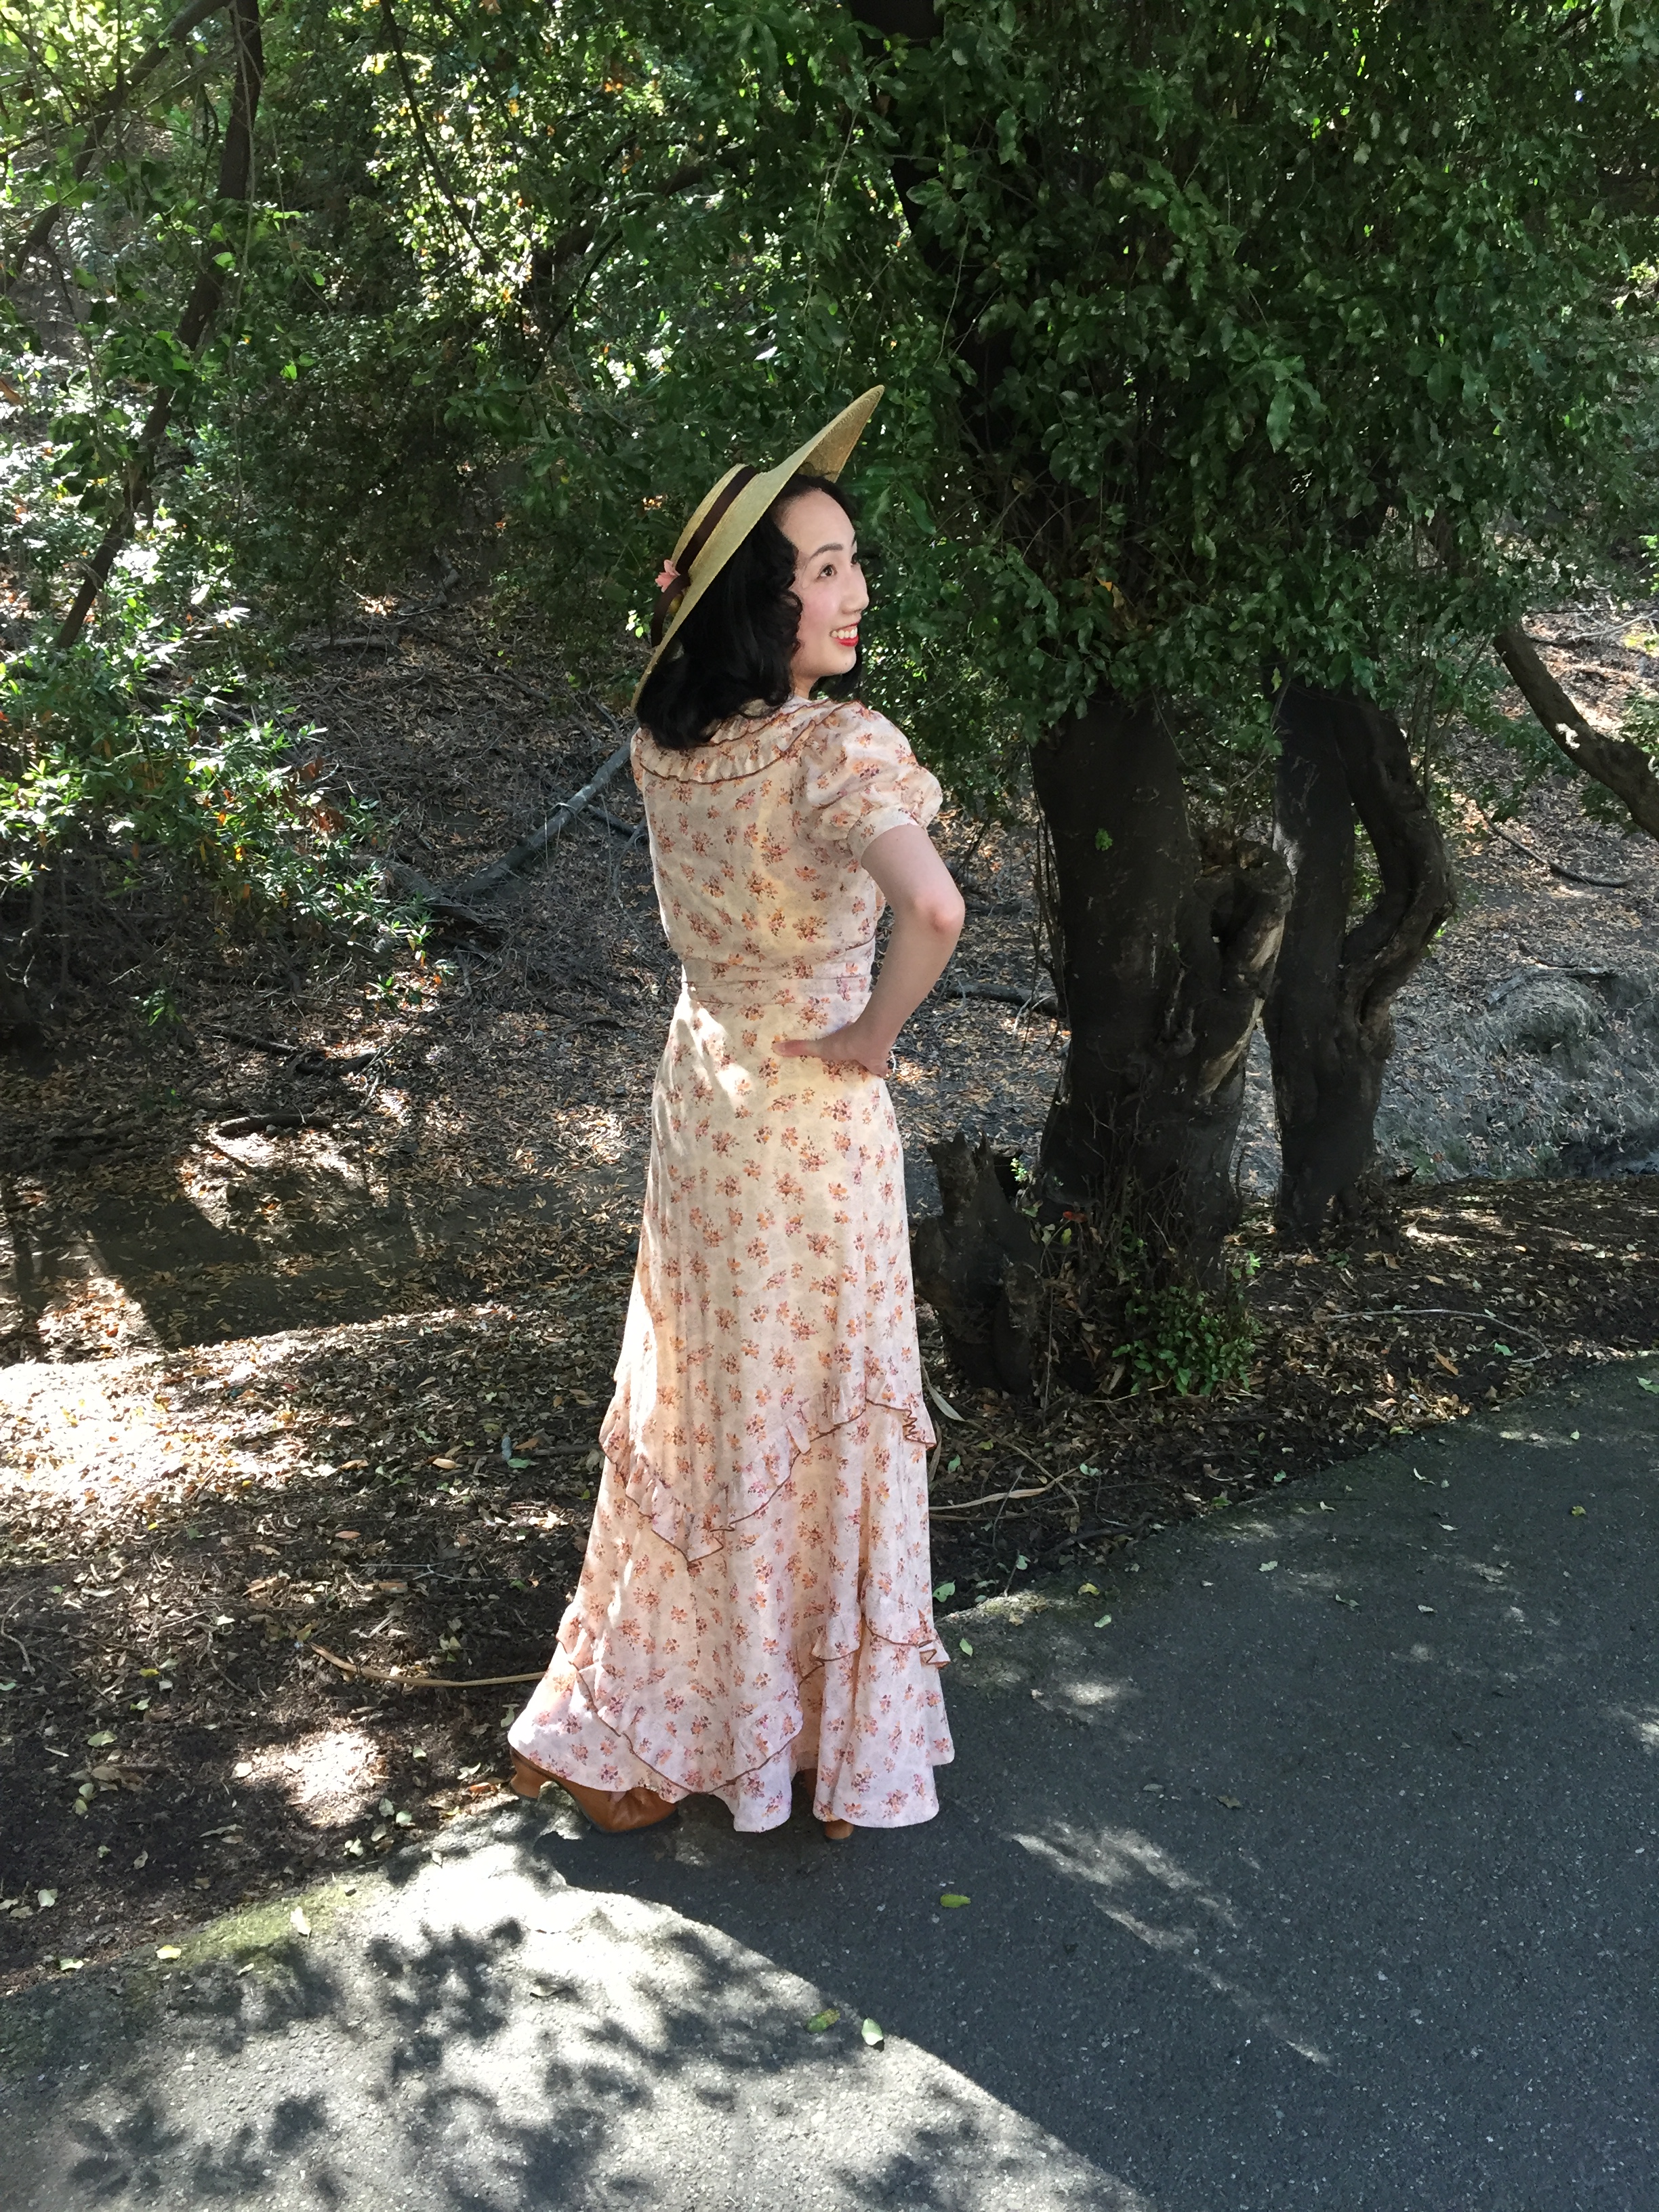
Recently I went to a themed party wearing a General Hux First Order costume with vintage styling. I had a lot of fun putting together this outfit and pretending to be sinister. Want this look? I’ve got links to all the accessories and base dress in this post.YAFE4962

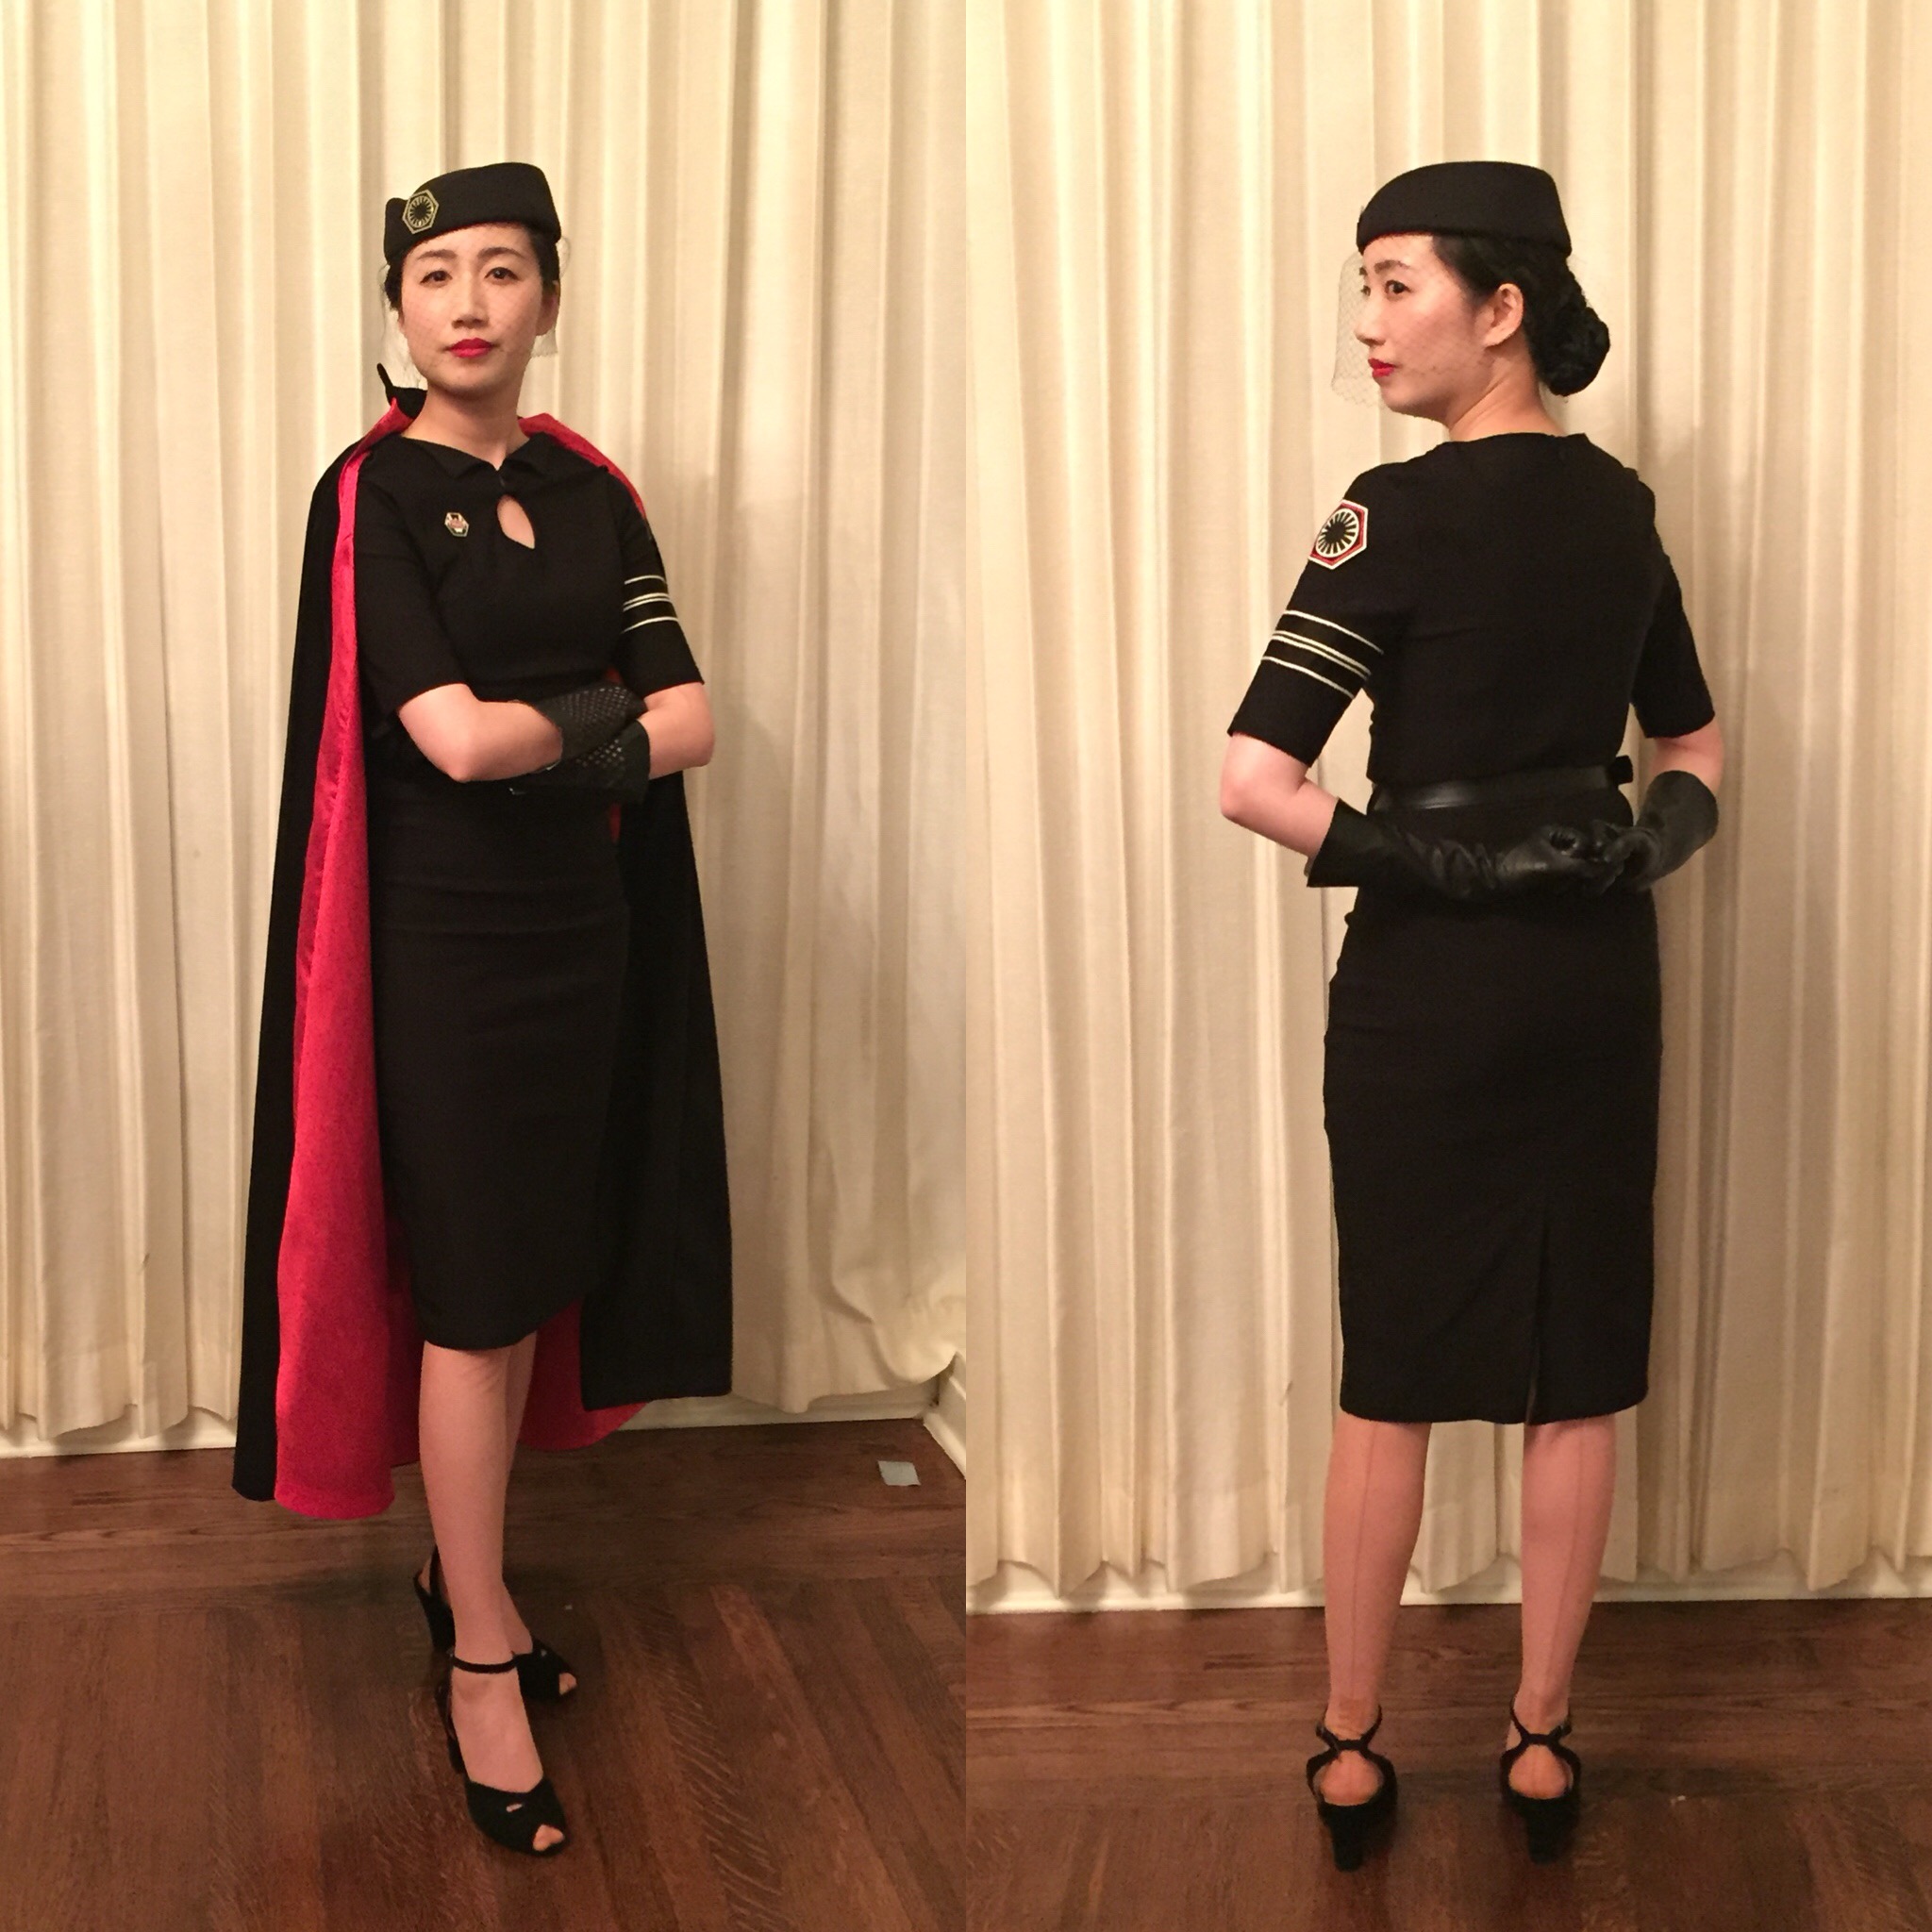
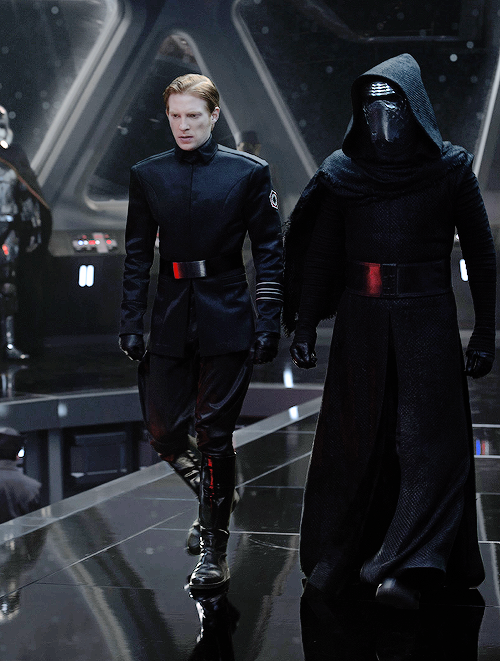
General Hux wears a tunic and greatcoat with First order emblems and armbands signifying his rank, as well as a funny little hat with a metal emblem.IMG_8926IMG_8927IMG_8928

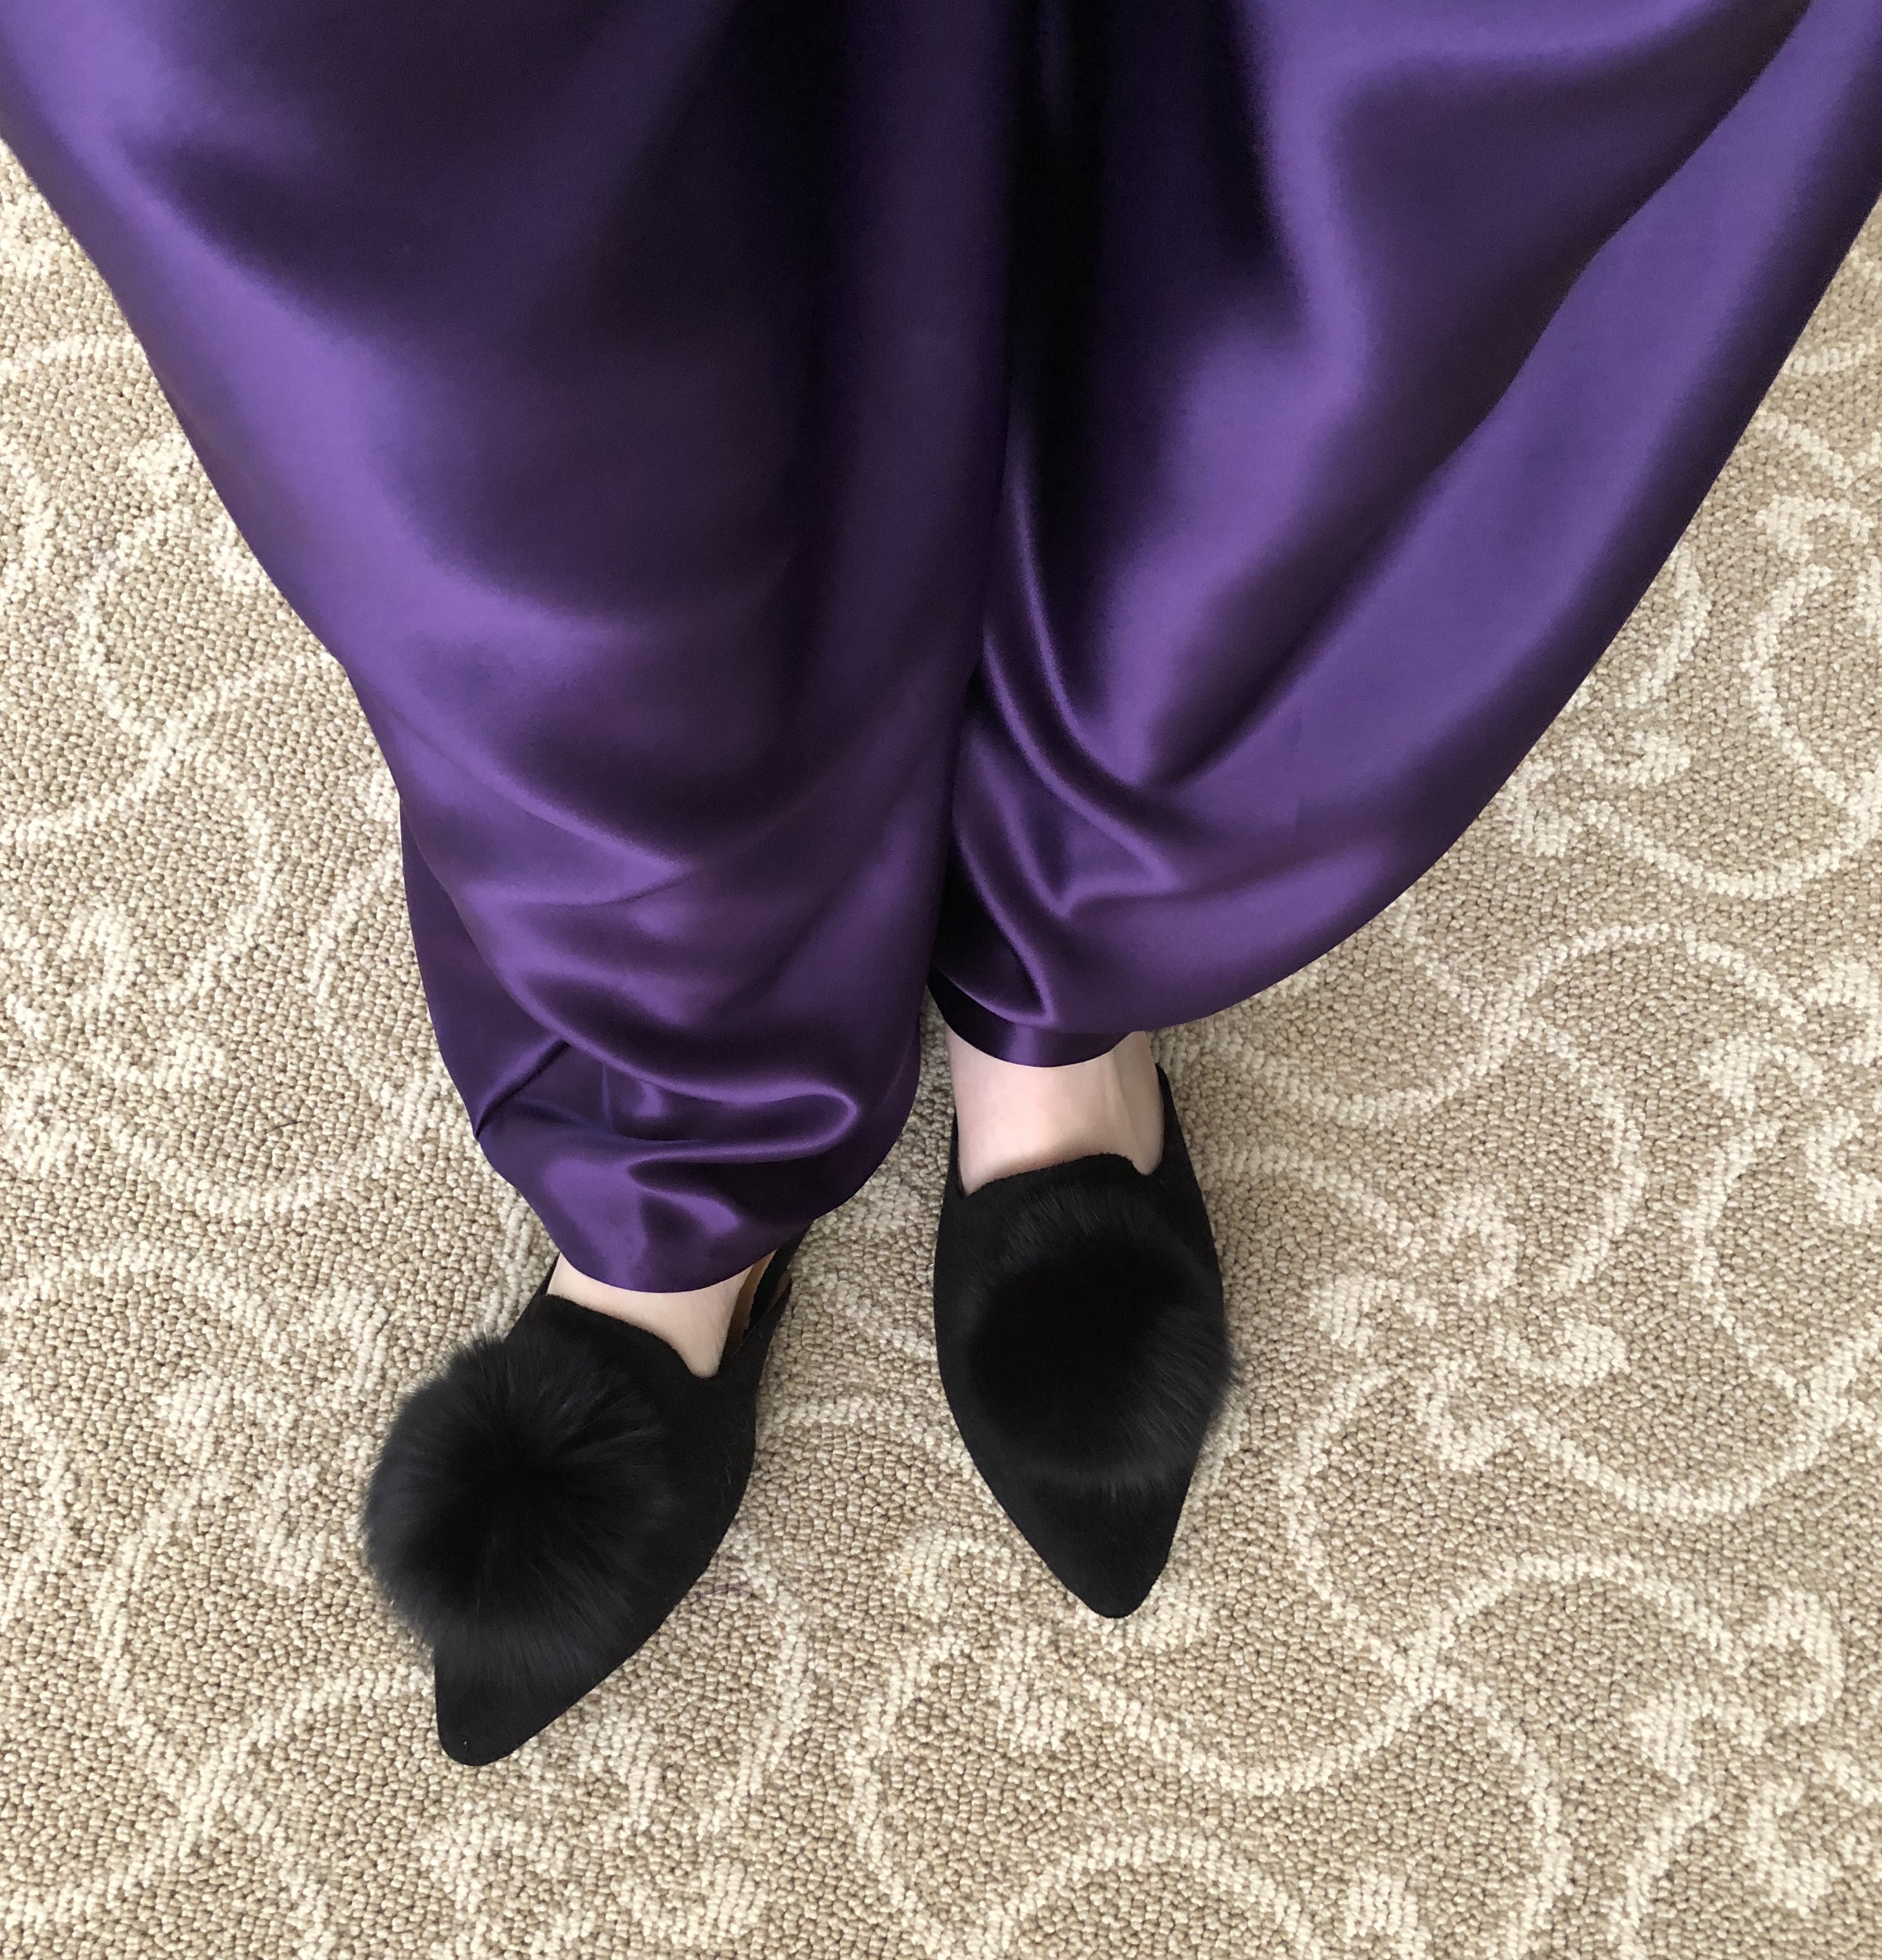
I substituted a dress for his tunic and a cape for his greatcoat. My gloves are vintage kid leather with lots of little cut outs, and my shoes are the 1940s Nita ankle strap heels from Royal Vintage Shoes.IMG_9632

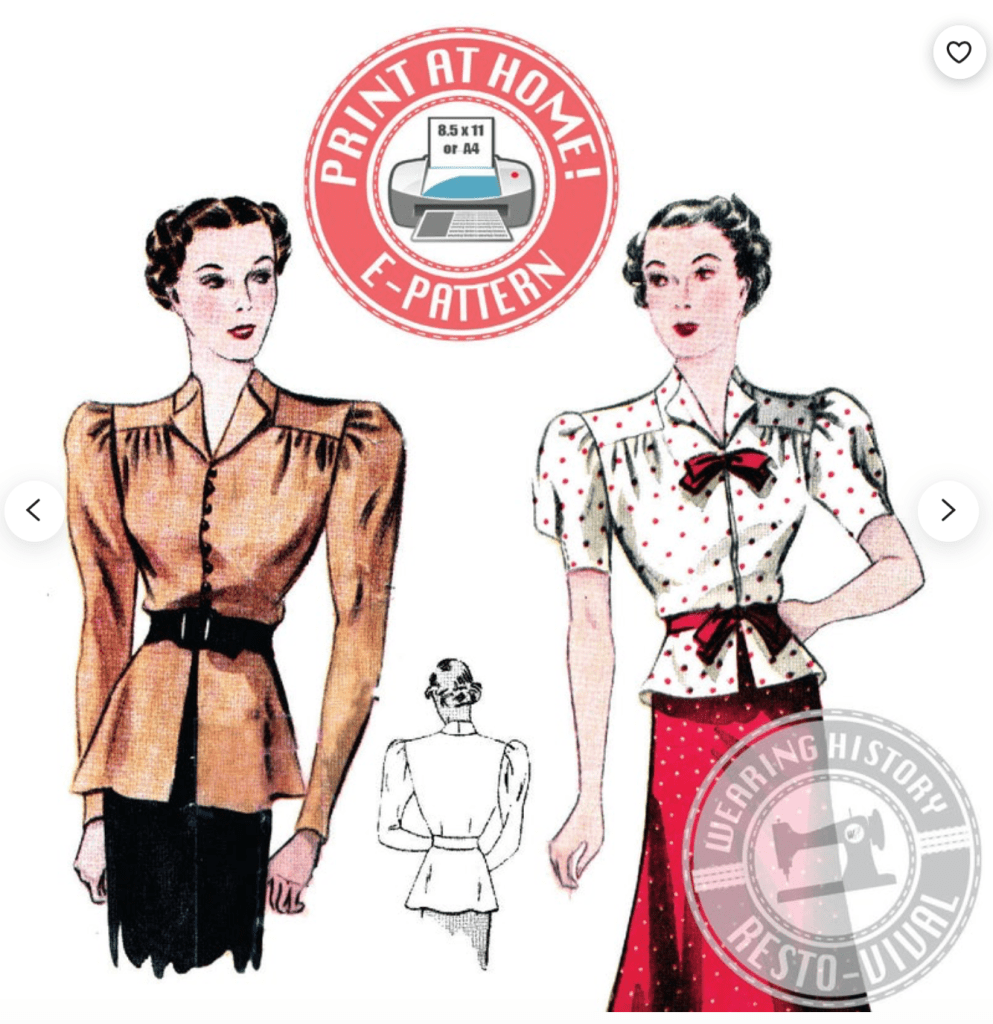
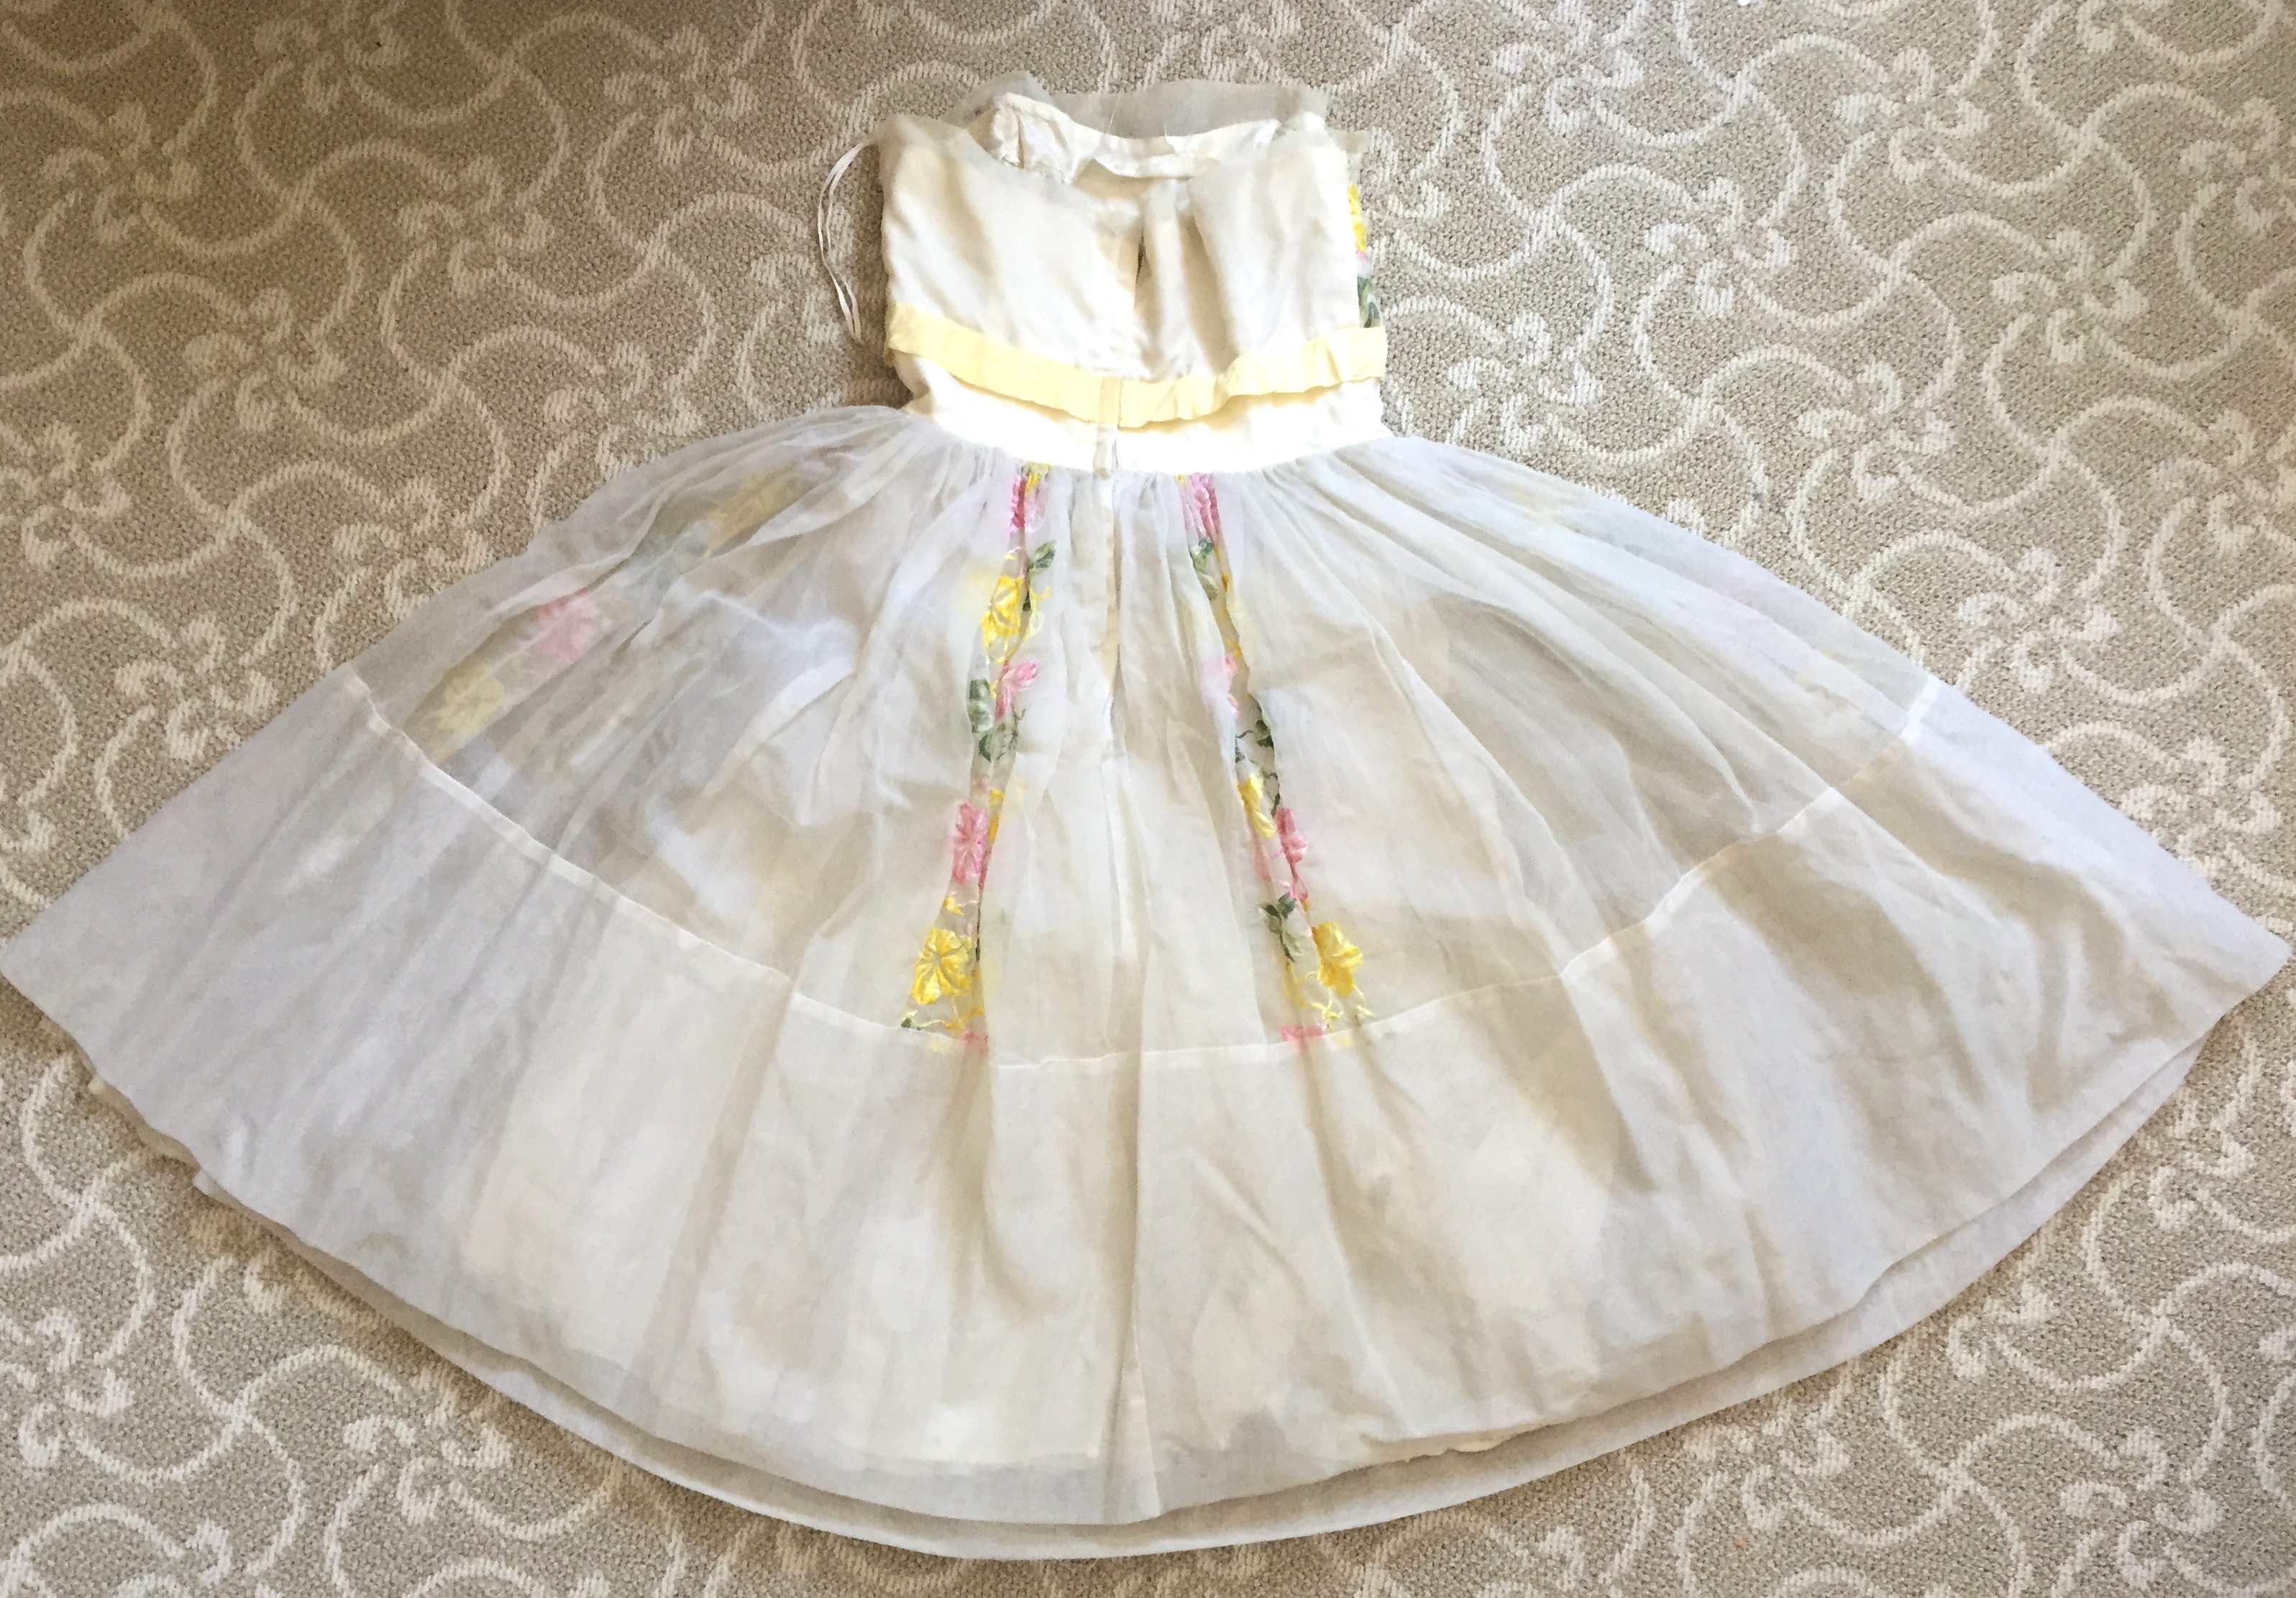
I didn’t have time to make it all from scratch (except the cape) so I purchased an “Audrey Hepburn” dress on Amazon (affiliate link). The dress has a keyhole neckline and some cute button details. It has some stretch, and I would definitely size down if you are between sizes. I had to exchange the first dress I bought for a smaller size. The sleeves were a little wide on me, but I have skinny arms, so you may not have to tailor them like I did.IMG_E8909

The dress comes with a matching fabric belt with a pleather backing. I flipped the belt around, cut off the buckle, and added this metal buckle blank (Amazon affiliate link) to make it look more like a leather First Order belt. You can also buy it at your local Tandy Leather store.
IMG_9489

I bought the medium sized (3″ wide) shoulder patch from Mirror Universe on Etsy.IMG_E8911

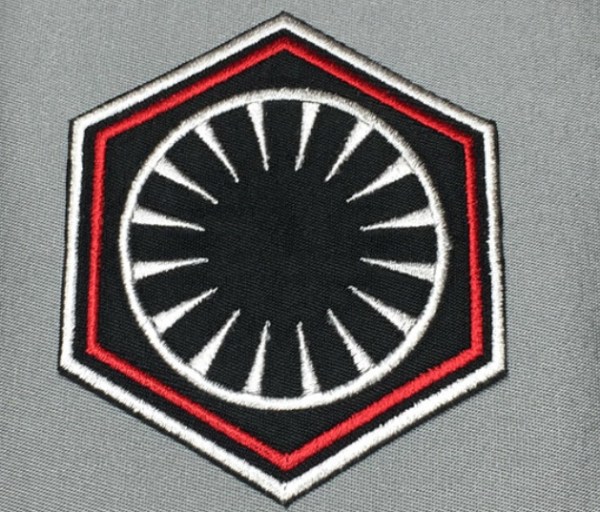
You can buy the arm bands online, but I made my own using white soutache trim (Amazon affiliate link). At first I tried to sew the soutache directly on the sleeve, but it was a little difficult getting everything to stay straight. In the end, I sewed the white soutache trim onto some matte black ribbon, put Misty Fuse on the back, and ironed the ribbon strips onto the sleeve. A few tips:

  • Misty Fuse is like Wonder Under or Stitch Witchery, except it’s black and very light. It doesn’t add bulk, and is dark so even if you mess up a little it won’t show up like white iron-on adhesive.
  • Use matte ribbon, not a shiny satin ribbon, to keep your ribbon backing from being too obvious.
  • Open up the sleeve seam so that you can tuck the raw ends of your ribbon and soutache inside before sewing it closed again for a clean finish.

IMG_9634

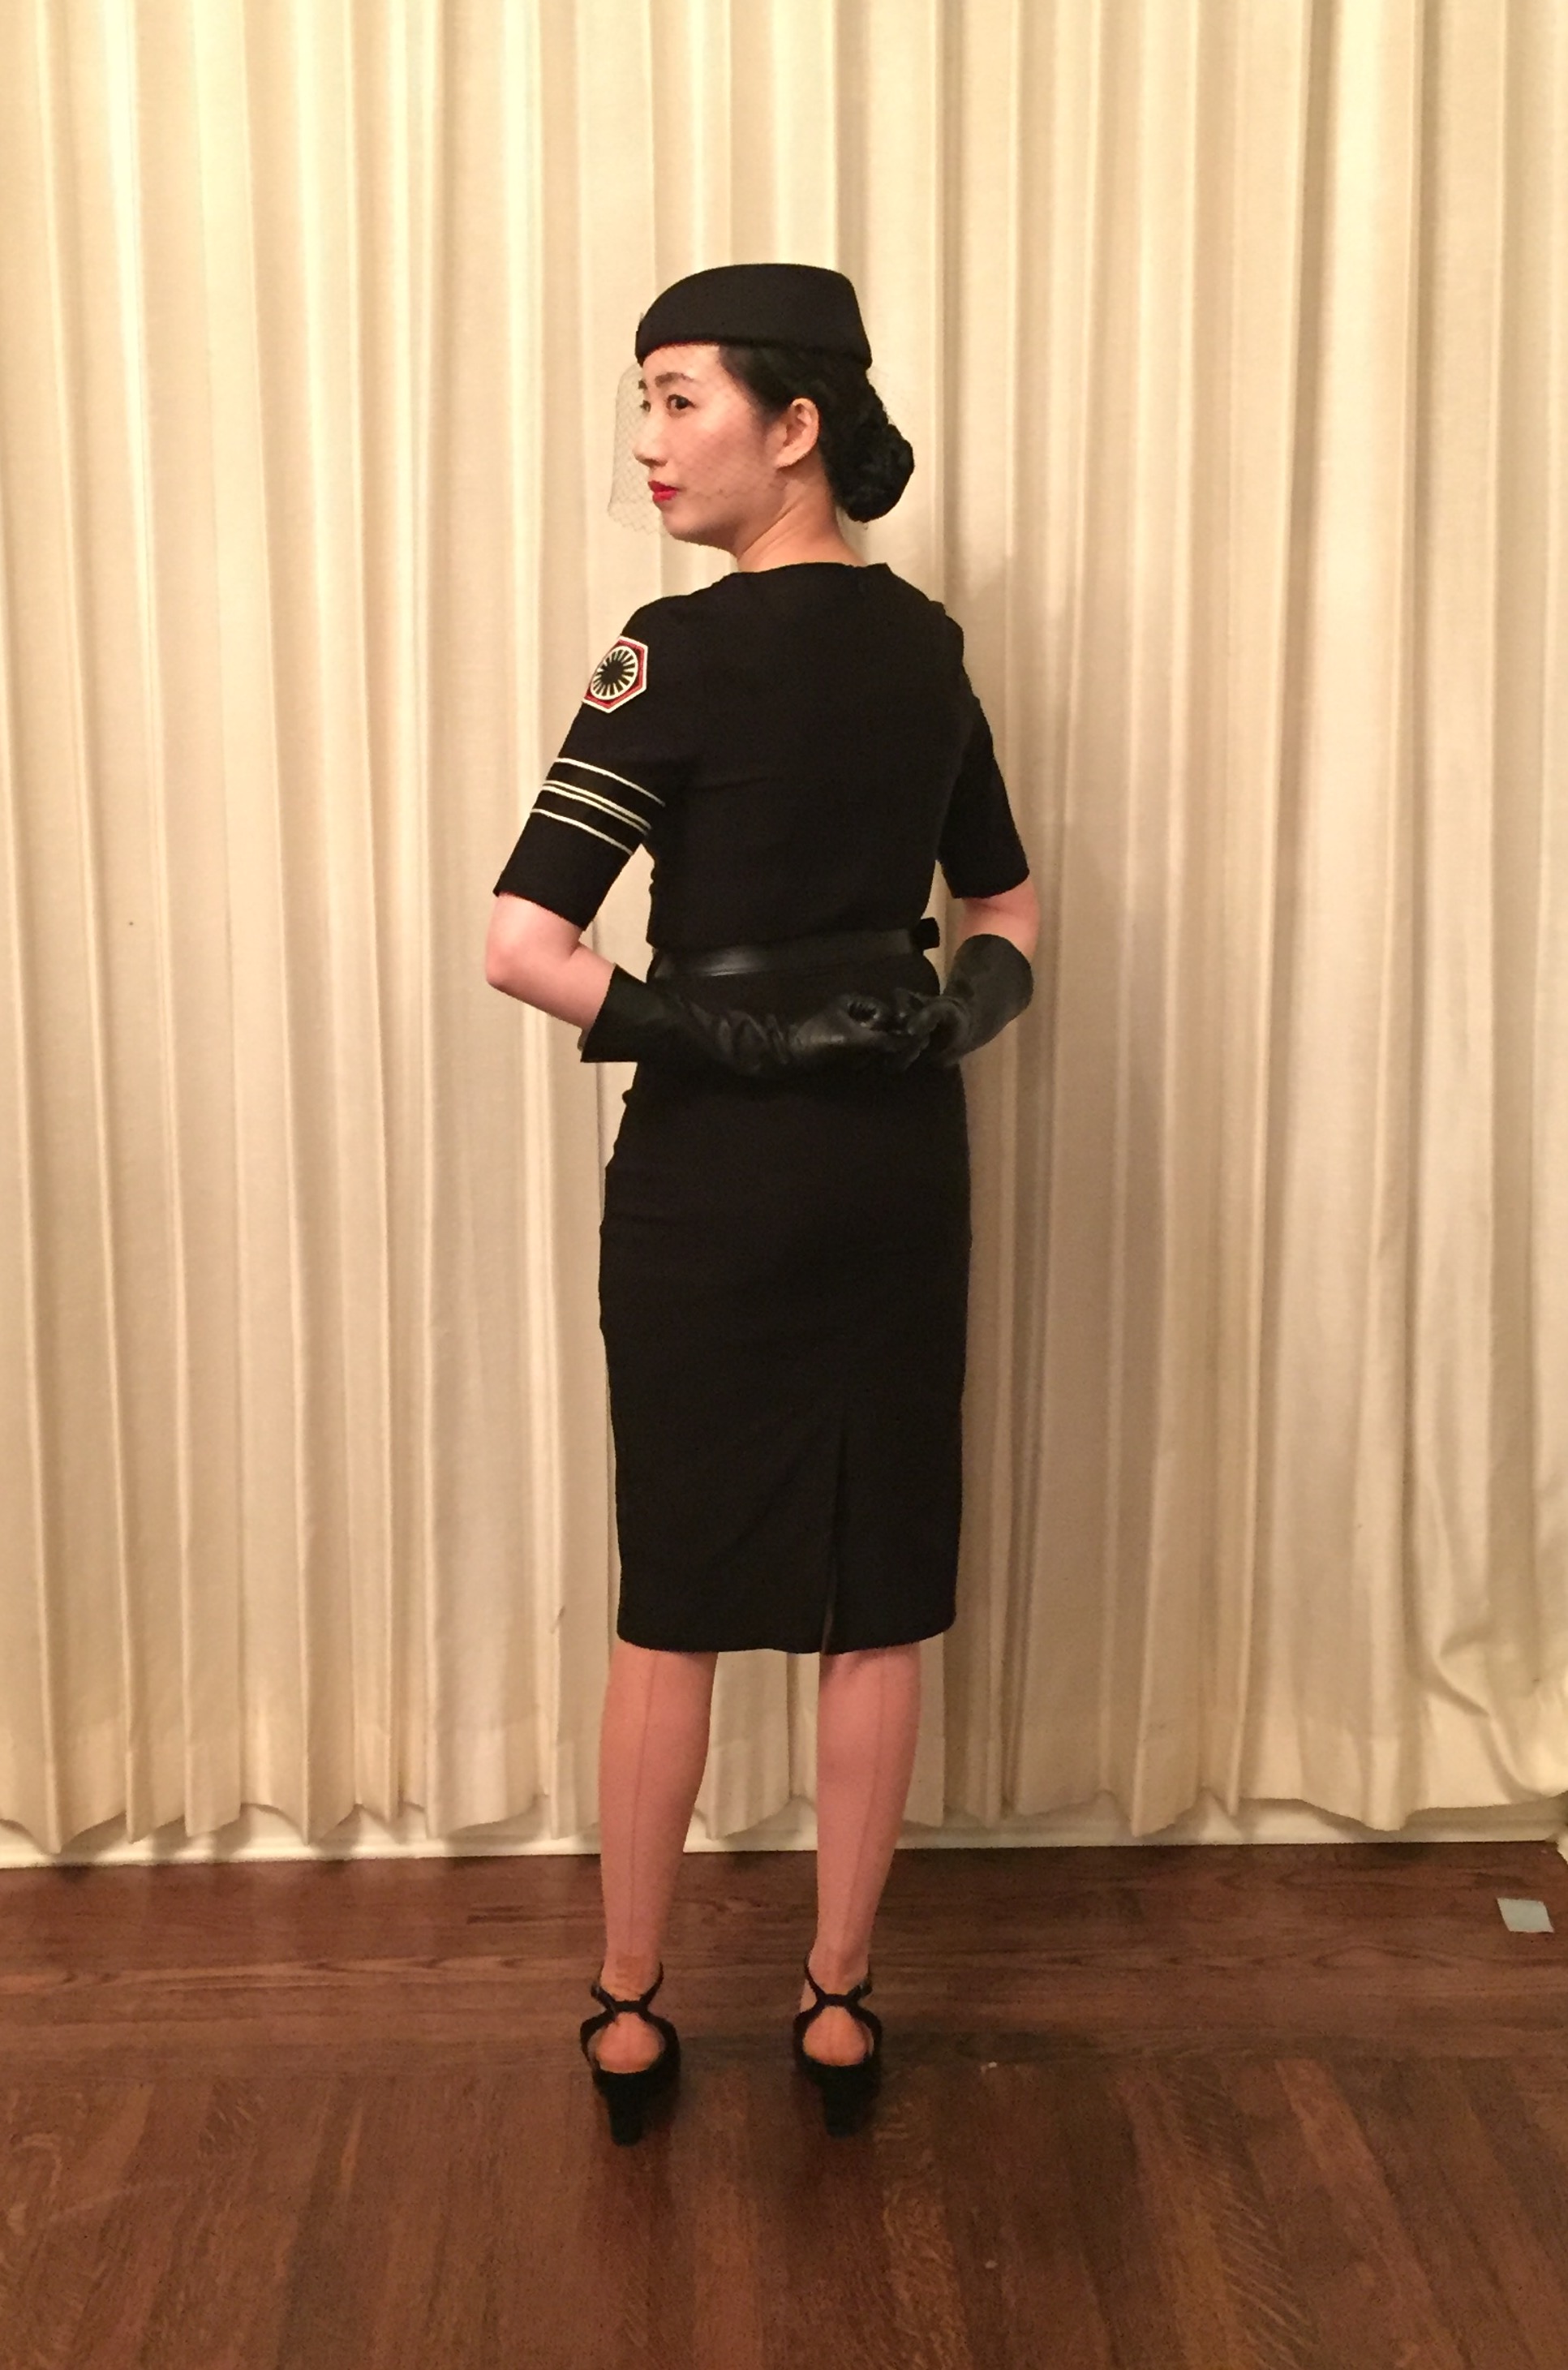
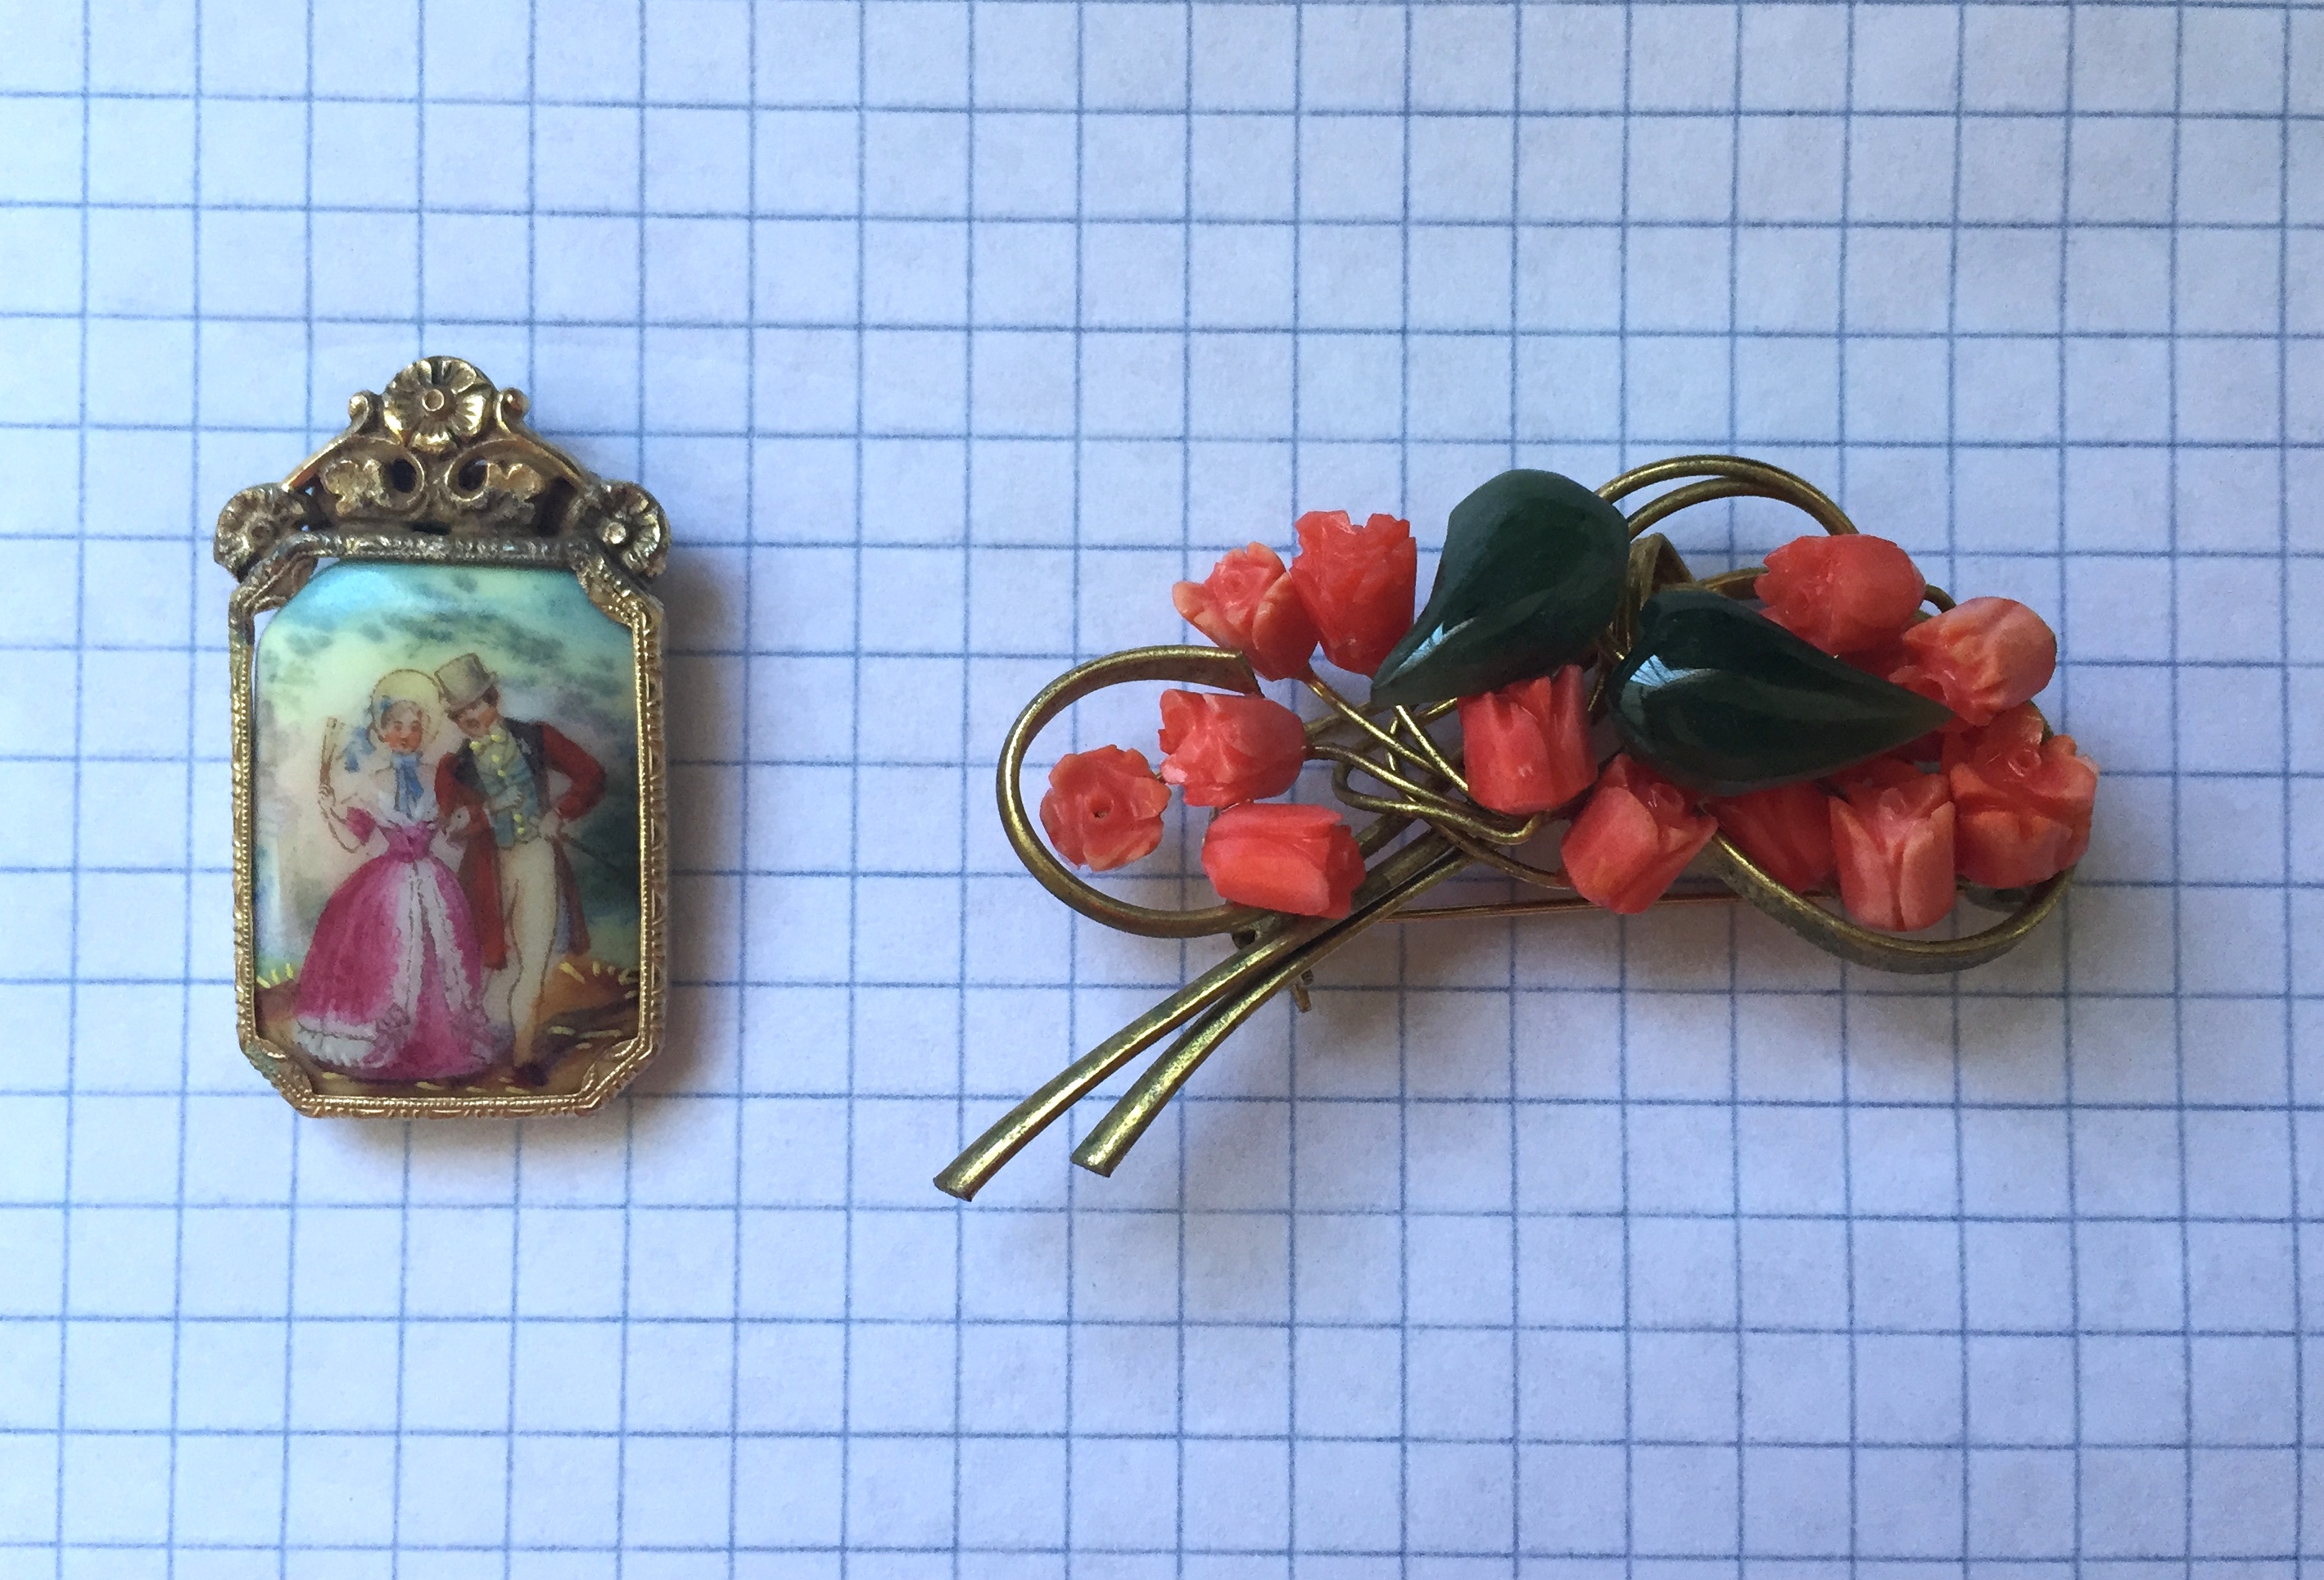
My “stewardess pillbox” hat was purchased from Amazon (affiliate link). I added some vintage veiling, and added a nice metal pin that I purchased from The Empires New Clothes on Etsy.

IMG_9487

IMG_E8914

Just for fun, I wore a “Thirst Order” pin from Dahlia Bunny on my dress.Screen Shot 2018-06-04 at 9.28.44 PM

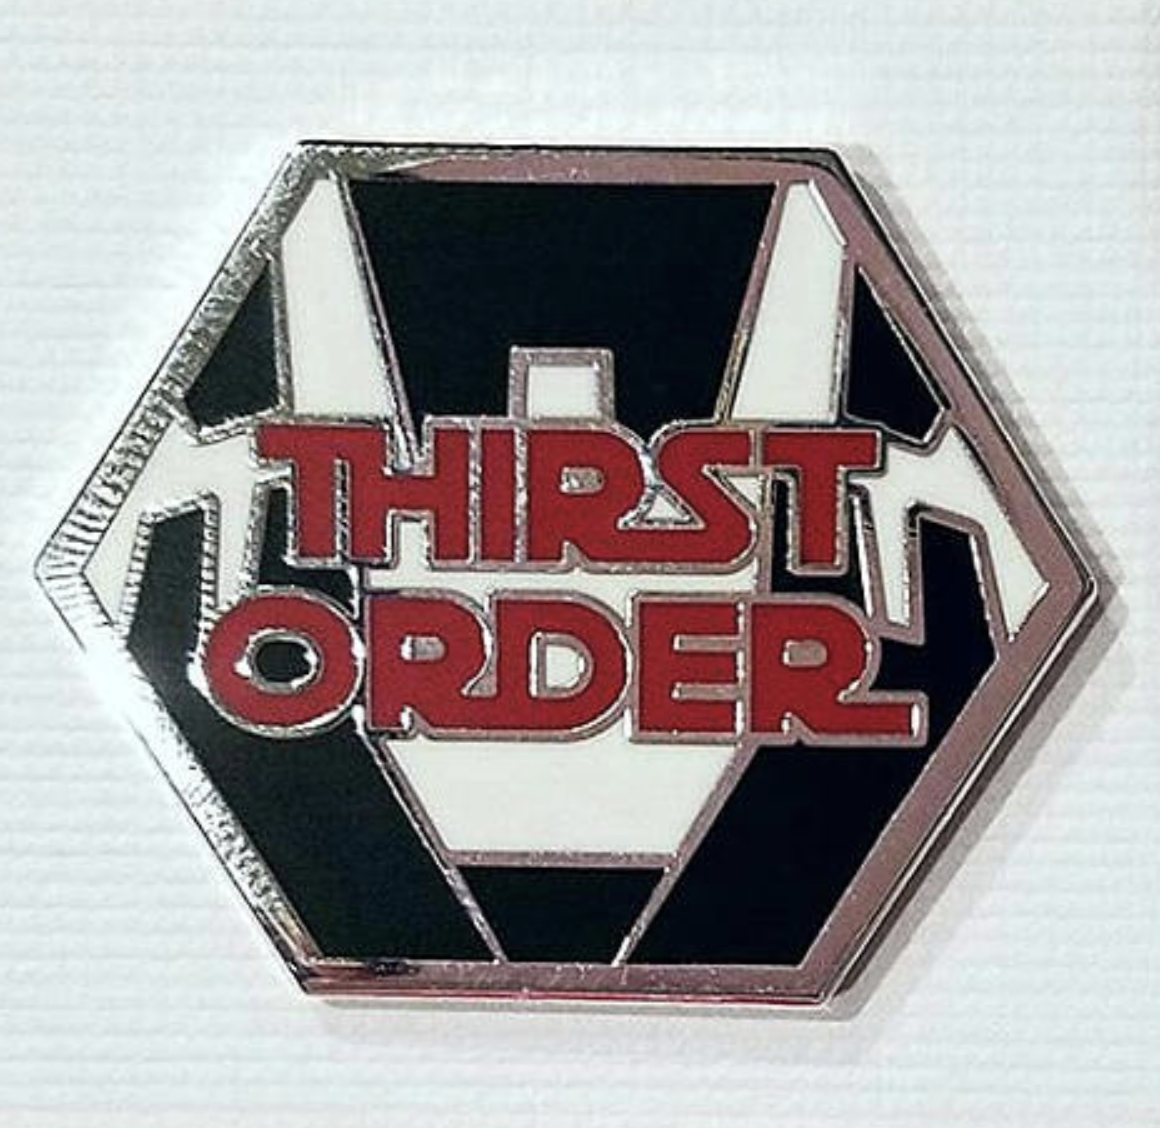
The cape is self-drafted, but not difficult to make. I used a soft, low-pile velvet that I draped on my dress form. Originally, I made it floor length and super full so I started with 4 yards of fabric that became significantly less in the end. A last minute addition was a red lining to make my dress stand out, which meant more last minute shopping online with Prime to get this faux dupioni (Amazon affiliate link).IMG_9619

A trick for when you have an item that is two colors (or you’re just lazy) and you can’t topstitch without the wrong color thread showing on one of the sides: sew some Misty Fuse or Stitch Witchery onto the wrong side of the fabric. When you flip it over and iron the edges your cape and lining will fuse together.IMG_9527.JPG

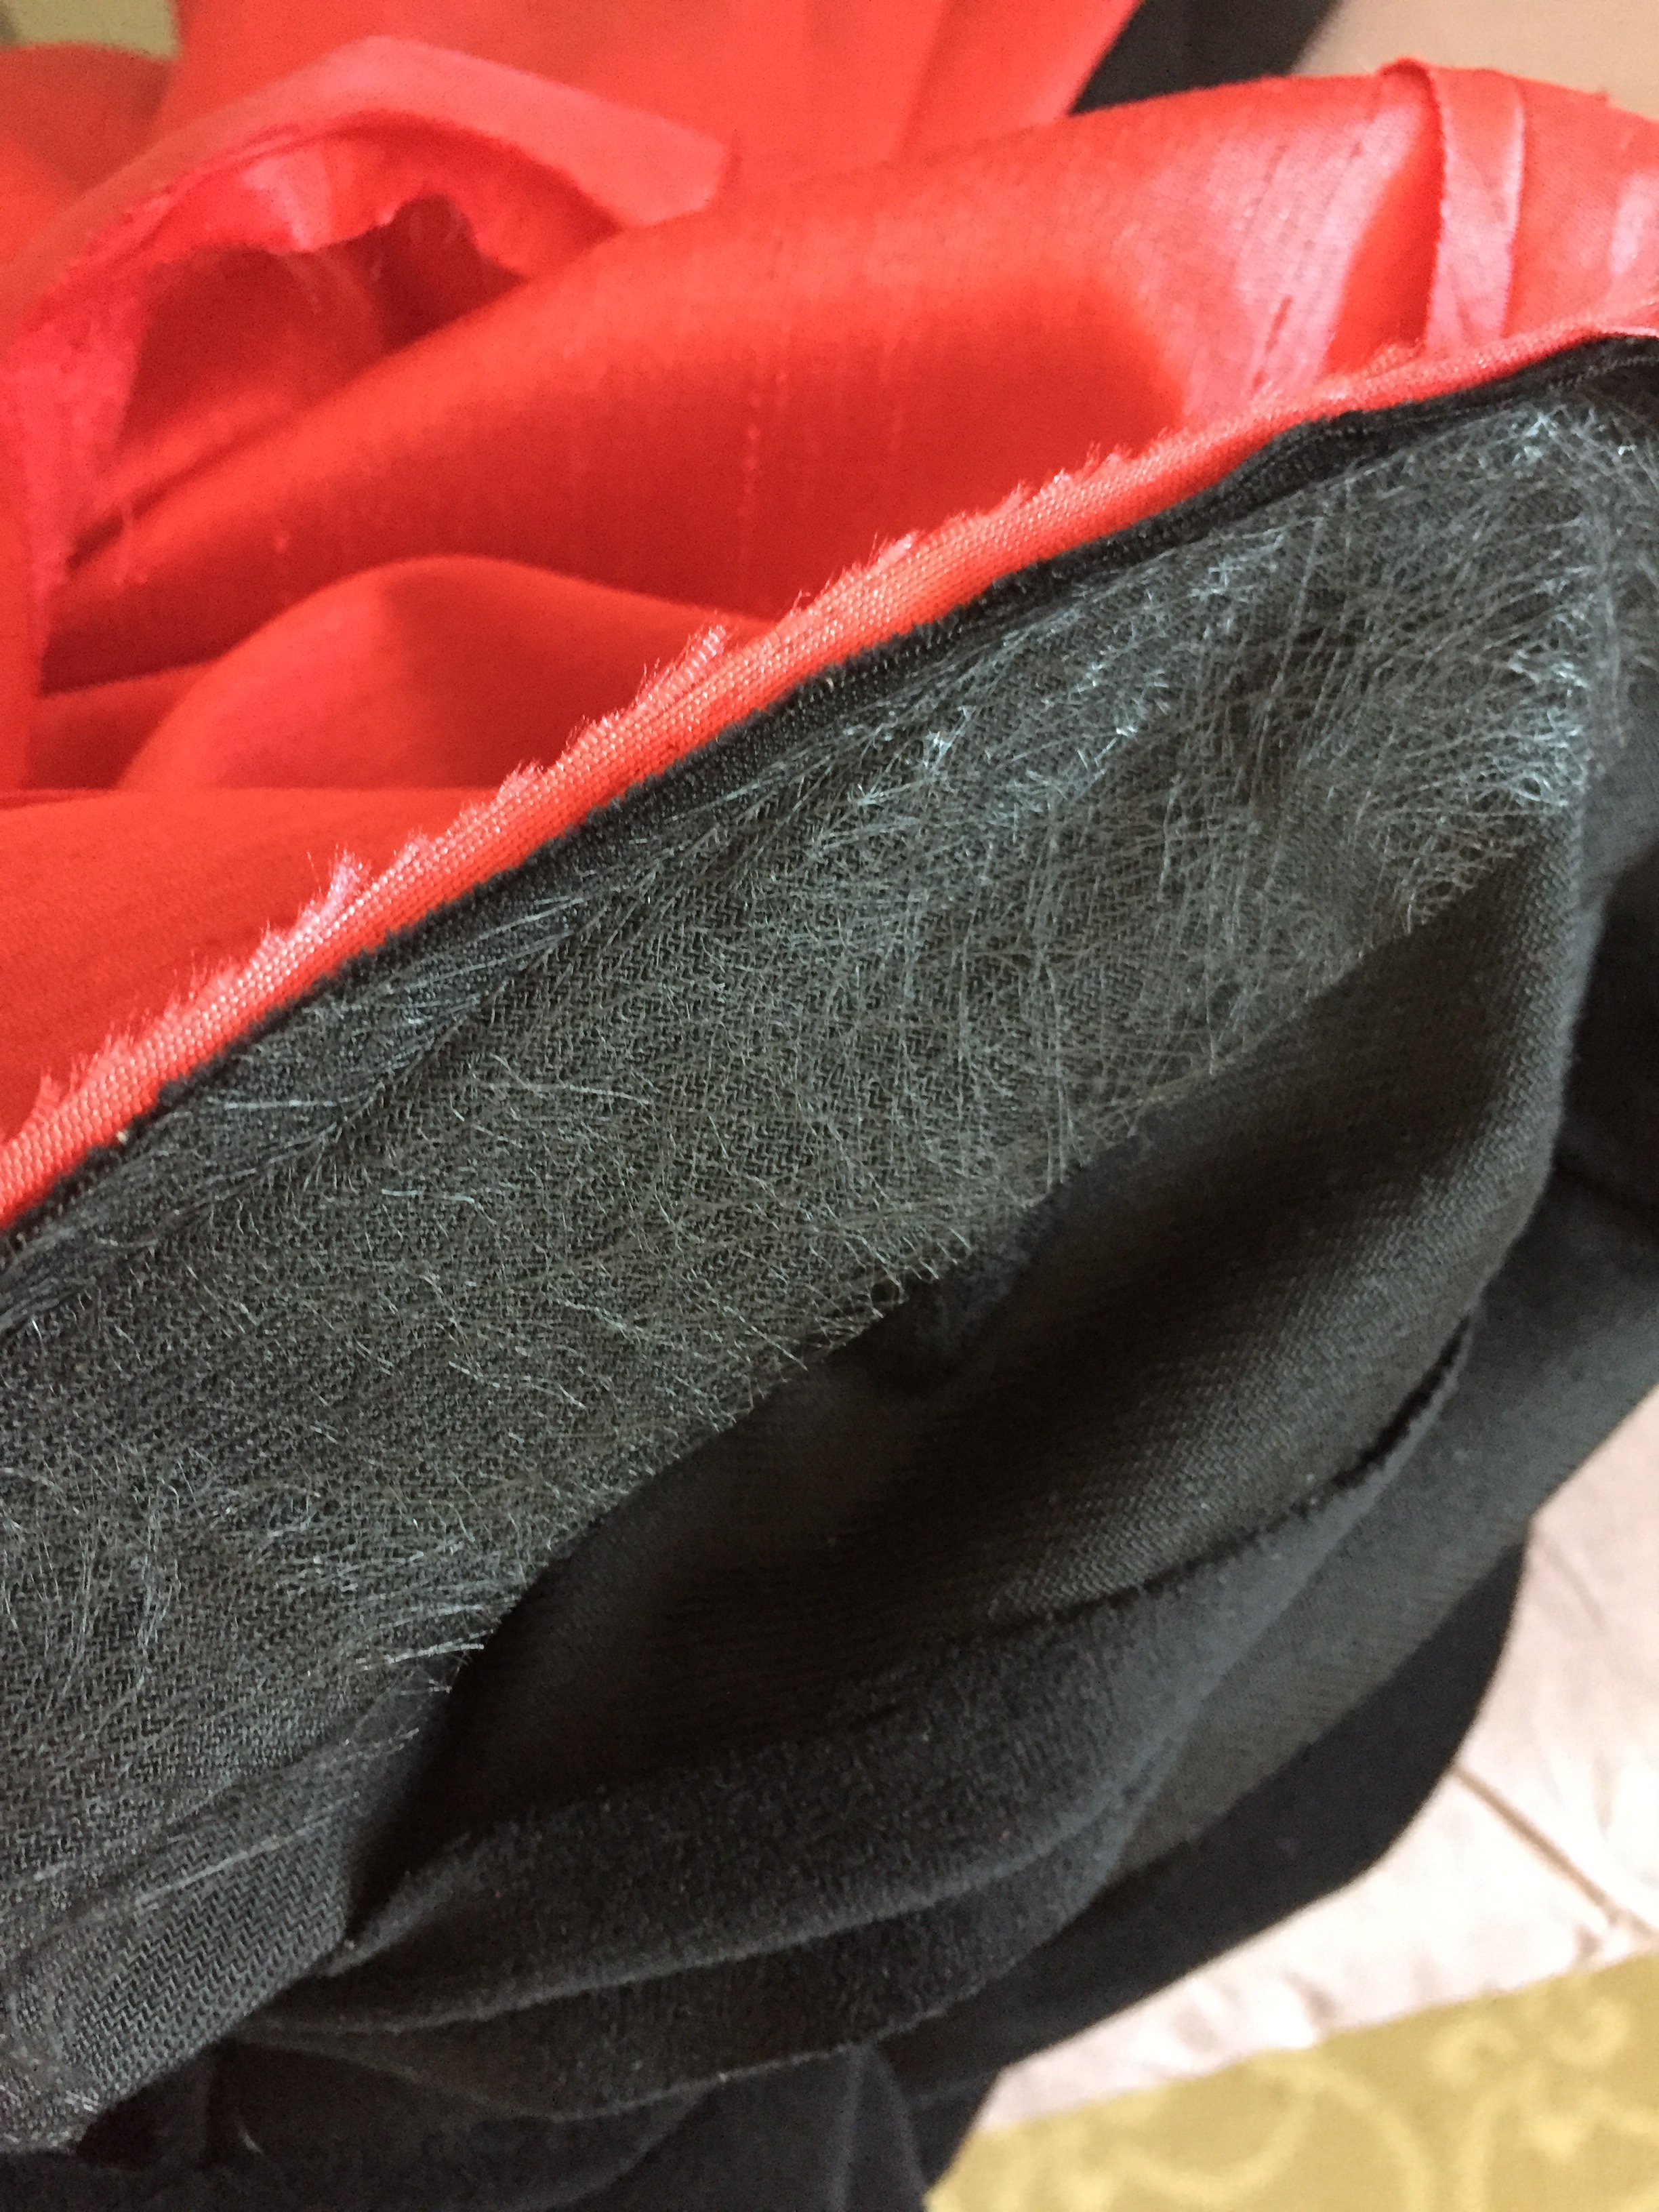
Since it is somewhat off the shoulder I added snaps to the dress and cape to hold them together. This was done right before the party, so it’s not lined up perfectly. Next time I think I will add more snaps or hooks and bar so the collar will hug my neck better.

Final project cost tally:

  • Dress: $29.99 from Amazon
  • Hat: $13.99 from Amazon
  • Patch: $11.74 ($7.99 + $3.75 shipping) from Etsy
  • Hat pin: $13.45 ($9.95 + $3.50 shipping) from Etsy
  • Dress pin: $9 from Etsy
  • Cape fabric: $30 from Facebook
  • Cape lining: $8.72 from Amazon
  • Belt buckle: $4.17 from Amazon
  • Soutach: $4.99 from Amazon
  • Thread and misc from stash: ~$3

Total: $129.05

The shoes, gloves, and seamed stockings are part of my regular vintage wardrobe.

I had so much fun with this outfit! I am looking forward to wearing it again! (Sorry for the slightly blurry photos; the event had really dim lighting!)

IMG_9554

UPDATE: I later wore this costume to Costume College and got a wonderful photoshoot from Gloria of In the Long Run! 43952806792_d6dd4a1810_o

Wearing History Dahlia 1940s Gathered Blouse

This post is way overdue, because I made this 1940s-style blouse in August and have been enjoying it ever since! It was made using the Wearing History Dahlia 1940s Gathered Blouse pattern, with some modifications I’ll detail below.IMG_3702

This blouse is made with vintage cotton I found at the Costume College Bargain Basement. There was just enough, with careful cutting, for me to make this blouse and run the border of the print down the center front and as faux cuffs on the sleeves.IMG_3703

I used a combination of View A and B because I wanted the V-neck of View A but the button front of View B. (This also means instead of having the side closure of View A, I put hooks and eyes down the center of the peplum).

The blouse pattern doesn’t actually have a yoke. I just did a tuck in the back to hide a flaw in the fabric. I also did a neck facing instead of binding.IMG_3699

I did keep the lovely gathers in the shoulder! That is one of my favorite parts of the pattern.IMG_3701

I made button loops and self-covered buttons for the closure.IMG_3697

The last change I did was to shorten and slim the sleeves a bit because I have a small frame and skinny arms. I think the sleeve pattern as-is would work for most people; it is accurate to the slightly boxy look of the 1940s.IMG_3665

My modifications were for personal preference and not because of any flaw in the pattern. I found that the sizing was accurate and the pieces fit together. I highly recommend Wearing History and the Dahlia 1940s Gathered Blouse pattern!

Embroidered 50s Dress, Vintage Jewelry, and Other Finds

I’ve been doing a lot of small tasks lately, like mending, replacing buttons, adding trim, cleaning jewelry, etc. so I don’t have a big sewing project to share. Instead, I am showing you some beautiful vintage items I have recently found.

First is this really cute embroidered 50’s dress!

IMG_5387 IMG_5389 IMG_5391 IMG_5392Unfortunately it needs a lot of love and attention. It has many stains and damaged areas, although the embroidery is in good shape. The zipper has some rust, and the bodice lining and outer nylon layer has some holes and tears. There are some tears at the top of the dress so I can’t hang it up until I sew in some hanging loops. The dress fits me perfectly though, so I hope I can rescue it!

I finally got around to cleaning the jewelry I bought at Costume College, either from the bargain bazaar or a vendor, and here are the pieces.

First is an adorable dress clip with a happy couple. I’m not sure what to wear with it yet, but I’ll figure it out. Next is a brooch featuring carved coral tulips and green stone leaves. I have some other vintage coral tulip jewelry, although not in such a deep pink color.IMG_5378

This heart-shaped pin features a little ivory flower. I am in love with this tiny millefiori pin!IMG_5380You can see how tiny it is compared to this other millefiori pin I bought years ago from the Alameda Antiques Fair.

IMG_5385

Next are these two little pins that are probably not vintage, but cute anyway. I am going to put some green thread on the artists’ palette to fill in the missing part. Isn’t the little dangling button on the needle just perfect?

IMG_5382

The enamel pin is missing its center stone. I’m not sure what it was originally, but I am adding in a faux pearl. The shiny brooch on the right is a piece of modern costume jewelry, but I liked the fun colors, even if it’s missing a few stones. I can repair it, but until then, I don’t think it’s very noticeable if worn at night!IMG_5383Lastly is this pair of hand-embroidered pillowcases. I have a friend who loves to embroider, so I am going to pass these onto her, since I know she will give them a good home.

IMG_5376

Bon Voyage! (Retro Suitcase with Vintage Luggage Stickers)

Shortly before Christmas I got a new suitcase, which came in handy for holiday travel. I decided to jazz it up by making my own “vintage” luggage stickers.

Image

I’ve been wanting a retro suitcase for a long time, but kept running into very expensive reproductions, or antiques in poor condition. I was so happy when I found this particular suitcase on eBay. It has the old-fashioned look I wanted, with the convenient modern wheels and retractable handle. Plus bonus combination locks! Here’s what it looked like before I went to town:

Image

You can buy reproduction luggage stickers but I printed my own. (I have a HP color inkjet printer, so nothing terribly fancy). I found various images online, re-sized them, and them printed them on regular white office paper.

Image

I cut each one out with scissors, then used Mod Podge to glue them onto the suitcase. I also put on another layer of Mod Podge after it dried to seal it in. (If you have printable sticker paper this would speed things up, but I didn’t have any on hand).

Image

I also put stickers on the back.

Image

And a side shot:

Image

I also love the interior of this suitcase! It’s lined with a soft, creamy faux leather that is much nicer than the other suitcases I’ve had.

ImageThe interior pockets and snap straps were perfect for holding my iPad.

ImageNow I want to get a smart tweed suit and pillbox hat, put on some sweet shoes and ladylike gloves, and go flying!