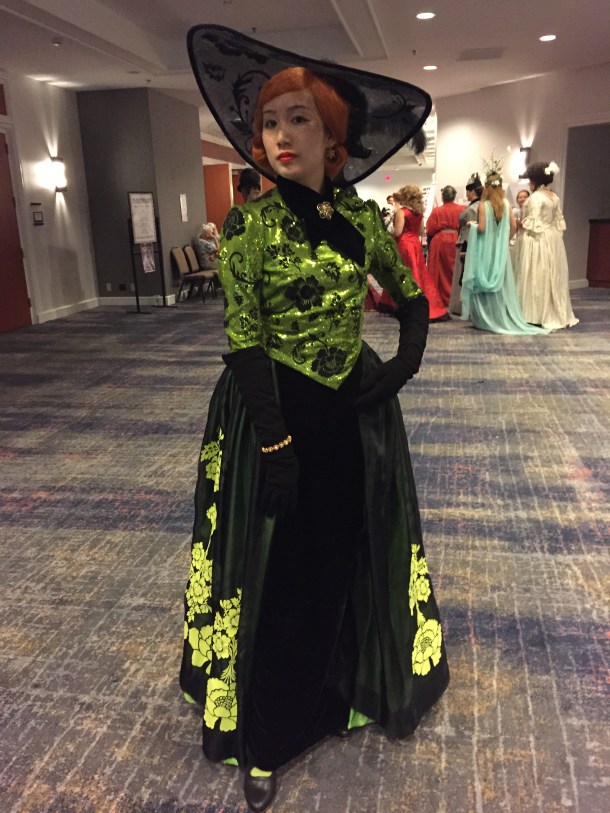
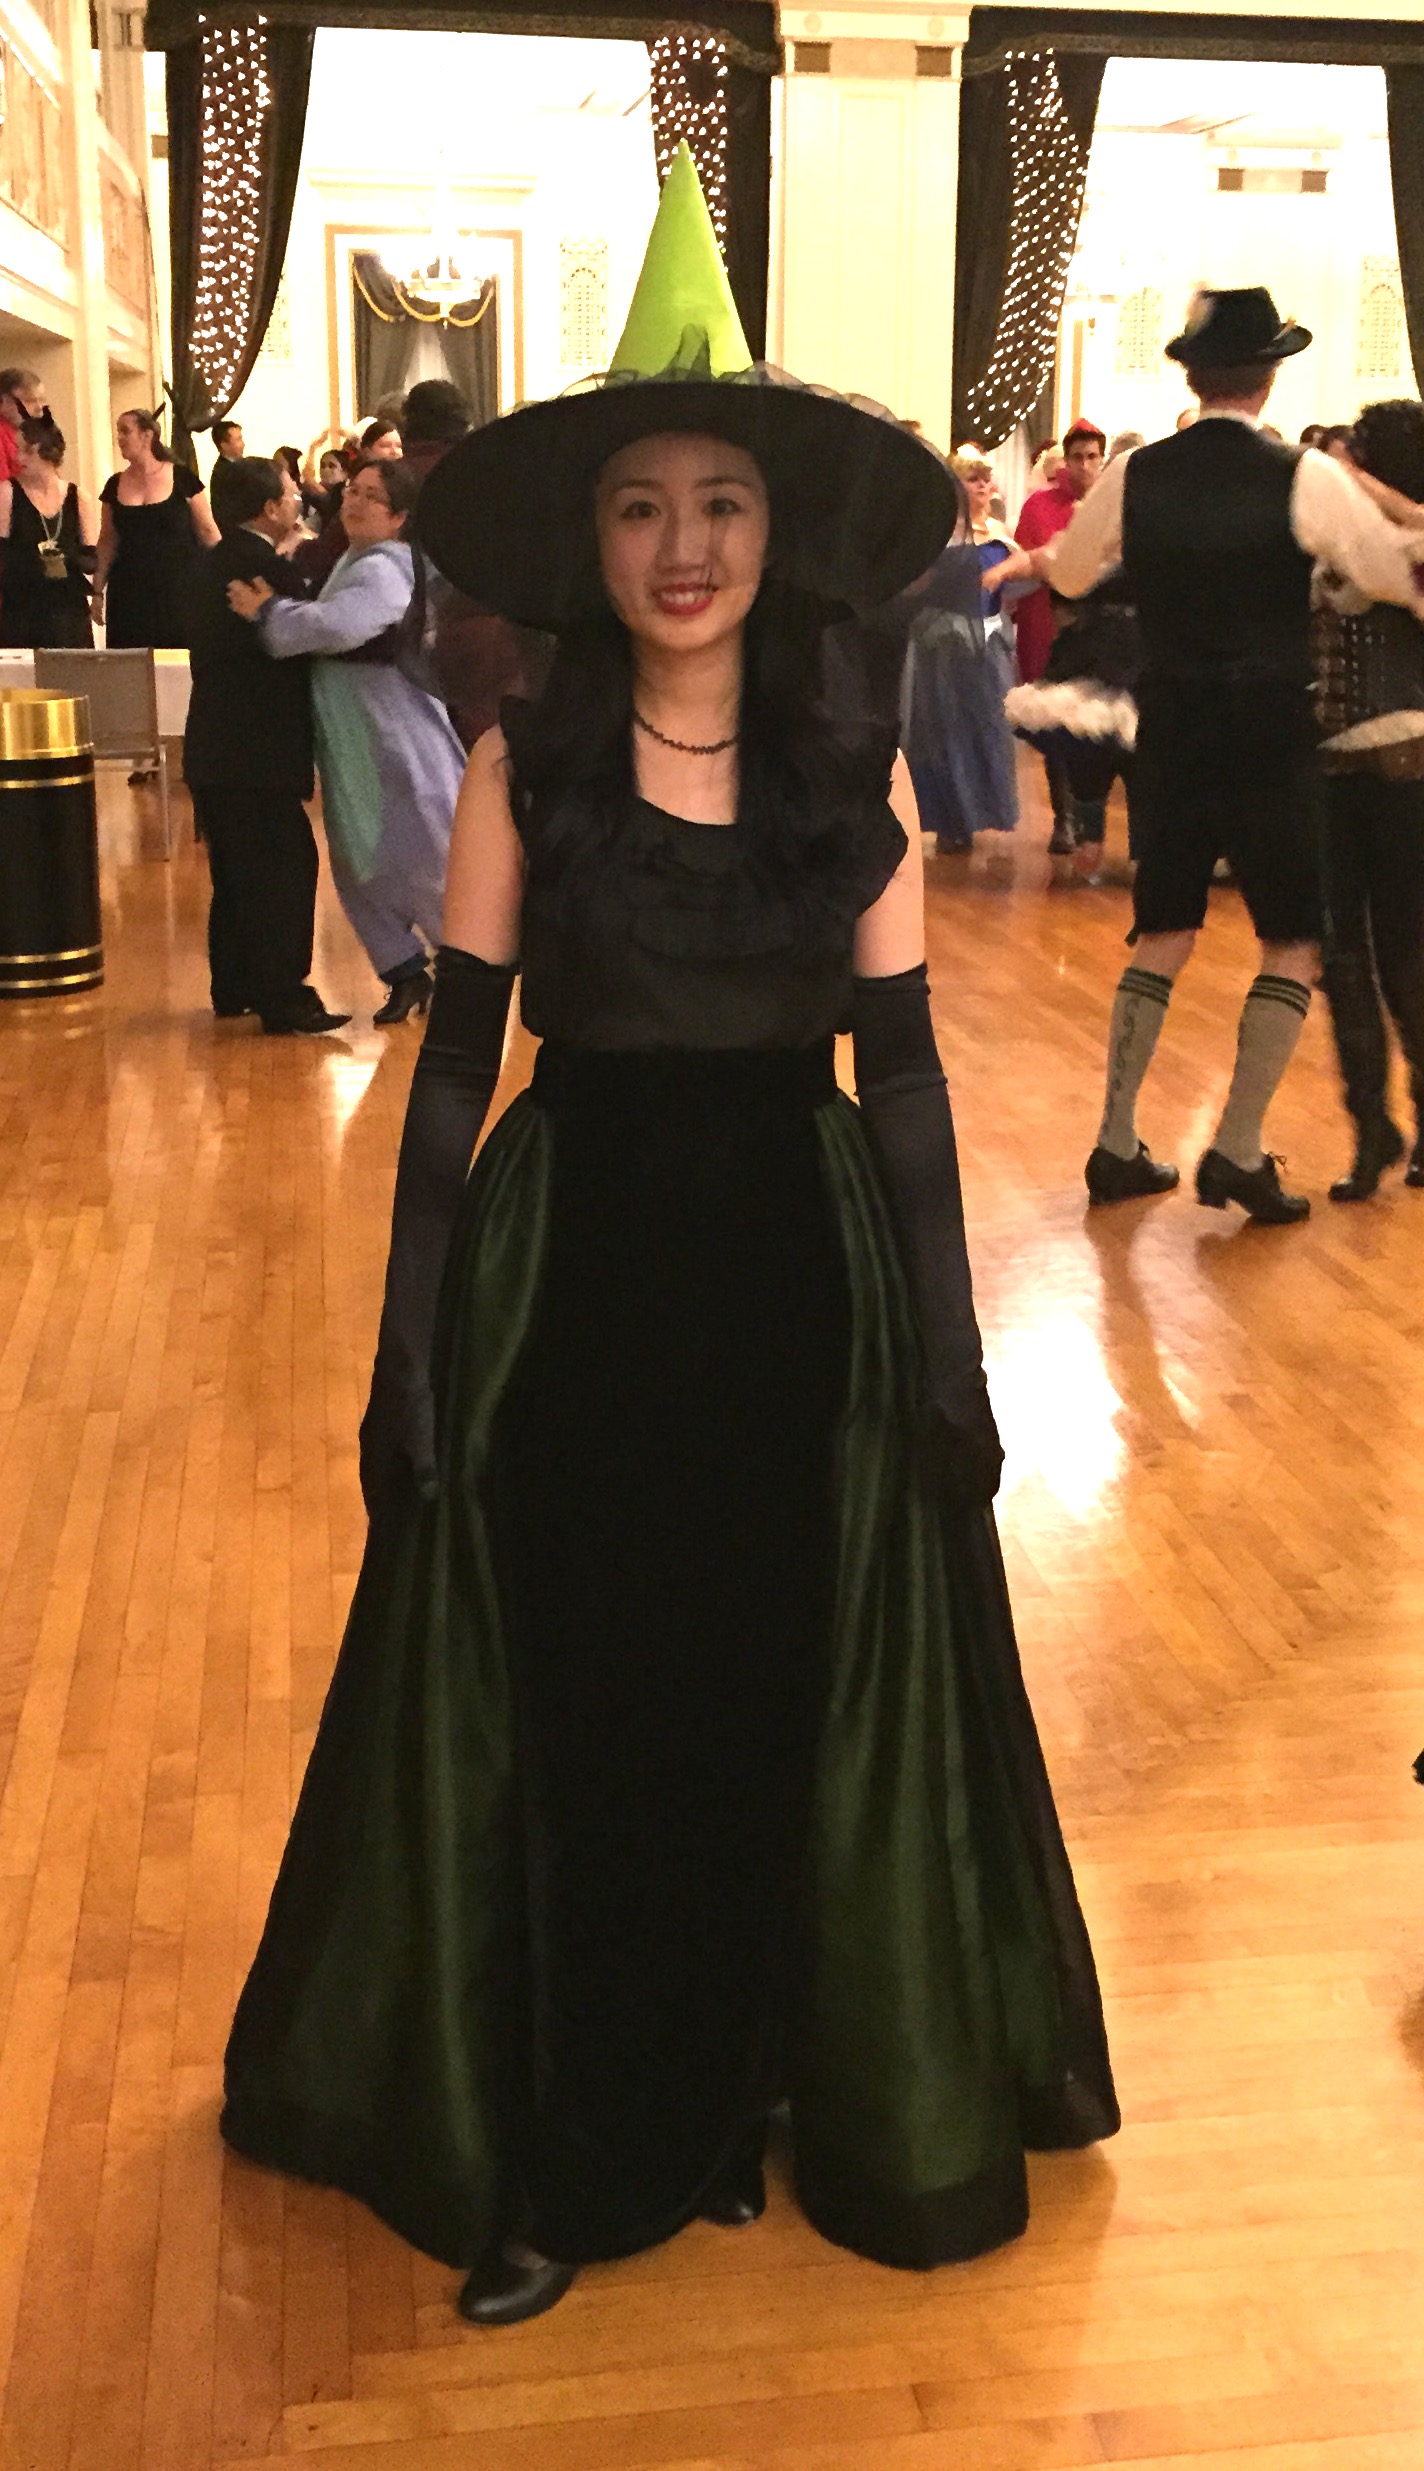
For the red carpet and gala dinner at Costume College last week I wore my finished Lady Tremaine costume! I mostly do historical costume, but I enjoyed doing cosplay as Cinderella’s stepmother. I started this project last year, and it was So Much Work making all the layers and pieces, and cutting out and applying all the floral appliques on the bodice, skirt, and hat, but it was worth it in the end!


(You can make your own too! At the end of this post I list all the materials and tutorials for the skirts).
I’ve made a number of posts (linked at the bottom) with construction details, but a quick recap of what this costume entails:
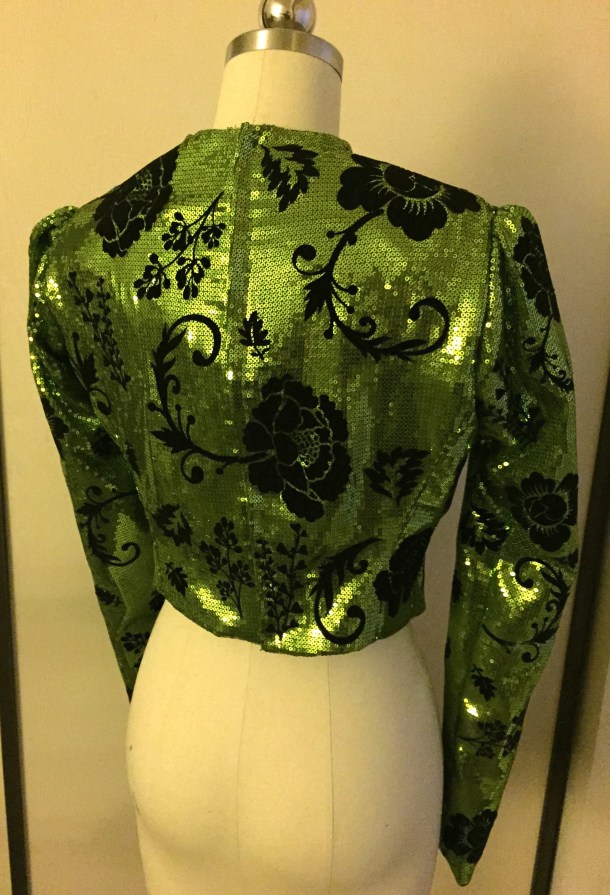
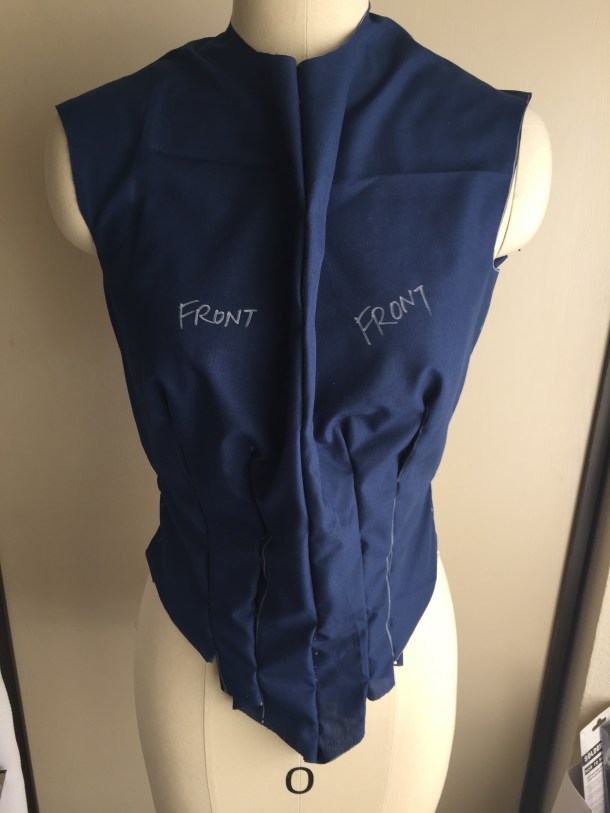
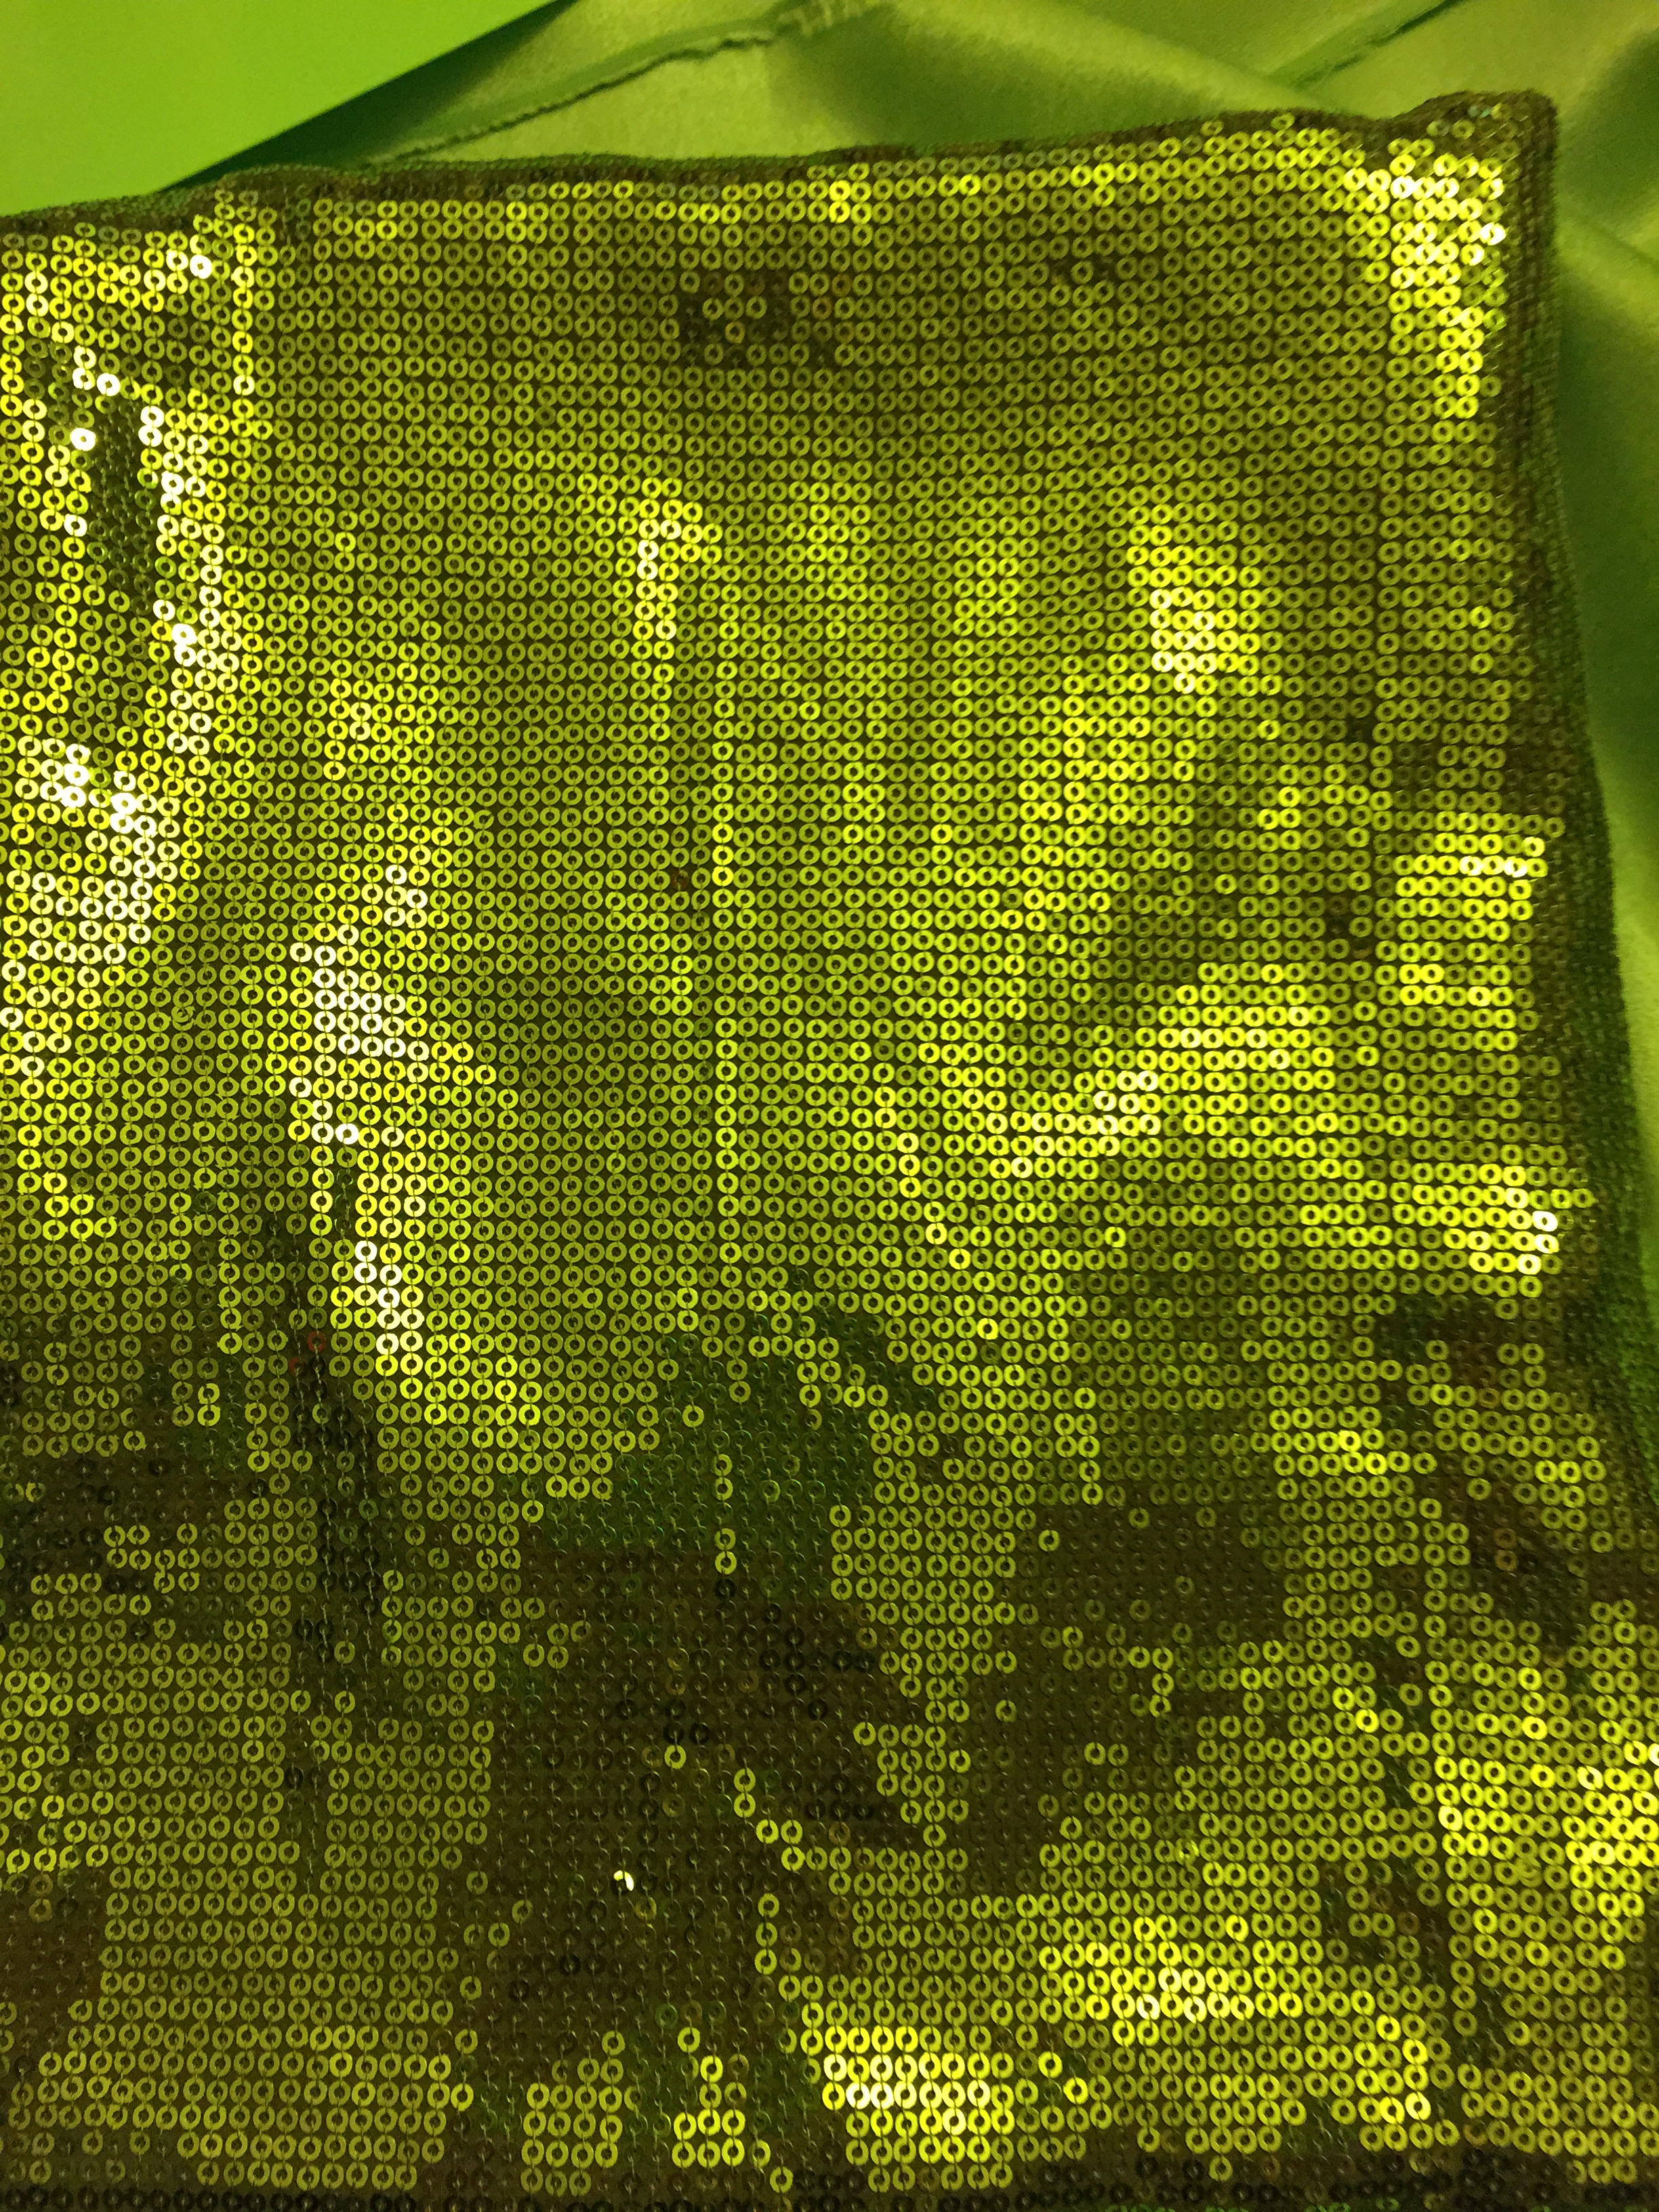
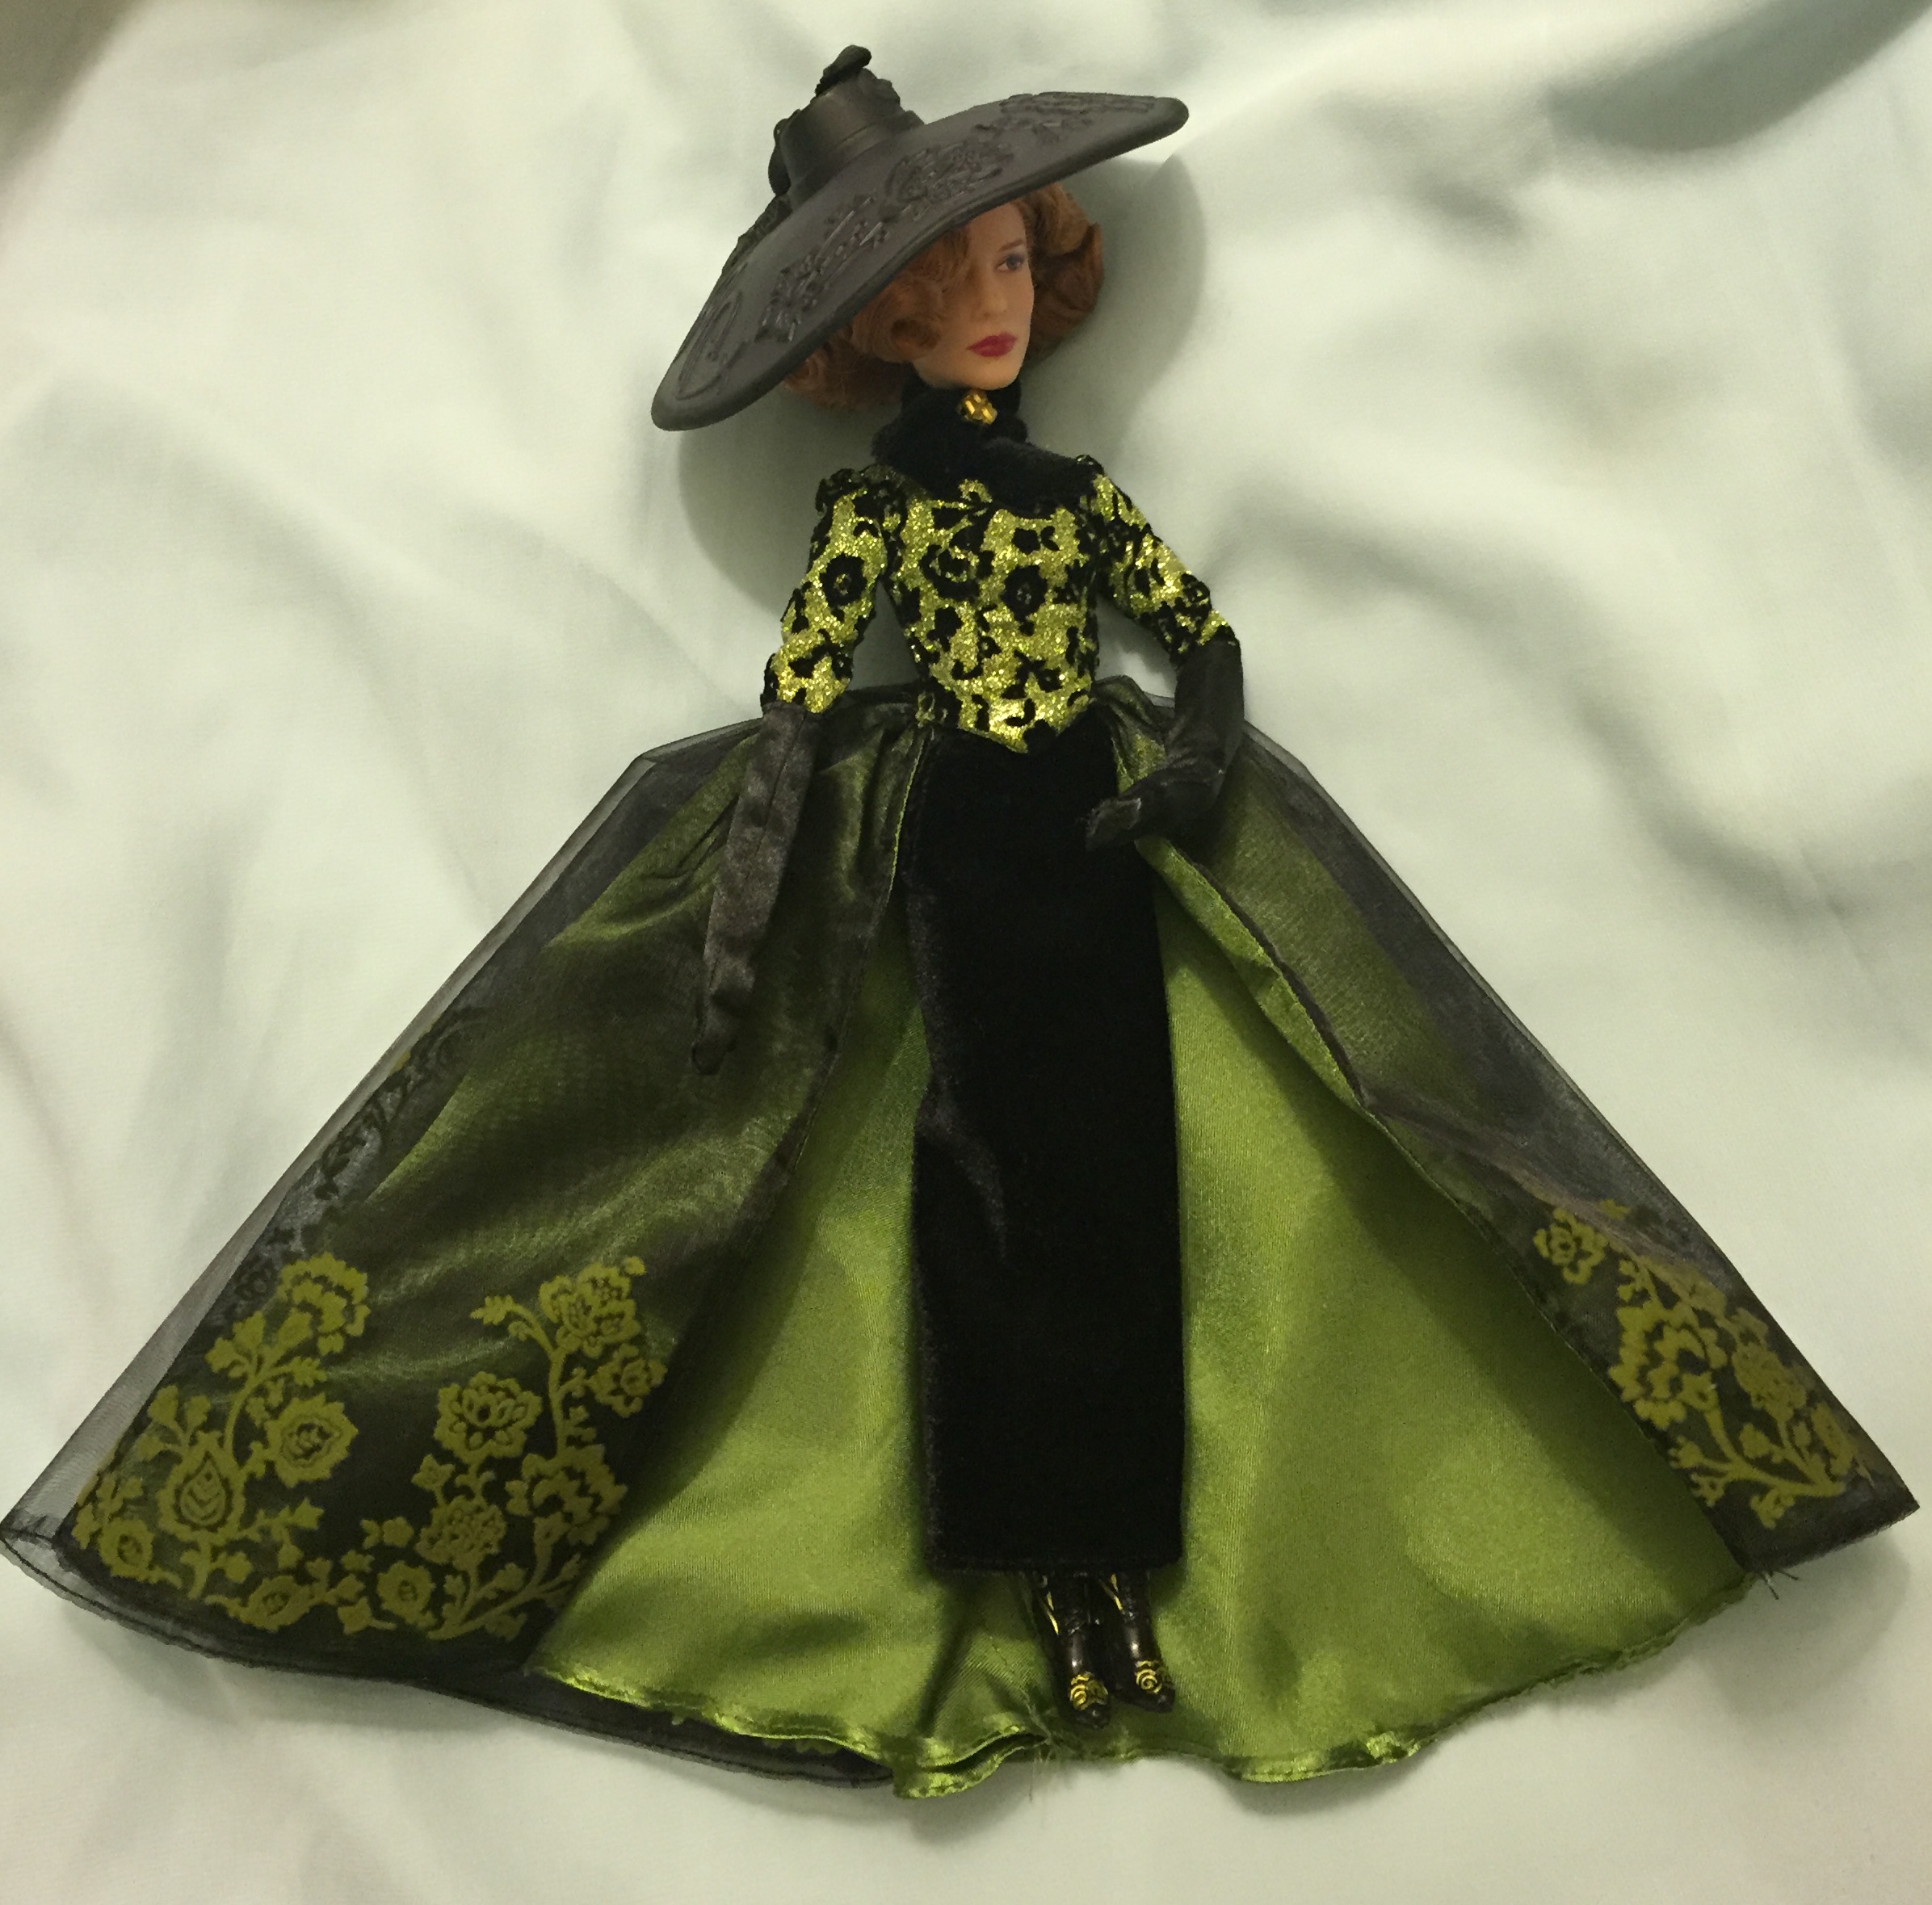
- sequined bodice with black flocking appliques
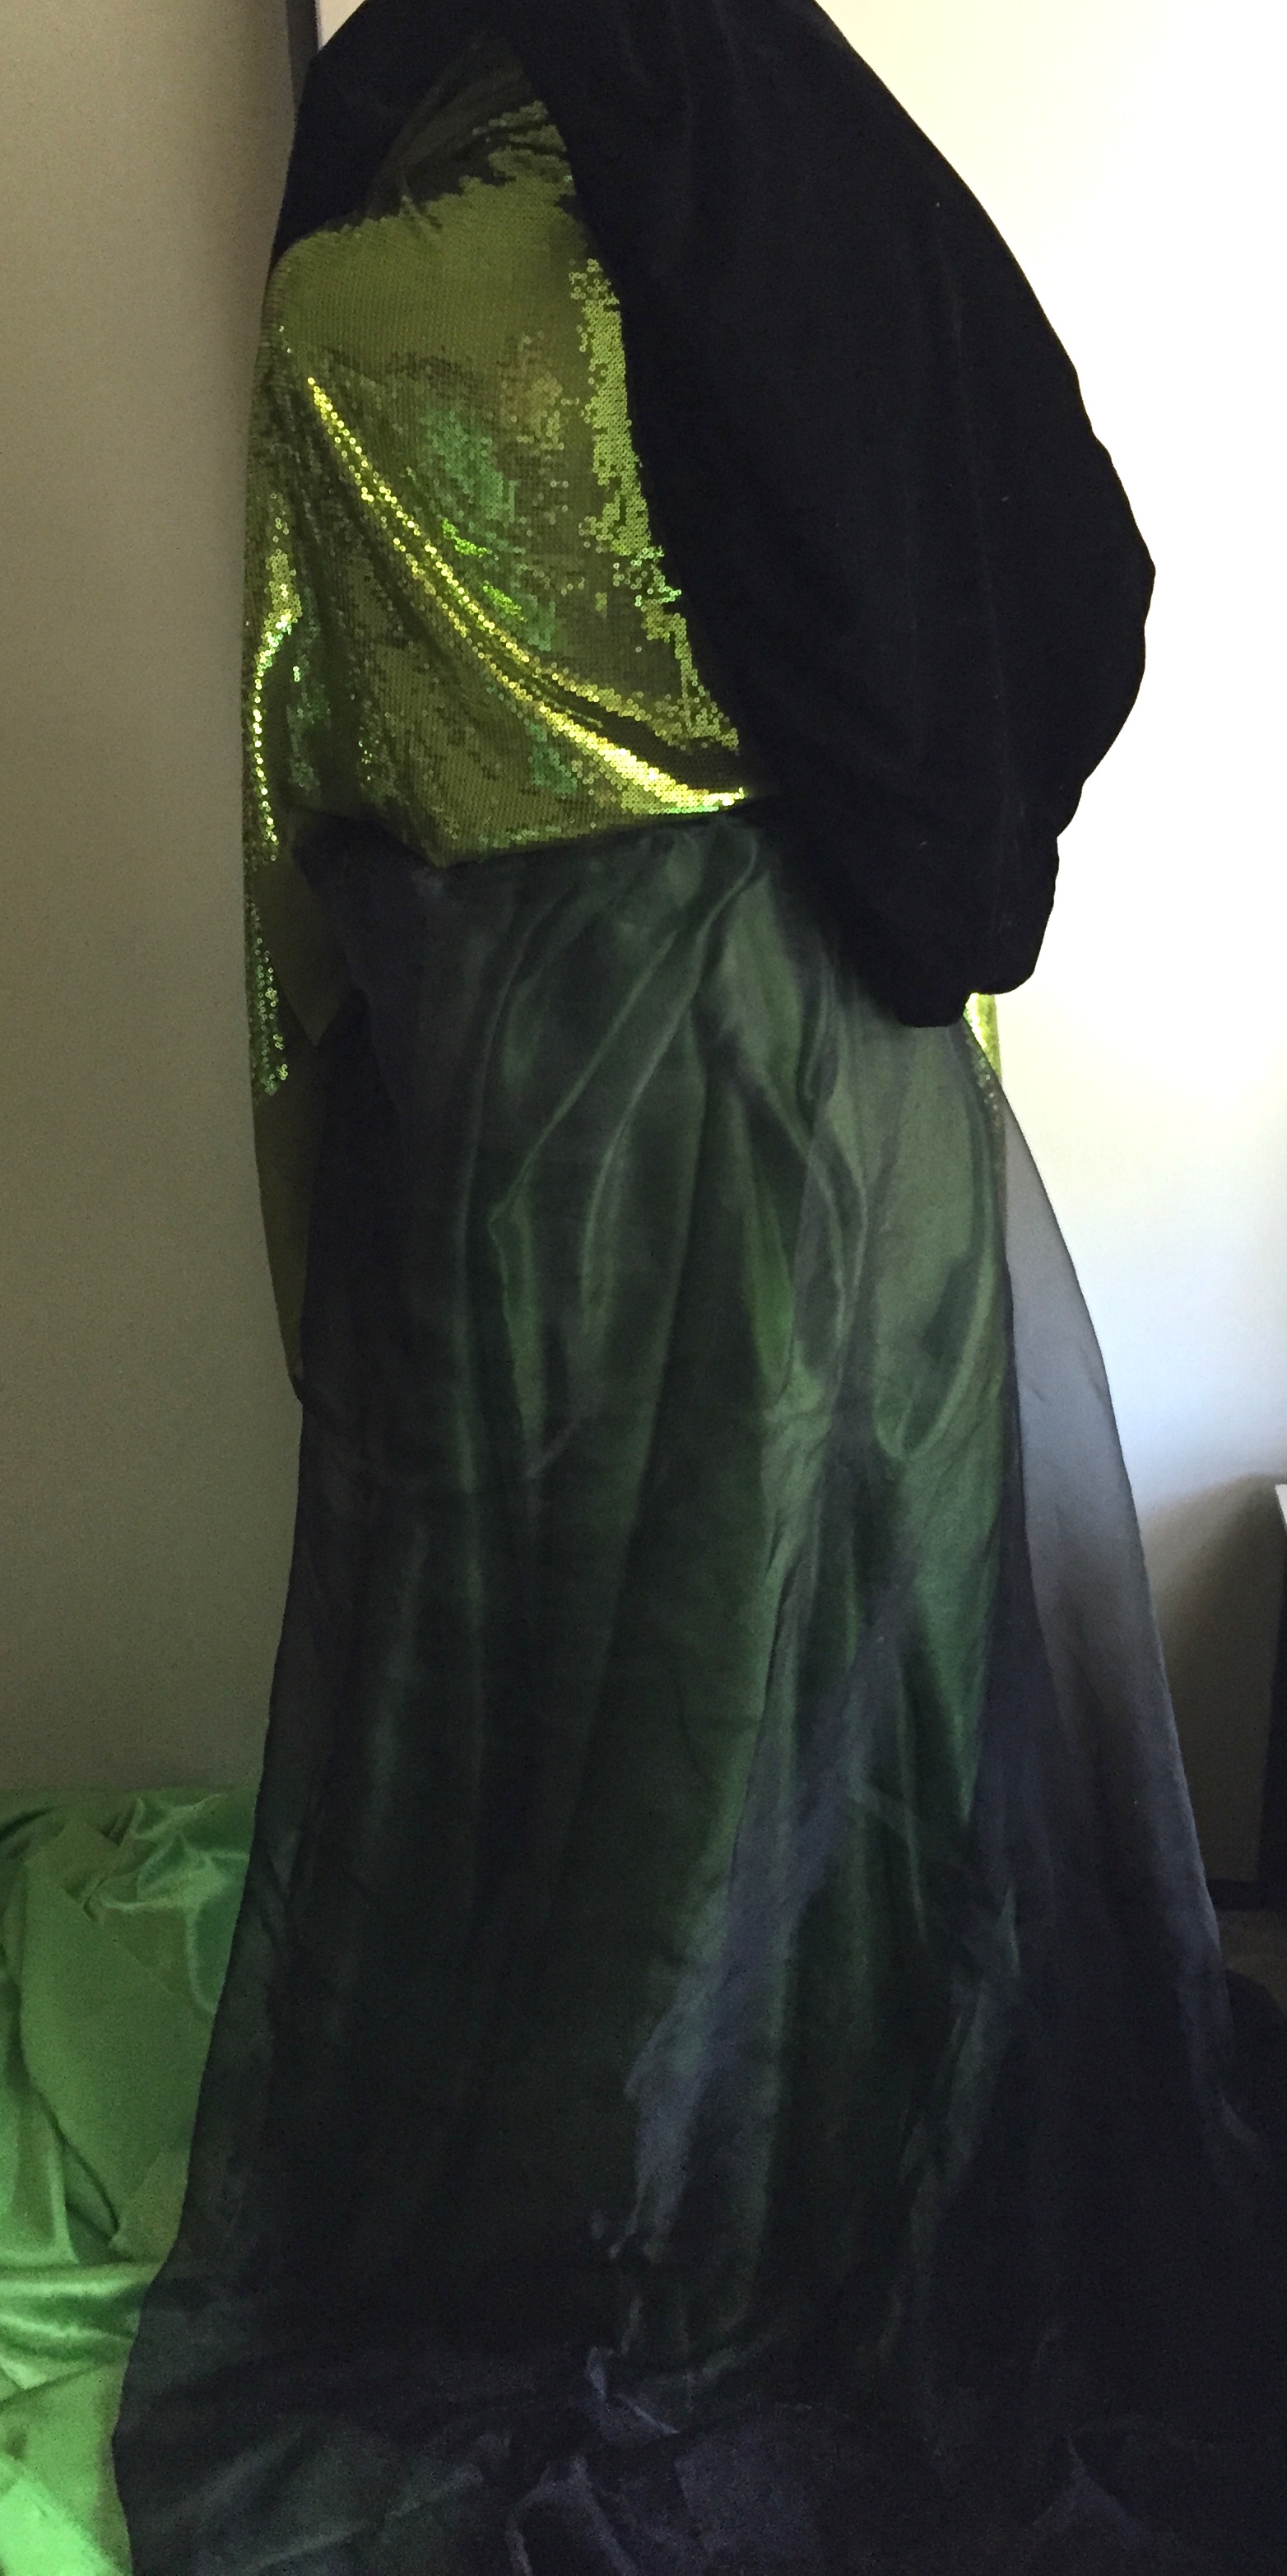
- black velvet column skirt
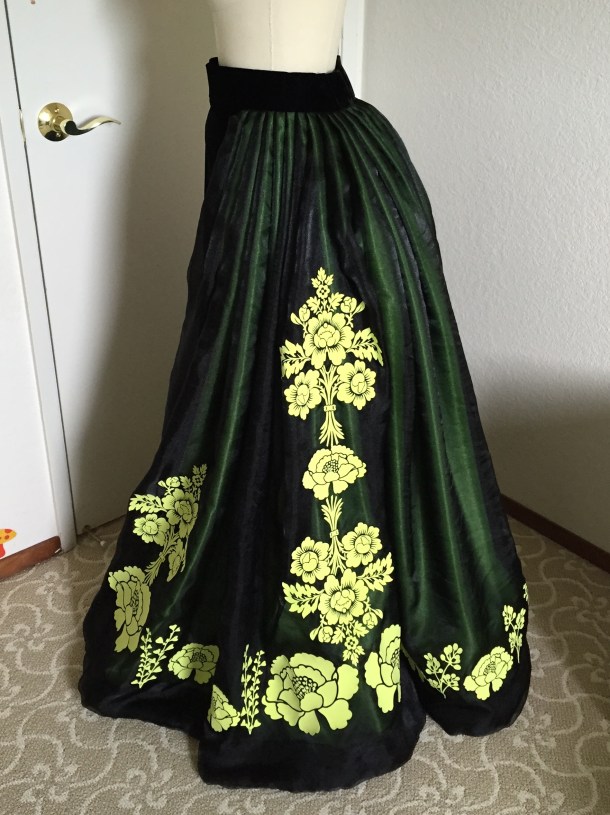
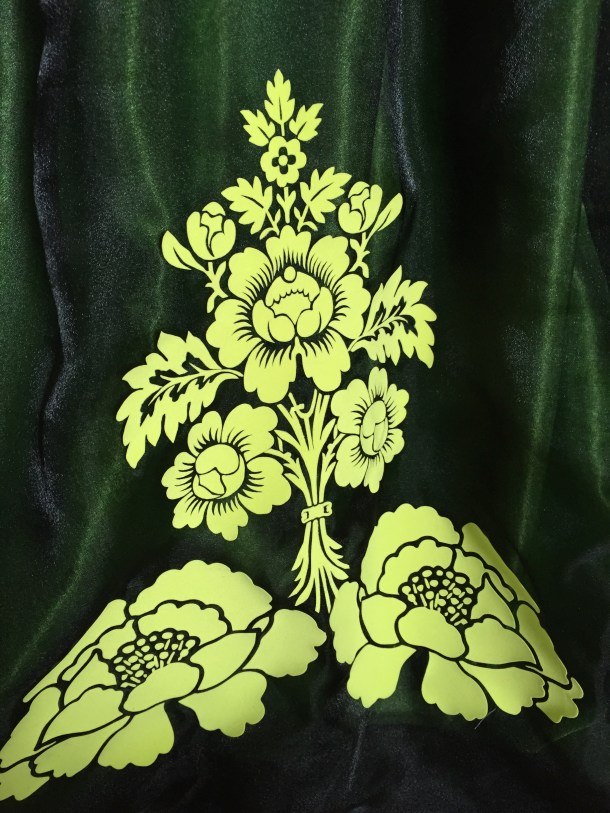
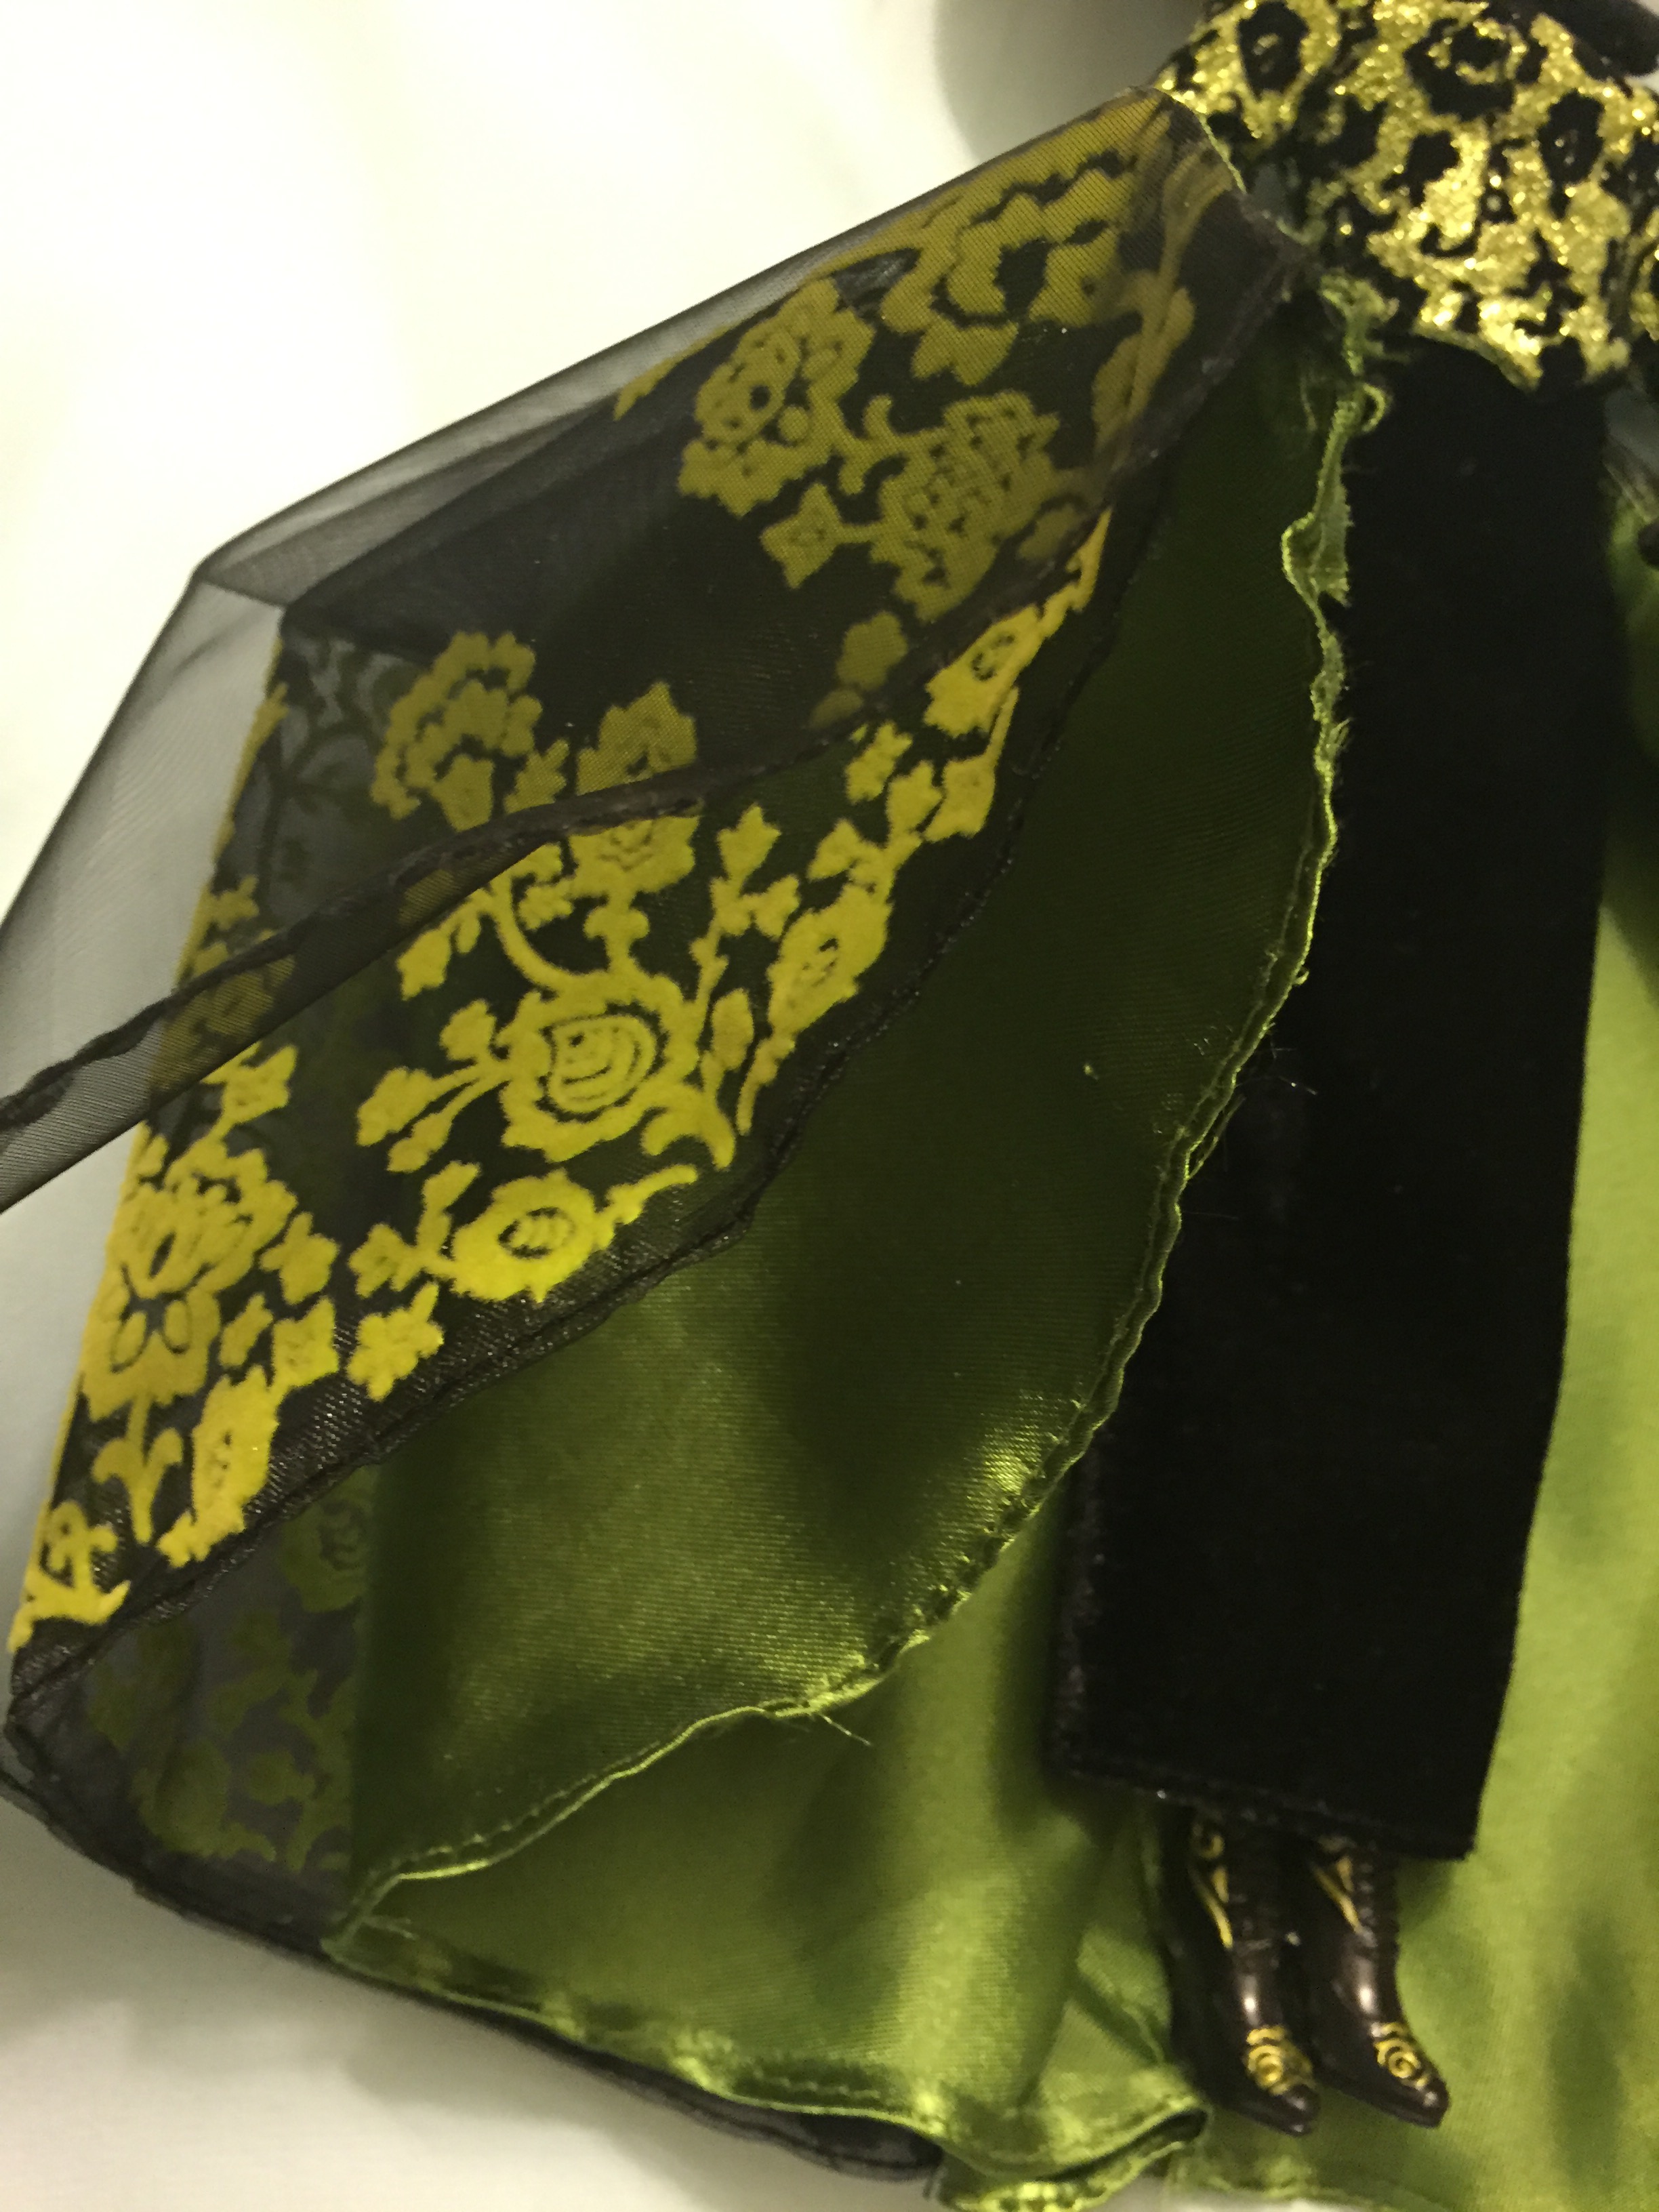
- overskirt with 2 layers of green satin and 2 layers of black organza, with green flocking appliques
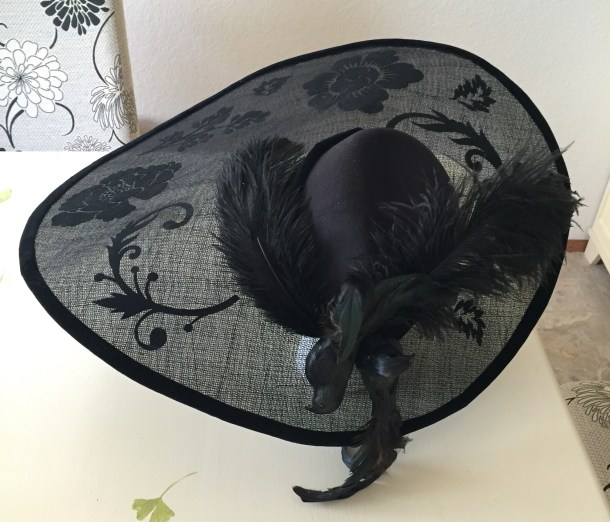
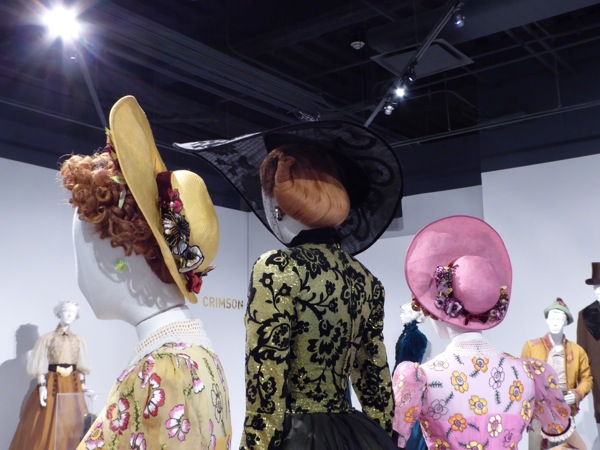
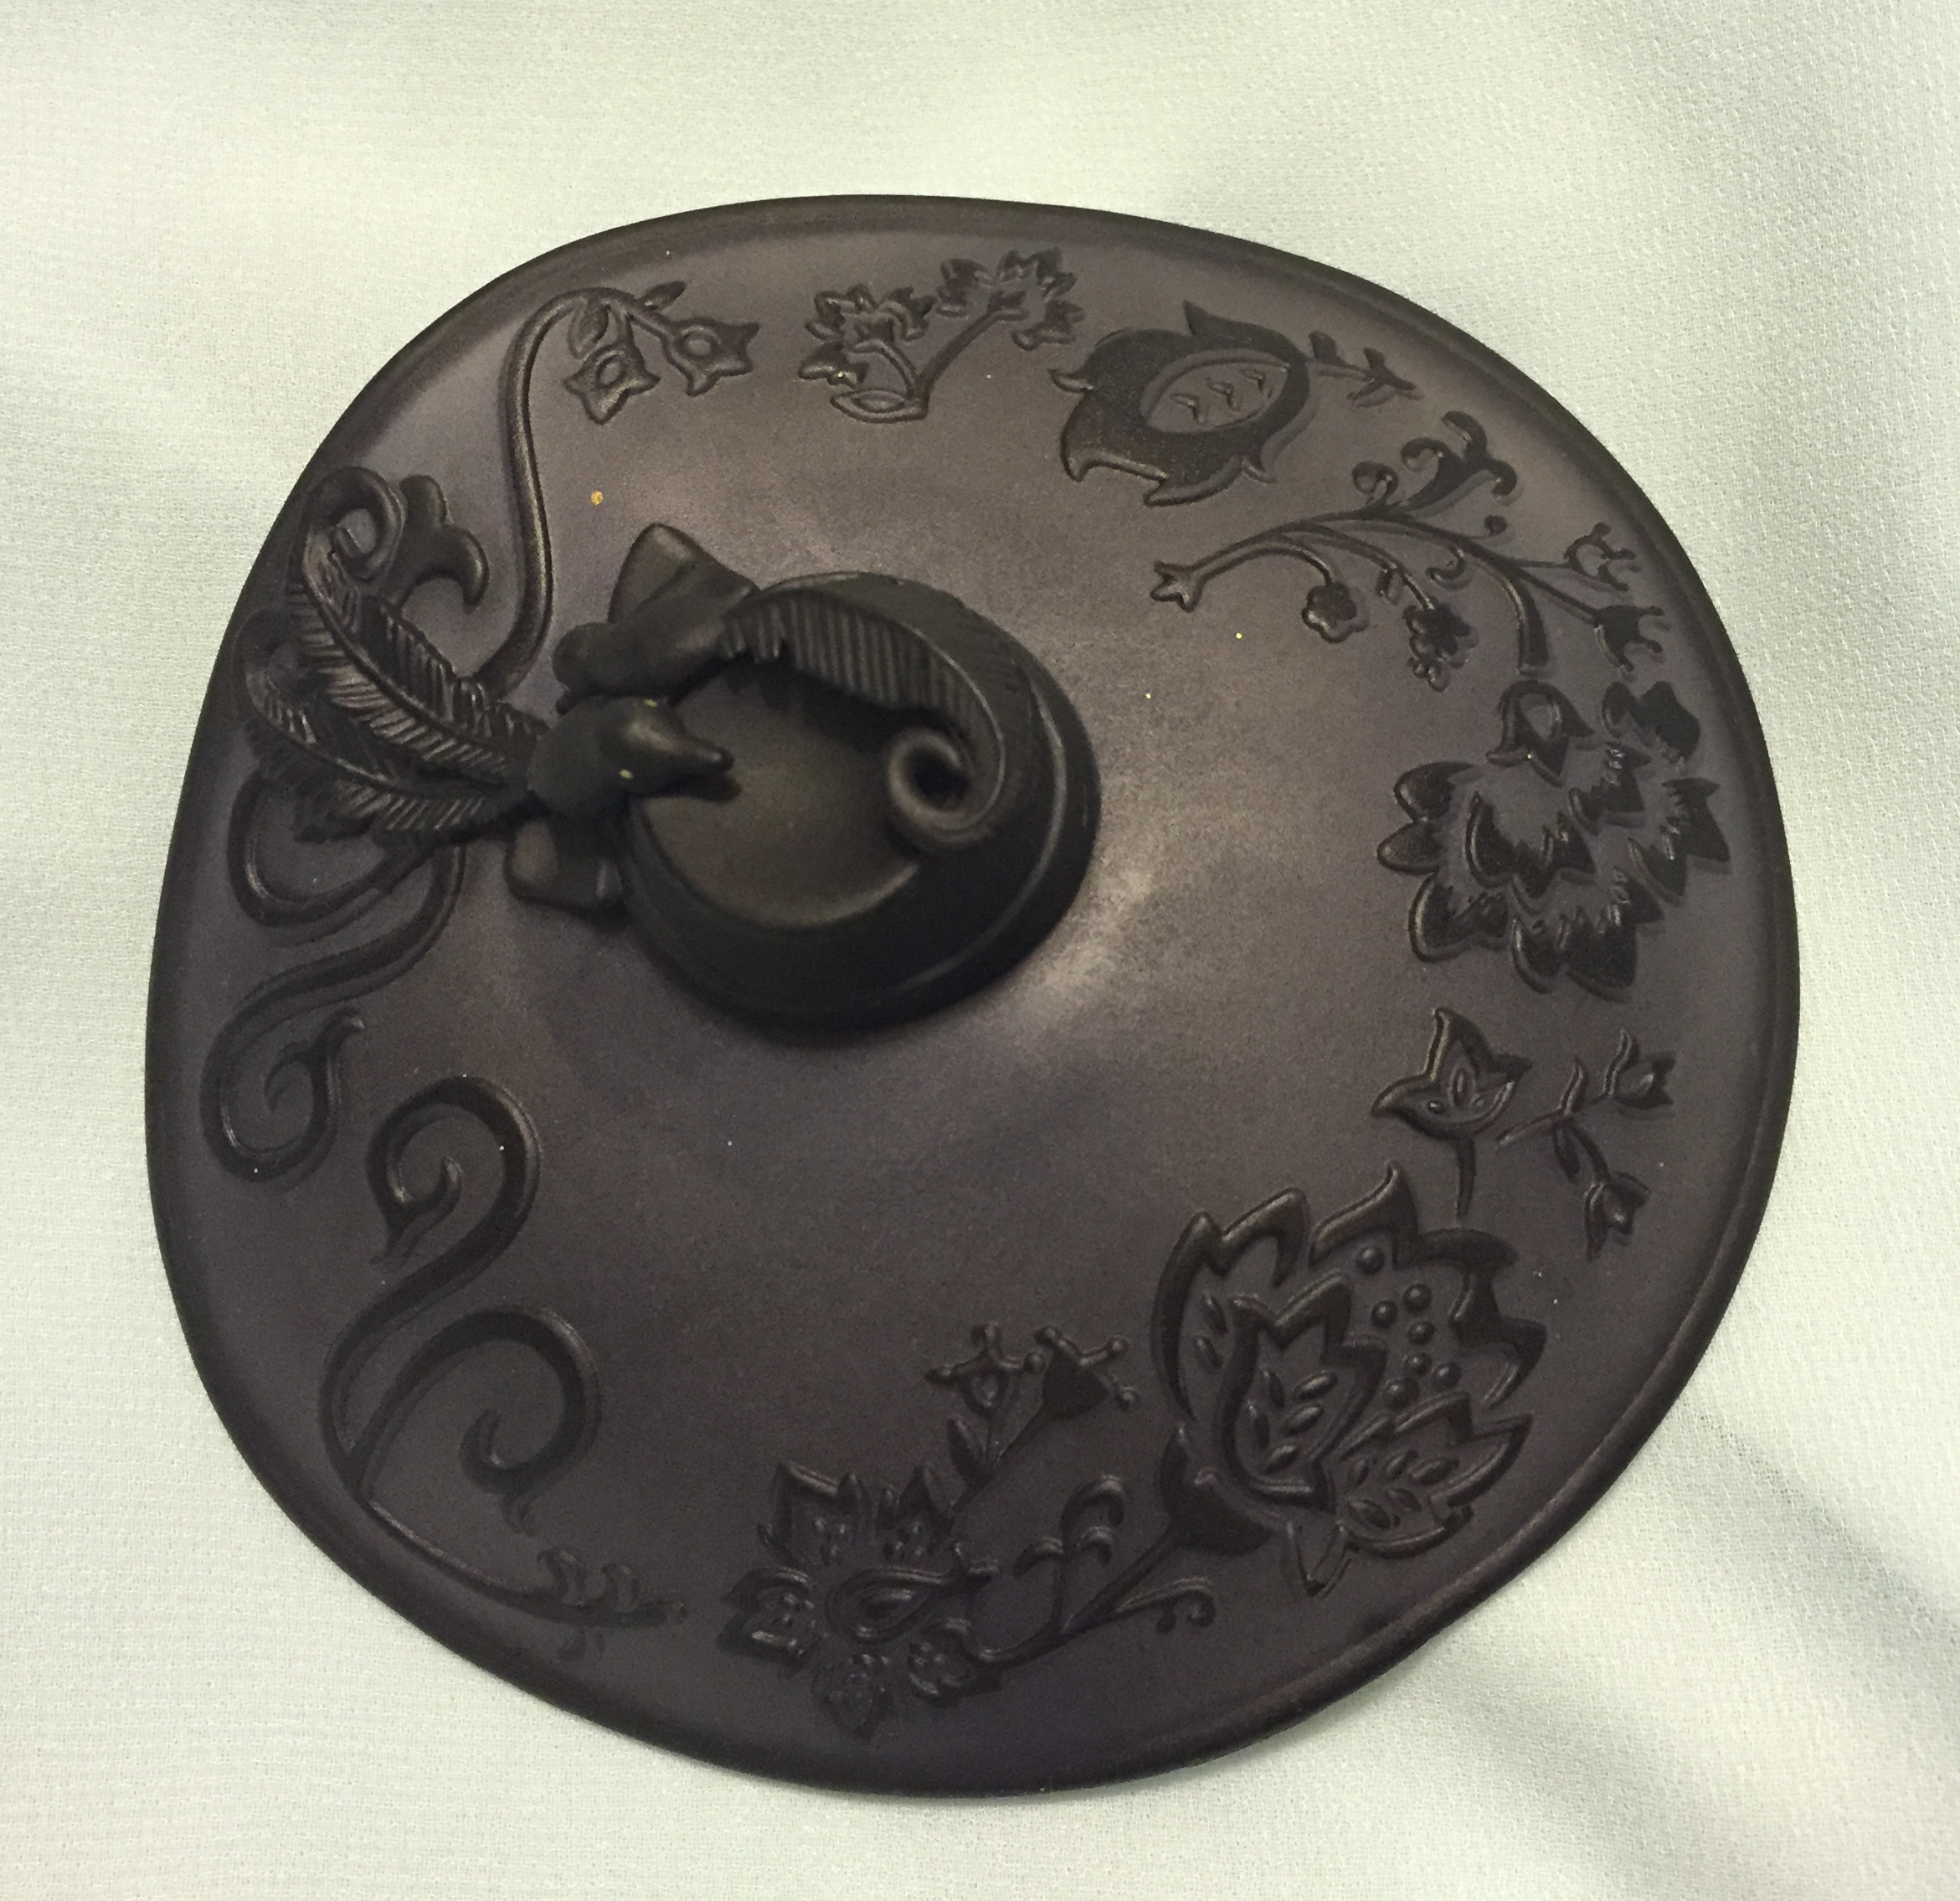
- giant hat with 2 layers of sinamay and 1 layer of organza, with black flocking appliques, feathers, and birds
- giant velvet bustle pad
- velvet scarf
- suede gloves
- citrine jewelry: earrings, brooch, bracelet
- wig


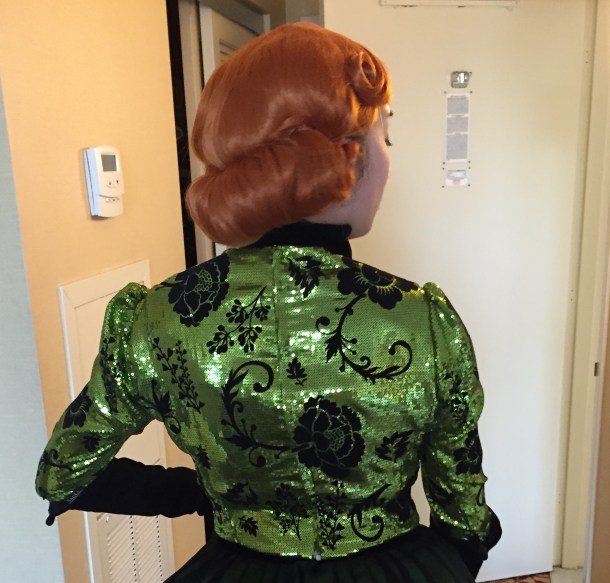
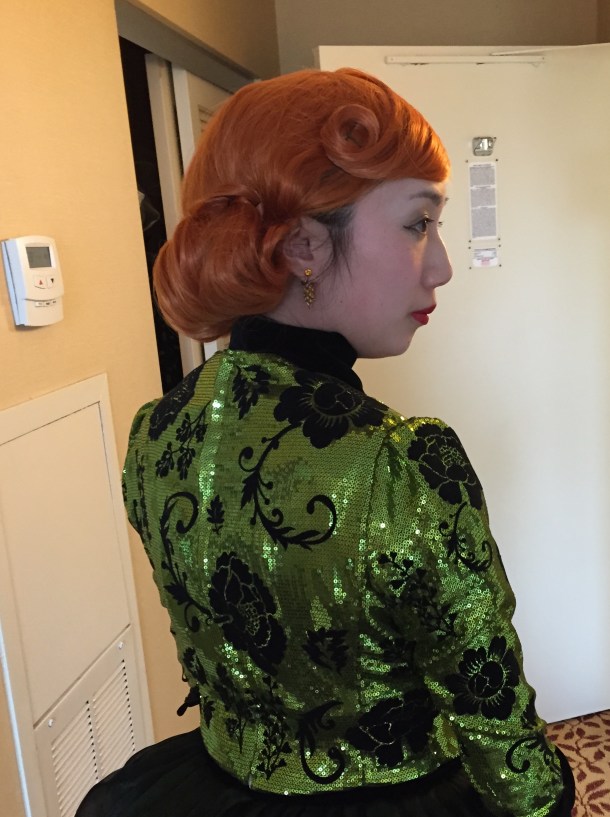
My wig was a little small for my large head, but my friend Natalie still did an amazing job styling my wig! She used a large hair rat to make a big roll in the back, then did a few pincurls. Here’s a few shots from the hotel room.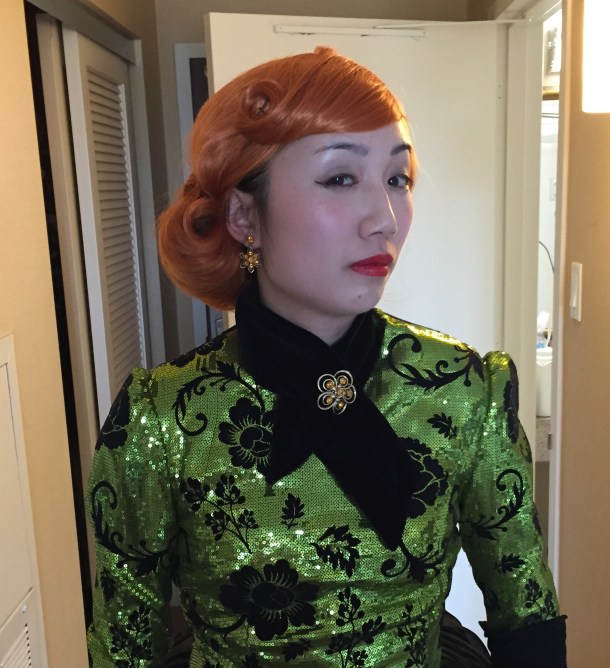
The earrings and brooch are vintage, while my gloves and bracelet are new.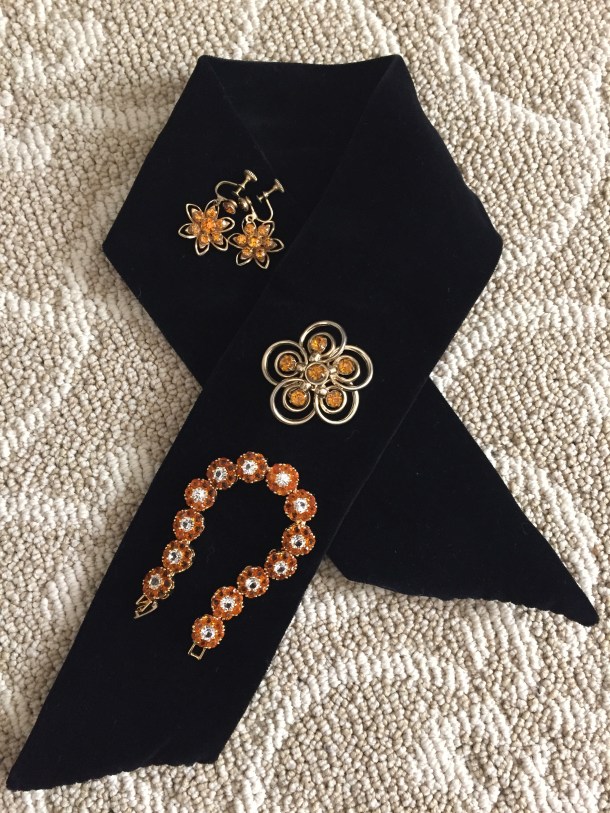

When lining up for the red carpet I ran into another Lady Tremaine!
I didn’t have time to put in boning, and I have terrible posture, so whenever I slouched you could see the bodice wrinkling. My improvements wish list for next time are boning, maybe some black crystals around the flowers (just like the movie version), and possibly a a larger wig.
At the end of the evening I found a shoeshine stand in the hotel to sit on. I felt like a shoe advertisement. “Lady Tremaine prefers American Duchess.” (I am wearing the black tango boots).
I am looking forward to wearing this again!
Ok, the final tally! I normally spend about $100 per costume, but this was a very special project, with its own special budget, and not something I would make every year. Some techniques were new to me, and there was also some trial and error, with some materials purchased but ultimately not used. So here is the list (including some Amazon affiliate links)!
Main materials ($240.14 total):
- 8 yards green crepe back satin: $23.92 (from Fabric Wholesale Direct)*
- 10 yards black crystal organza: $19.99 (from FWD)
- 2 yards black micro velvet: $17.98 (from FWD)
- 2 yards silky habutai lining: $3.58 (from FWD)
- Shipping for above: $12.95 (from FWD)
- 2 yards sequin fabric: $29 including shipping (from Etsy)
- 5 yards green heat-transfer flocking: $51.80 including shipping from Imprintables Warehouse
- 2 rolls black heat transfer flocking: $31.64 (including tax from Amazon)
- 4 yards horsehair braid: $27.41 (from Fabric Depo, a local store)
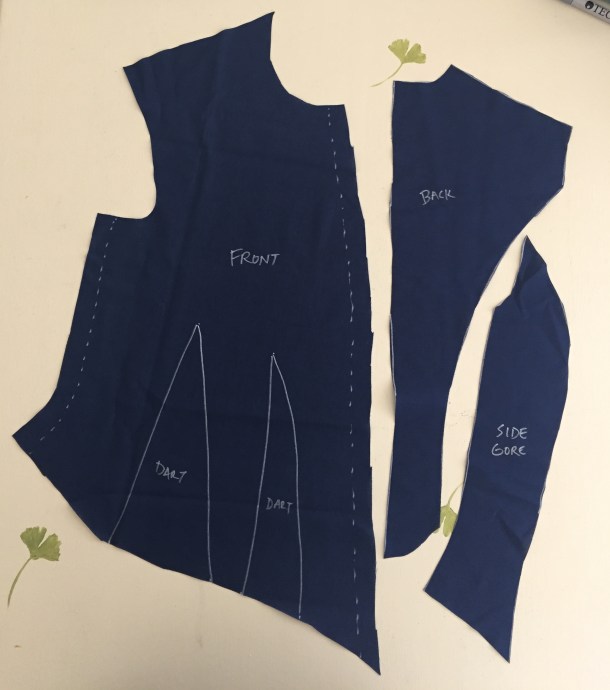
- Vintage Pattern Lending Library basque pattern: $15 including shipping (from a Facebook destash group)
- Green zipper: $6.87 including shipping (from eBay; I eventually got a different one from a friend but still paid for this one)
Not used ($76.80 total):
- 5 sheets neon green flocking: $21.95 including shipping (from Etsy)
- 10 yards black Mistyfuse:$21.85 (from Etsy and eBay)
- 2.2 yards green felt: $33 including shipping (from Etsy)
Hat materials ($77.56 total):
- 2 yards sinamay: $25 (from Judith M Millinery)
- 3 yards millinery wire: $2.85 (from Judith M)
- Shipping: $8.10 (from Judith M)
- 1 roll black heat transfer flocking: $15.32 (including tax from Amazon)
- 1 small can Krylon spray paint: $2.42 (including tax, with coupon from Michael’s)
- black ostrich feathers: $8.20 (from Amazon)
- 2 fake birds: $6.15 (including tax, with coupon from Michael’s)
- Wool hat for crown: $9.52 (from Amazon)
- vintage veiling: $0 (gift from Lynne)
- velveteen scraps: $0 (gift from Lynne)
Accessories, not including shoes ($70.87 total):
- Vintage brooch: $17.22 including shipping (from eBay)
- Vintage earrings: $11.95 including shipping (from Etsy)
- Citrine bracelet: $7.18 including shipping (from eBay)
- Black suede gloves: $13.63 including shipping (from Aliexpress)
- Grass green tights: $8.90 including shipping (from Amazon)
- Long orange wig: $11.99 including shipping (from Amazon)
- Scarf: $0, made from scraps leftover from the hat process
FINAL COST: $465.37 (holy crap)
FINAL COST – NOT USED: $388.57 (getting better)
*Fabric Wholesale Direct very kindly gave me all the satin, organza, and velvet for free in exchange for two tutorials I wrote for the velvet skirt and the overskirt so if I subtract out what they gave me . . .
FINAL FINAL COST: $310.15 (slightly less scary, but still not a frequent endeavor)
And 40 yards of materials!
If you’ve made it this far, thank you for reading this monster post! Stay tuned for posts from 4 days of Costume College!
Previous posts:
- Lady Tremaine Costume Analysis
- Lady Tremaine Part 2 (Underskirt and more)
- Lady Tremaine Part 3 (Overskirt)
- Lady Tremaine Part 4 (Finished overskirt)
- Lady Tremaine’s Bodice (Mockup process)
- Lady Tremaine’s Bodice
- Lady Tremaine’s Hat
- Lady Tremaine and Cinderella Costumes at FIDM


 12-14-19")
