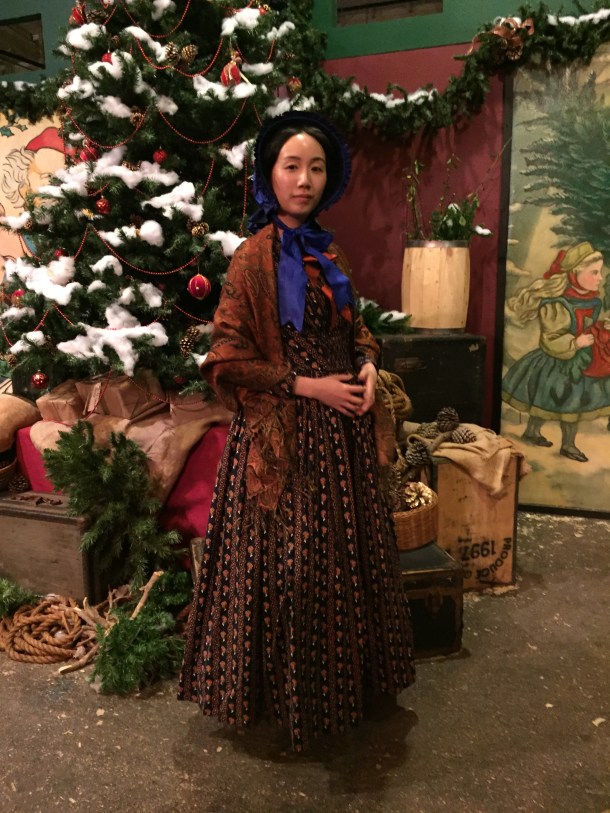
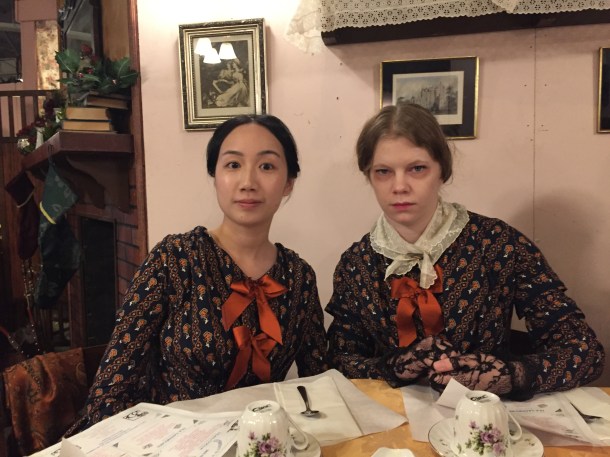
I have been so busy sewing a new 1840s Victorian dress the last several weeks that I didn’t even make any progress posts, so this will be a long one with lots of pictures and information about the pattern, accessories, hair, and such. I started sewing after my last visit to the Dickens Fair at the beginning of the season wearing my 1850s plaid silk dress, so this dress only took a few weeks!
I made an 1840s fan front day dress out of a wonderful reproduction cotton print by Andover Fabrics, based on an antique quilt housed at the University of Nebraska. It’s a very nice machine-washable fabric that doesn’t seem to wrinkle much. I was able to take this out of the dryer and not iron it before sewing!
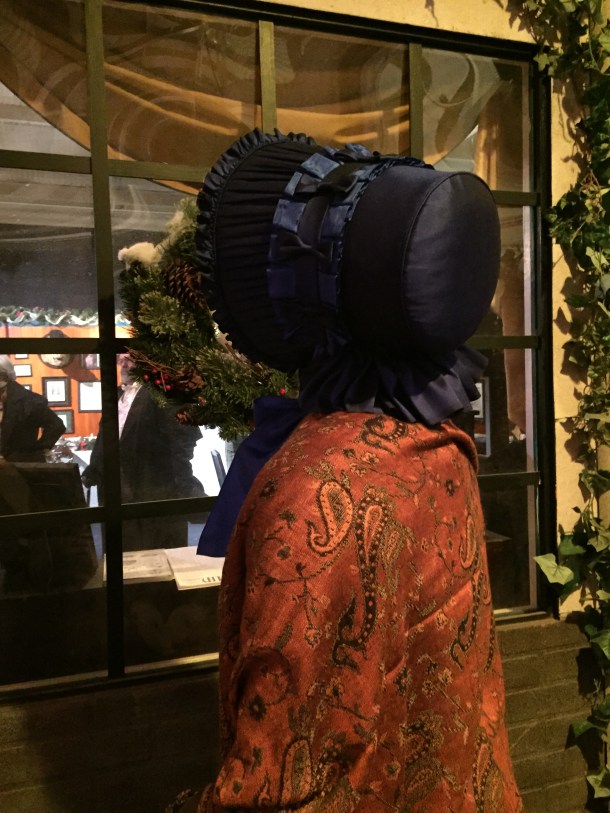
I wore my dress with a cashmere/silk paisley shawl and a gorgeous sapphire silk taffeta bonnet made by my friend Lynne Taylor (more on that later).

I apologize for the quality of the pictures; the lighting at the Fair is terrible. I do have detail shots taken at home following these photos.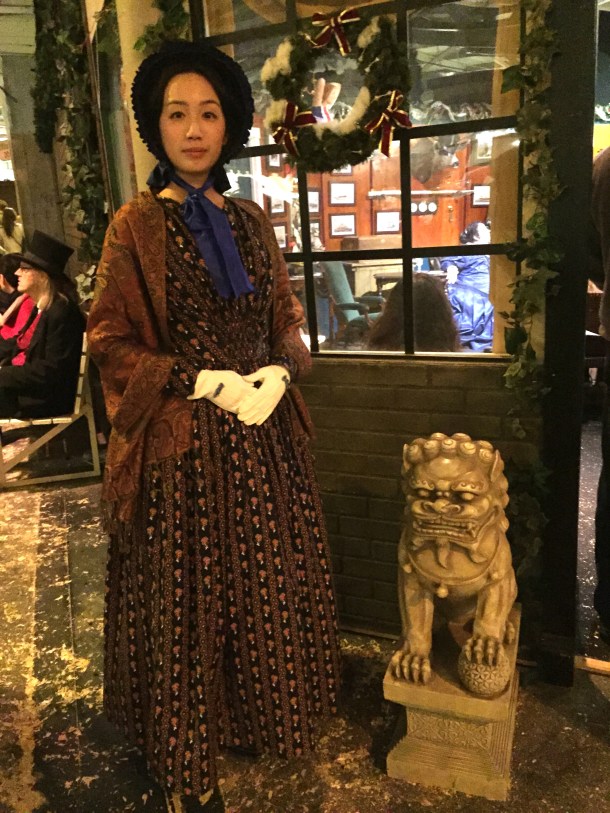


I wish I had darker gloves; I think the white gloves look rather stark against the navy and orange.
I put piping in the neckline and bottom of the bodice, but it gets lost in the dark and busy print, so I didn’t bother piping the shoulders and sleeves.
The front is gathered into the shoulders.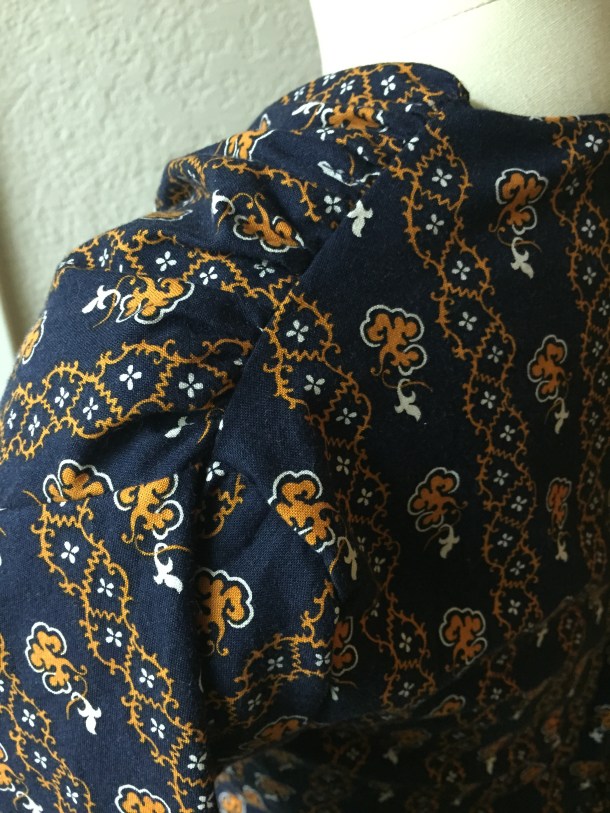
The back closes with 8 black hooks and bars. My husband was complaining they were hard to see when he helped me get dressed.
The side panel is cut on the bias, so I couldn’t quite get the pattern to match up.
I am pleased with how invisible the hem came out.
I ended up with more leftover fabric than I anticipated according to the pattern. I didn’t know this when cutting out the panels, so my hem facing is only a few inches deep this time.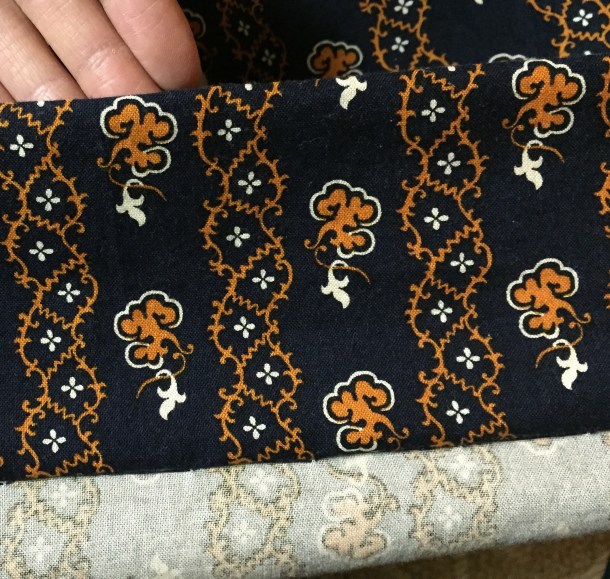
Can you see the pocket hidden in the side seams? The pattern has huge deep pockets and I put one on each side. It was actually a little awkward trying the reach the bottom of the pockets, but I was able to hold my wallet, phone, keys, fan, water bottle, tissues, a snack, a tin of hair pins, a schedule, and my ticket!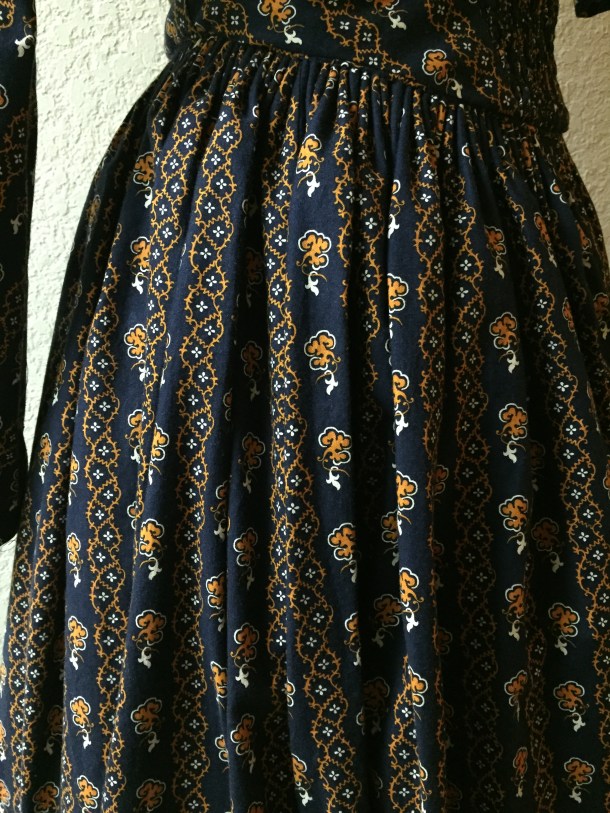
I used the Laughing Moon Round Dress #114 Pattern. It is a decent pattern, but I recommend some changes if you use it:
- The shoulders are very broad. I had to take mine in at least 2 inches and adjust the armscye. Two friends of mine also used this pattern and had to do the same.
- There is a lot of fabric in the front bodice overlay, and I think you can get a more flattering shape if you increase the gathering. The pattern calls for 7 rows of gathering in the center bottom front, but I tripled that. I added extra rows in between the original rows, and additional rows above it so that the fan rises higher.
- I saw a few reviews that said the sleeve is a bit wide, and one friend said it is a bit short too. If you like a more tightly fitted sleeve you’ll need to adjust the pattern. (I ended up reusing the sleeve pattern from my chemise dress, with some minor changes, but I still cut the sleeves on the bias).
- If you have a 45 inch fabric the pattern recommends cutting 3 panels of that, plus a 13 inch wide panel, and making a final hem circumference of 144 inches. Regardless of the skirt style I like to have 3 panels so I can have pockets in the side seams and one seam in the back for the opening, so I skipped the 13 inch panel. My skirt was narrower, but I wanted a smaller silhouette to navigate the crowded fair with.
- The pattern calls for boning in the darts of the lining. I gathered my fan so tightly that the front panel was already pretty stiff, and I made this dress to be machine washable, so I skipped that step.
The skirt is cartridge pleated, and I used gingham ribbon as a stitching guide, rather than tediously marking 2 rows of dots a half inch apart. Fold over the top of your skirt like you normally would when cartridge pleating, then lay the ribbon over the fold. Use the little squares as a guide for your rows of stitching, and the ribbon will be sewn to the skirt. When you are done, the ribbon remains, and also adds extra body to your pleats!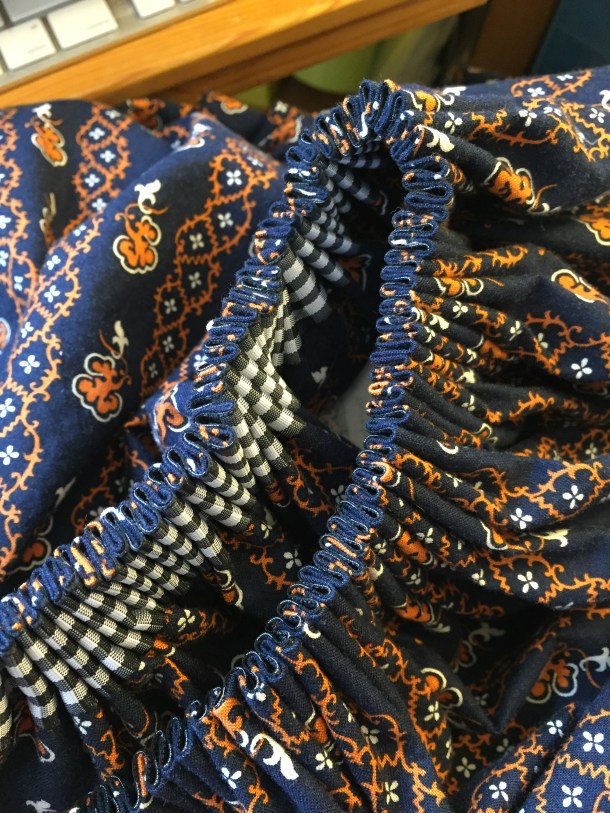
As I mentioned earlier, my coal scuttle bonnet was made by Lynne Taylor. She is a very talented milliner and did a lovely job. The bonnet is wired buckram, covered in sapphire blue taffeta. (It is much brighter than it appears in the pictures). The inside and outside are pleated, and the top of the crown is double piped and padded. There are little bows over the moire ribbon that circles the middle of the crown, and the same moire is used for the ties. 
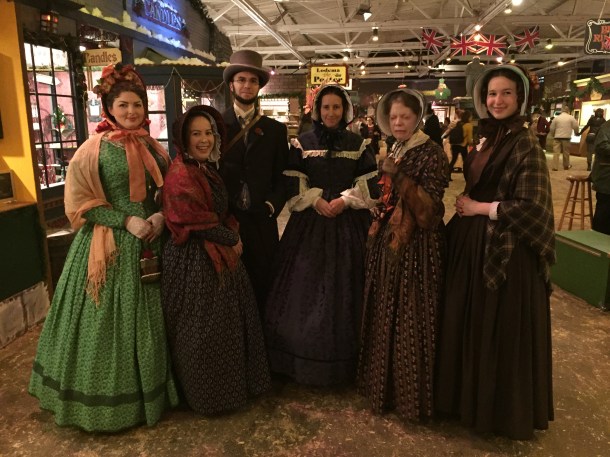
I was delighted with the whole ensemble, and will gladly wear it again to fair next year (and to Costume College as well!)
For my hair I tried to fake the 1840s style. I took a large section of hair on each side of my head and coated it with lots of mousse, then curved it gently forward and then up, and then pinned it to the side of my head. I then did my usual little bun on the back of my head, covered with a big fake braided bun. Since most of my hair is covered by the bonnet all you see are the “droopy puppy ears” and not the messy mass of bobby pins on my head and doesn’t matter if the rest is not appropriate to the decade.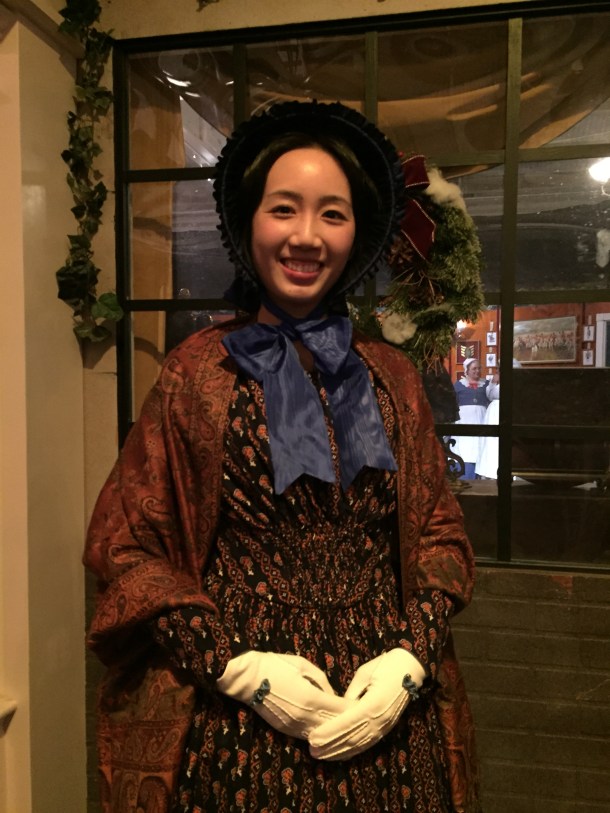
Final cost of the dress, minus accessories:
- 7.25 yards cotton fabric: $50 + $12.65 shipping (from destash group on Facebook)
- Bodice lining left over from other project: $0
- 1 roll gingham ribbon: $2.99 plus tax (from Michael’s)
- 1 hank nylon parachute cord for piping: $1.79 plus tax (from Michael’s)
- 1 package skirt hooks and eyes: $3.74 (from Amazon)
- Pattern: $18 (from Amazon)
Edit (I forgot to add in the pattern!) TOTAL: $89.34
The dress was worn over 4 petticoats (1 ruffled, 1 corded, and 2 flat) that I already owned for other outfits.
I still have 1 yard of the printed fabric left. Normally I would want an evening bodice when I have leftover fabric, but the cotton is not right for that, and the skirt is gauged onto the bodice, so I will have to figure out what to do with it!


 12-14-19")
