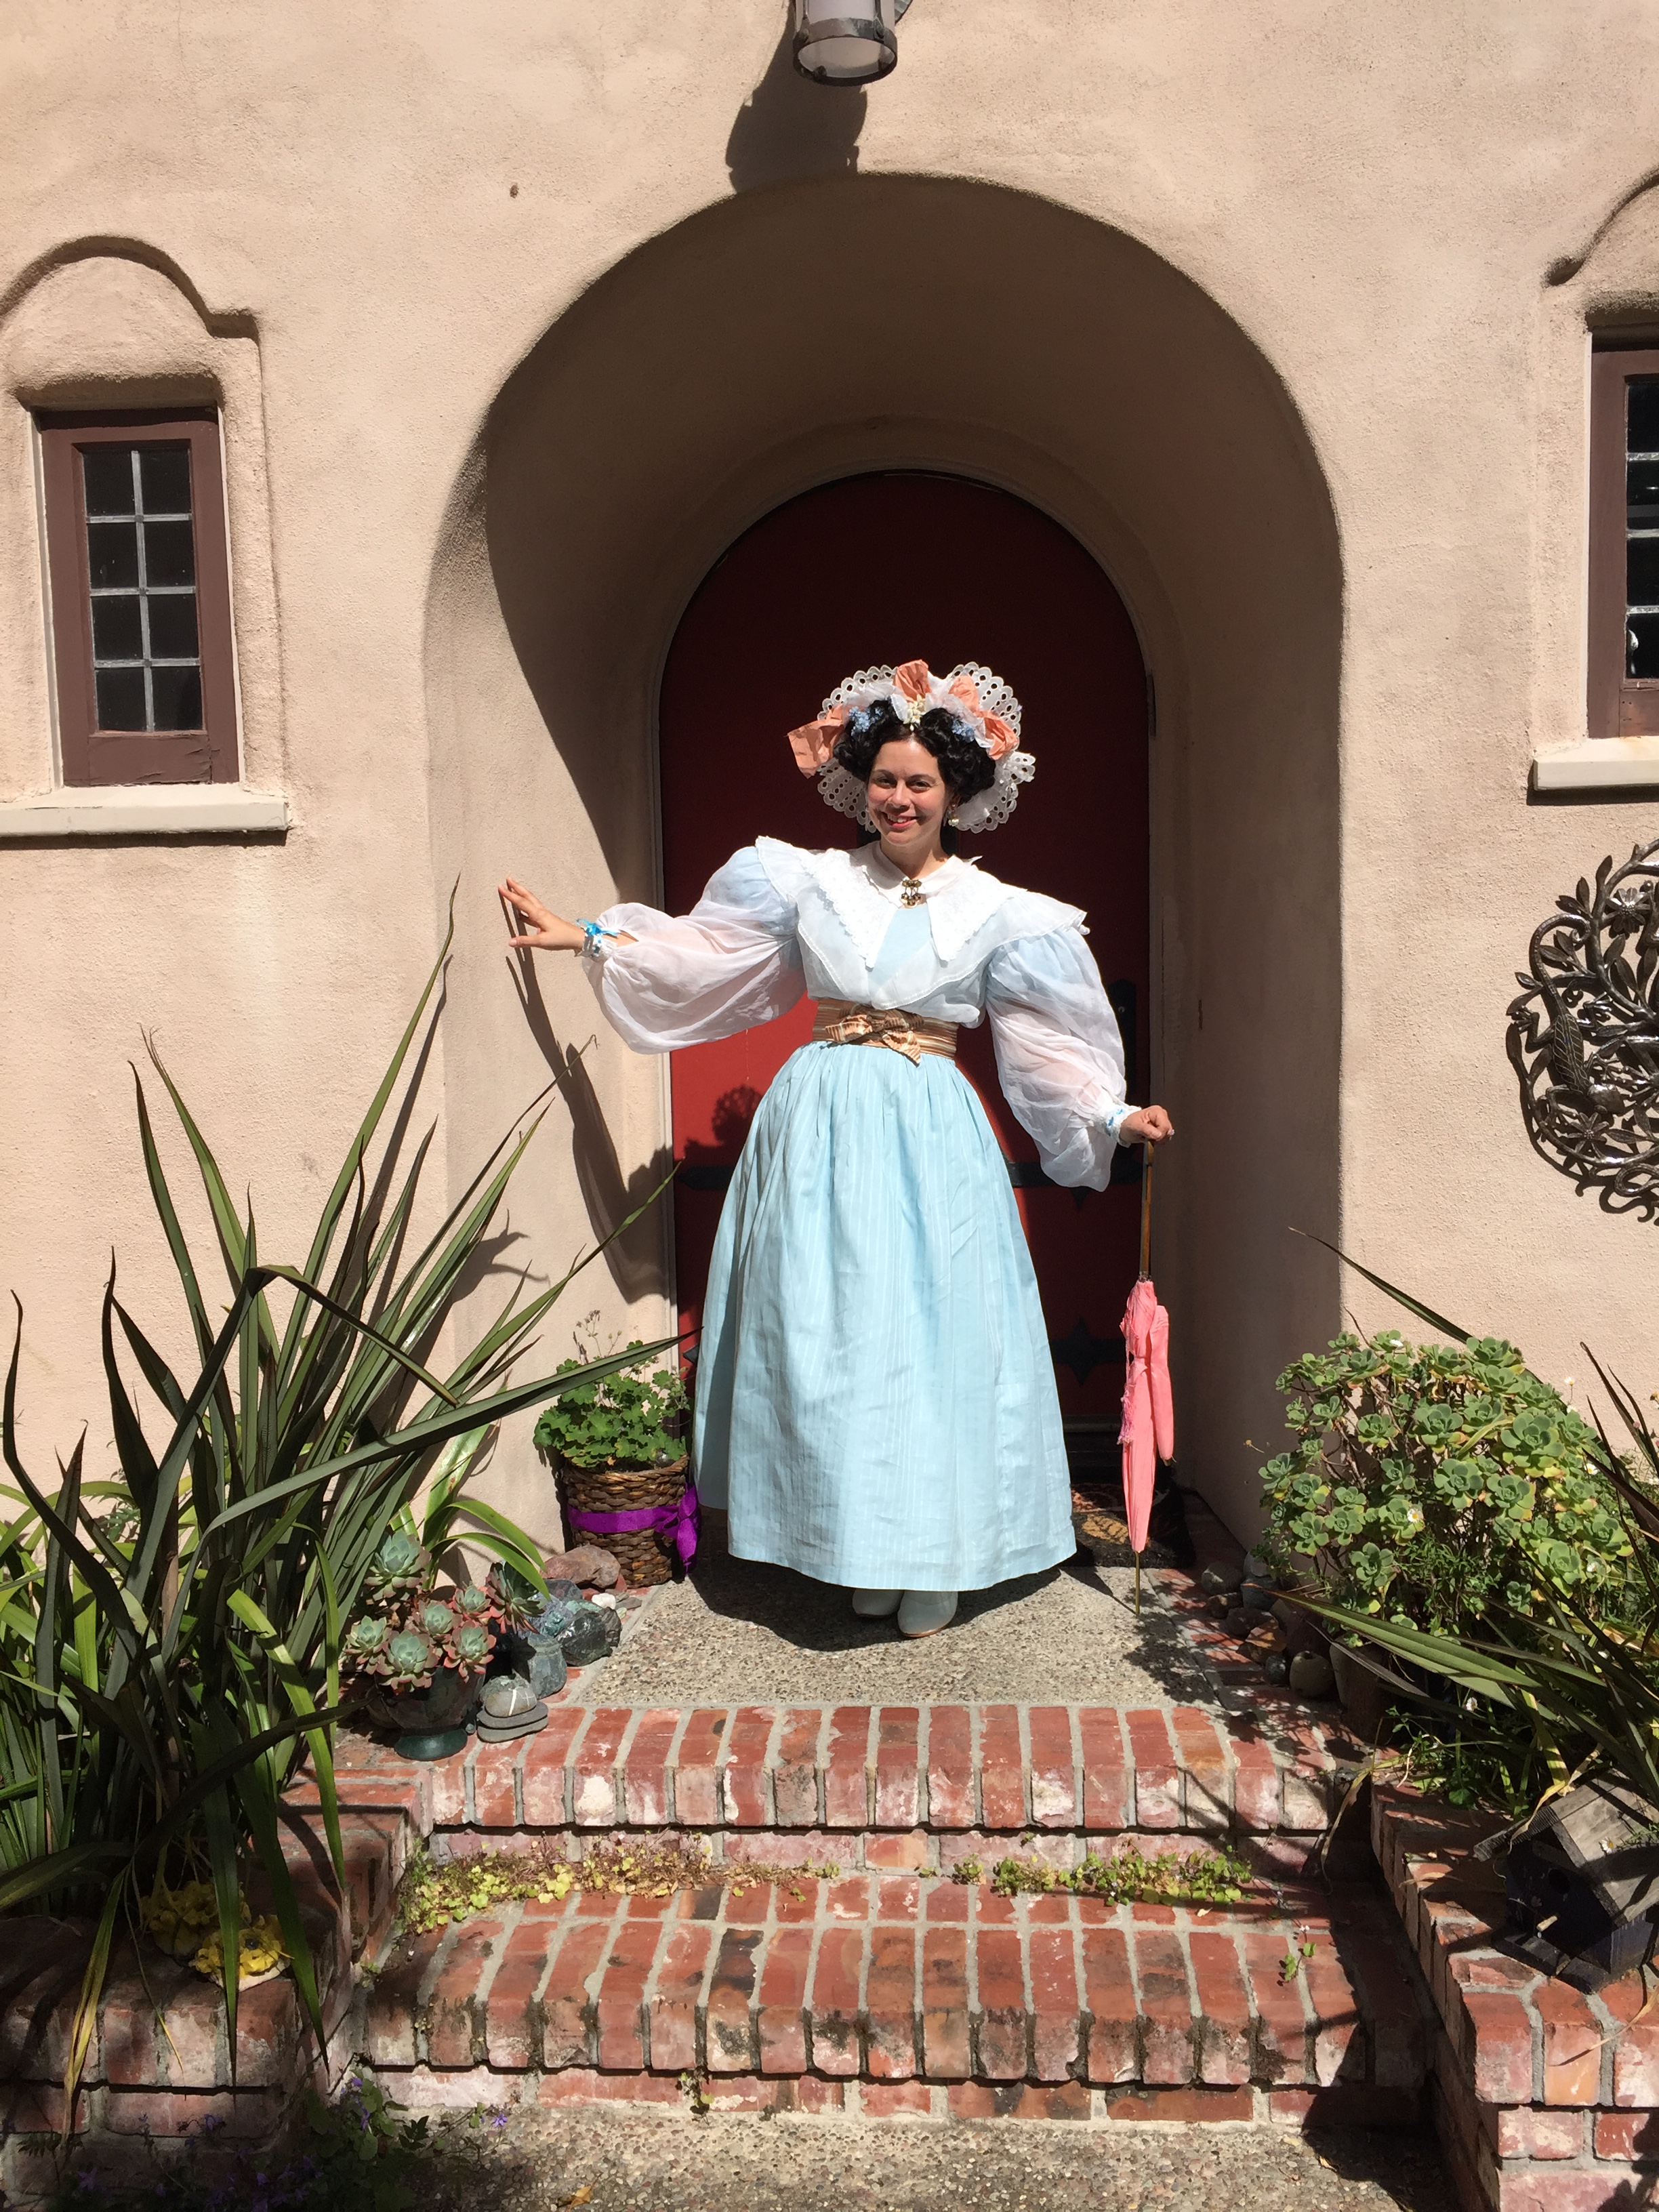
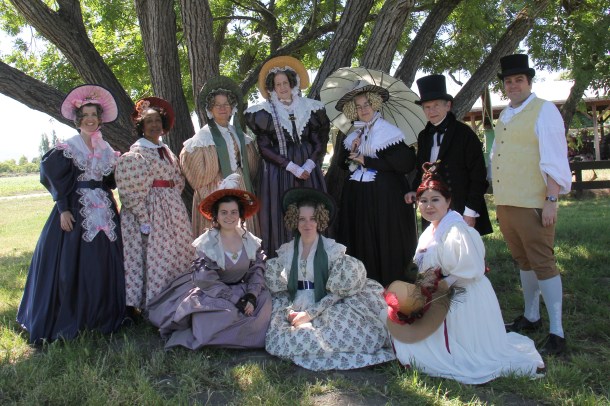
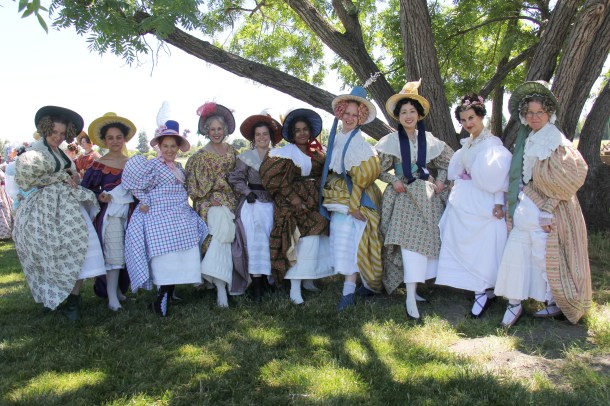
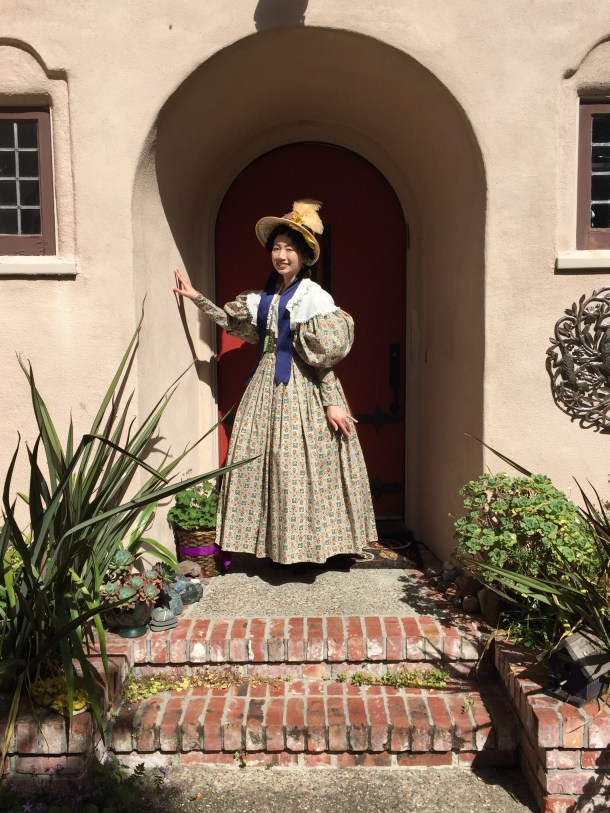
In February my local costume guild went to see an exhibit of James Tissot paintings at the Legion of Honor Museum in San Francisco, and we dressed up in bustle gowns. The exhibit was wonderful and it was lovely to see my fellow costumers.
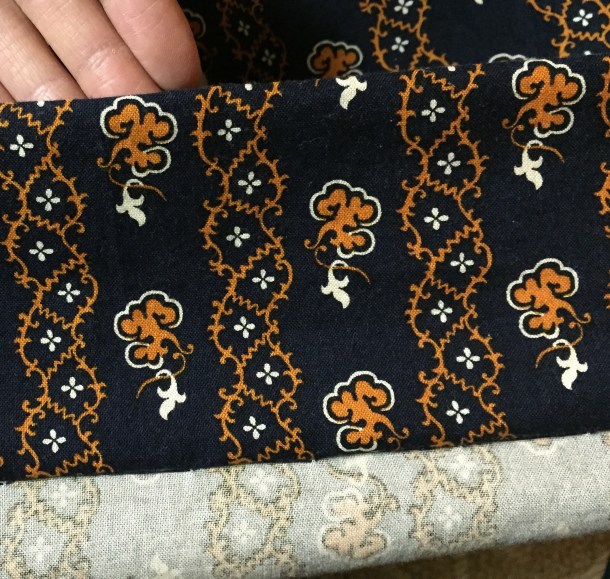
I made myself an 1870s bustle dress using pink and white striped floral cotton and the Victorian Seaside Dress pattern from Black Snail Patterns.

Photo by John Carey Photographic
I used a cotton that was very lightweight which helped the fluffy bustle layers stay fluffed!

Photo by John Carey Photographic
My shoes are American Duchess Tissot shoes that I dyed blue and made shoe clips for out of my fabric scraps.
The blue trim is pleated grosgrain ribbon, which I put on the collar, cuffs, belt, and skirt flounces. I made my hat using a palm fan (more on that later in this post)!
My buttons were made using vintage fabric over vintage covered button kits. (The bodice actually closes with hooks and bars and the buttons are decorative). I prefer this technique because it means I can adjust the fit more easily and I don’t have to make a lot of buttonholes!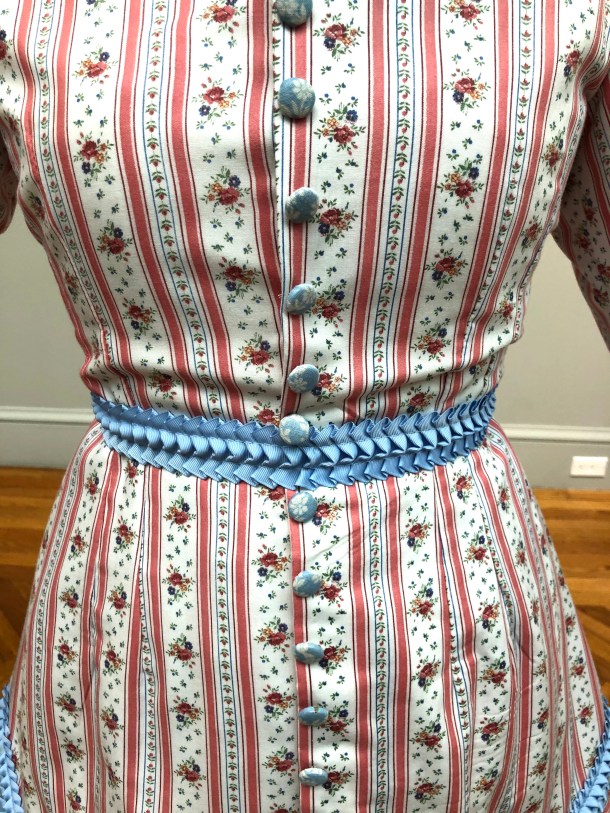
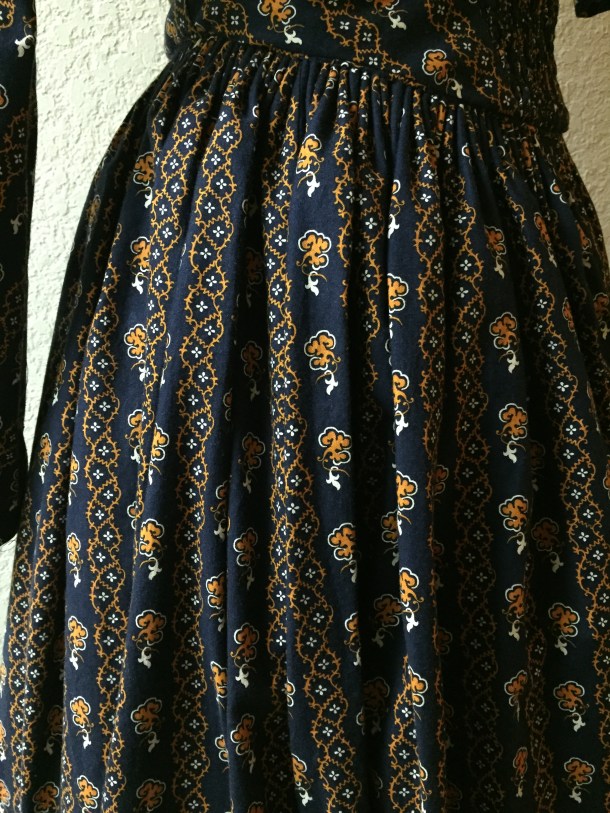
I recommend the Black Snail pattern. It consist of a bodice with an attached “apron,” a skirt, and long sleeves. The bustle effect is achieved by having ruffled flounces on the apron and skirt, and by having hidden ribbon ties underneath the apron.
The pieces all fit together well and the sizing chart was accurate. I was impressed that even the very large pieces of the skirt panels fit together, which means the pattern was graded well.
The sleeve is an 1870s two-part coat sleeve with a seam down the elbow and another seam on the inside of the arm. It is loose-fitting and appropriate to the era, and the fullness of the sleeve head needs to be eased into the shoulder of the bodice.
I made some simplifications to the Black Snail pattern in order to speed up the project:
- I did not bother making a skirt placket and facing for the underskirt, since the top half is covered by the apron overskirt anyway.
- The pattern calls for the back half of the underskirt to be cartridge pleated into the waistband. I did regular pleats since the top would be hidden.
- I cut my flounces using the straight grain instead of on the bias like the pattern calls for. This is so I could use the selvedge instead of hemming the many yards of flounced fabric. However, this meant that my flounce stripes are horizontal instead of diagonal so you should cut on the bias if you prefer the diagonal. (The other reason why I used the straight grain is because I had limited fabric and the bias cut takes up more yardage).
- The bustle effect comes from gathering up the apron overskirt in the back with twill tape. The pattern asks you to sew pieces of tape to the bodice then sew buttons to strategic parts of the overskirt that get attached to buttonholes on the tapes. In order to skip making the buttonholes I just used tapes on the skirt as well to tie to the bodice tapes.
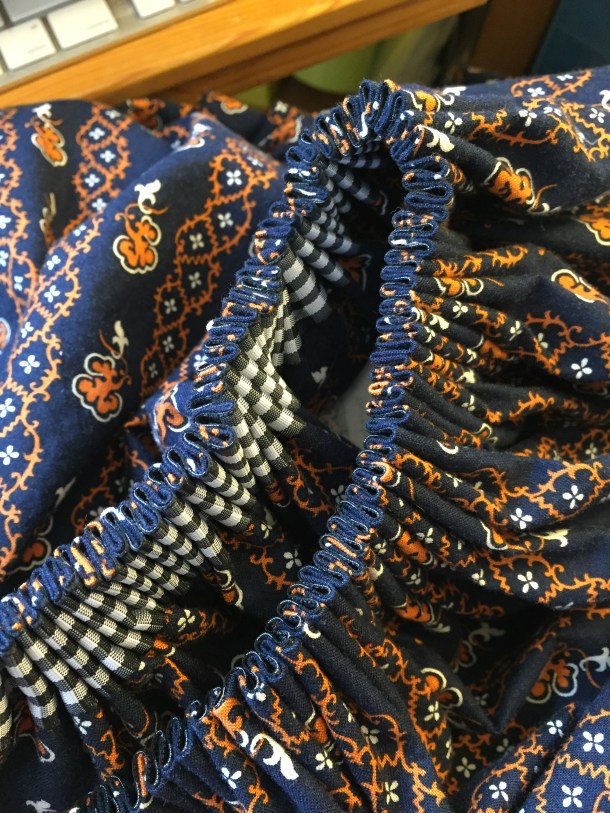
- The pattern calls for self trim to cover where the skirt and flounces meet. Instead of doing that I used purchased pre-pleated grosgrain trim from Amazon (affiliate link), which is available in other colors.
Just a warning: if you purchase the pre-printed pattern please make sure you have large paper around your house. There are some pattern pieces where you are told to extend the piece by up to 15 inches. (This was done by cutting a piece through the middle, inserting some paper, then drawing lines to connect the original pieces). I had to do this for a number of the larger pieces, and I didn’t expect to do so much assembly for a pattern I did not print at home. I’m not sure if the reason behind this was to save paper costs, but I would have gladly paid a little more for the pattern to avoid the extra work.
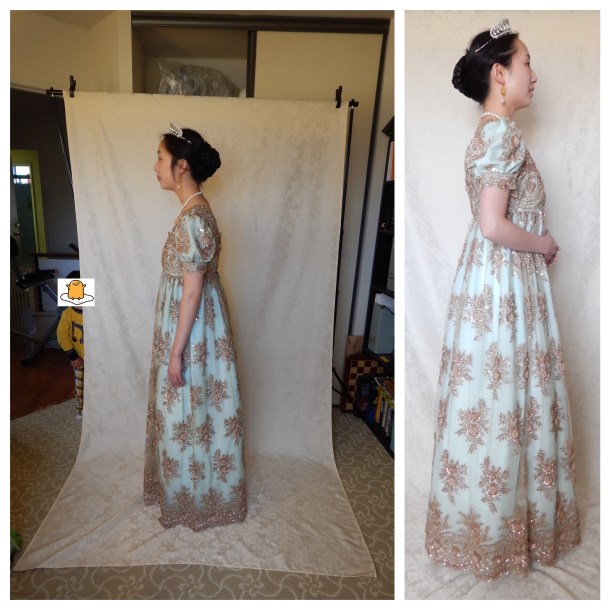
Here’s some photos I took of the dress in progress so you can see what the apron looks like up and down. 
Black Snail recommends 11 yards of 51″ wide fabric for this dress. I only had 9 yards of 42″ fabric but made it work by using straight grain flounces instead of cutting my flounces on the bias like the pattern recommends.
Underneath my skirt I wore a “phantom bustle” (made during a class taught by Christina Deangelo) and two antique petticoats.


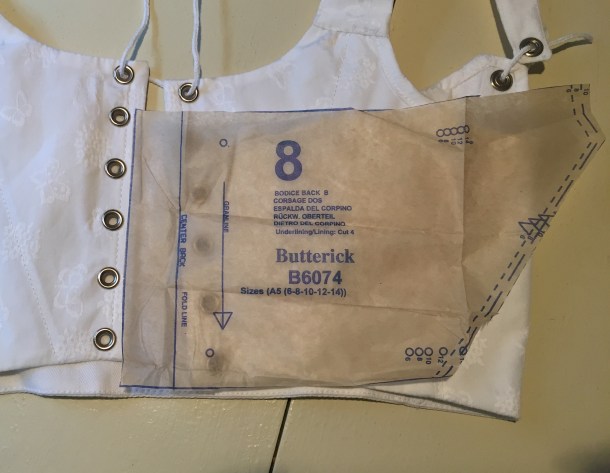
On top I wore this custom silk brocade late Victorian corset by Redthreaded. I own several other pieces by them and they are all very well-made. They offer both ready-to-wear and custom sizing and the owner Cynthia Settje is committed to great customer service and fair treatment and wages for her employees.

Photos by Redthreaded
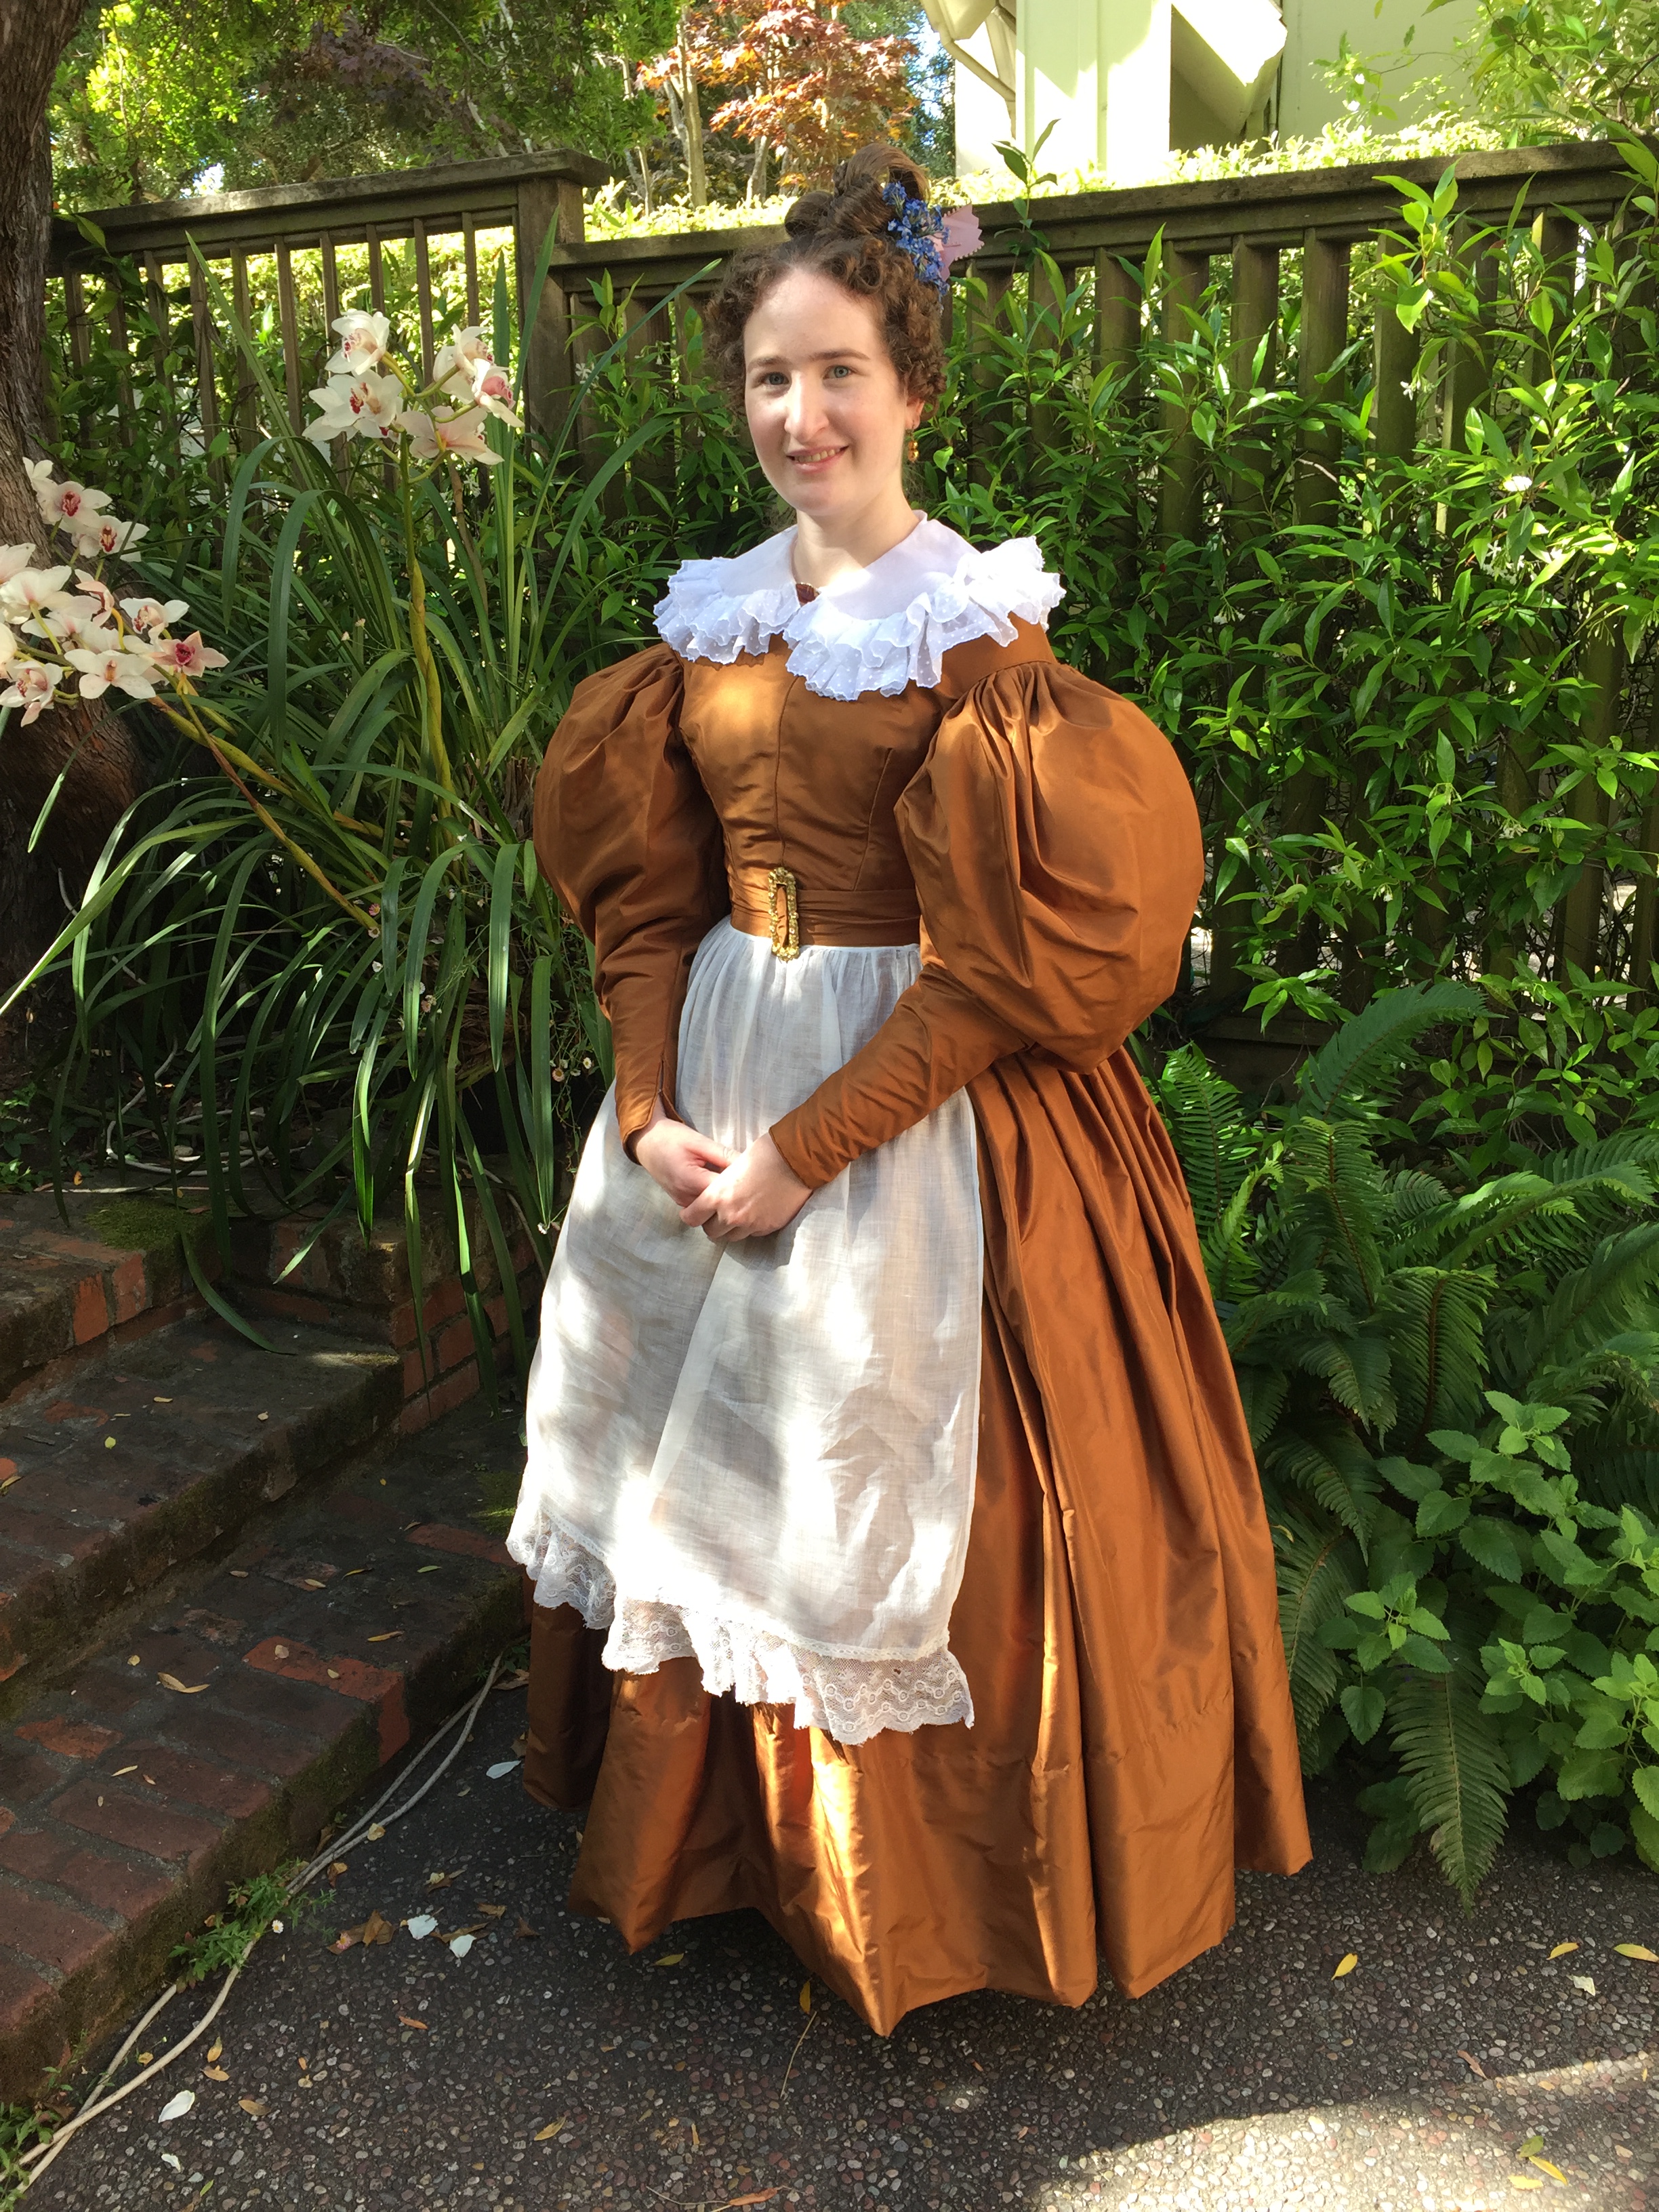
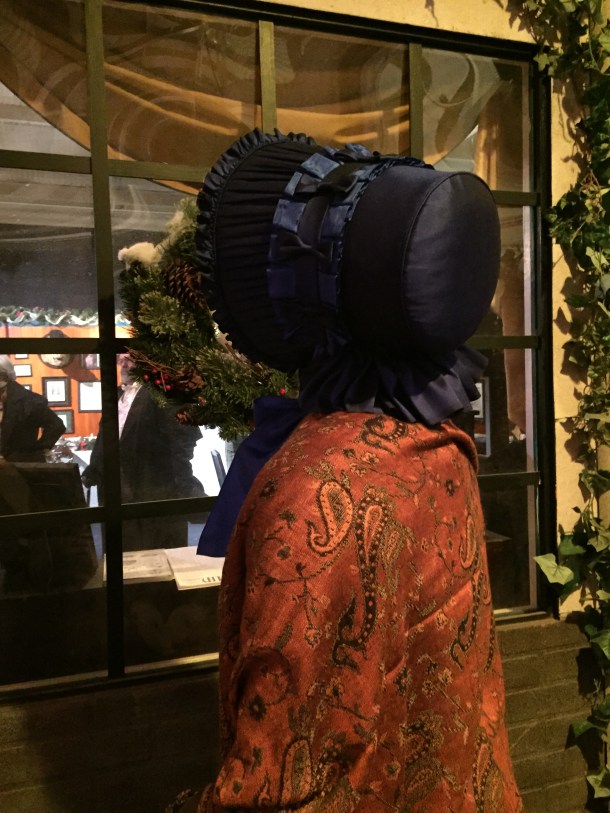
My hat base was made by me using a palm fan I had around the house! I trimmed it with leftover fabric from my dress, some leftover floral trim from my 18th century shepherdess outfit, and a little bird I got from the craft store. (I am wearing glass intaglio earrings from Dames a la Mode).
The fabric is a long pleated rectangle with pointed ends.
When I said palm fan, I literally meant a palm fan.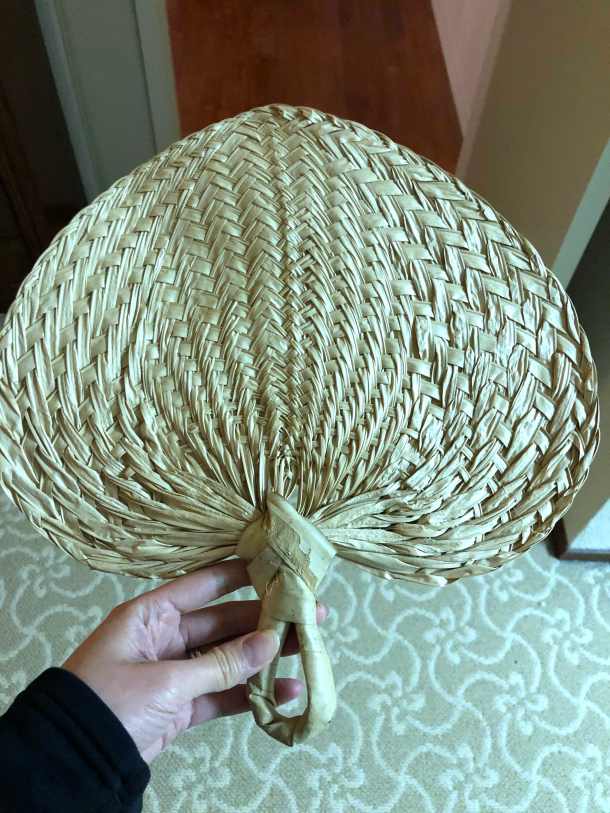
I soaked it in water to soften it, cut off the handle, and molded it around a bowl.
After it was dry I machine-sewed the ends together and trimmed off excess. 
Voila, a hat base!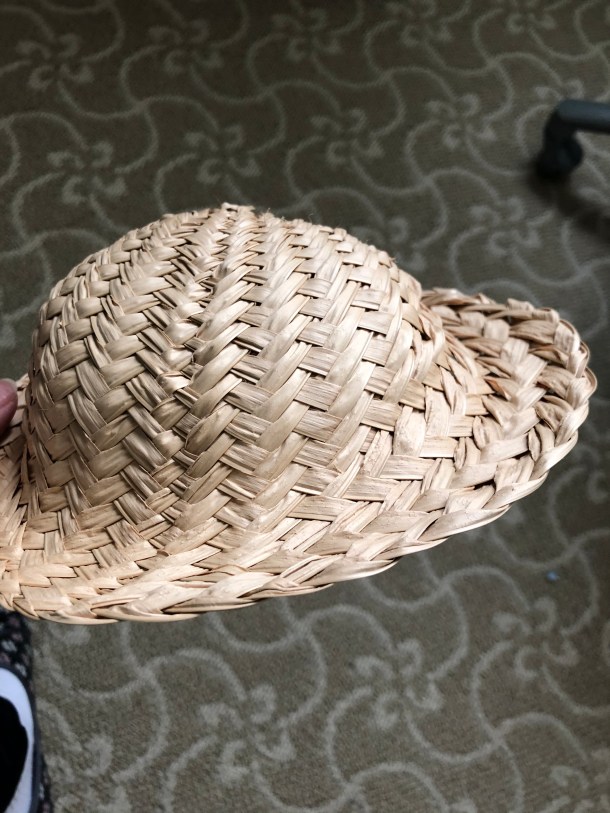
For my hair I wore 3 false hair pieces: a large braided bun, a crown braid, and twist hanging from the bun.
I used a remnant of pink ribbon I had around the house to trim the hat, but I think for a future wearing I’d like to replace it with a much wider and longer ribbon.
Project costs (not including undergarments and accessories):
- Pattern: $20.70 from Black Snail Patterns (purchased during a sale with free shipping).
- 9 yards cotton fabric: $35 including shipping from Facebook
- 25 yards pleated trim: $13.06 from Amazon (during a sudden and lucky price drop! Plus I still have leftovers!)
- Lining: $0 (scraps pieced together from previous project leftovers)
- Thread, notions, etc: ~$5
TOTAL: $73.16 (woohoo for bargain shopping!)
I had such a lovely time. Thank you John Carey for these photos with some of my favorite beautiful ladies!

Photo by John Carey Photographic

Photo by John Carey Photographic


 12-14-19")
