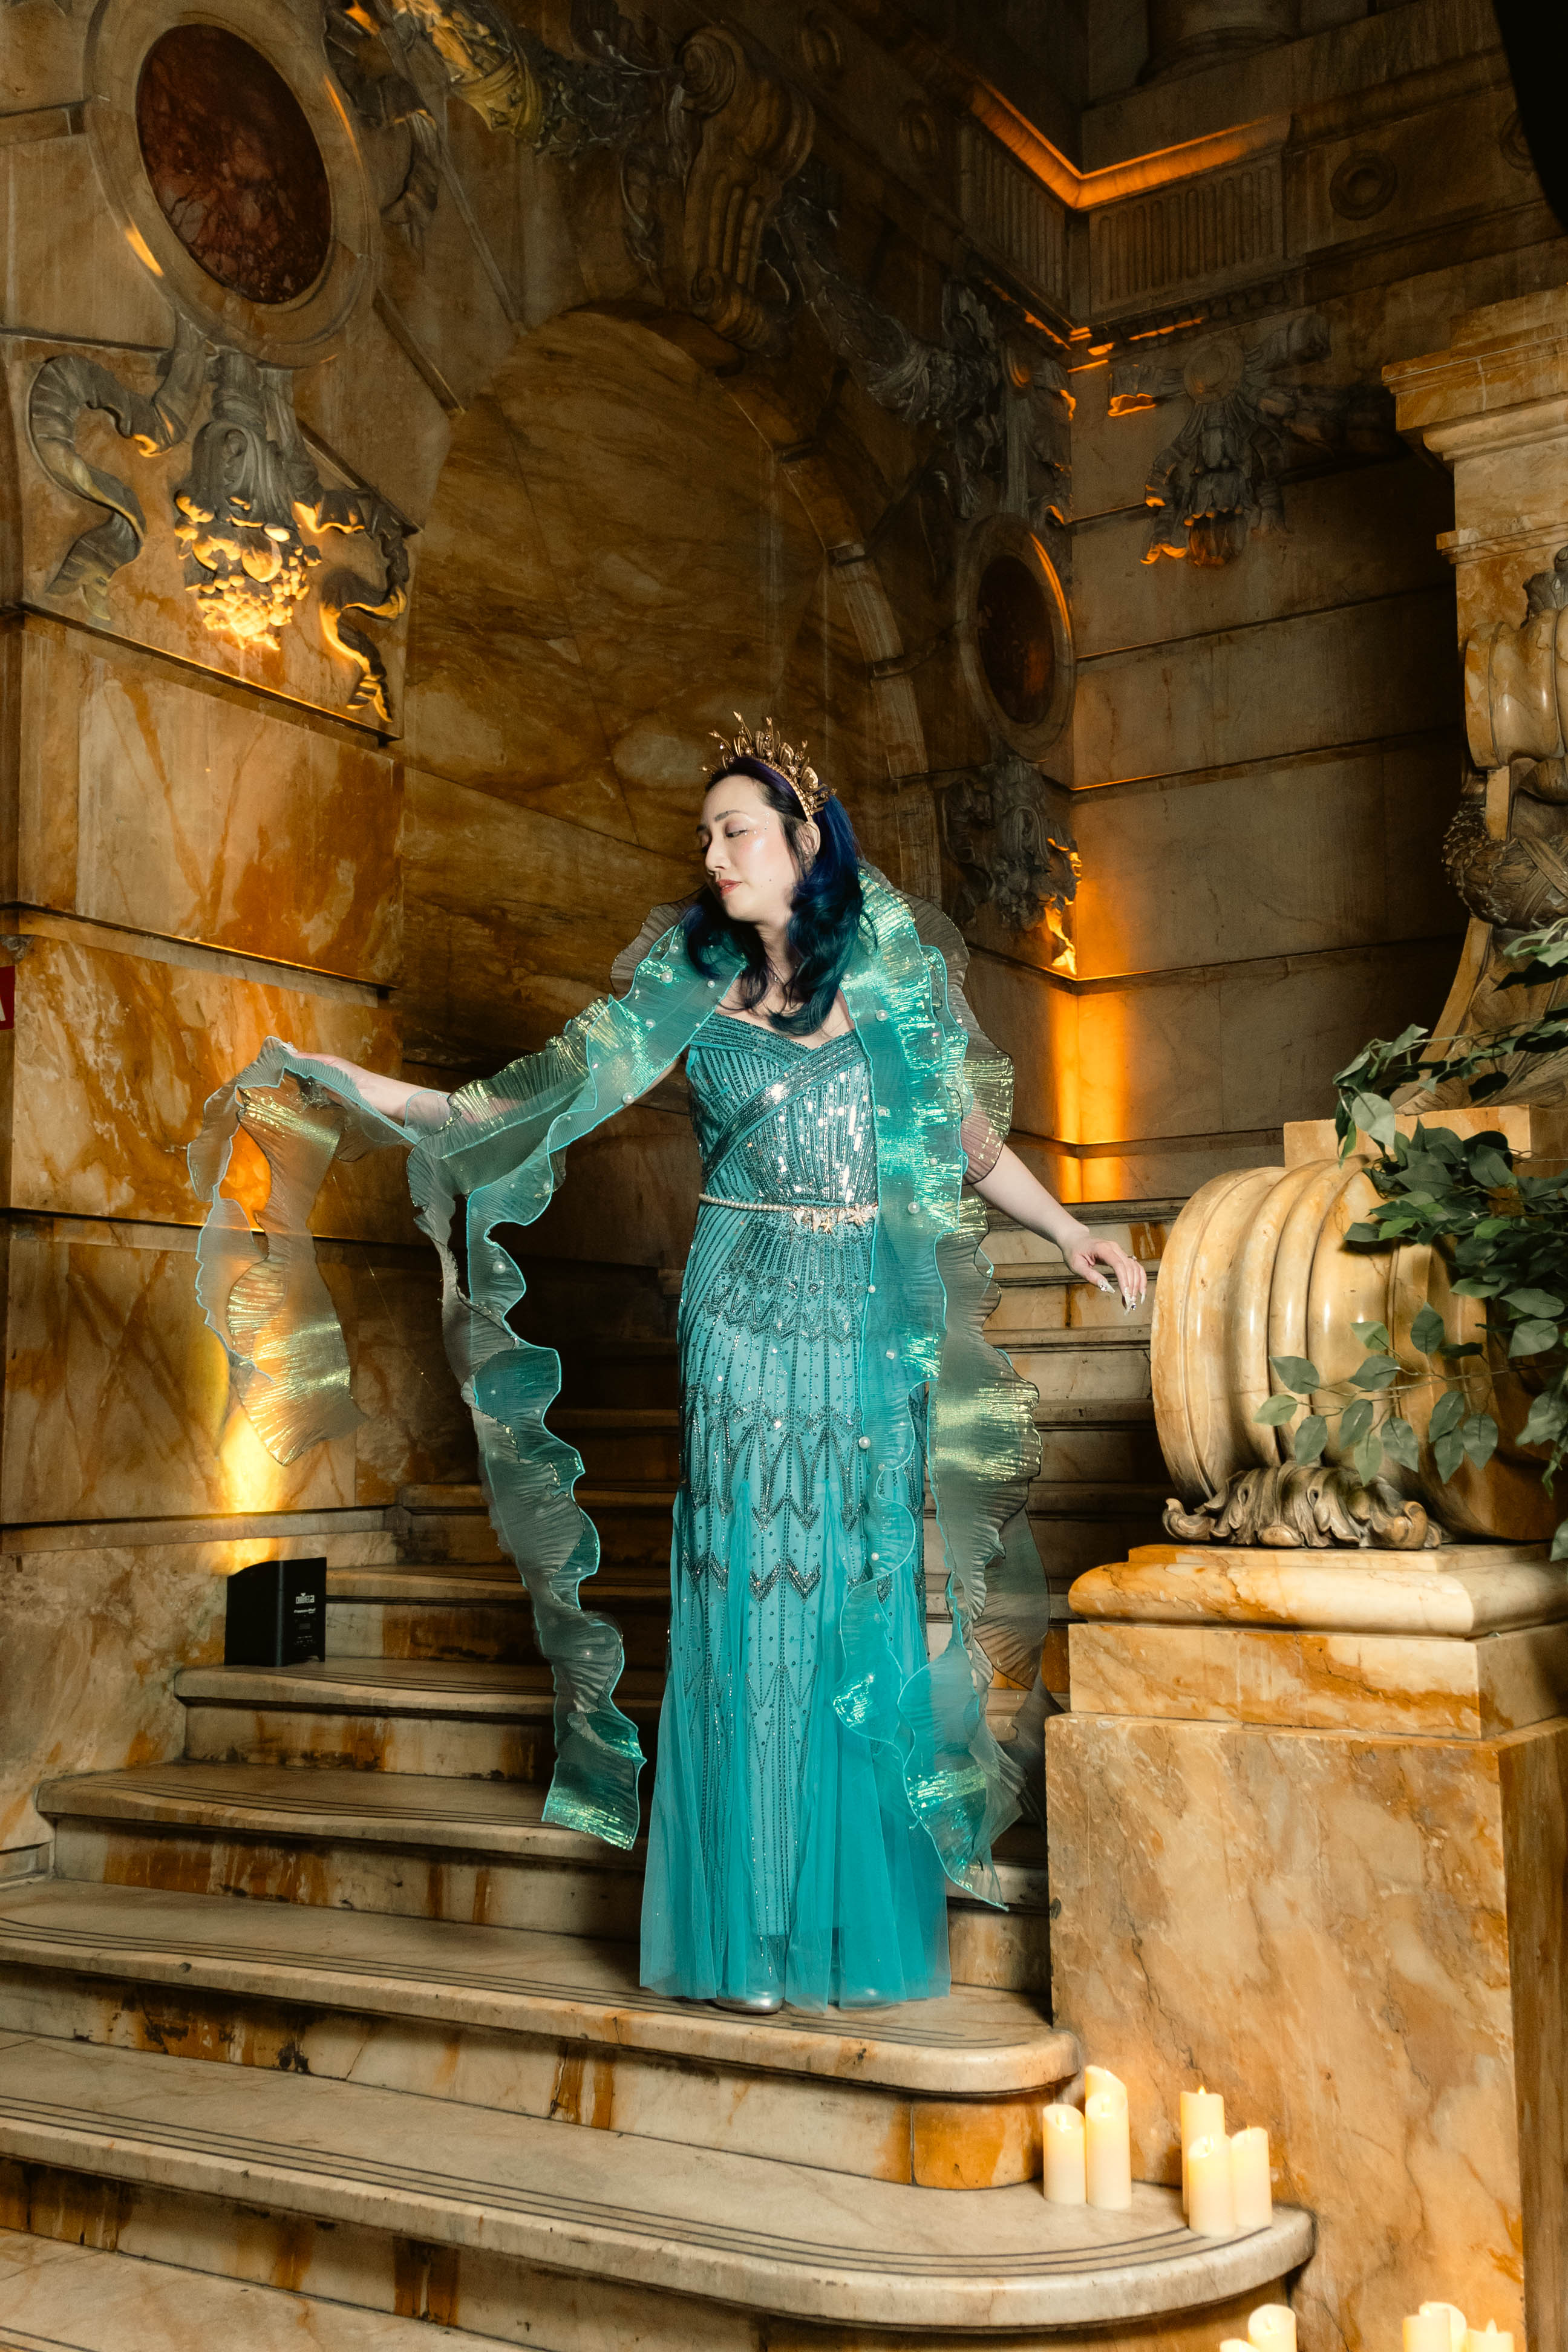
I was invited to be a special guest at the Second Star Events Neverland Ball, a fantasy costume ball that took place in New York City in May. People were encouraged to dress as a mermaid, pirate, fairy, or other character from Peter Pan. I decided to lean into the mermaid theme and sewed an ocean-inspired shawl out of iridescent fabric to go with a sparkly dress I already in my closet from Babeyond. It was not difficult to make and I got so many compliments on it so I wanted to share how easy it is to make your own!
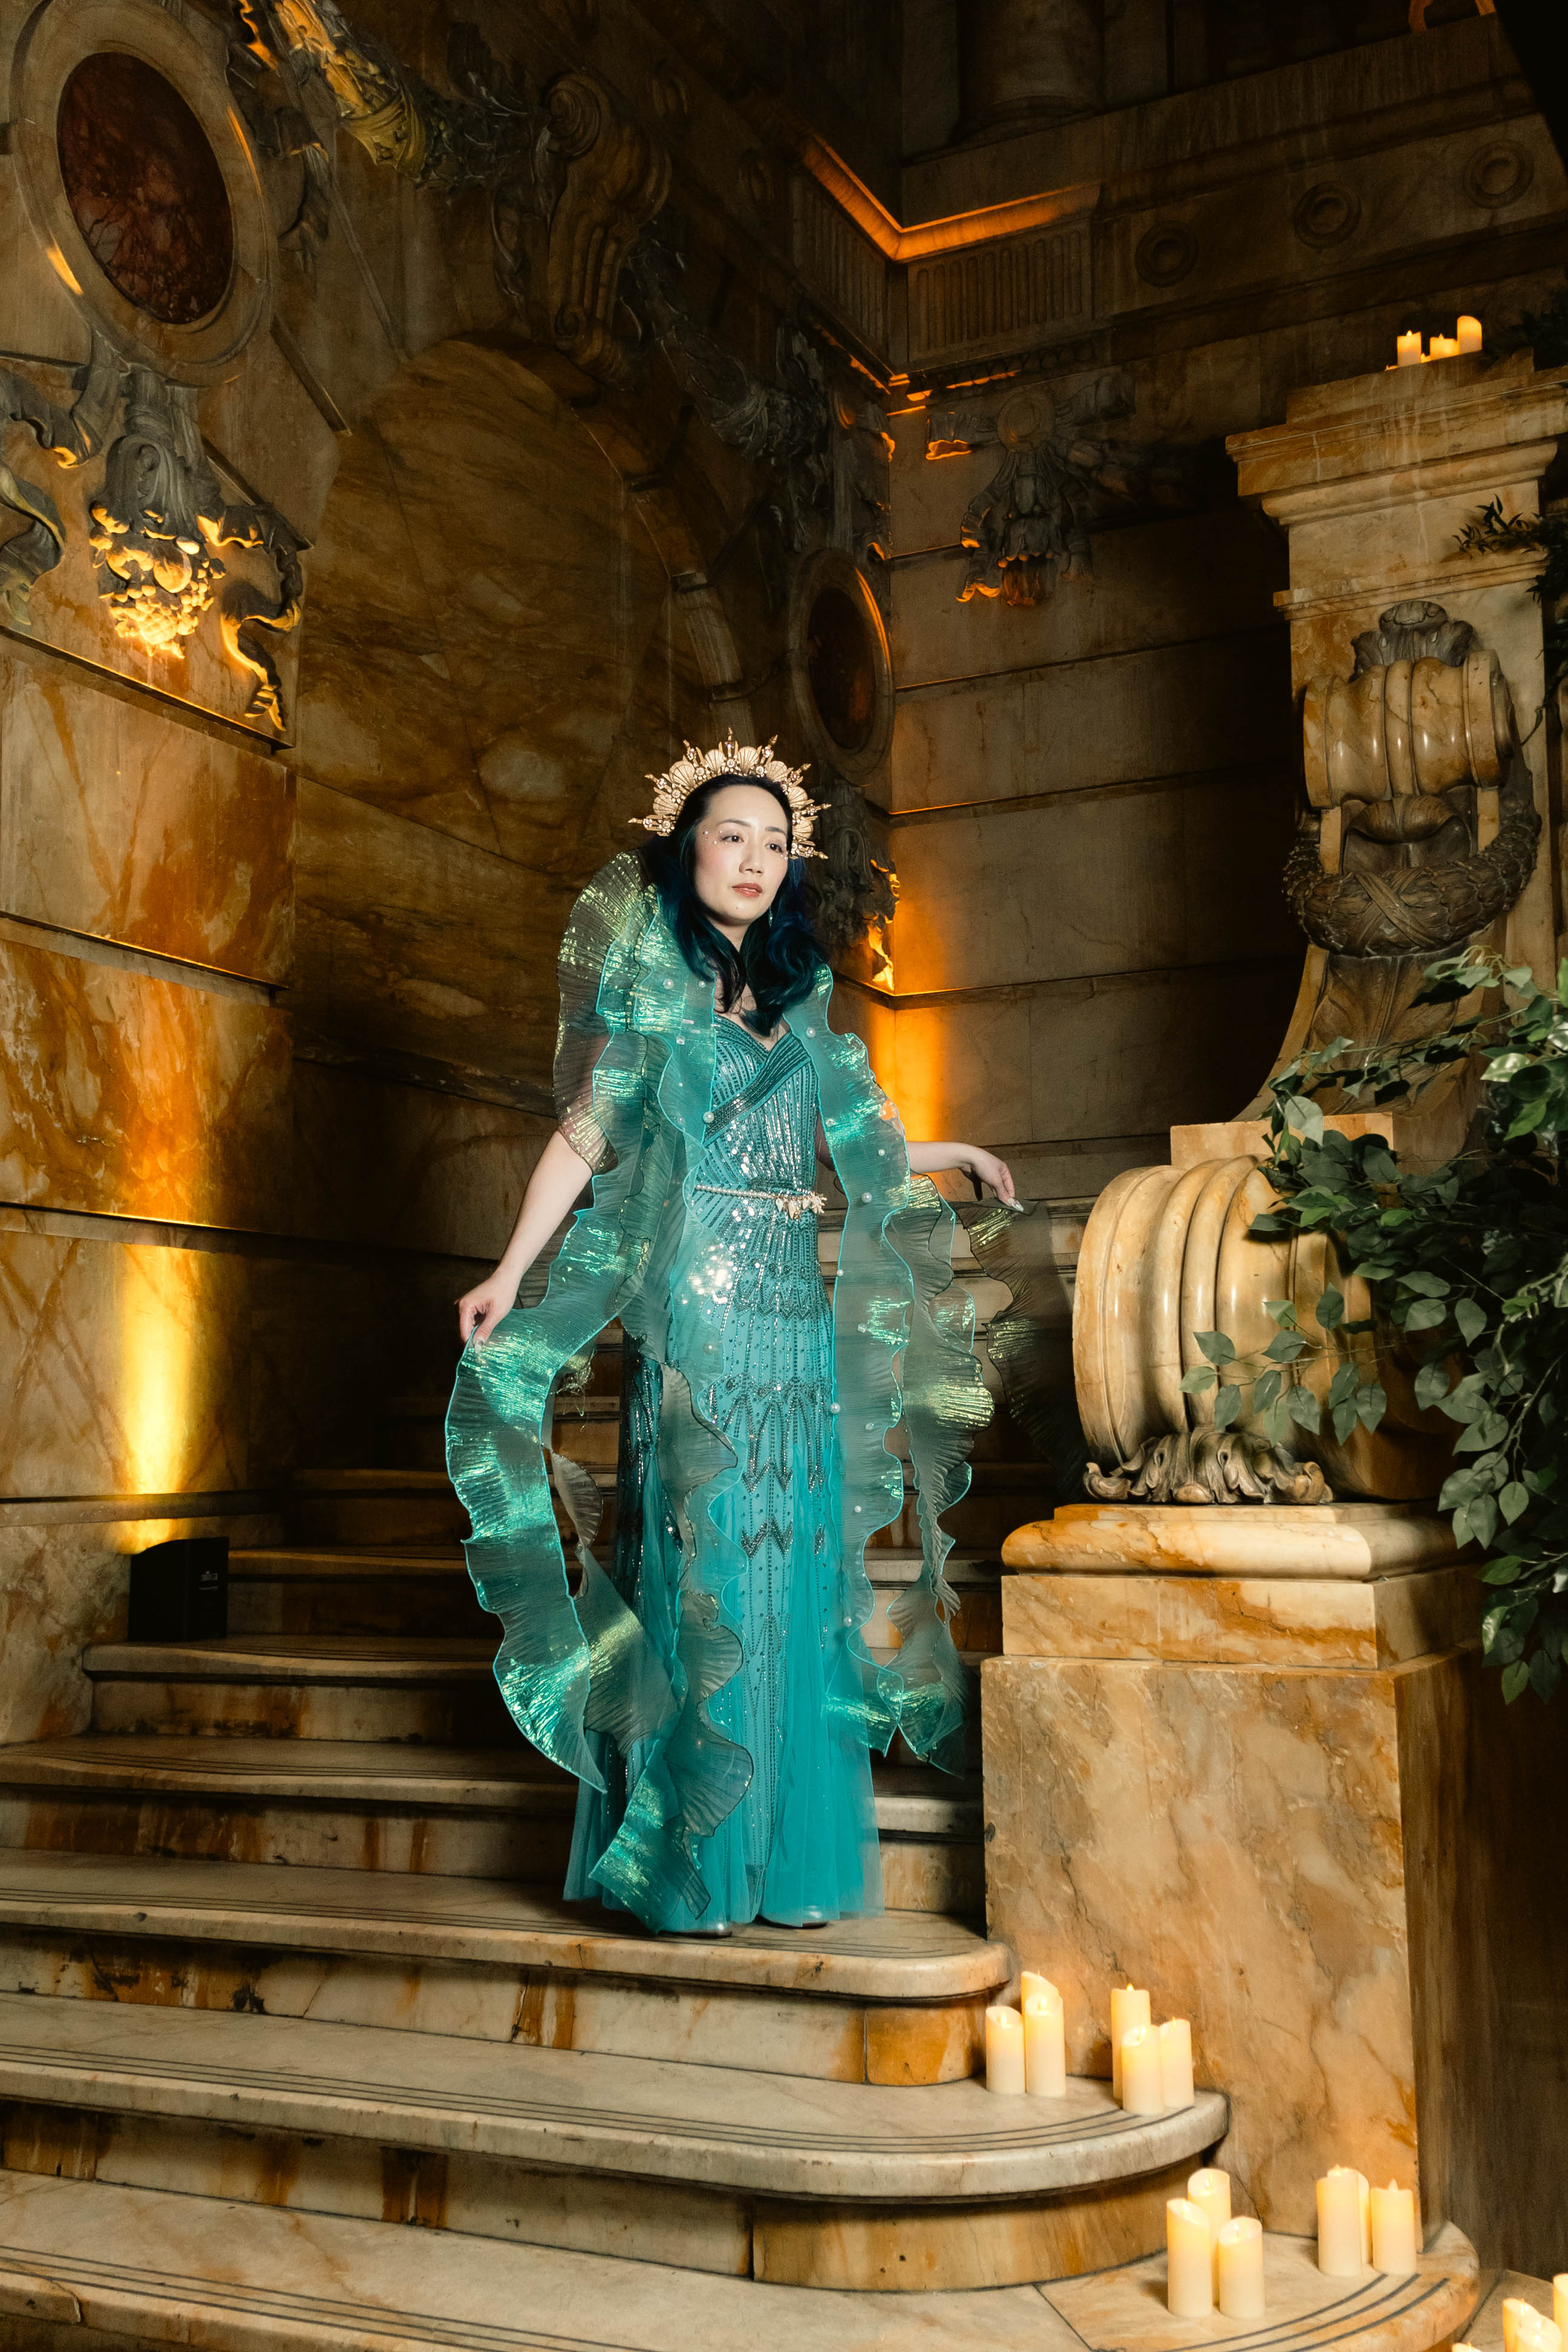
All the pretty ruffled iridescent fabric was purchased from Amazon (affiliate link) and you can get a lot of the other supplies there too. I’ll have links to all my materials and accessories summarized at the end of this post.
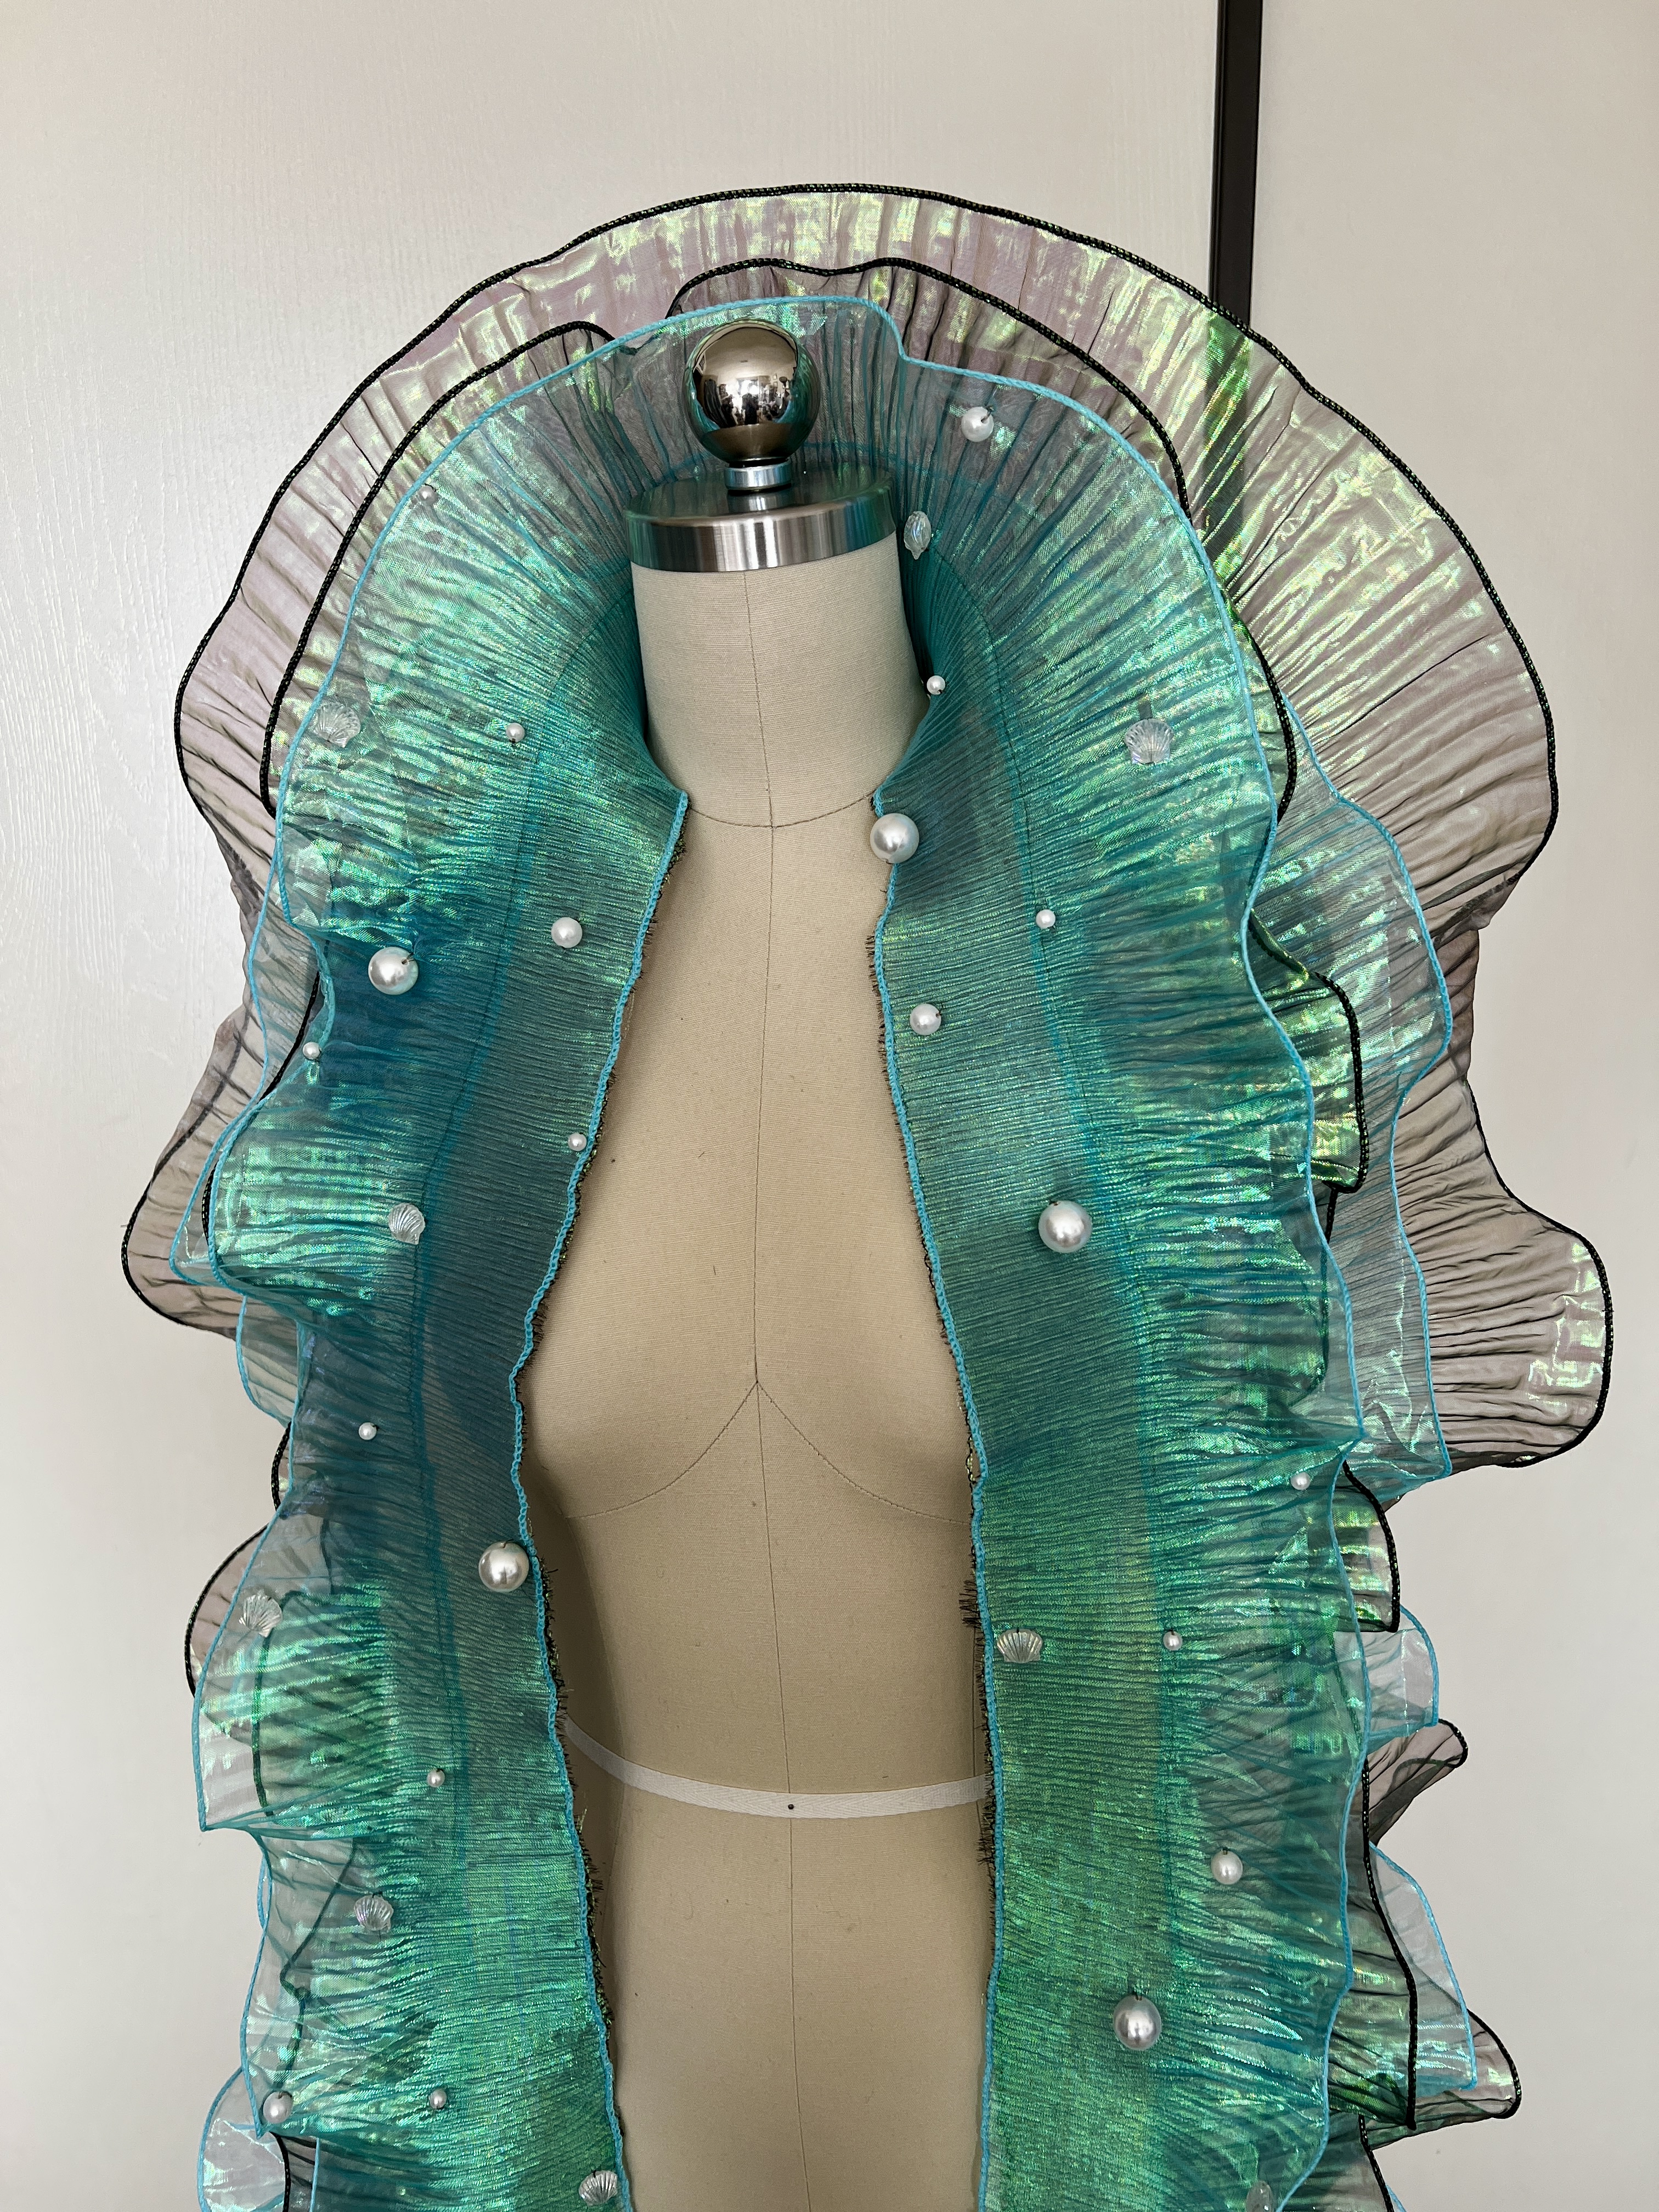
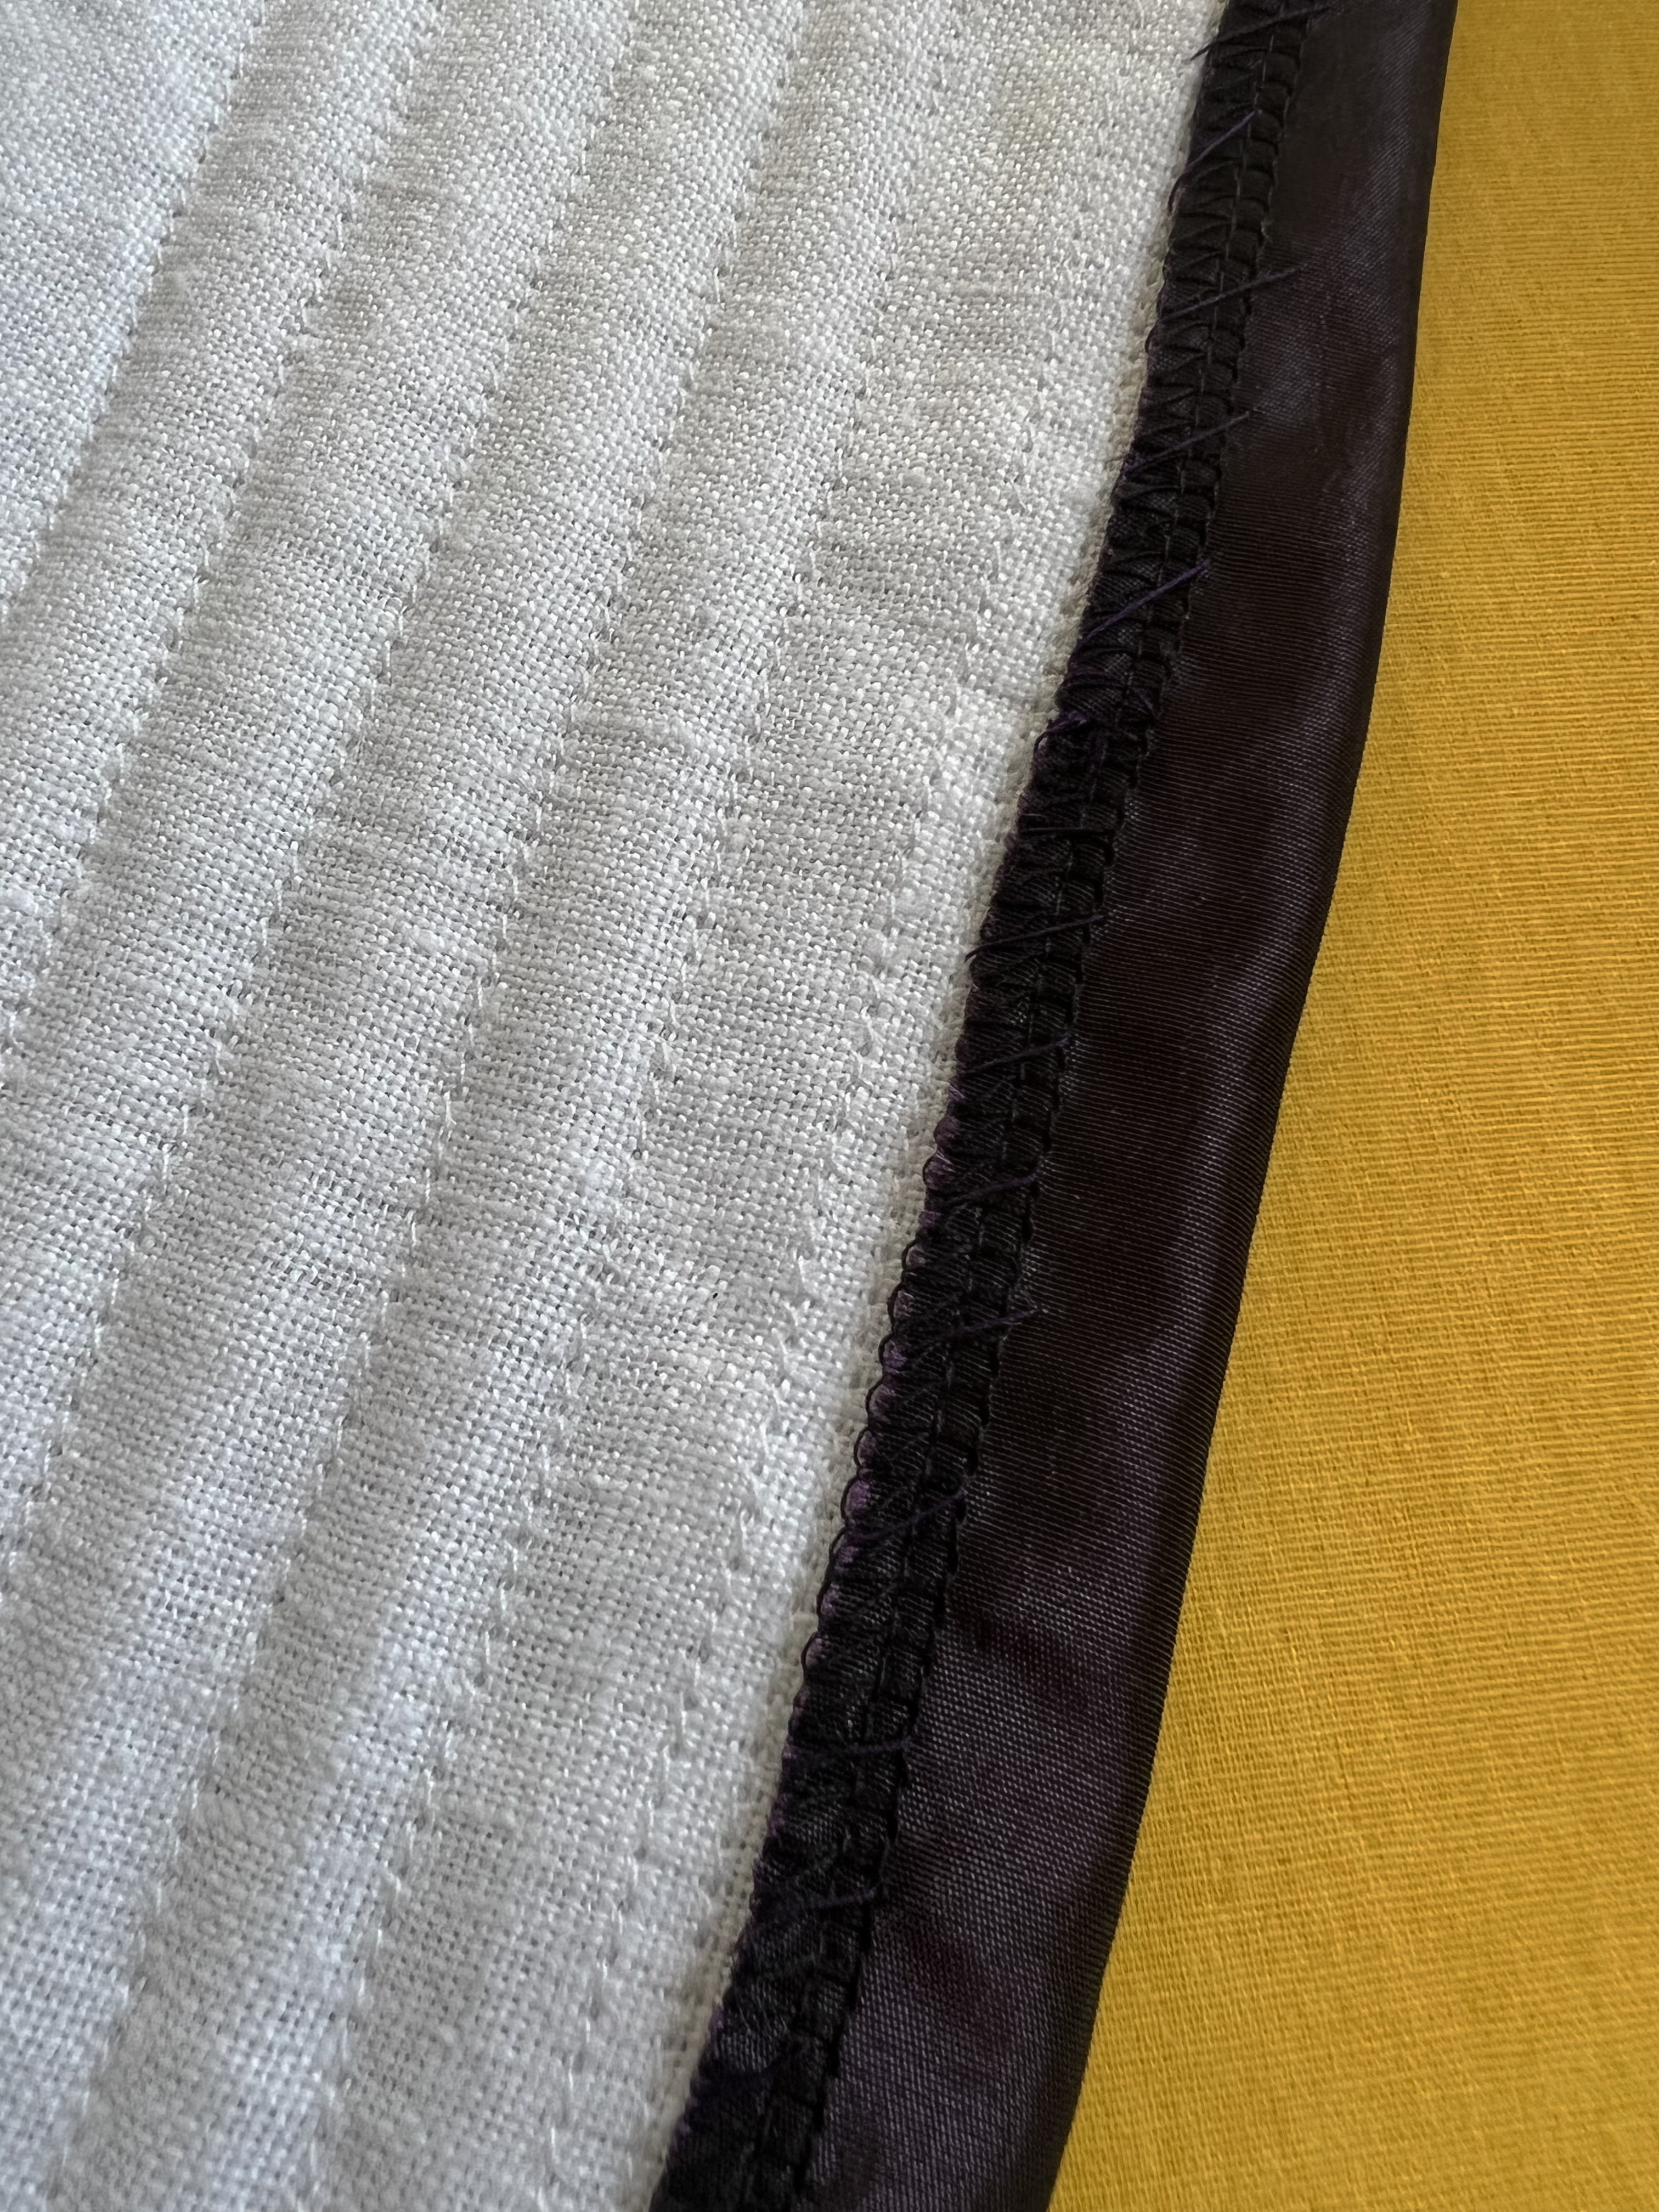
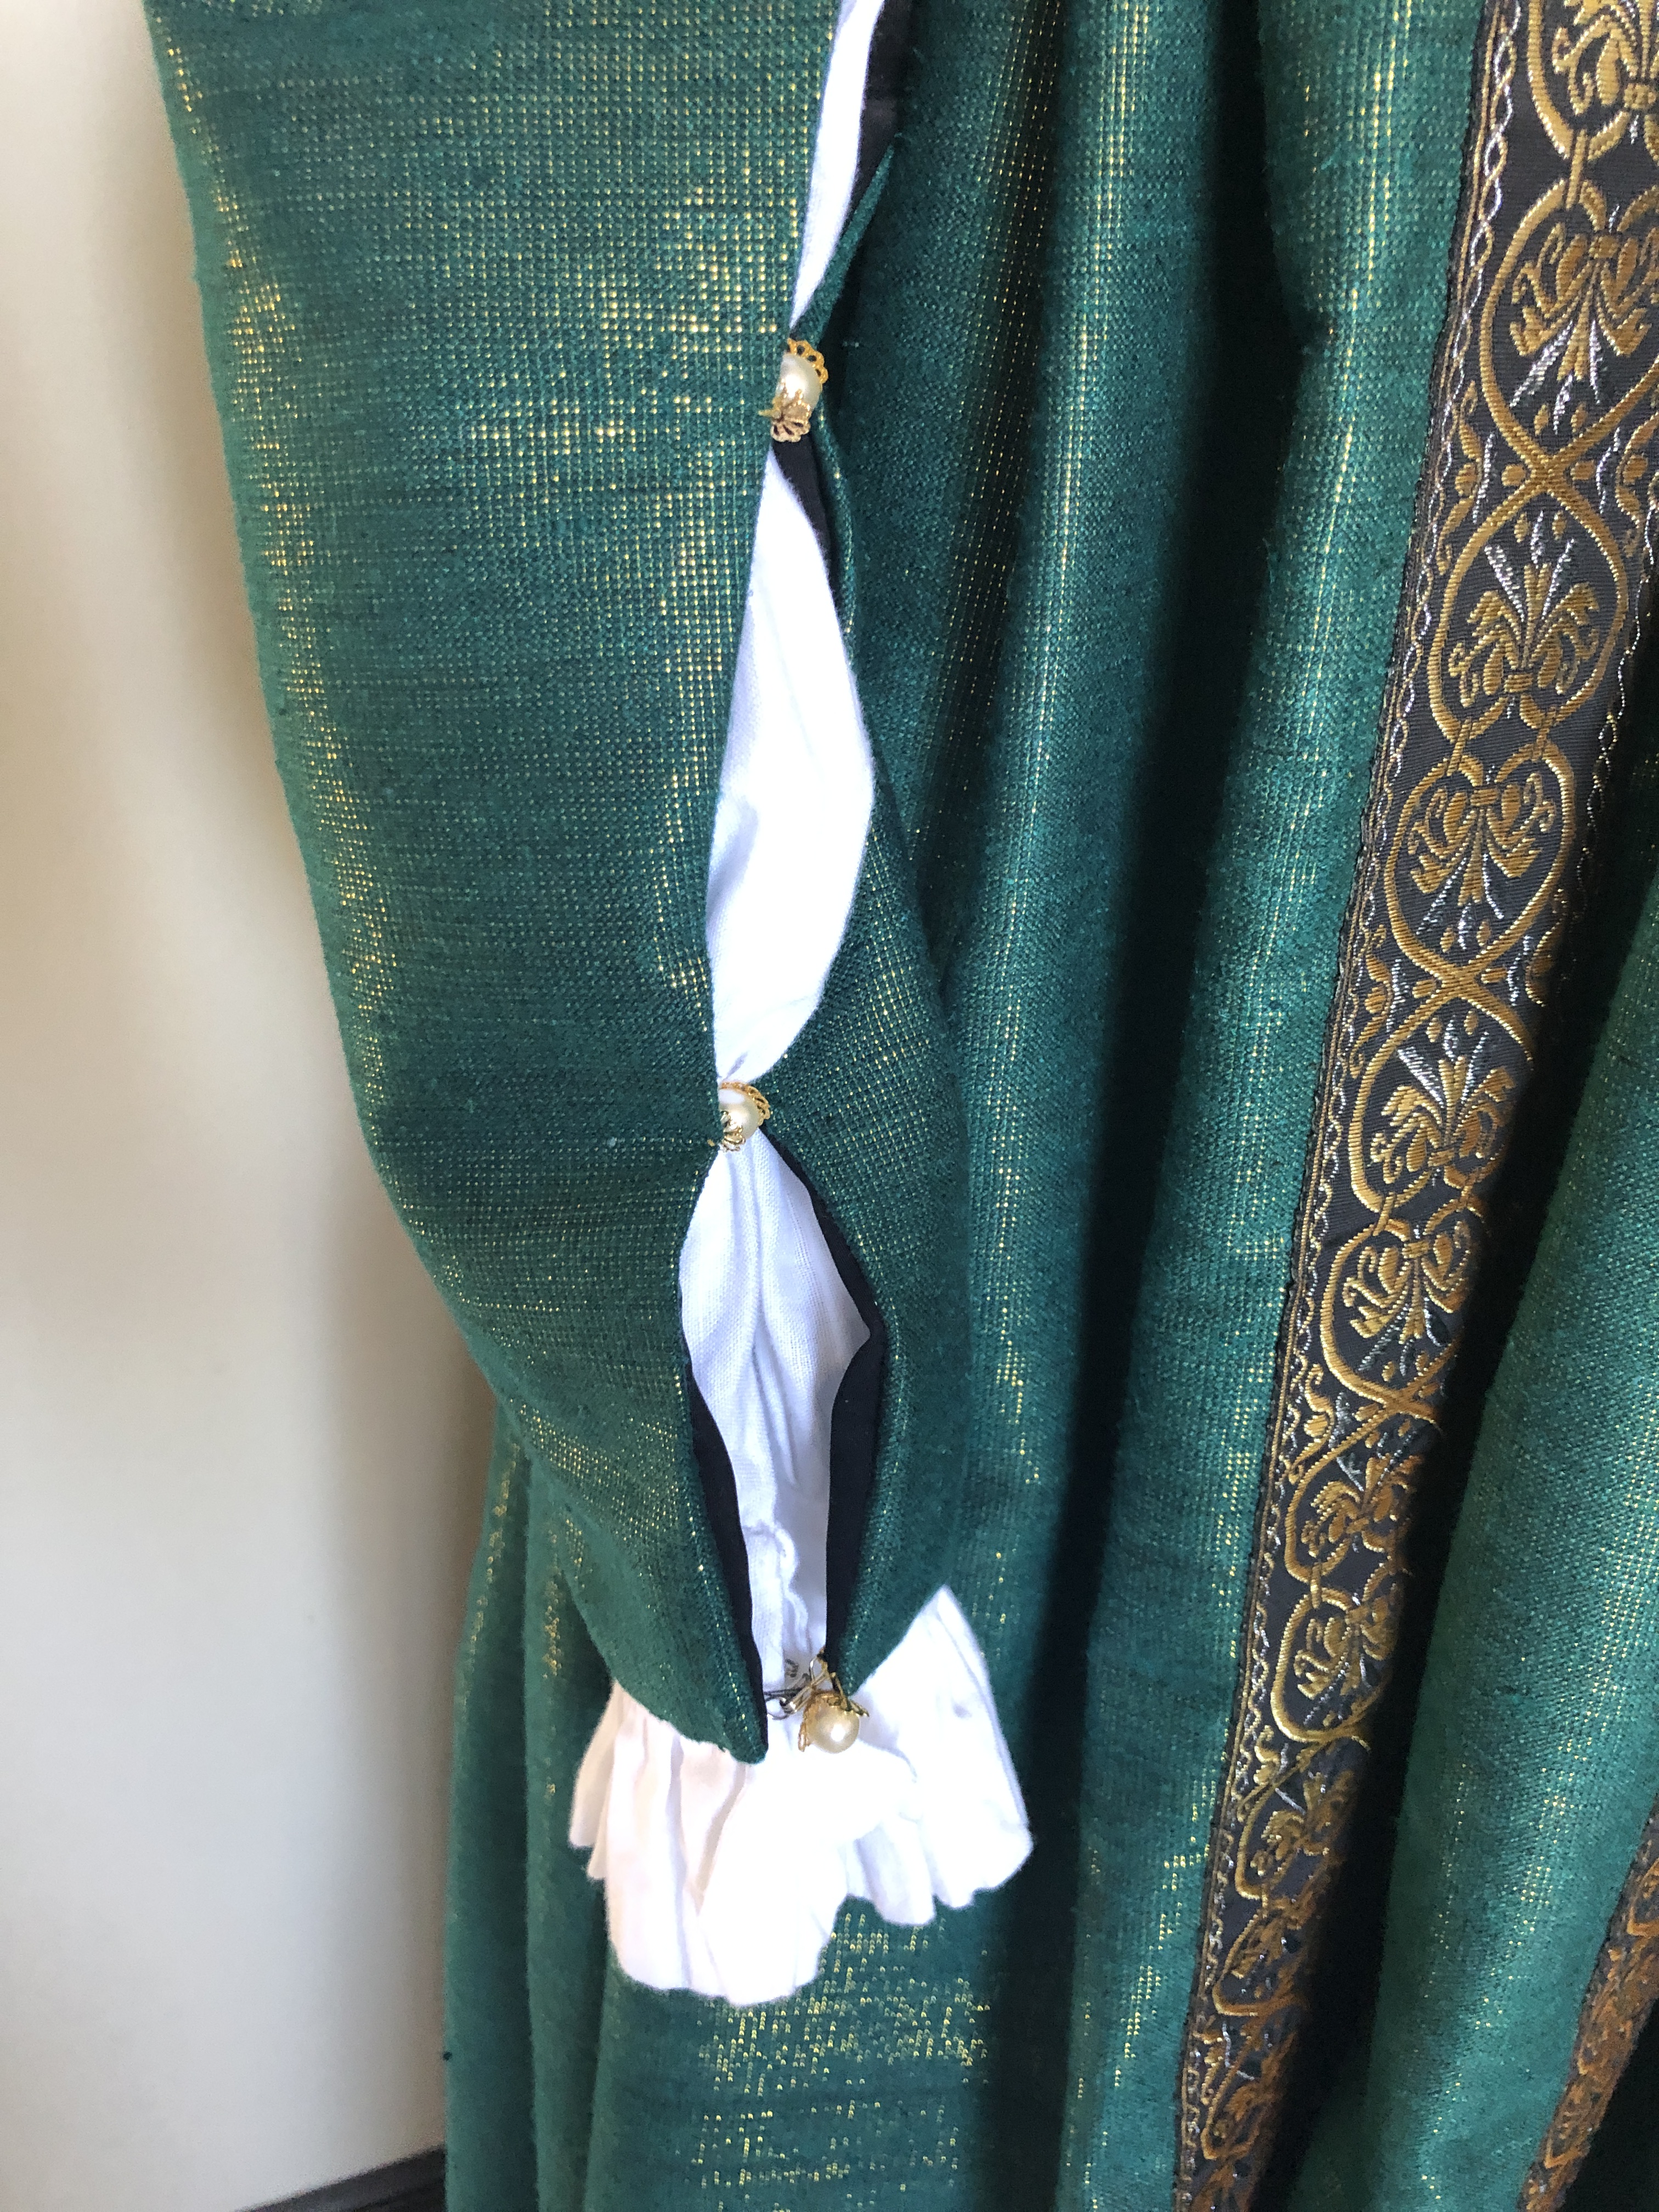
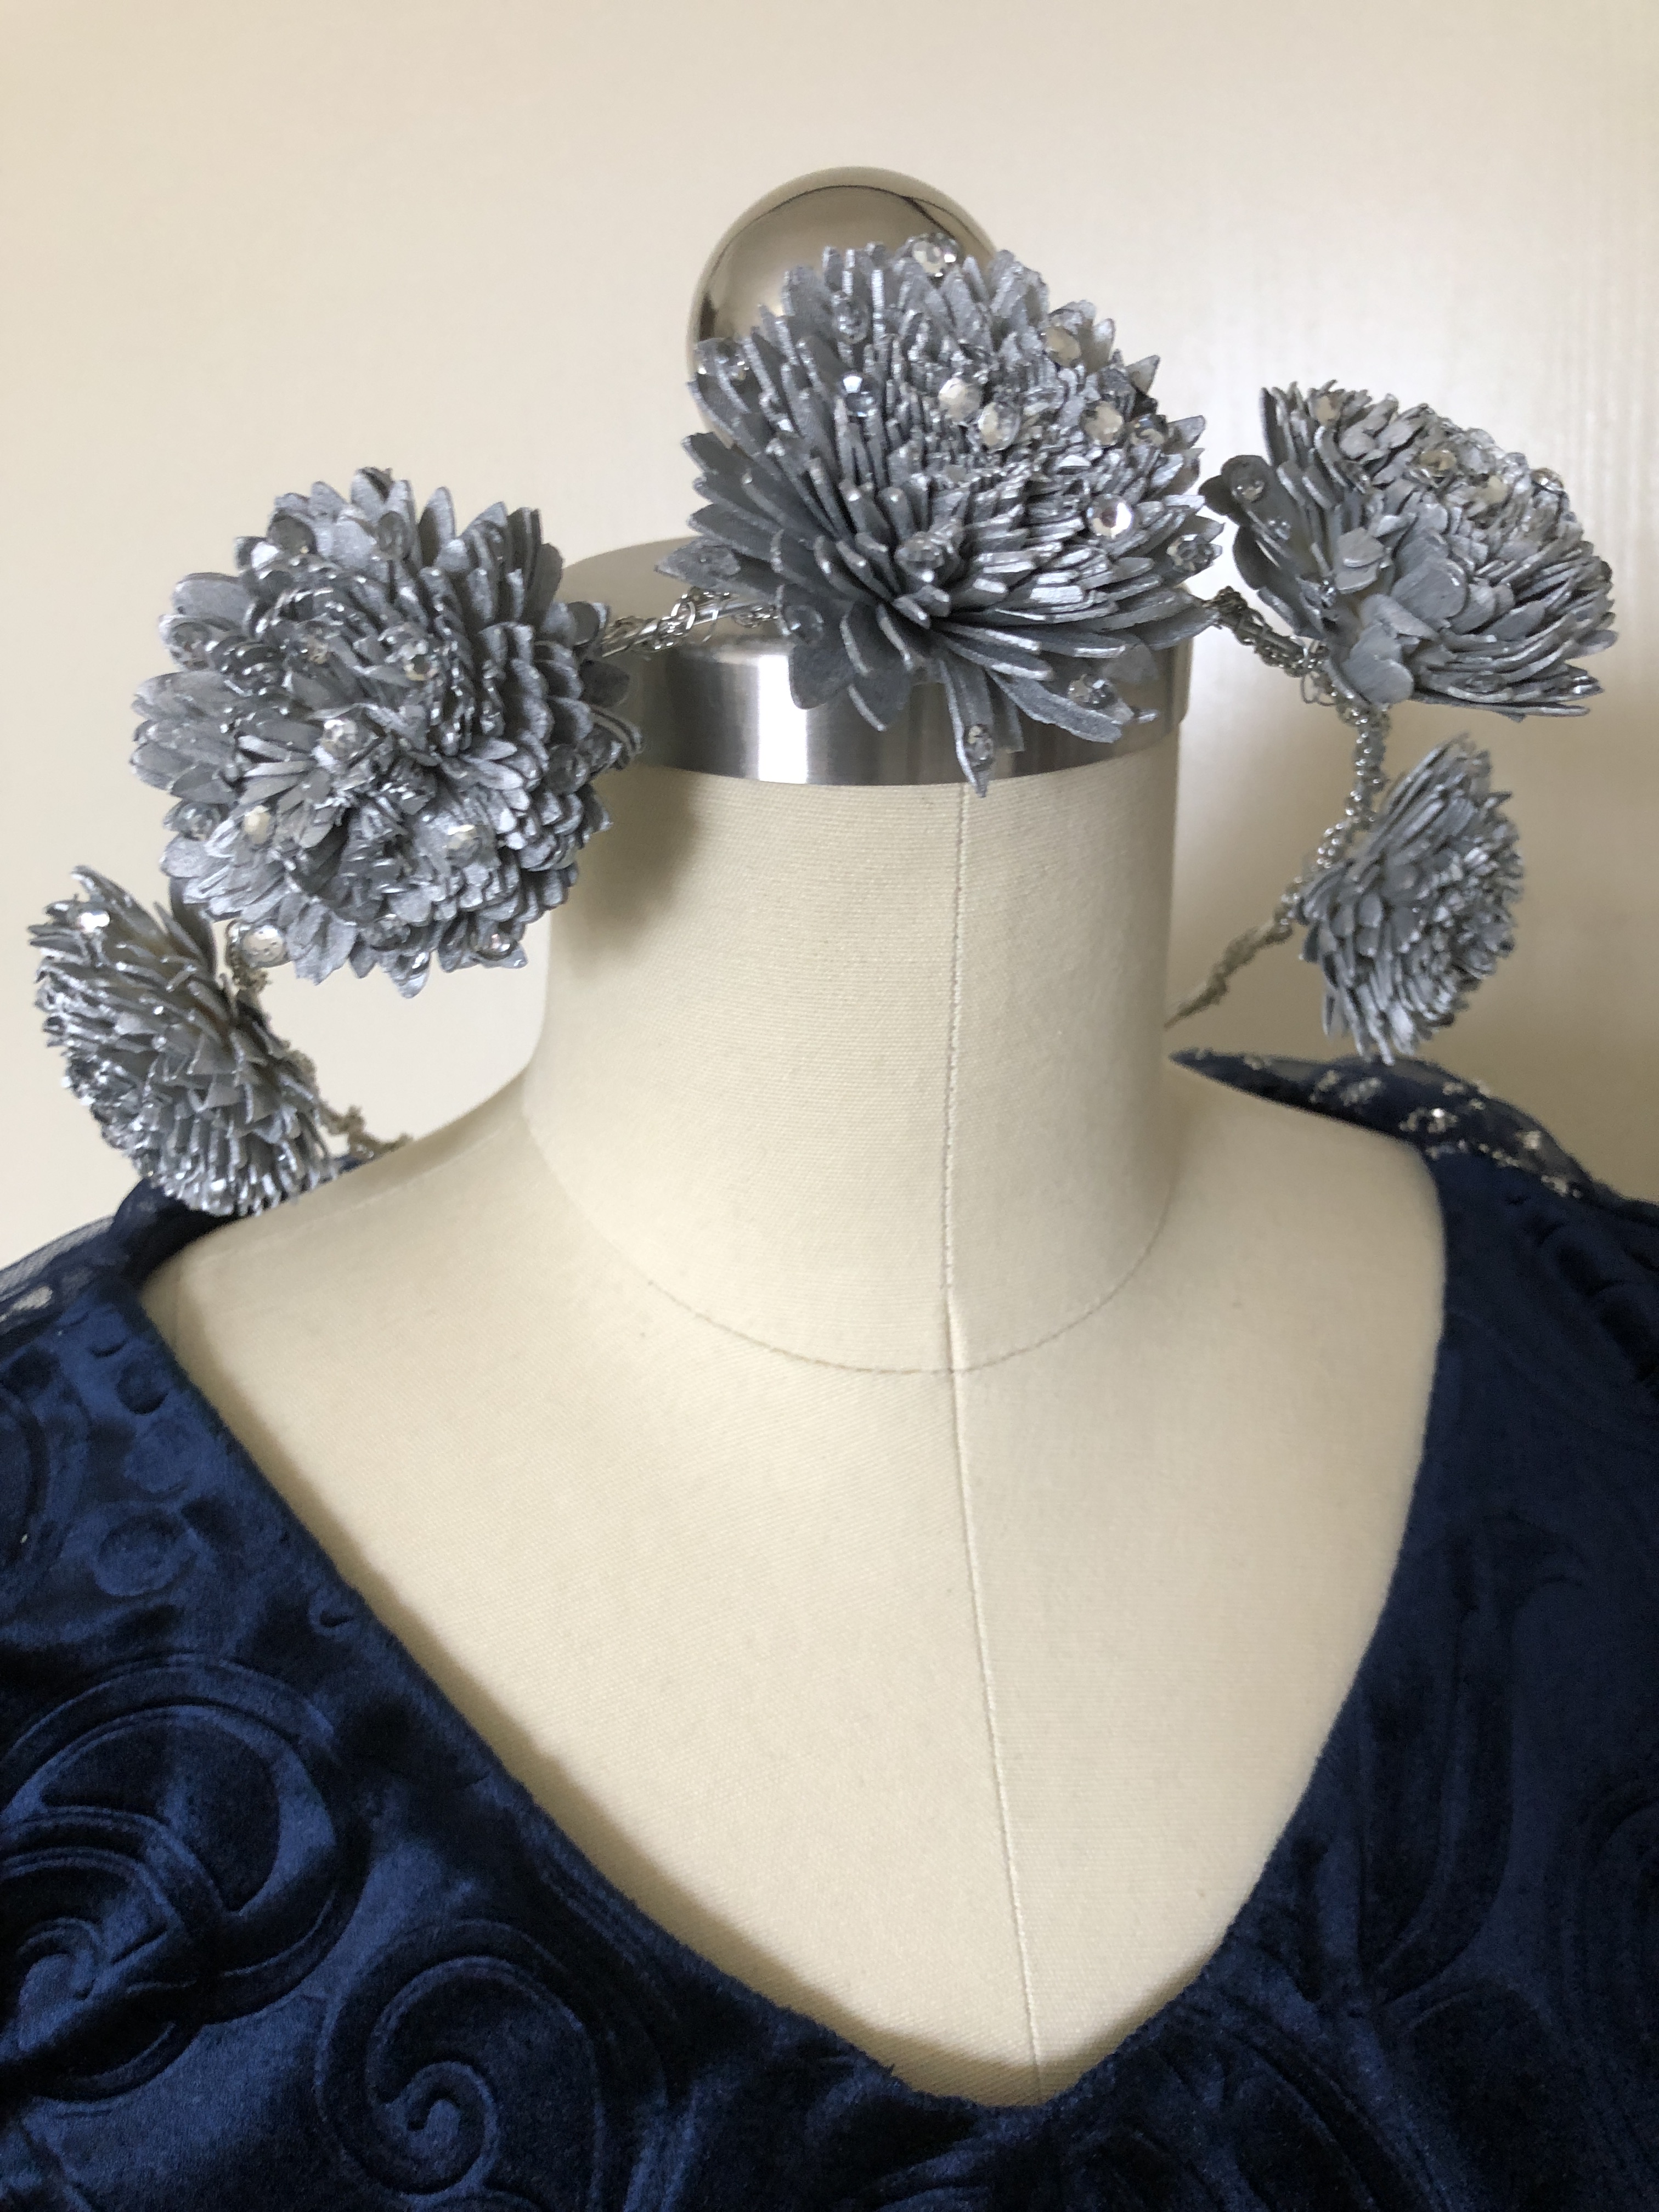
I bought two different colors (blue and green) of the ruffled iridescent fabric and layered them to add dimension. The green fabric is a little wider than the blue to add some extra interest. You can see from the side view below if we numbered the layers from left to right they would look like this:
- Blue with pearls and beads sewn on
- Green
- Blue
- Green

Each piece of fabric was about 3 yards long. I am 5’6″ so you’ll want to cut longer or shorter depending on your height. I cut 4 pieces of fabric (2 green and 2 blue).
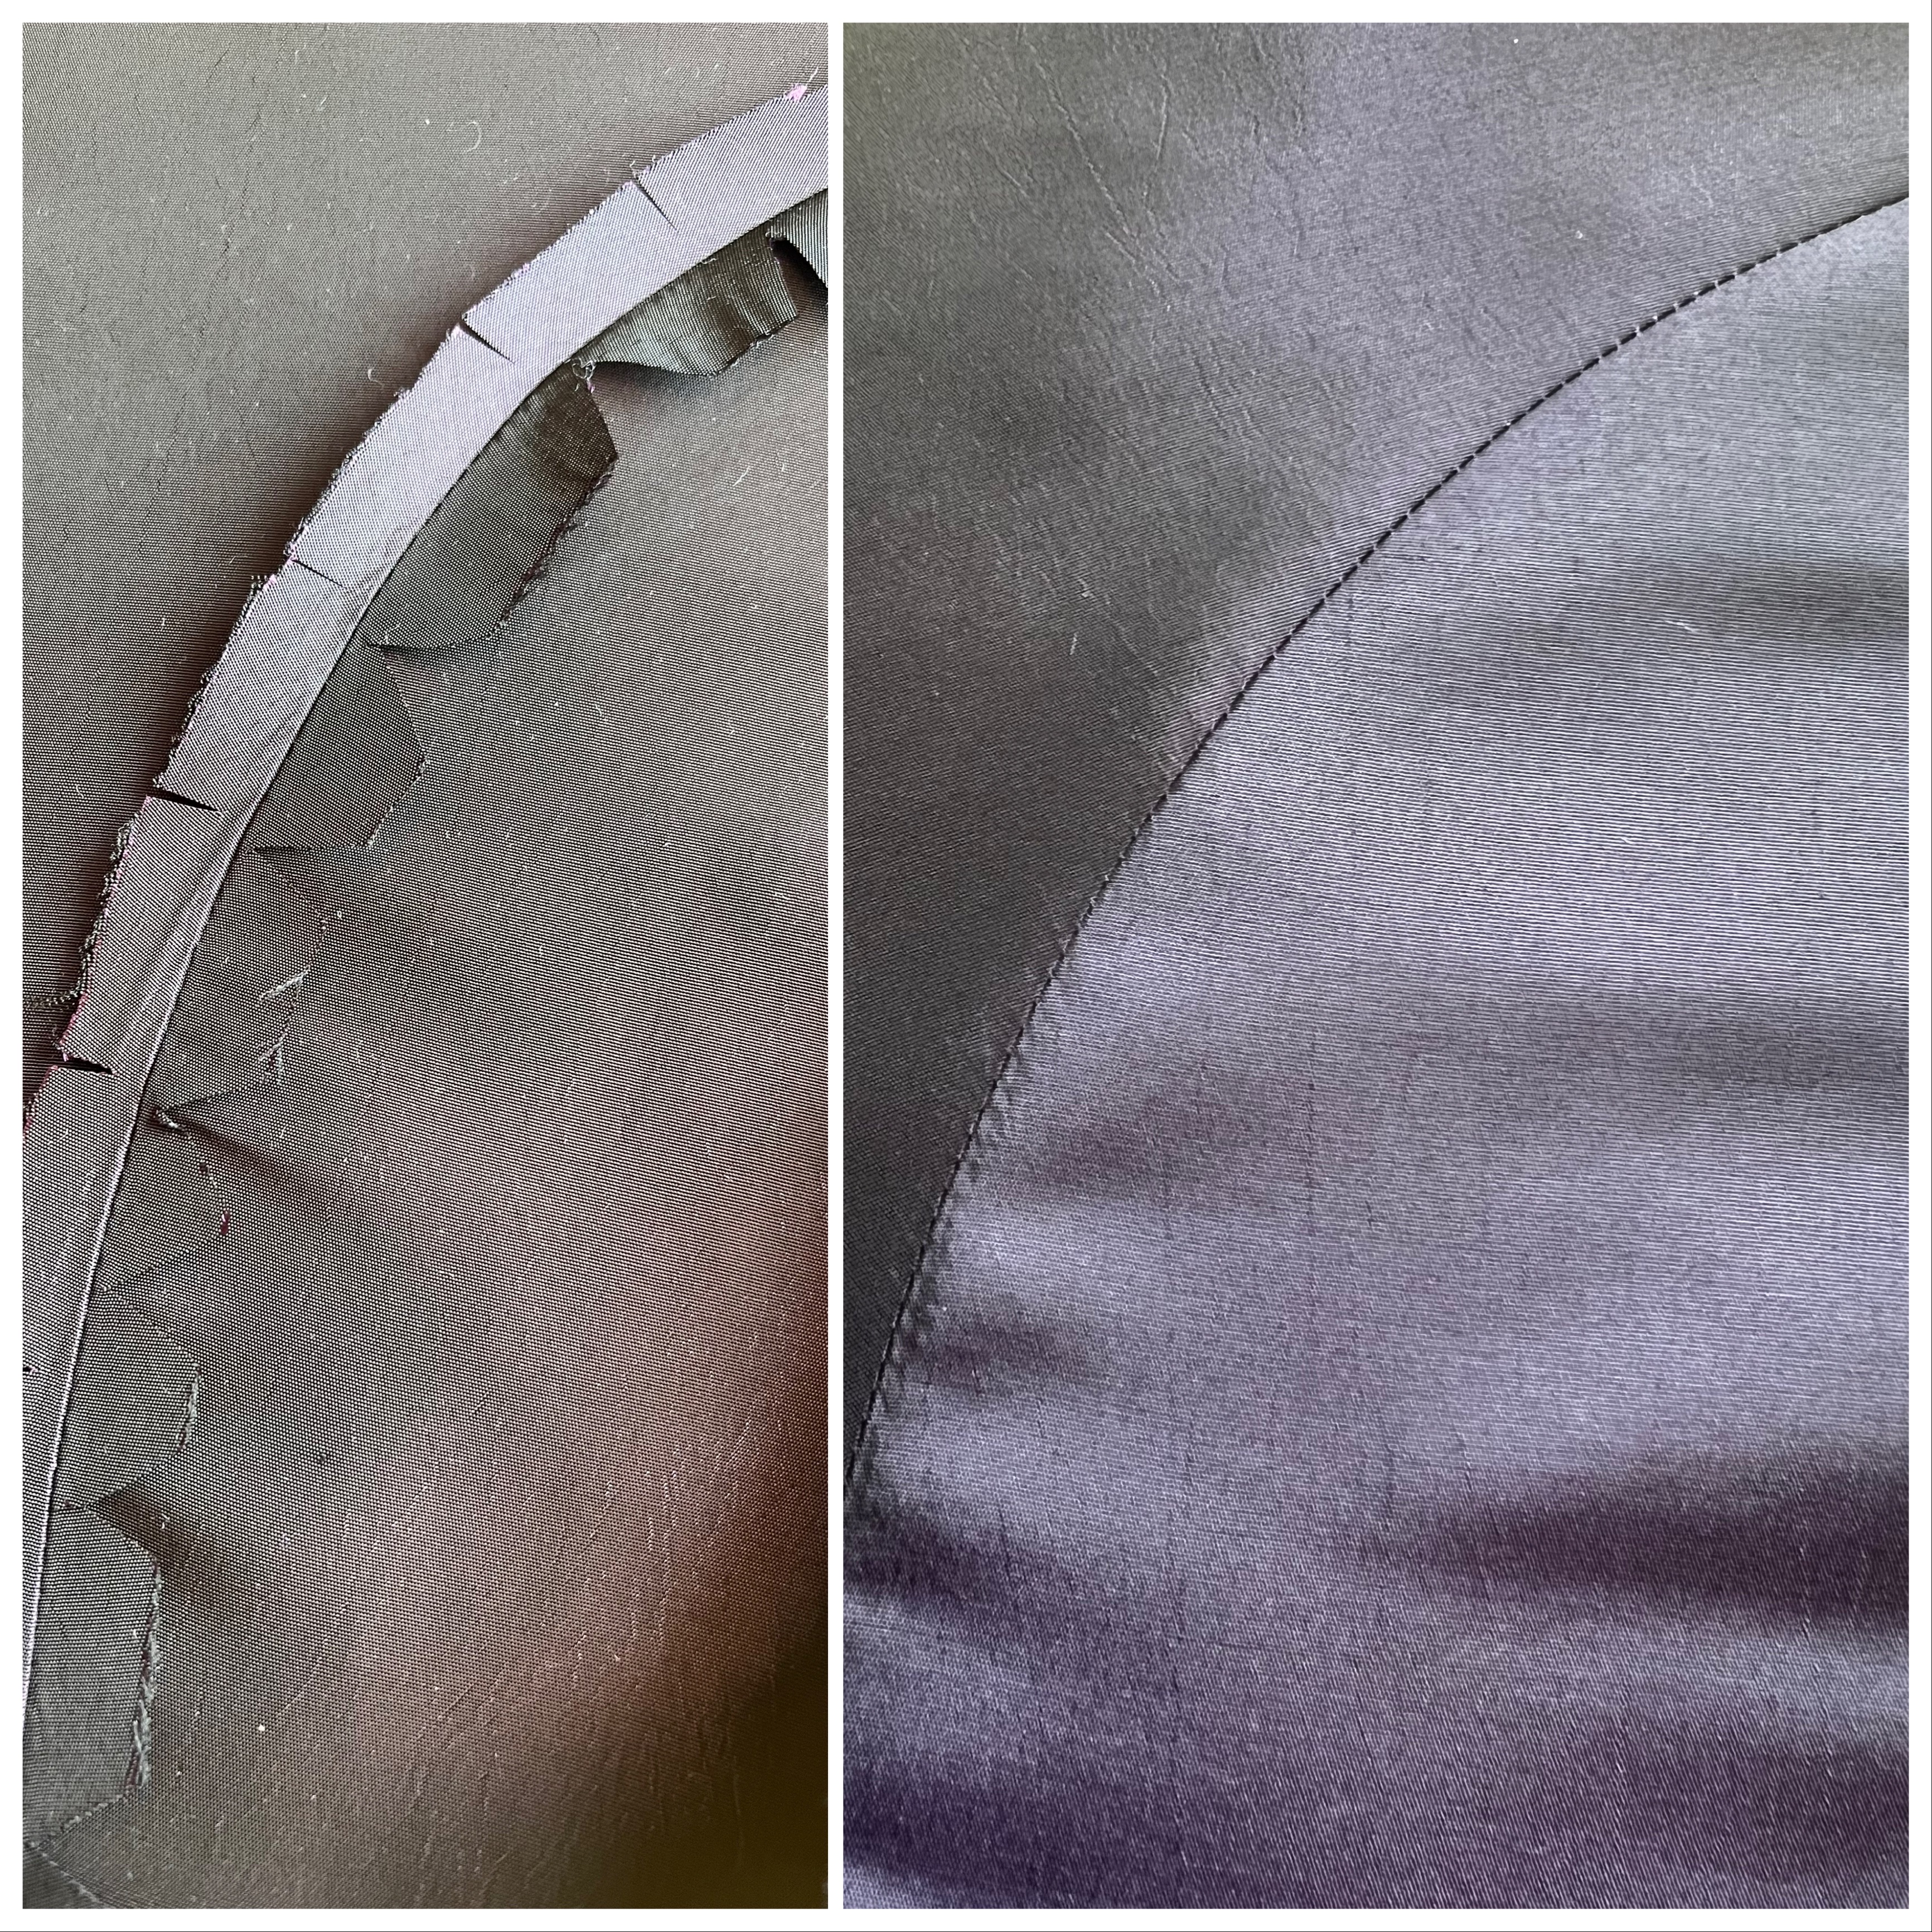
When you sew the pieces together, they are only attached at the middle section, leaving the ends to hang free and wave about on the dance floor! This is the view from the back. I ended the stitching around waist-height.
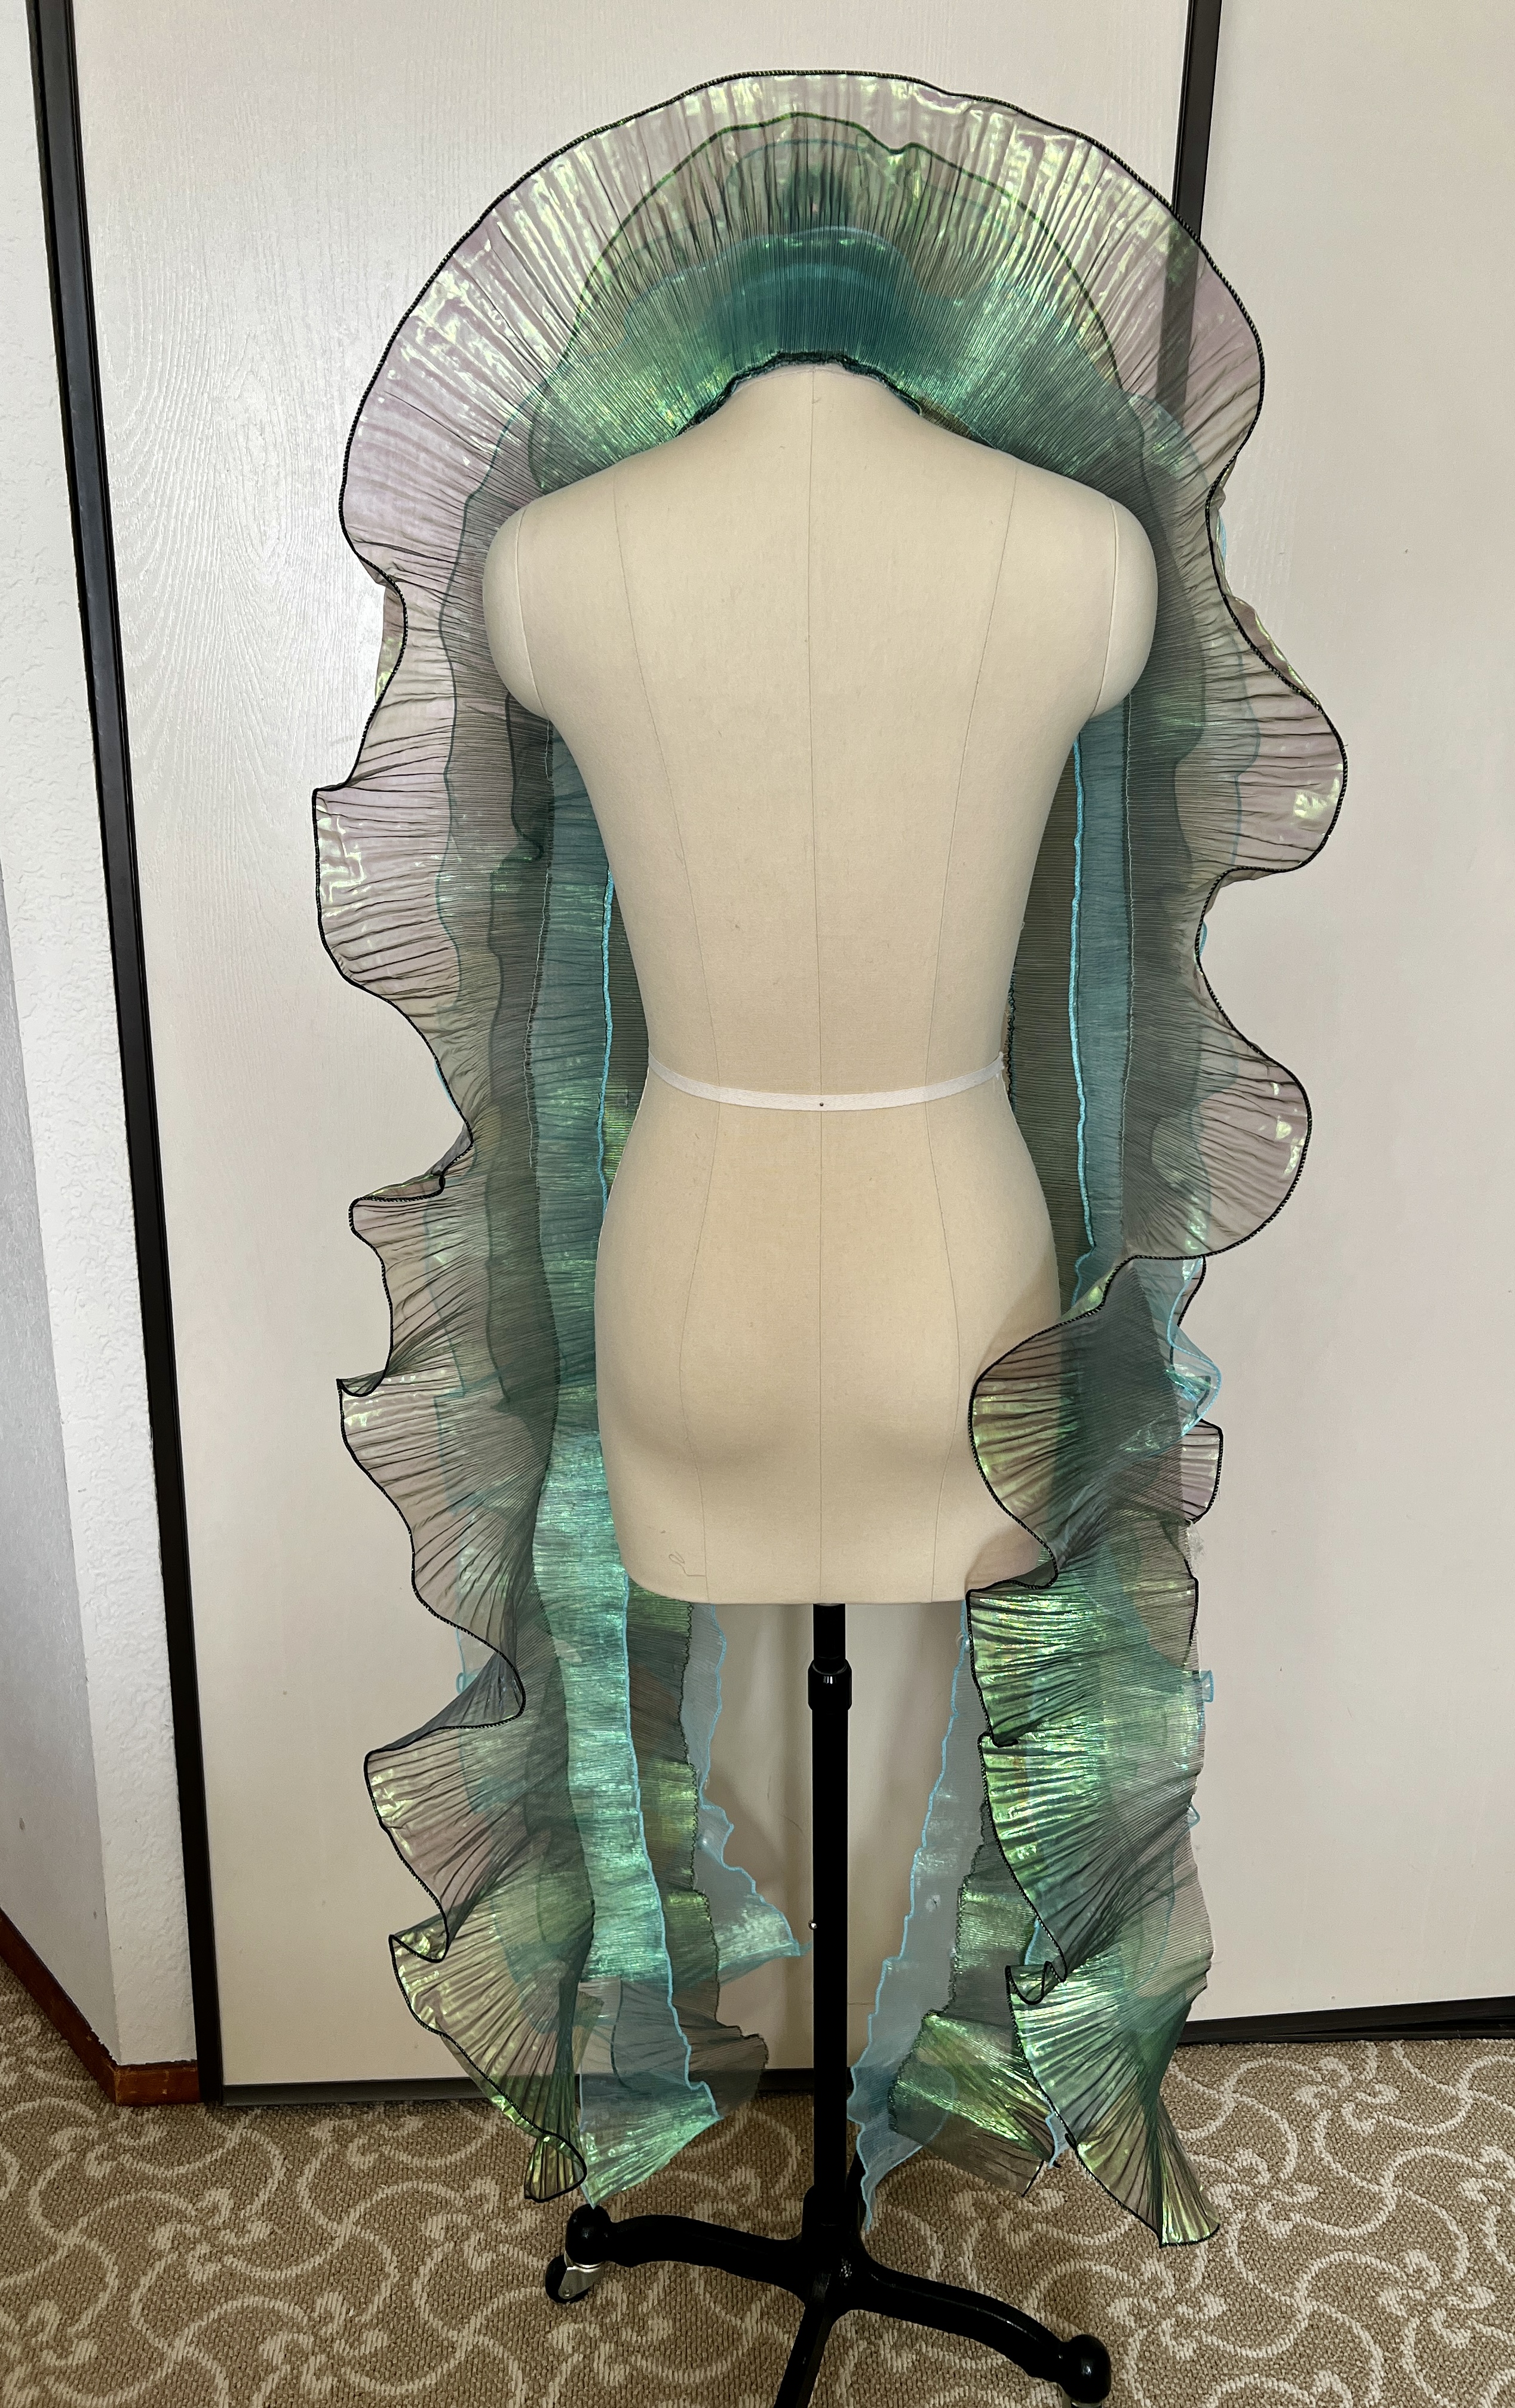
Referring to the numbered layers in the list above, this is your order of sewing:
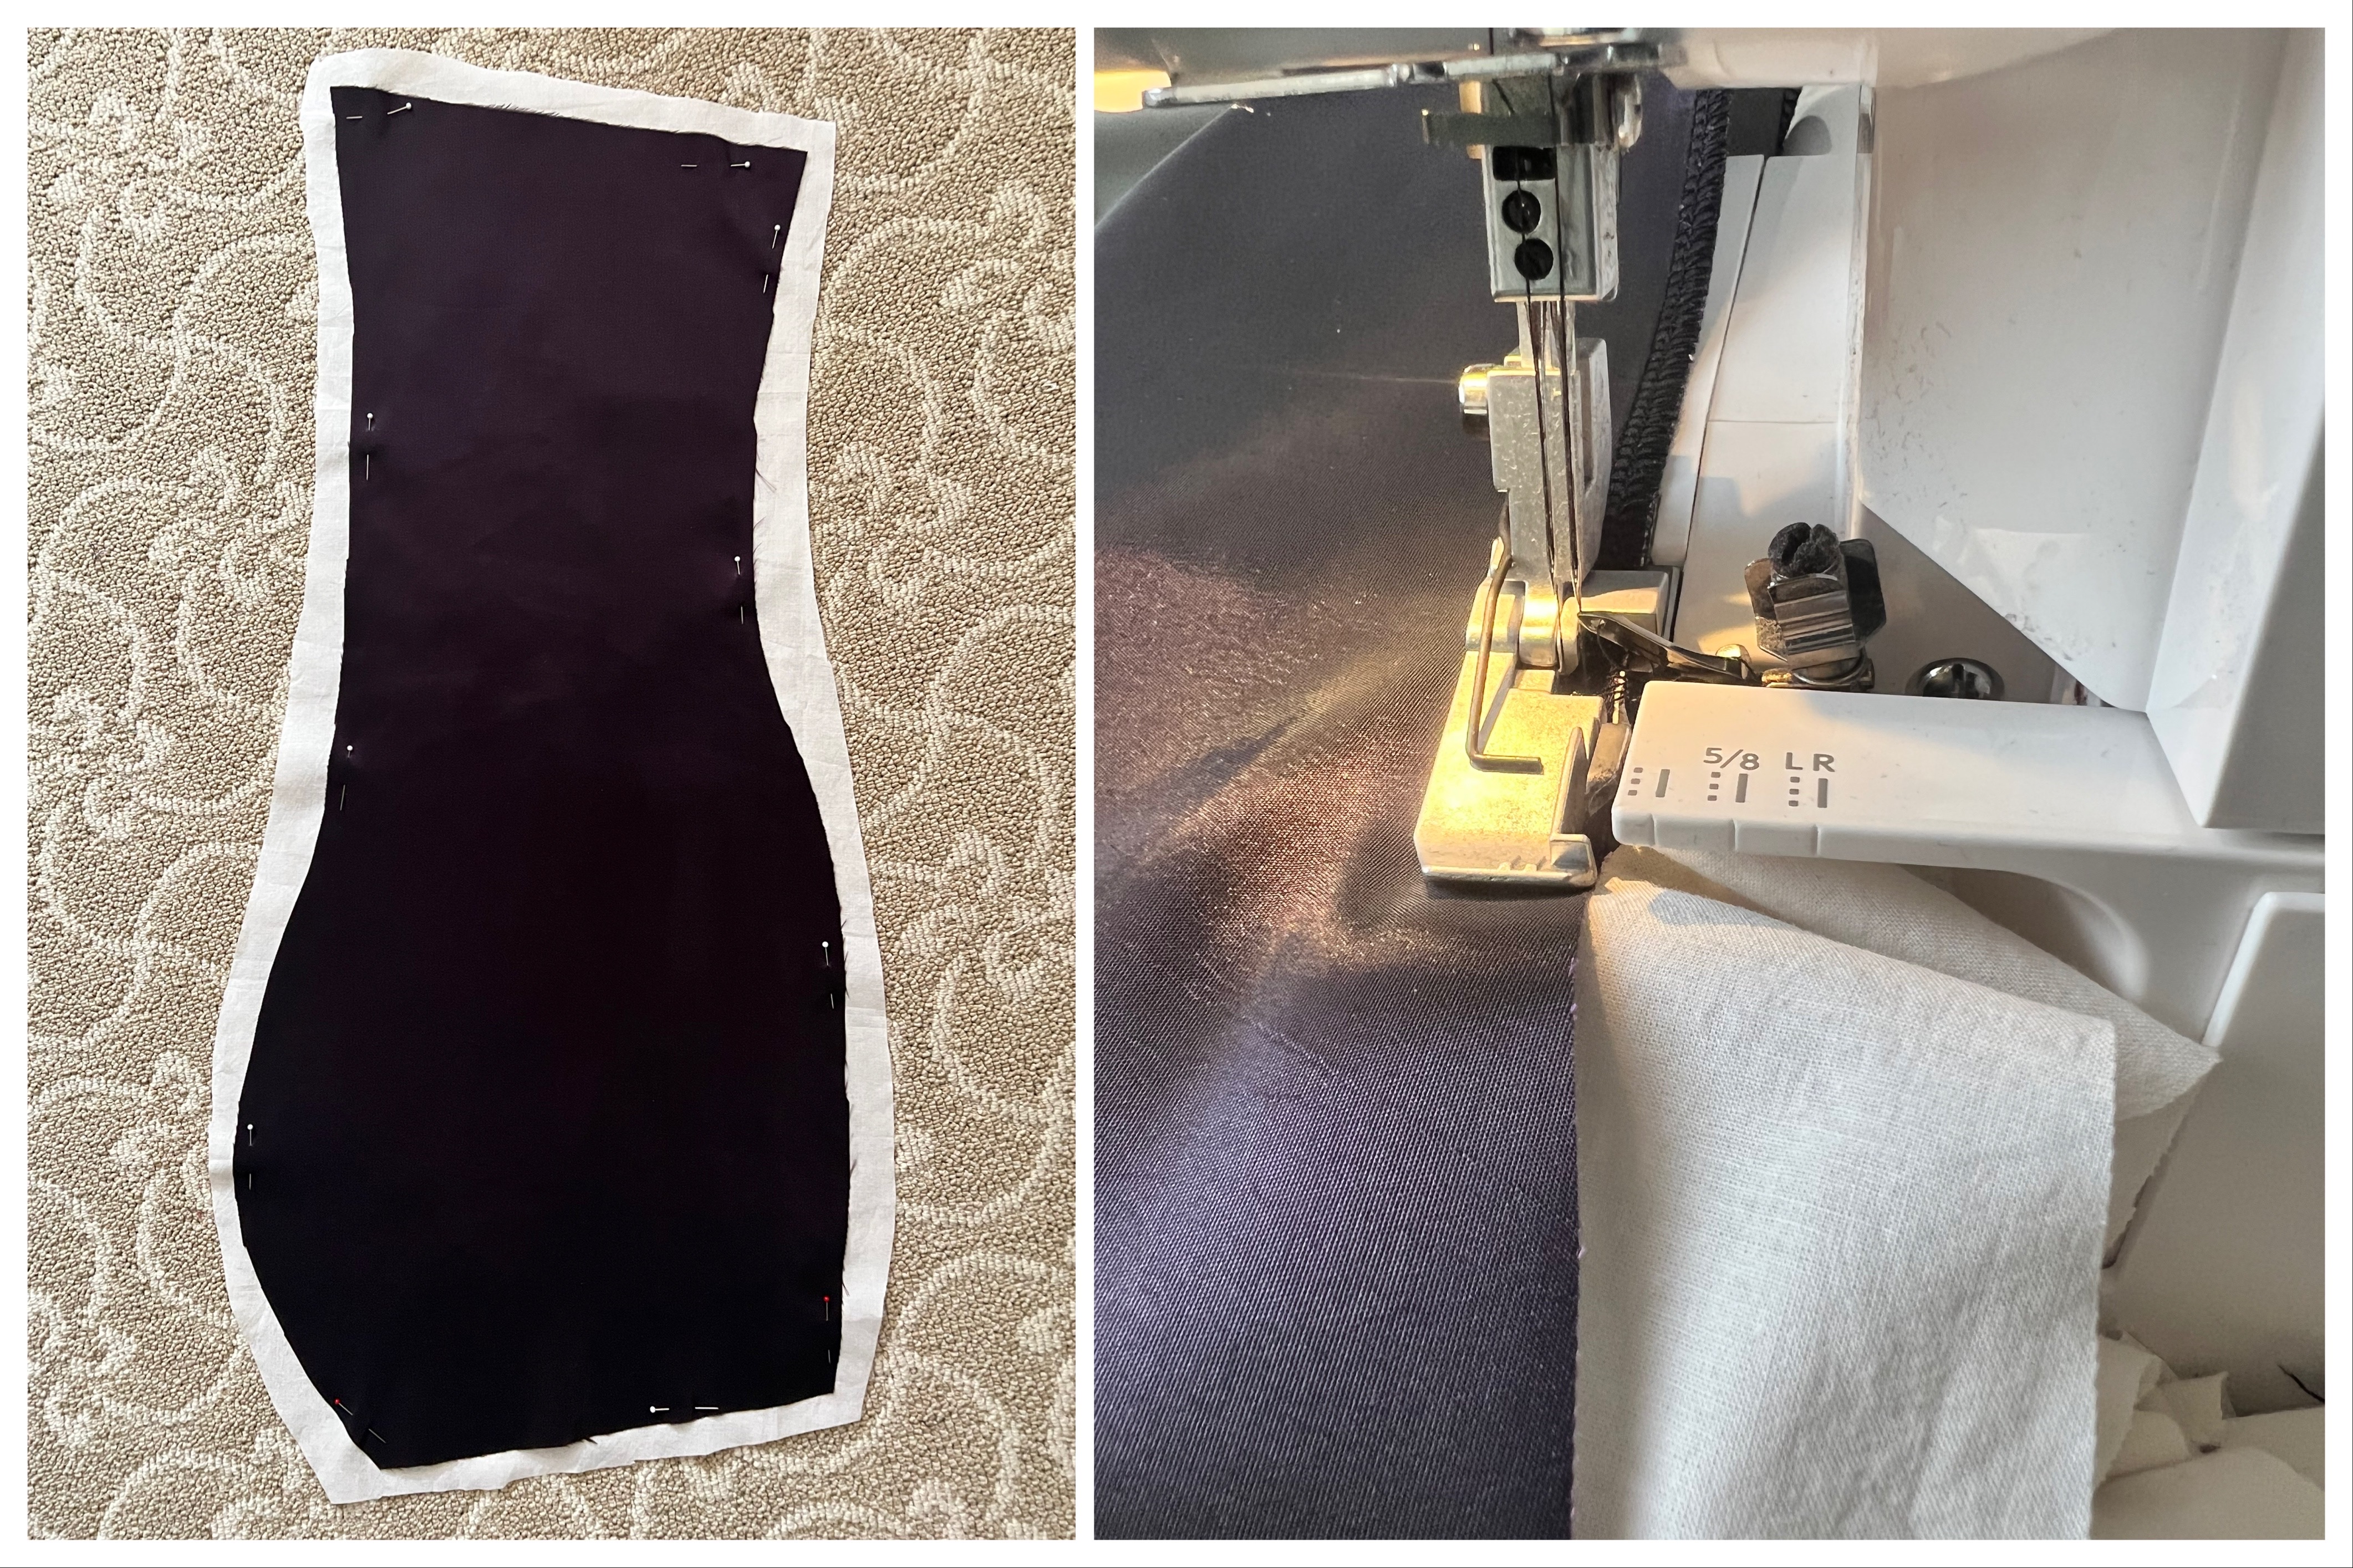
- Put the edge of #4 (green) halfway under #3 (blue) and stitch down by machine. (This means you will be sewing down the center of #3).
- Put the edge of #3 (blue) halfway under #2 (green) and stitch down by machine. (This means you will be sewing down the center of #2).
- Line up the edges of #2 (green) and #1 (blue) with blue on top and stitch down at the edges by machine.
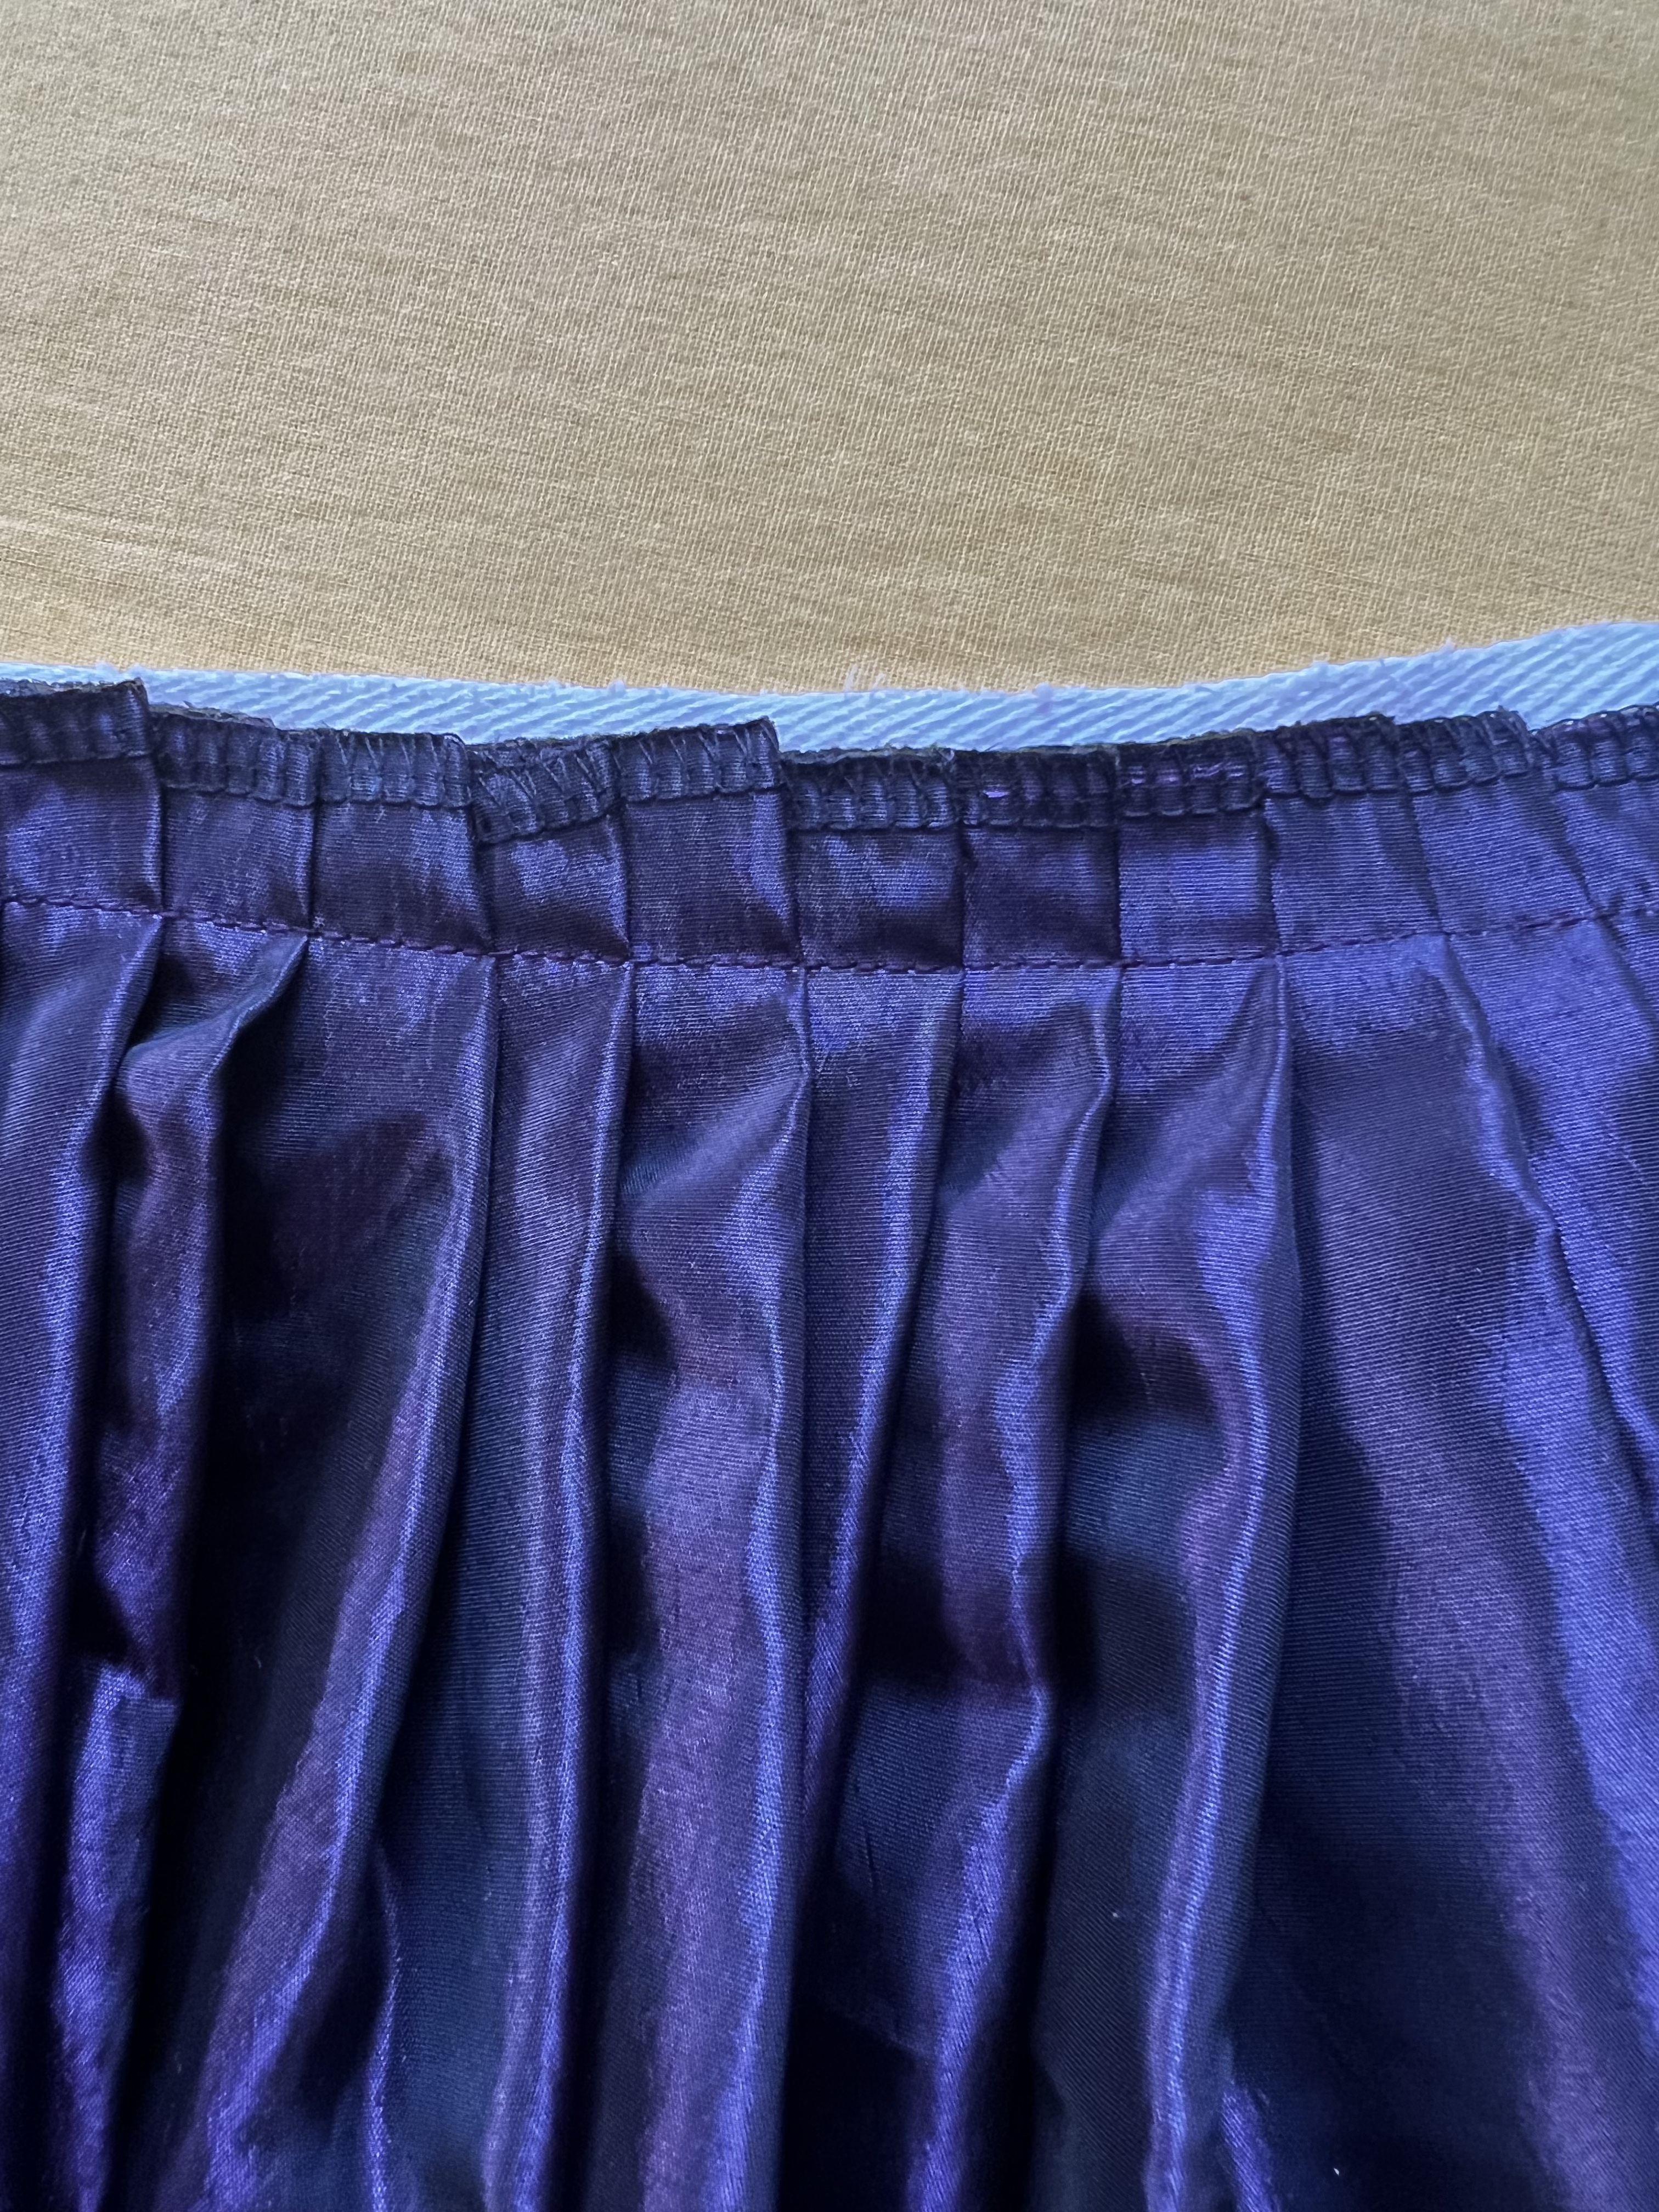
- Hand-sew pearls and beads onto #1 (blue).
It doesn’t matter if the ends aren’t exactly even or the layers aren’t lined up perfectly halfway because it just adds to the natural kelp-like look.
Sources:
- Blue iridescent ruffled fabric trim: Amazon (affiliate link)
- Green iridescent ruffled fabric trim: Amazon (affiliate link)
- Shell-shaped beads: Amazon (affiliate link). These are not exactly the same color I had in my stash but are the same size and shape and I think they would show up better because they are more opaque.
- Faux pearls: Amazon (affiliate link). Mine are collected over time from different sources but these are a similar assortment. You’ll want varied sizes and for them to be plastic not glass to avoid being too heavy.
- Belt: I made my belt using a shell bracelet similar to this one (Amazon affiliate link) and extending the length with faux pearls.
- Golden seashell crown: Amazon (affiliate link)
- Blue and silver beaded dress: Babeyond Geometric One-Shoulder Mermaid Gown
If you want to see the mermaid costume in action here is a video on my Instagram.
If you make your own mermaid shawl please let me know!


 12-14-19")
