I have an 1830s-themed picnic later this year, so I made another Romantic era gown! Although I already have the plaid silk dress that I wore to the Dickens Fair, the thought of wearing silk to an outdoor summer picnic did not sound very comfortable. Instead, I decided to have a washable cotton dress in a busy print that could hide stains.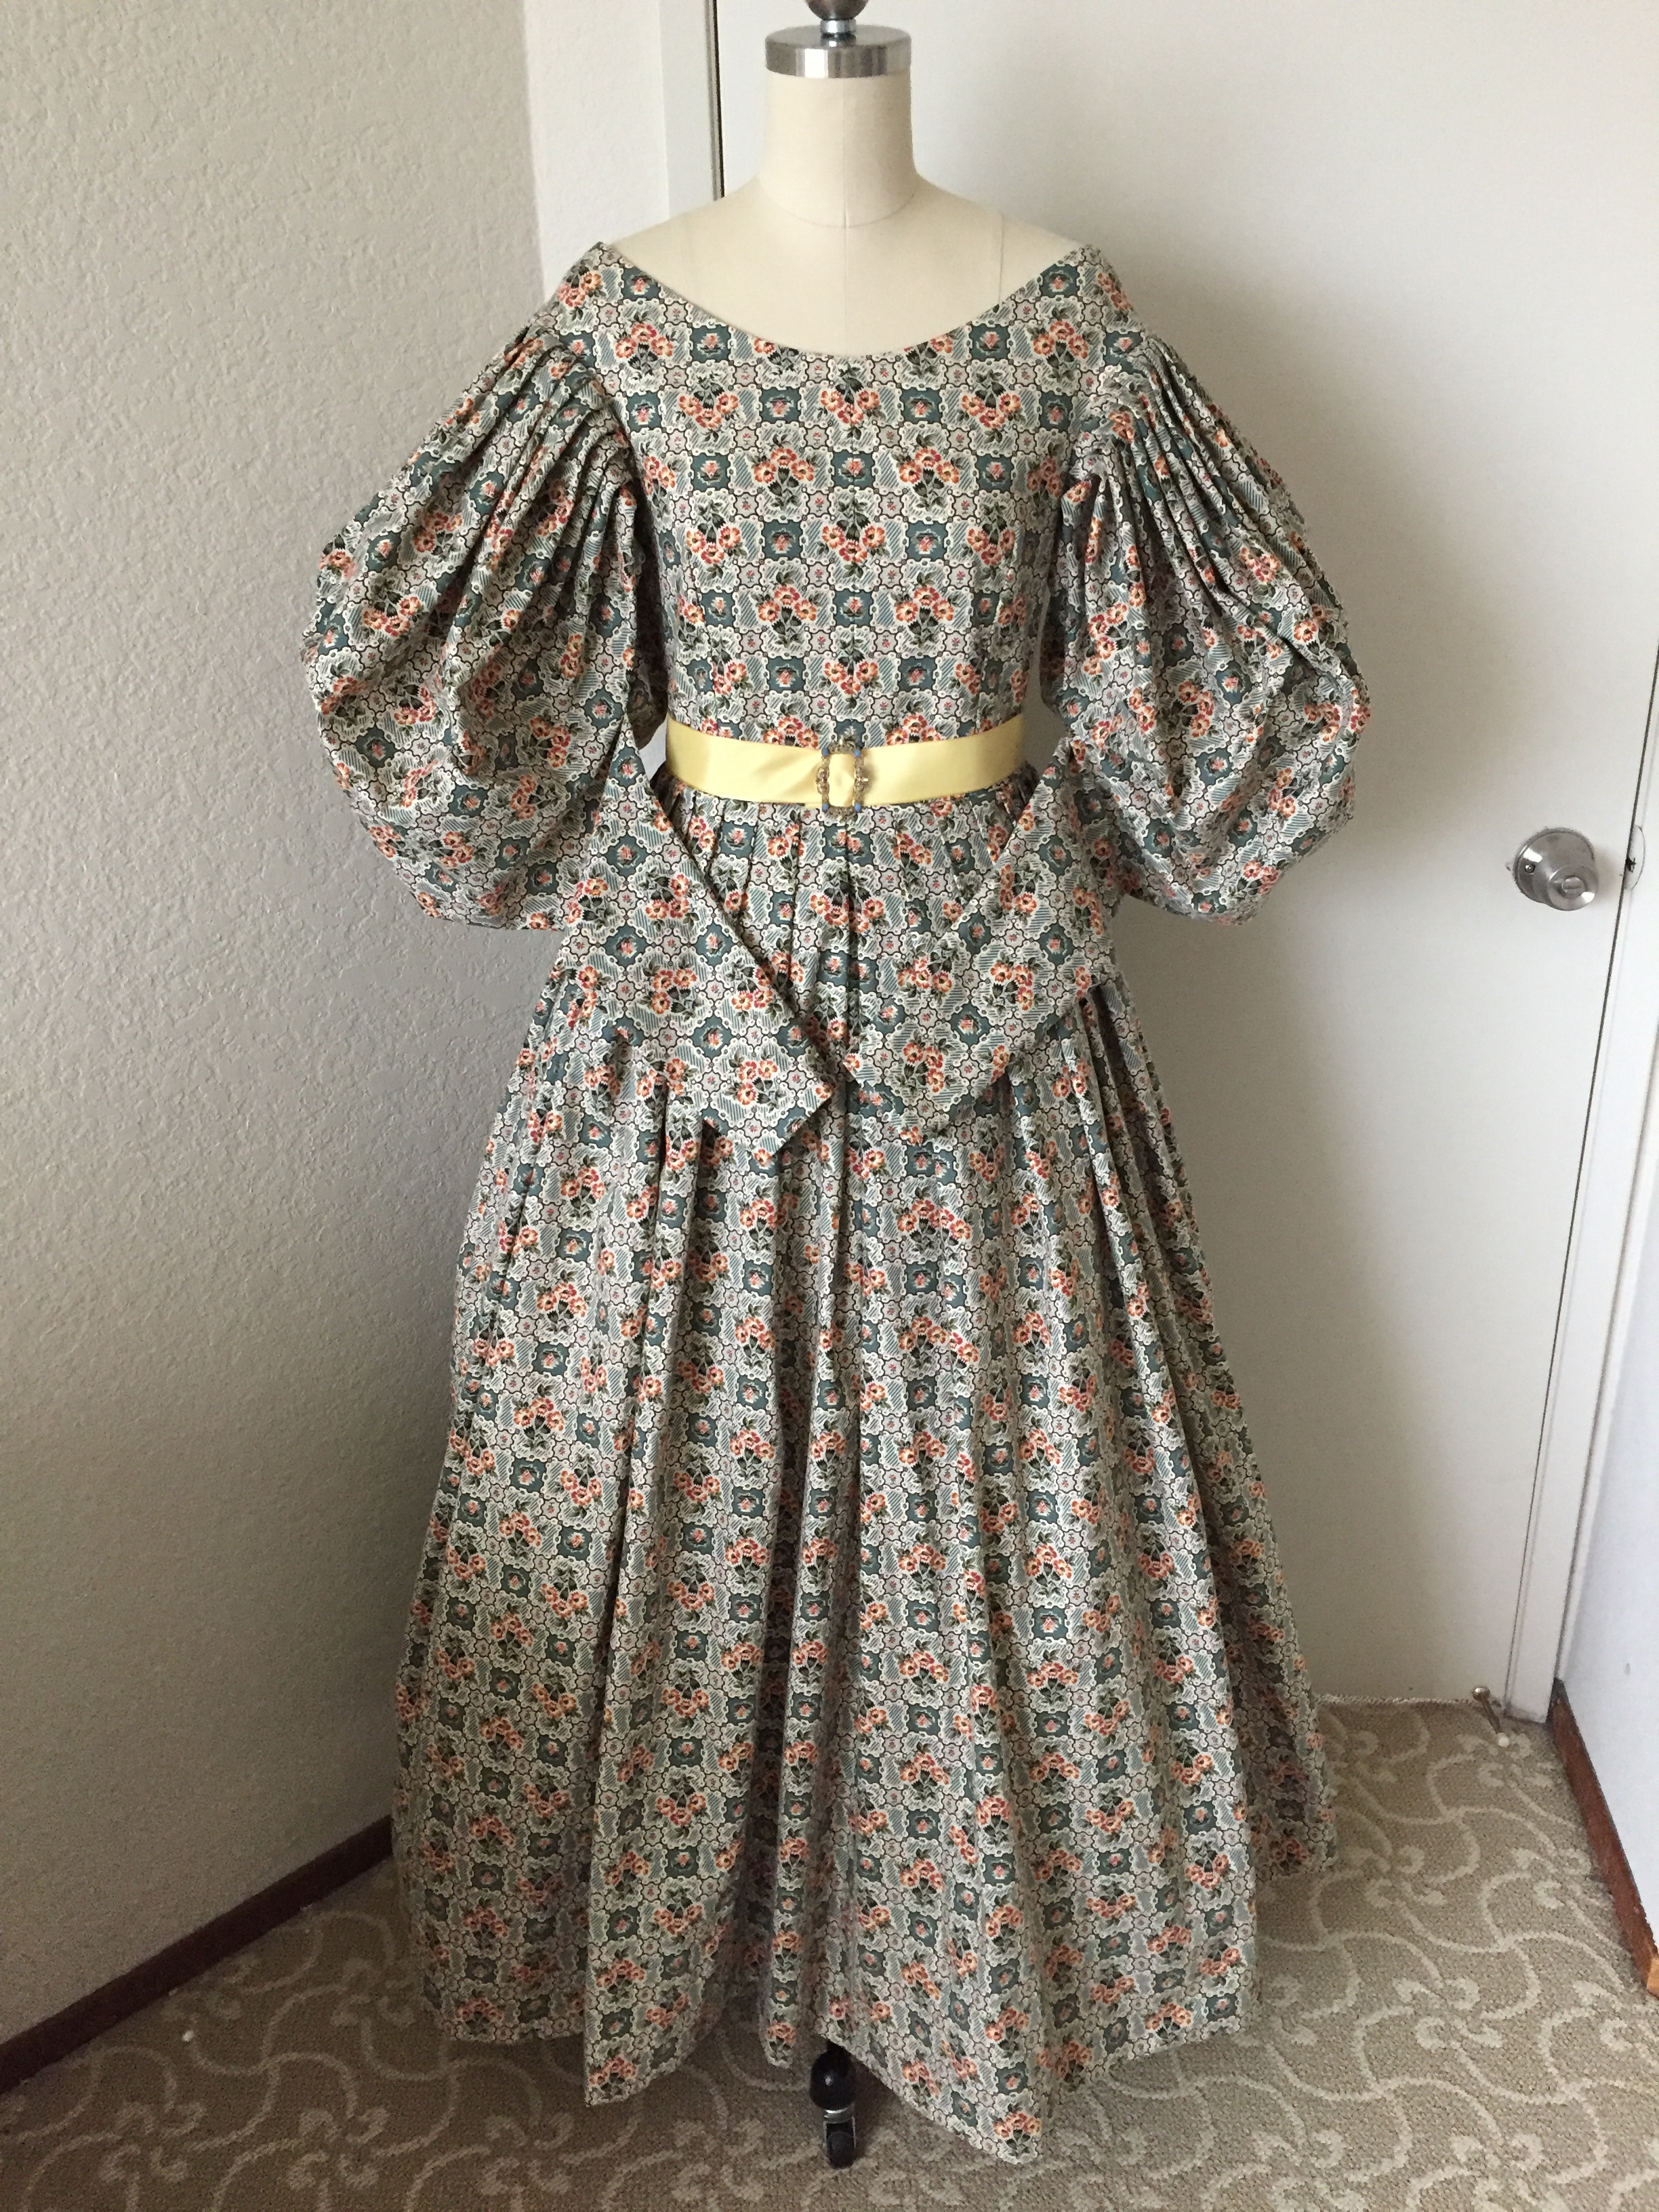

The dress is shown above without the sleeve plumpers or the petticoats properly starched, so there will be a lot more poof when I wear it! The fabric is a quilting cotton by Andover Fabrics from their Maling Road collection, shown below with one of the hidden pockets I put in the side seams.
Although the cotton I bought was not advertised as a reproduction print, I thought the general checkered feel of it was similar to this antique wool gown at the Victoria and Albert Museum.
The cotton pleats up beautifully, as seen in my sleeves. (Since the sleeves have about a yard of fabric, deep pleats are needed to get all that fabric into the armscye. Gathering will be too bulky).
I have lots of details about construction, undergarments, and accessories in my post about my plaid silk gown, so I’ll just go over the things I did differently in this gown.
As before, I used the Truly Victorian TV455 1830s Romantic Era pattern to make my dress, but this time I redrafted the sleeve pattern to have a more defined difference between the upper and lower sleeve, using the Workwoman’s Guide as a reference (drawing not to scale):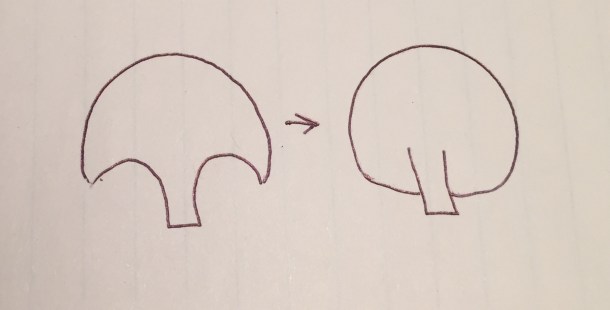
Other changes I made to the construction (mostly to speed things up):
- I skipped the piping because the print was so busy, and I wanted this project to be fast!
- I used the variation of the pattern that omits the pleating at the top of the bodice because I will be outdoors and wearing a pelerine that covers the pleating anyway.
- I did not line the sleeves this time; this reduced the bulk when pleating.
- Rather than having an opening in the lower sleeve that closes with hooks and eyes, I just sewed the sleeve seam shut. This means that the wrist area of the sleeve is not very tightly fitted, but still looks slim enough since I have slender hands I can carefully slide in. Having the seam fully shut made construction much easier since I had no lining, and is one less thing to fuss with when dressing.
- Last time I flat-lined my silk with an organdy interlining, then made a separate polished cotton lining. This time I skipped the lining and flat-lined my cotton print with a plain cotton interlining. Here’s a time-saving tip I posted to my Instagram stories:

I will be reusing the delicate cotton pelerine I made for my silk gown.
The yellow ribbon belt is just a placeholder; I am considering a teal or coral velvet ribbon for the sash. I also purchased a lovely carved antique abalone shell belt buckle to use with this dress. It is probably Edwardian instead of Victorian, but it has the right size and proportions.
I put bust pads inside the gown, which are just cotton pouches stuffed with Poly-fil. They are not really meant to make your bust bigger, but fill out the hollow near the front of your underarm. The size, shape, and placement will depend on your body.
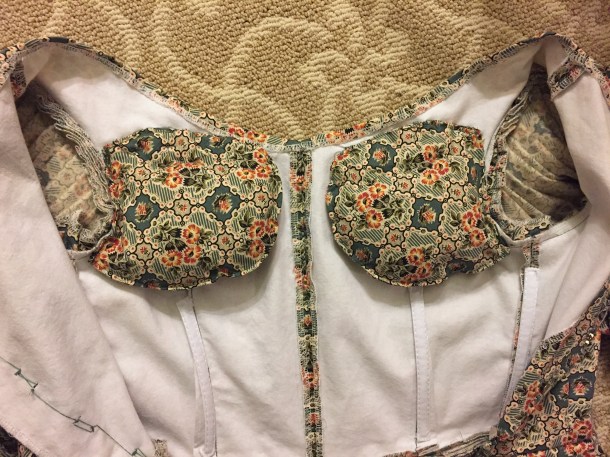
As you can see, the neckline is just flipped down and hand-stitched into place.
Materials:
- 8 yards of 44″ wide quilting cotton: $66.75 including shipping from eBay
- Pattern: $0, previously used twice!
- Bodice lining: $0 (leftover scraps from other projects)
- Thread, hooks and eyes, Poly-fil. ~$3 (already in stash and purchased in bulk)
- Ribbon: TBA
Not including accessories that means the dress will be around $70-75, since I already have all the undergarments, bonnet, shoes, and pelerine!
Here’s a storage tip: I now have three 1830s gowns and I don’t want to have the sleeves crushed in my packet closet. I also didn’t want to make multiple sets of sleeve plumpers. I put a plastic bag inside each sleeve and then put Poly-fil inside the bag. That meant the enormous sleeves of my 1830s dresses could muscle my other dresses in the closet out of the way.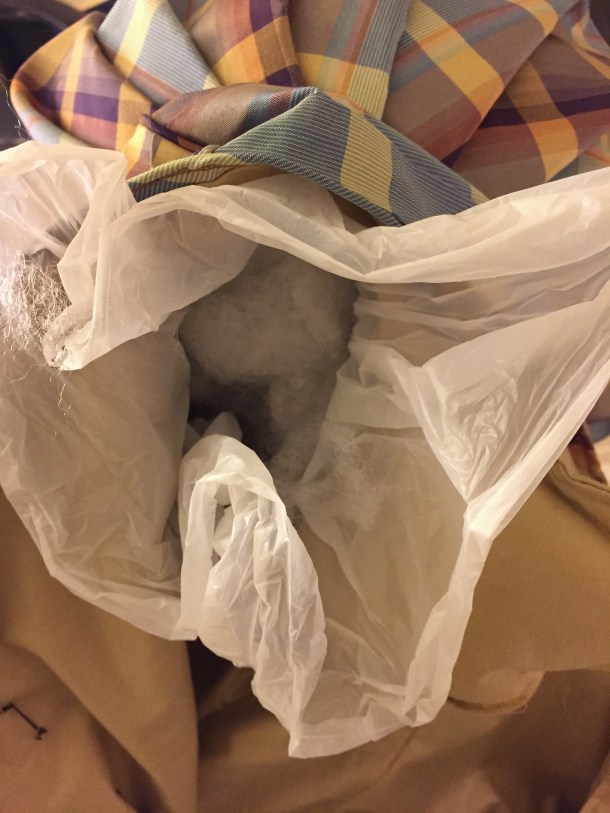

My event is still more than 3 months away, so I won’t be posting final worn photos for a little while, but I am glad to be done! (I don’t normally finish things this far in advance, but I wanted to make this gown while my previous 1830s dress was still fresh in my mind).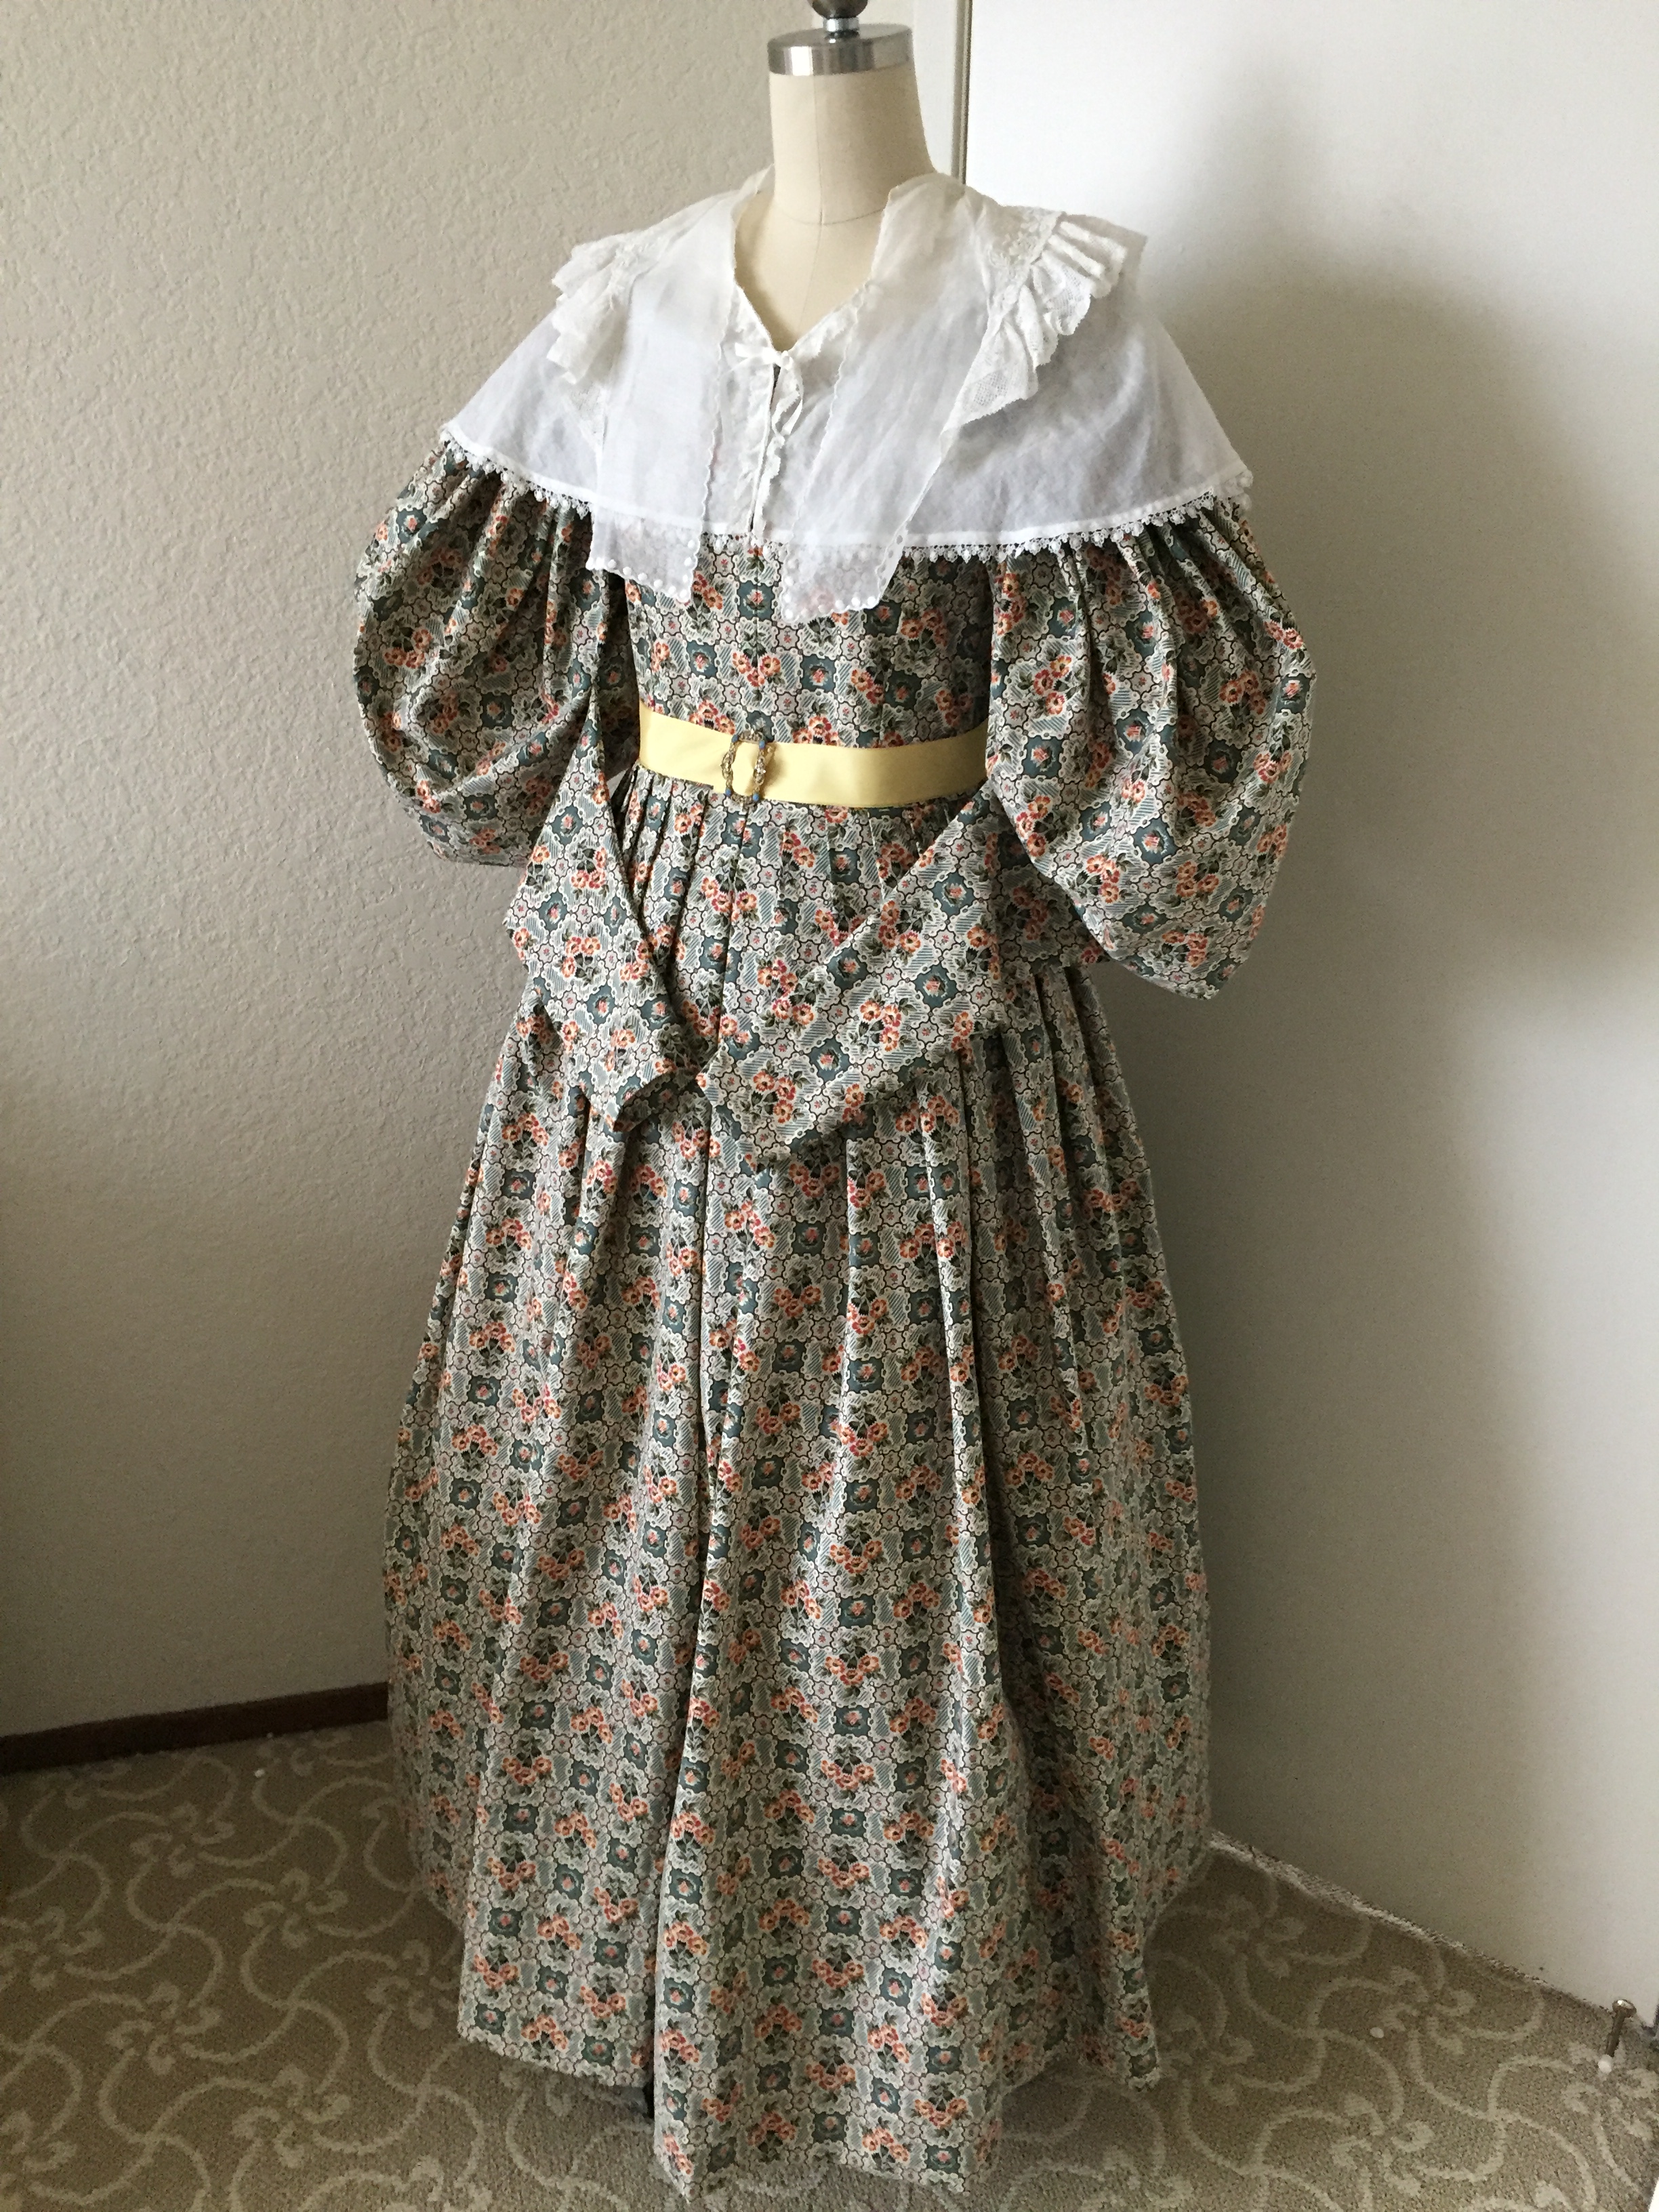


 12-14-19")
