Tag Archives: velvet

Elven/ Moon Goddess/ Medieval Fantasy Dress

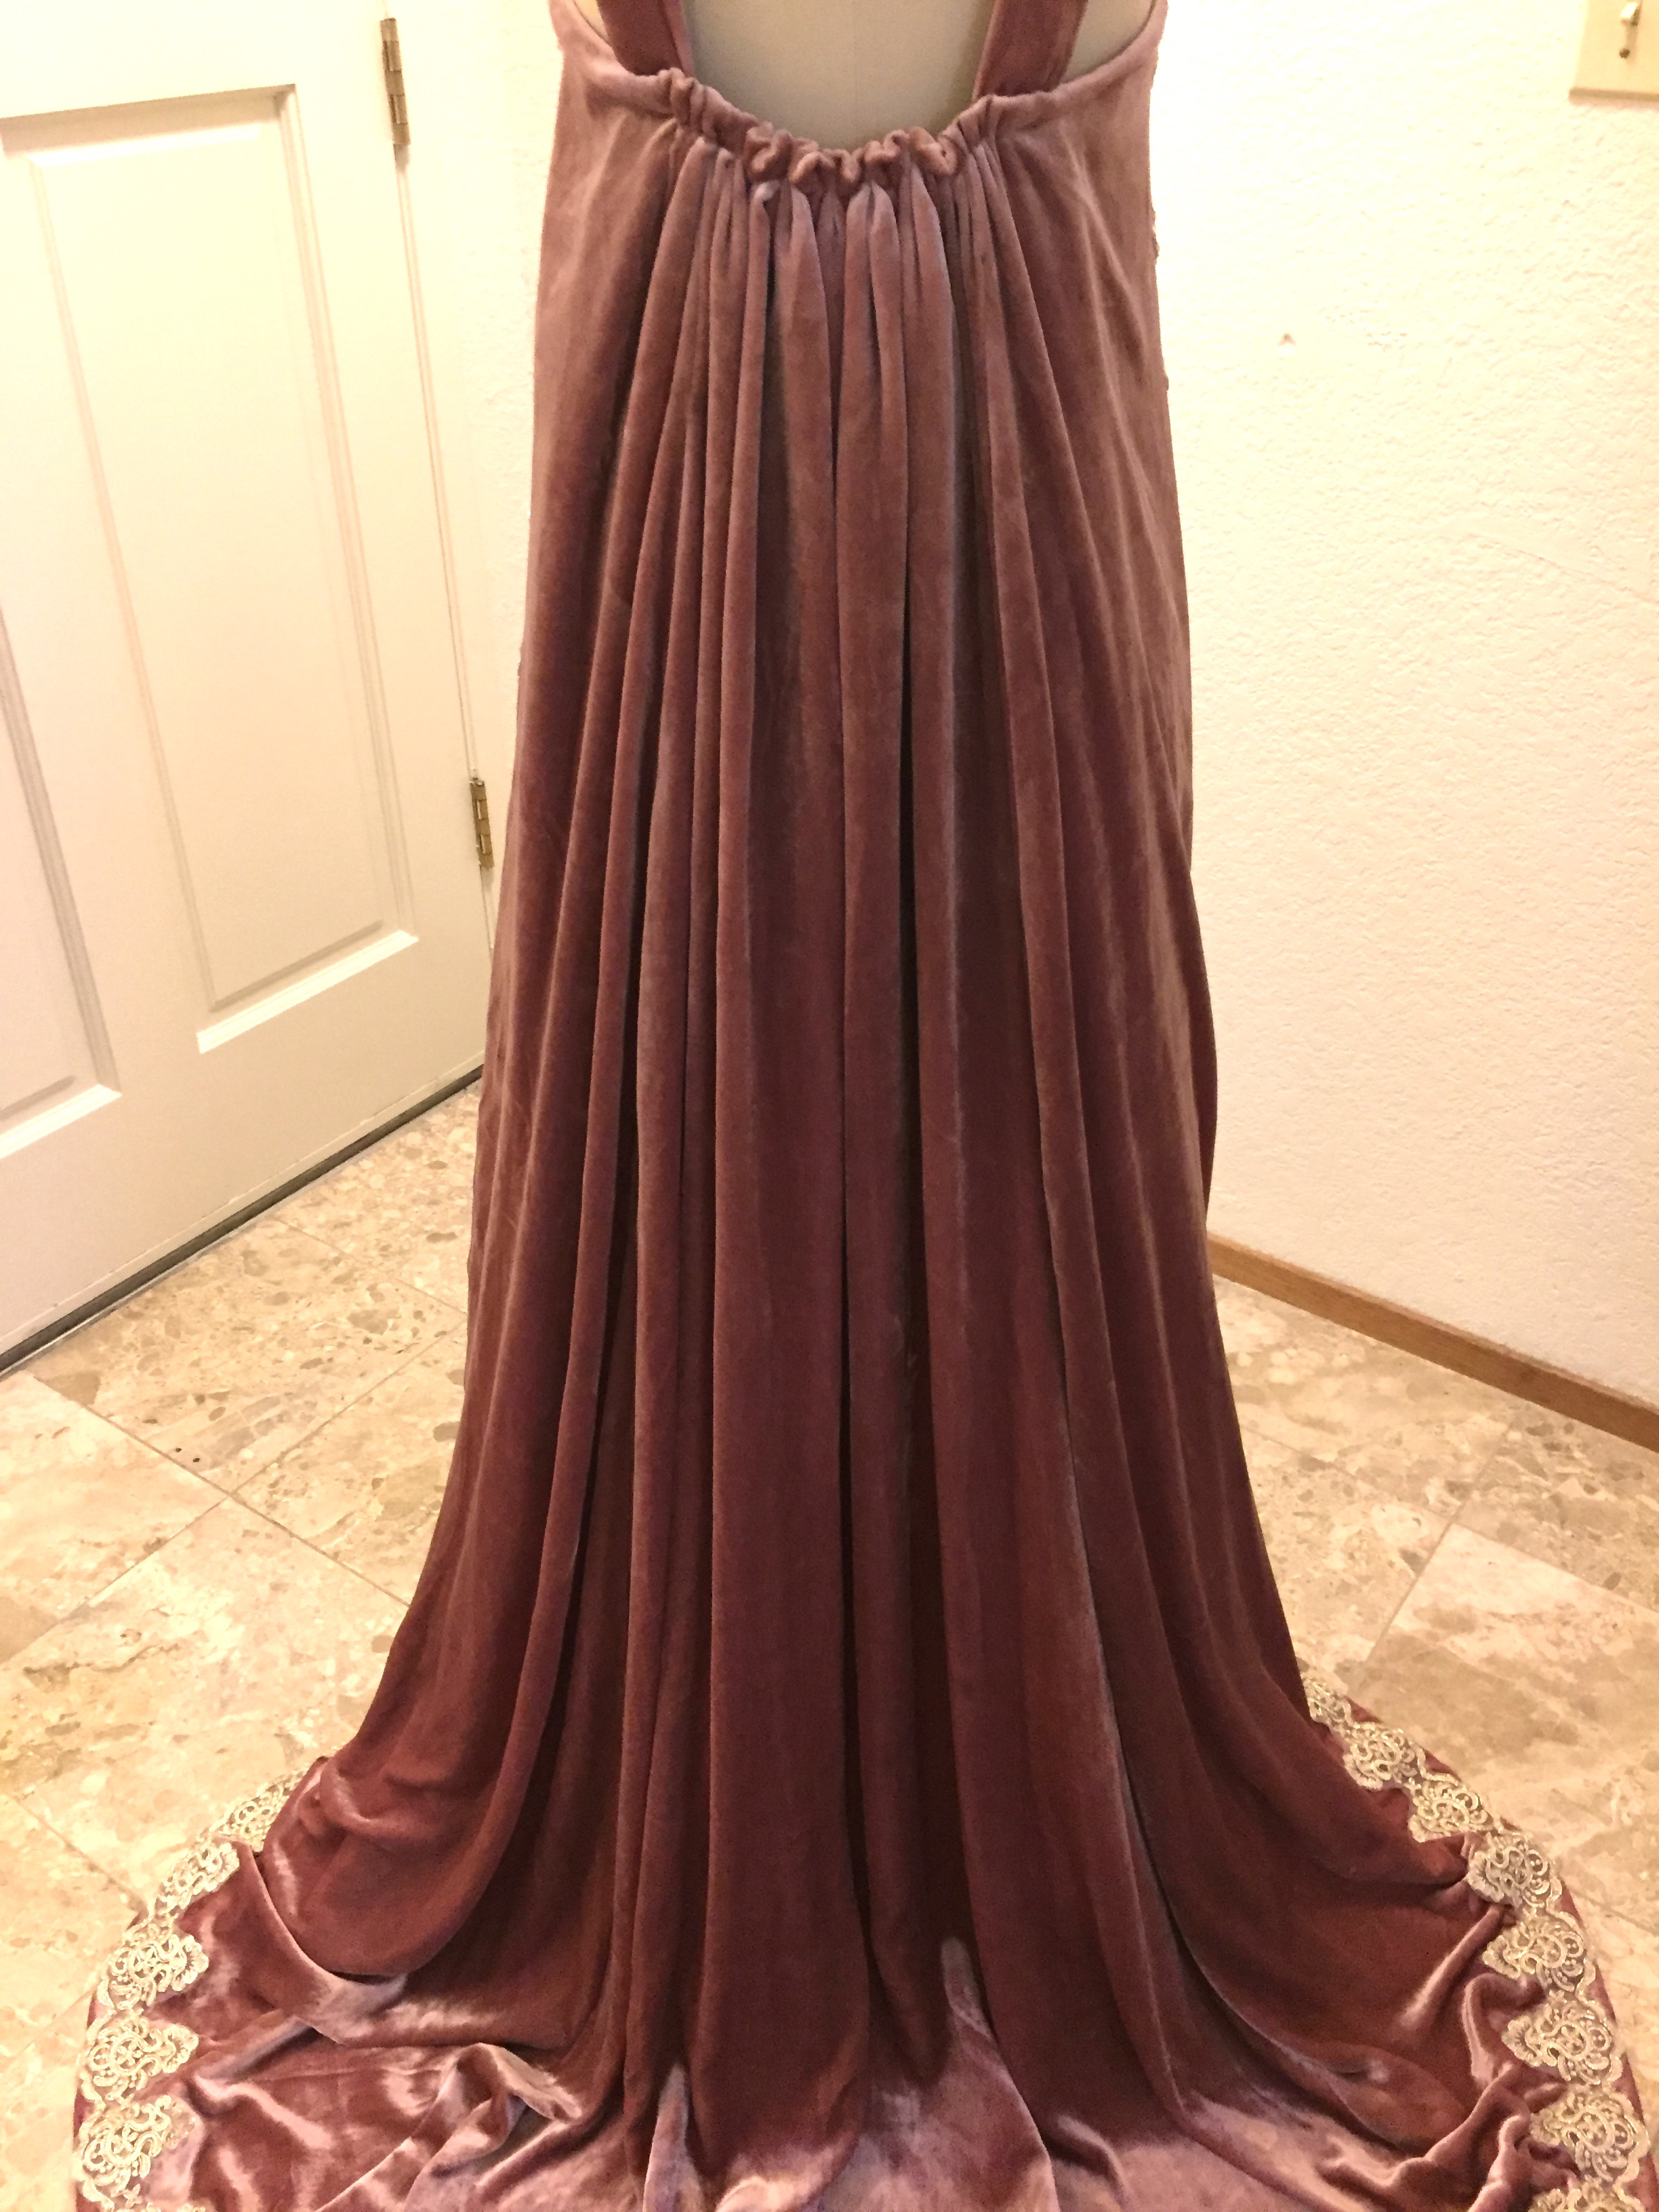
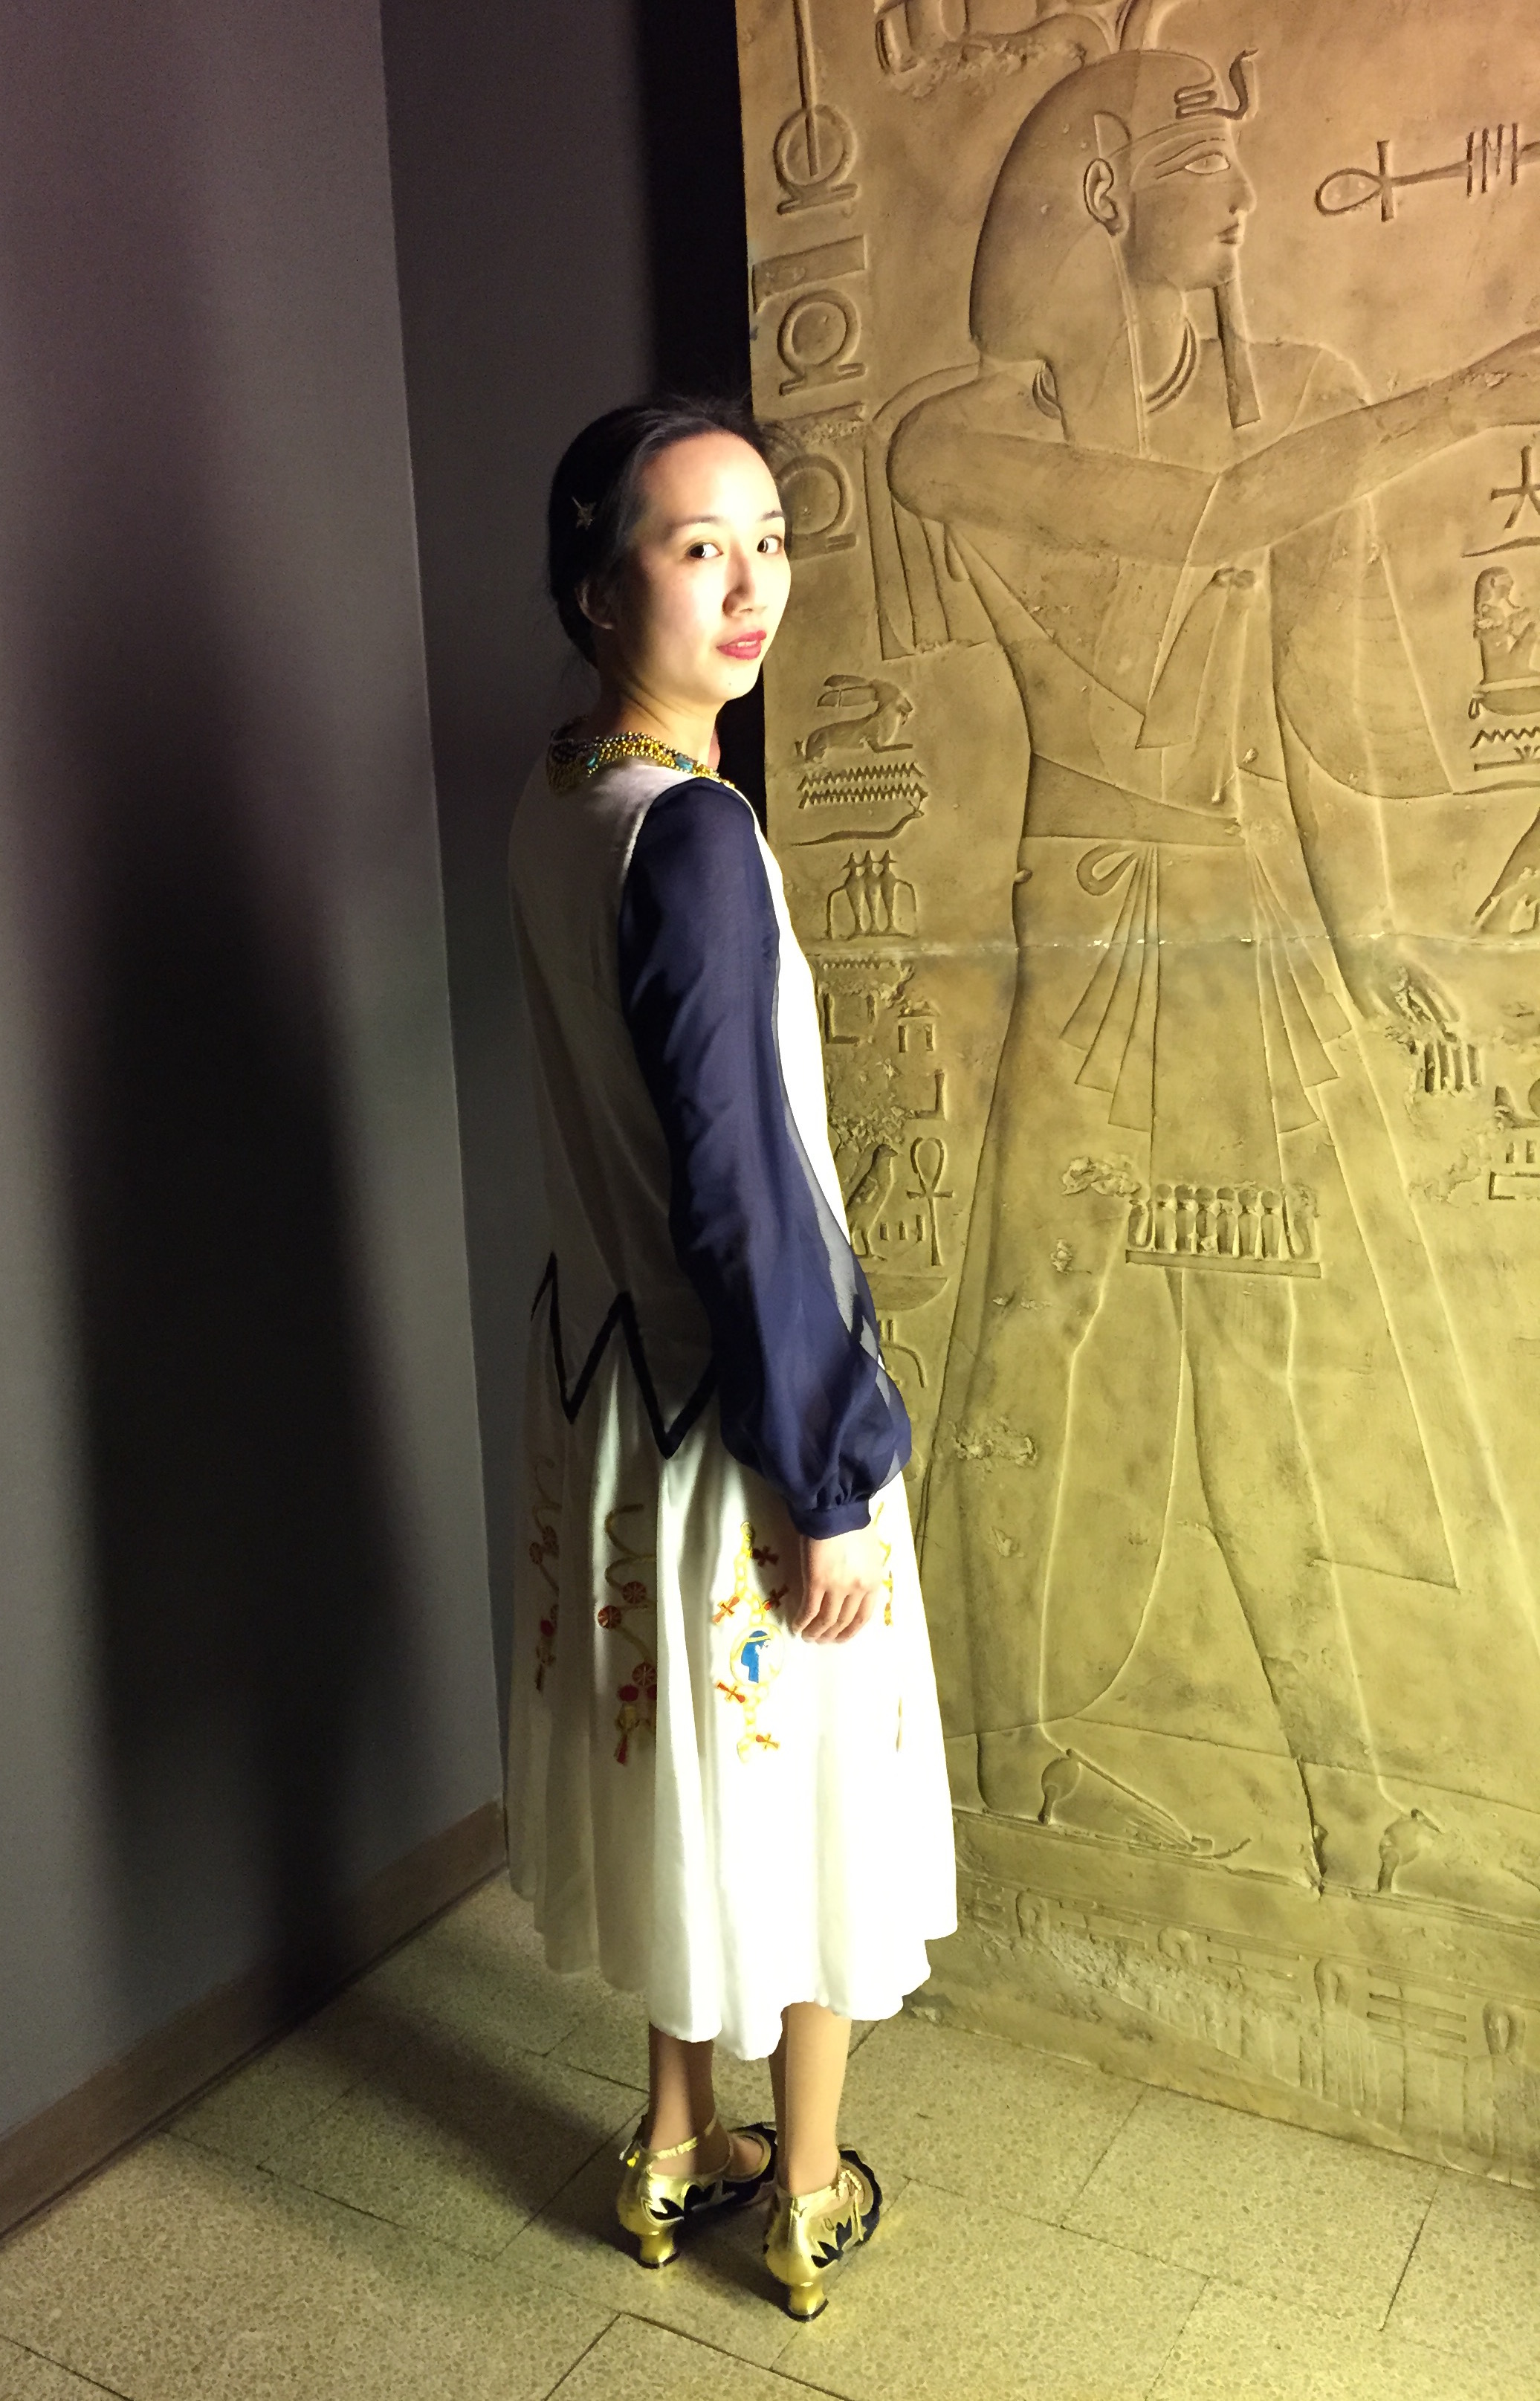
I made this fantasy costume back at the start of the year and realized I never wrote up a post! With the 20th anniversary of the Lord of the Rings films coming up, this is a good time to finally blog about this dress with elven vibes. I had fun walking around in nature, pretending to be regal, and hope to wear it to an actual event some time!

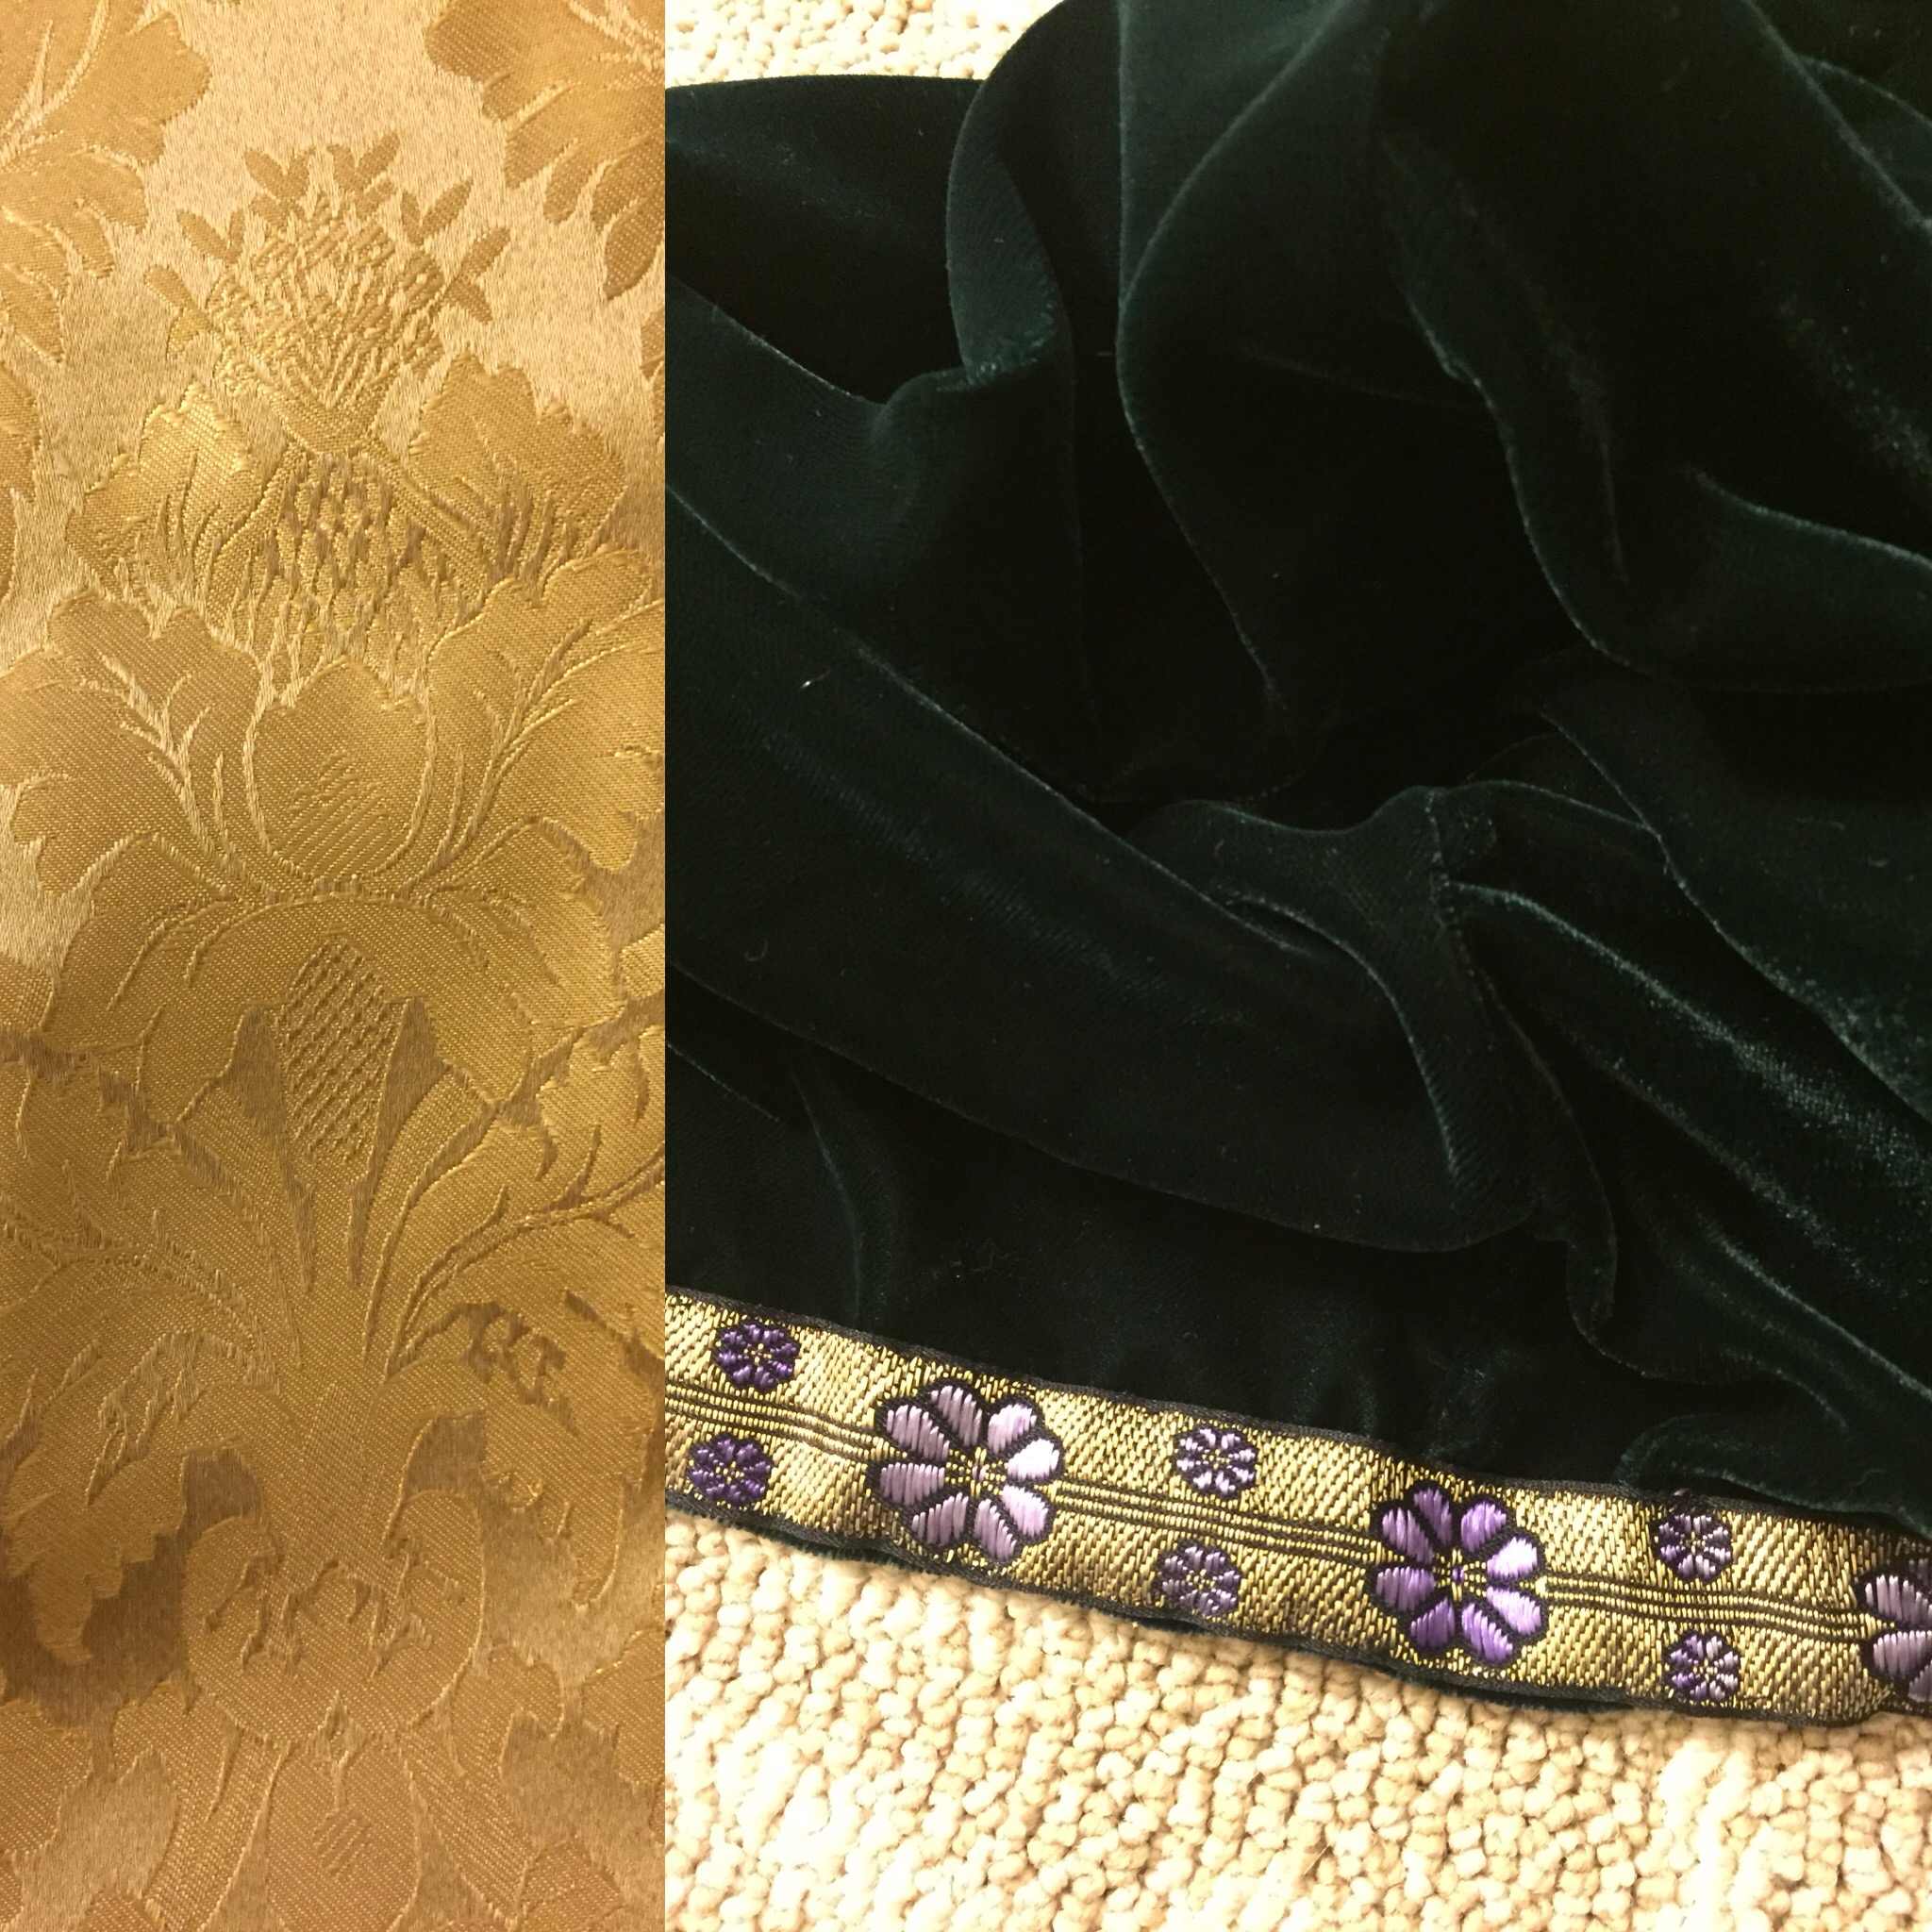
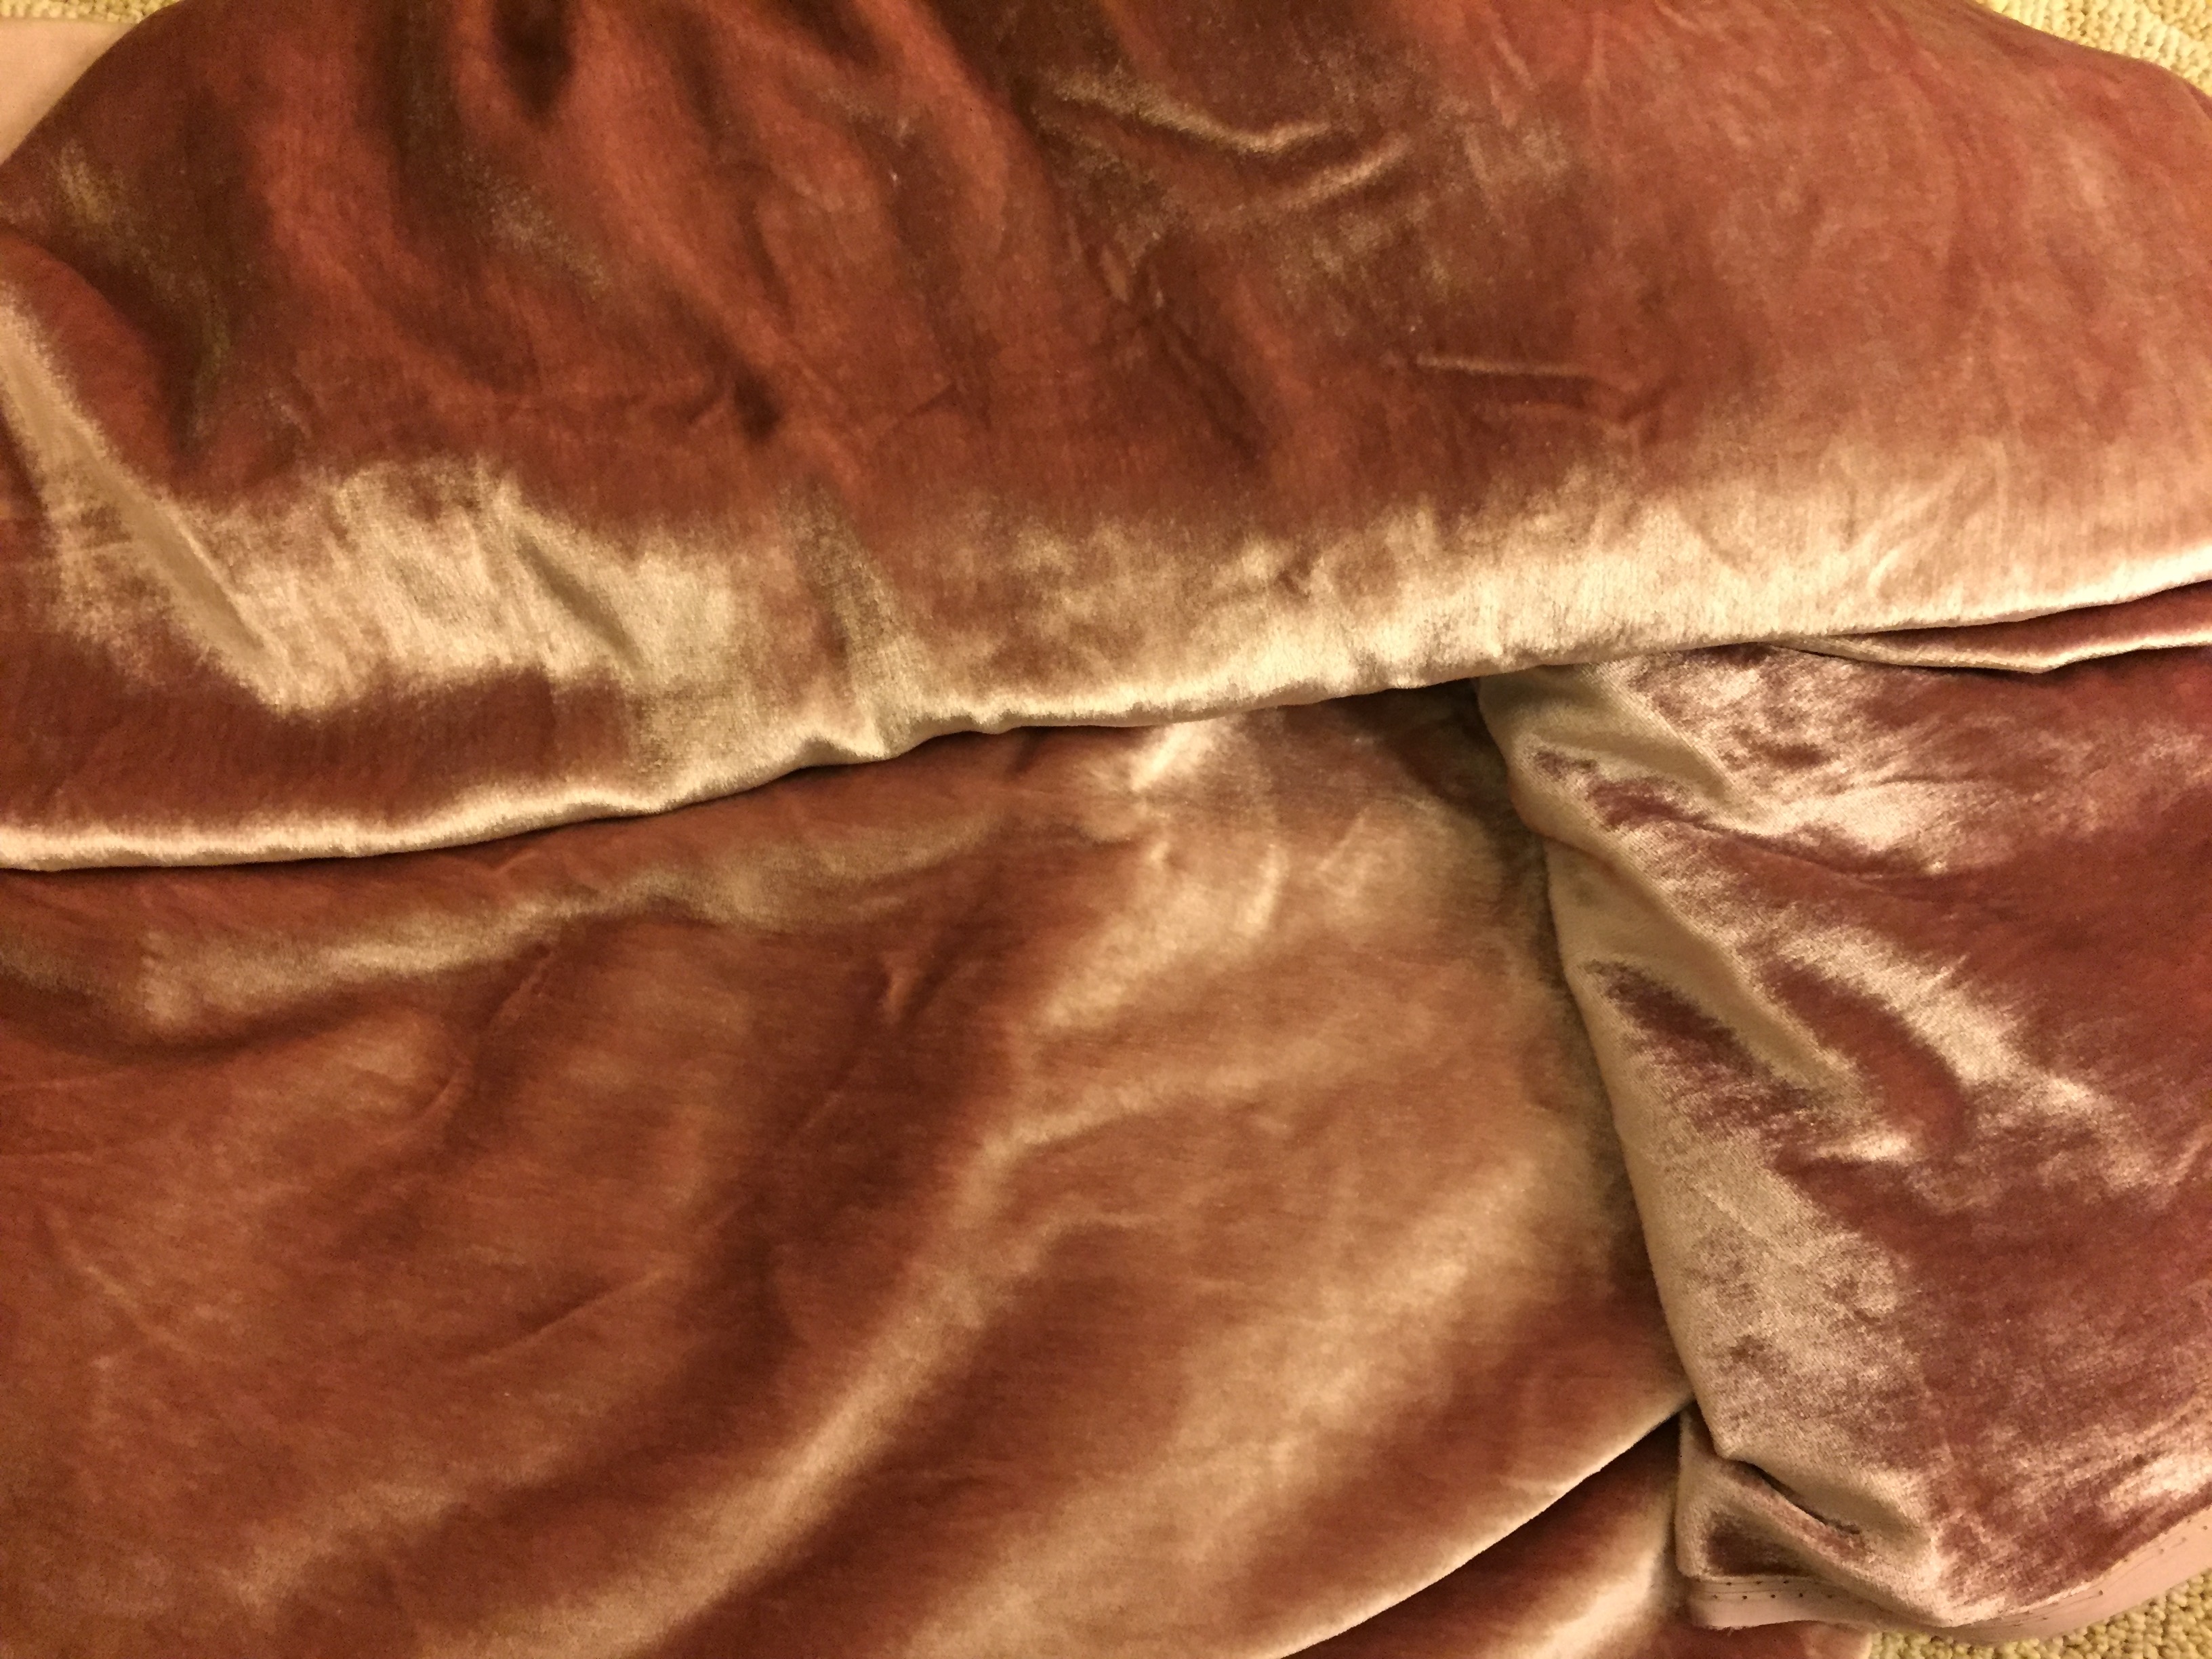
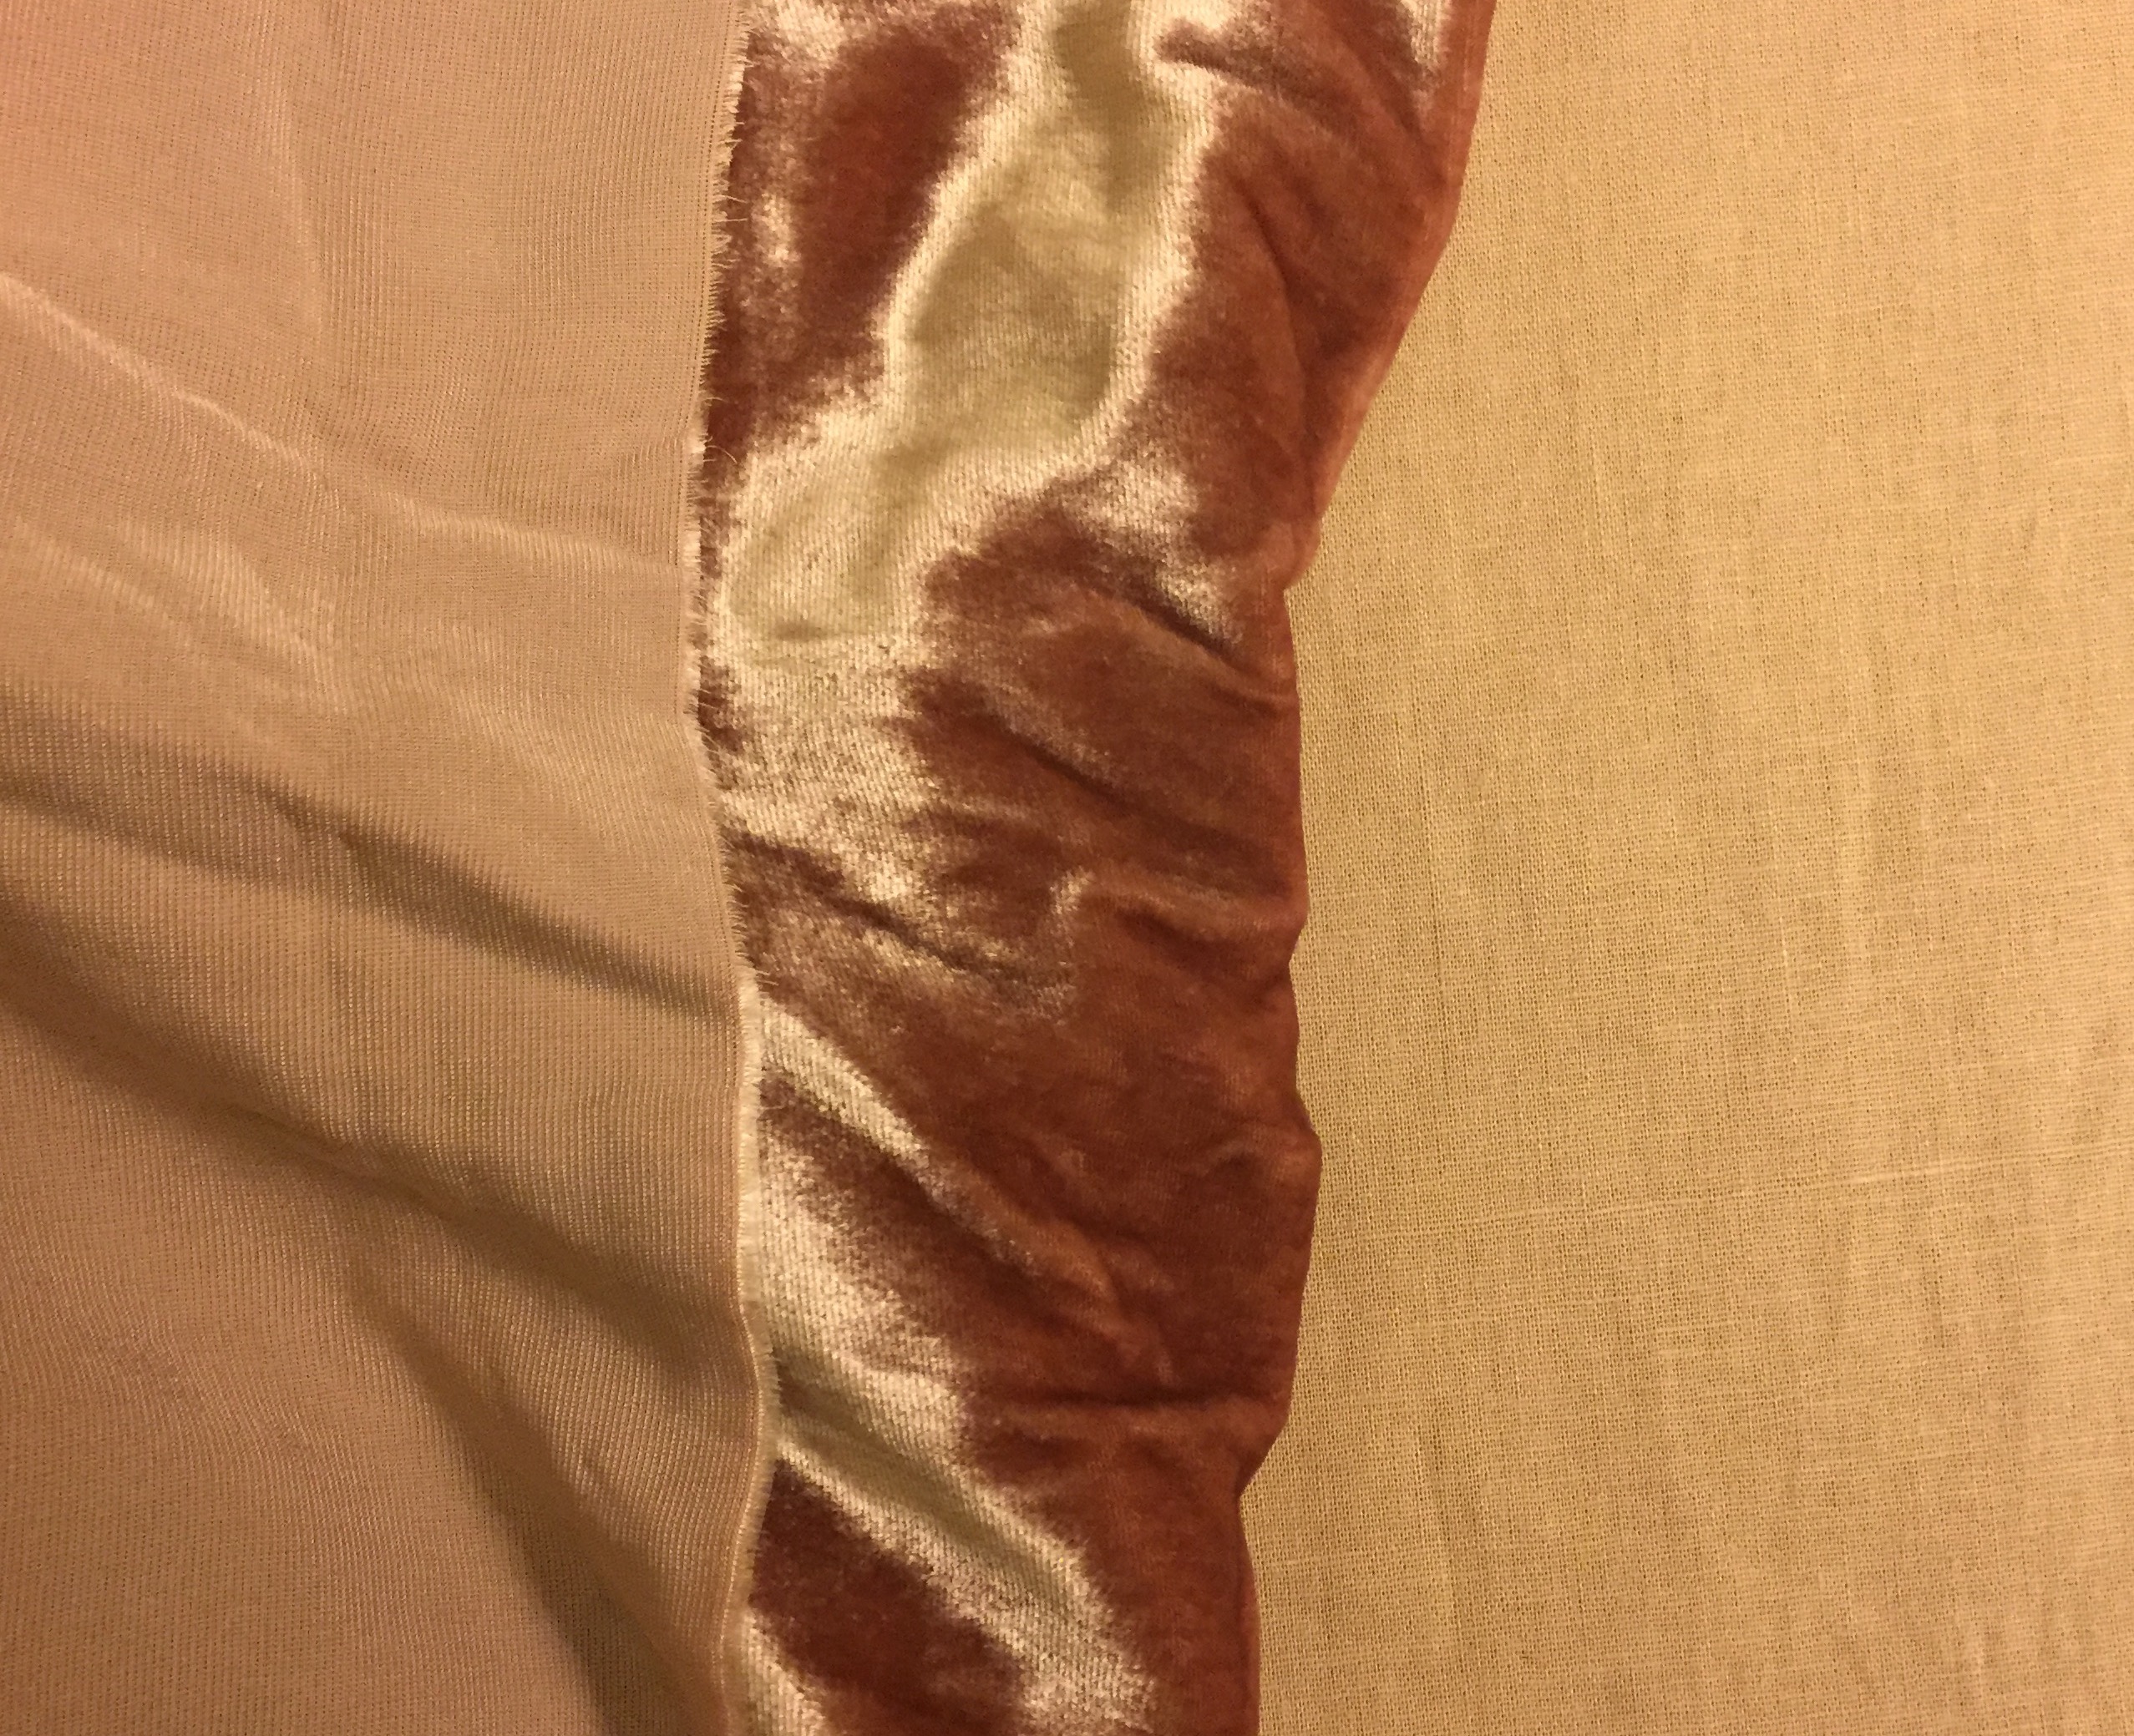
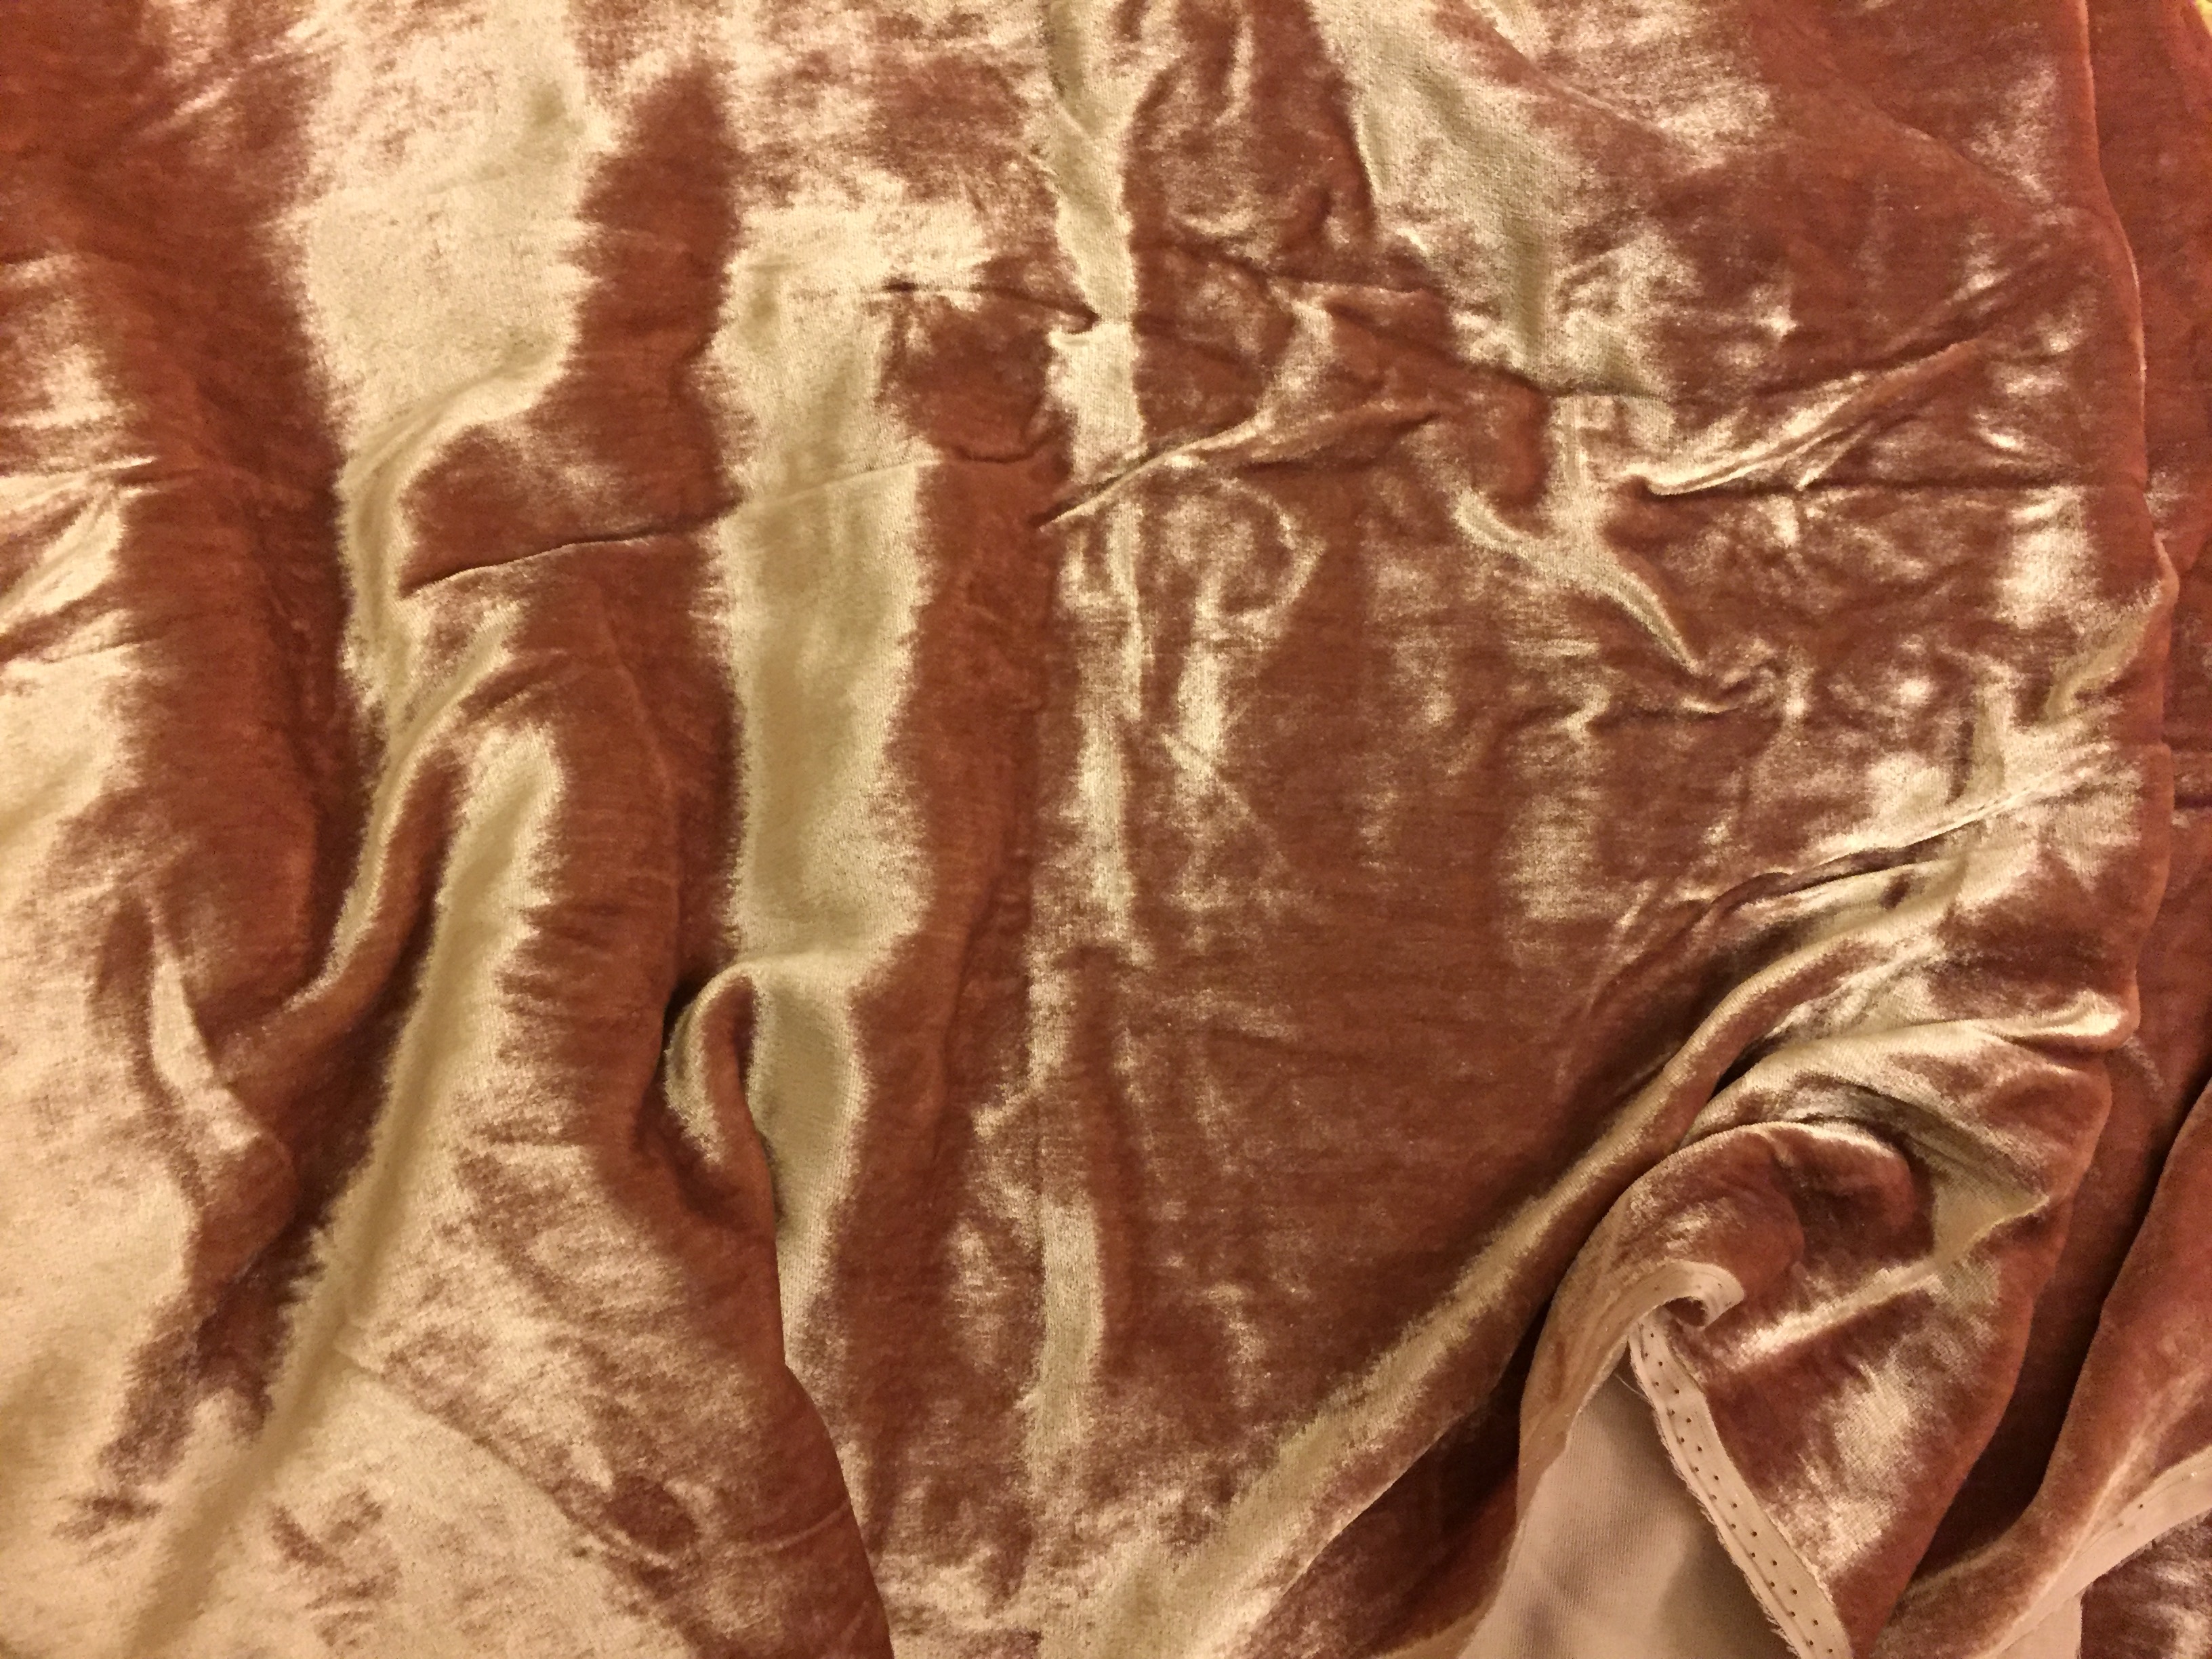
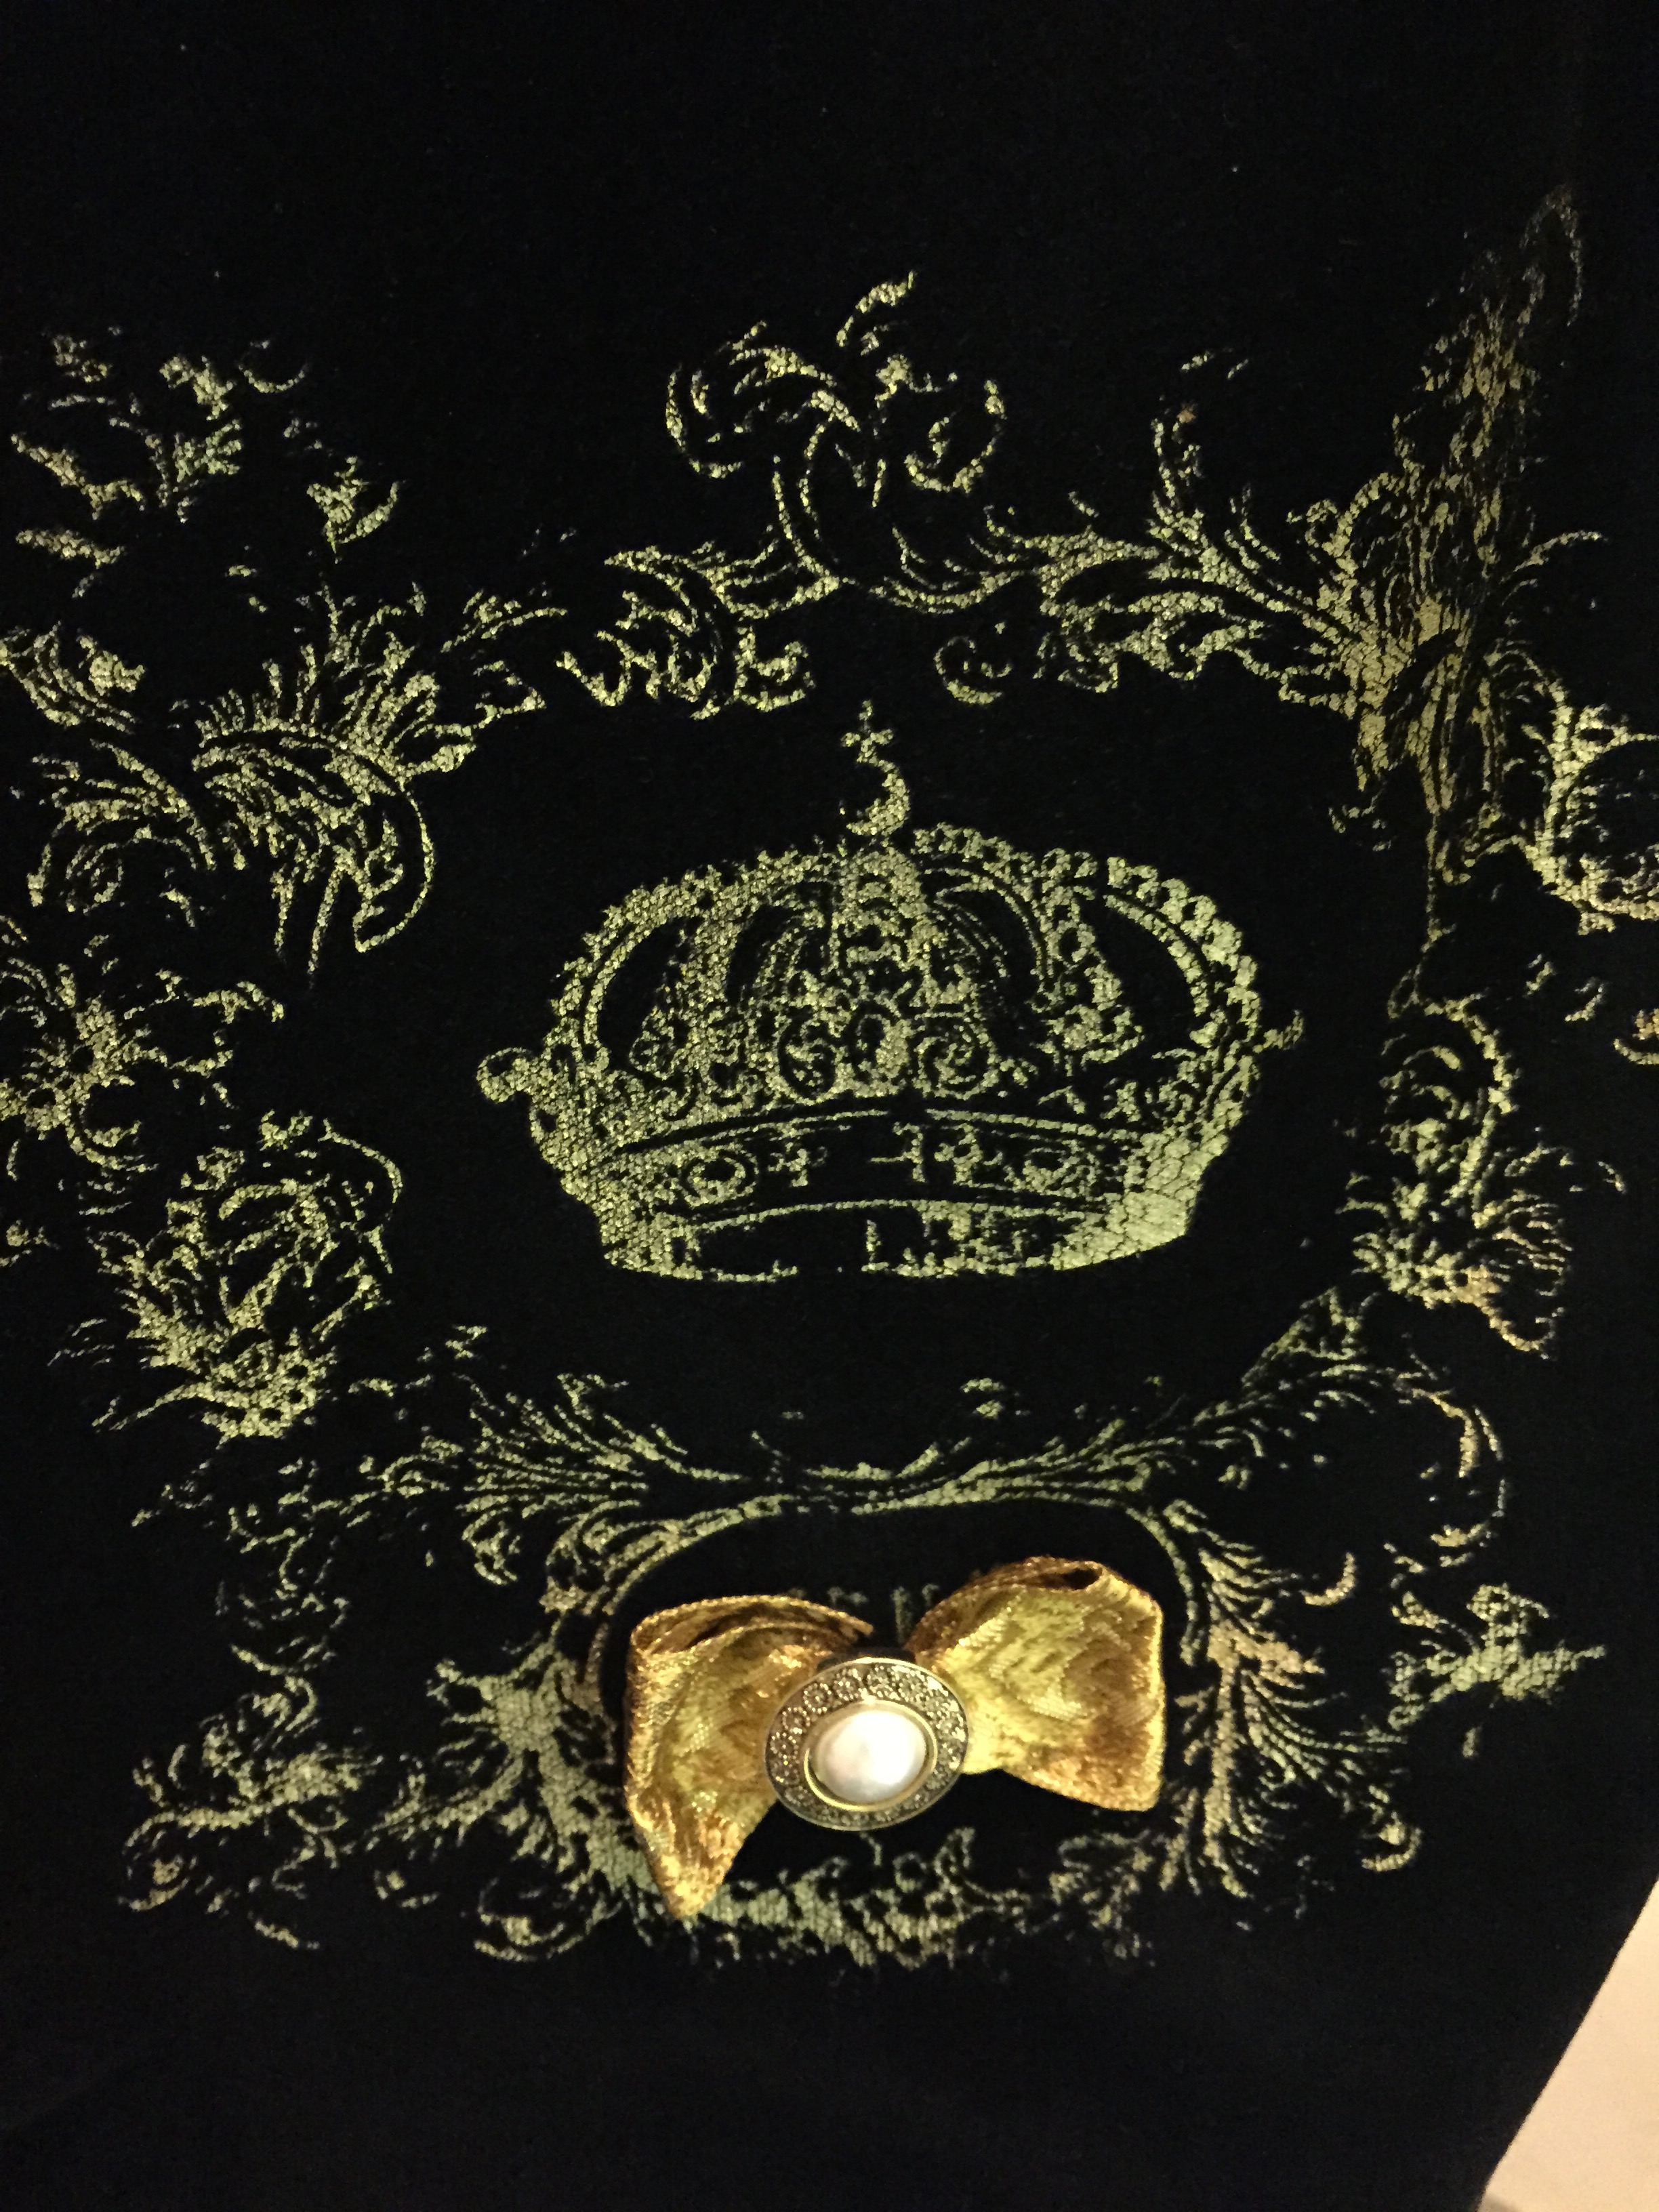
I made the main body of the dress using an embossed navy blue velvet, and the cape is a sheer netting with silver glitter stars.

I created moon phase appliqués out of silver glitter heat transfer vinyl with my Silhouette machine to decorate the front of the dress. (If you’re not familiar with HTV, the material is on a plastic backing. You iron on the appliqué and then peel off the plastic backing, revealing your design).

@freshfrippery

How I made the moon phase decals for my moon goddess costume #learnontitkok #crafty

♬ sonido original – xsunix

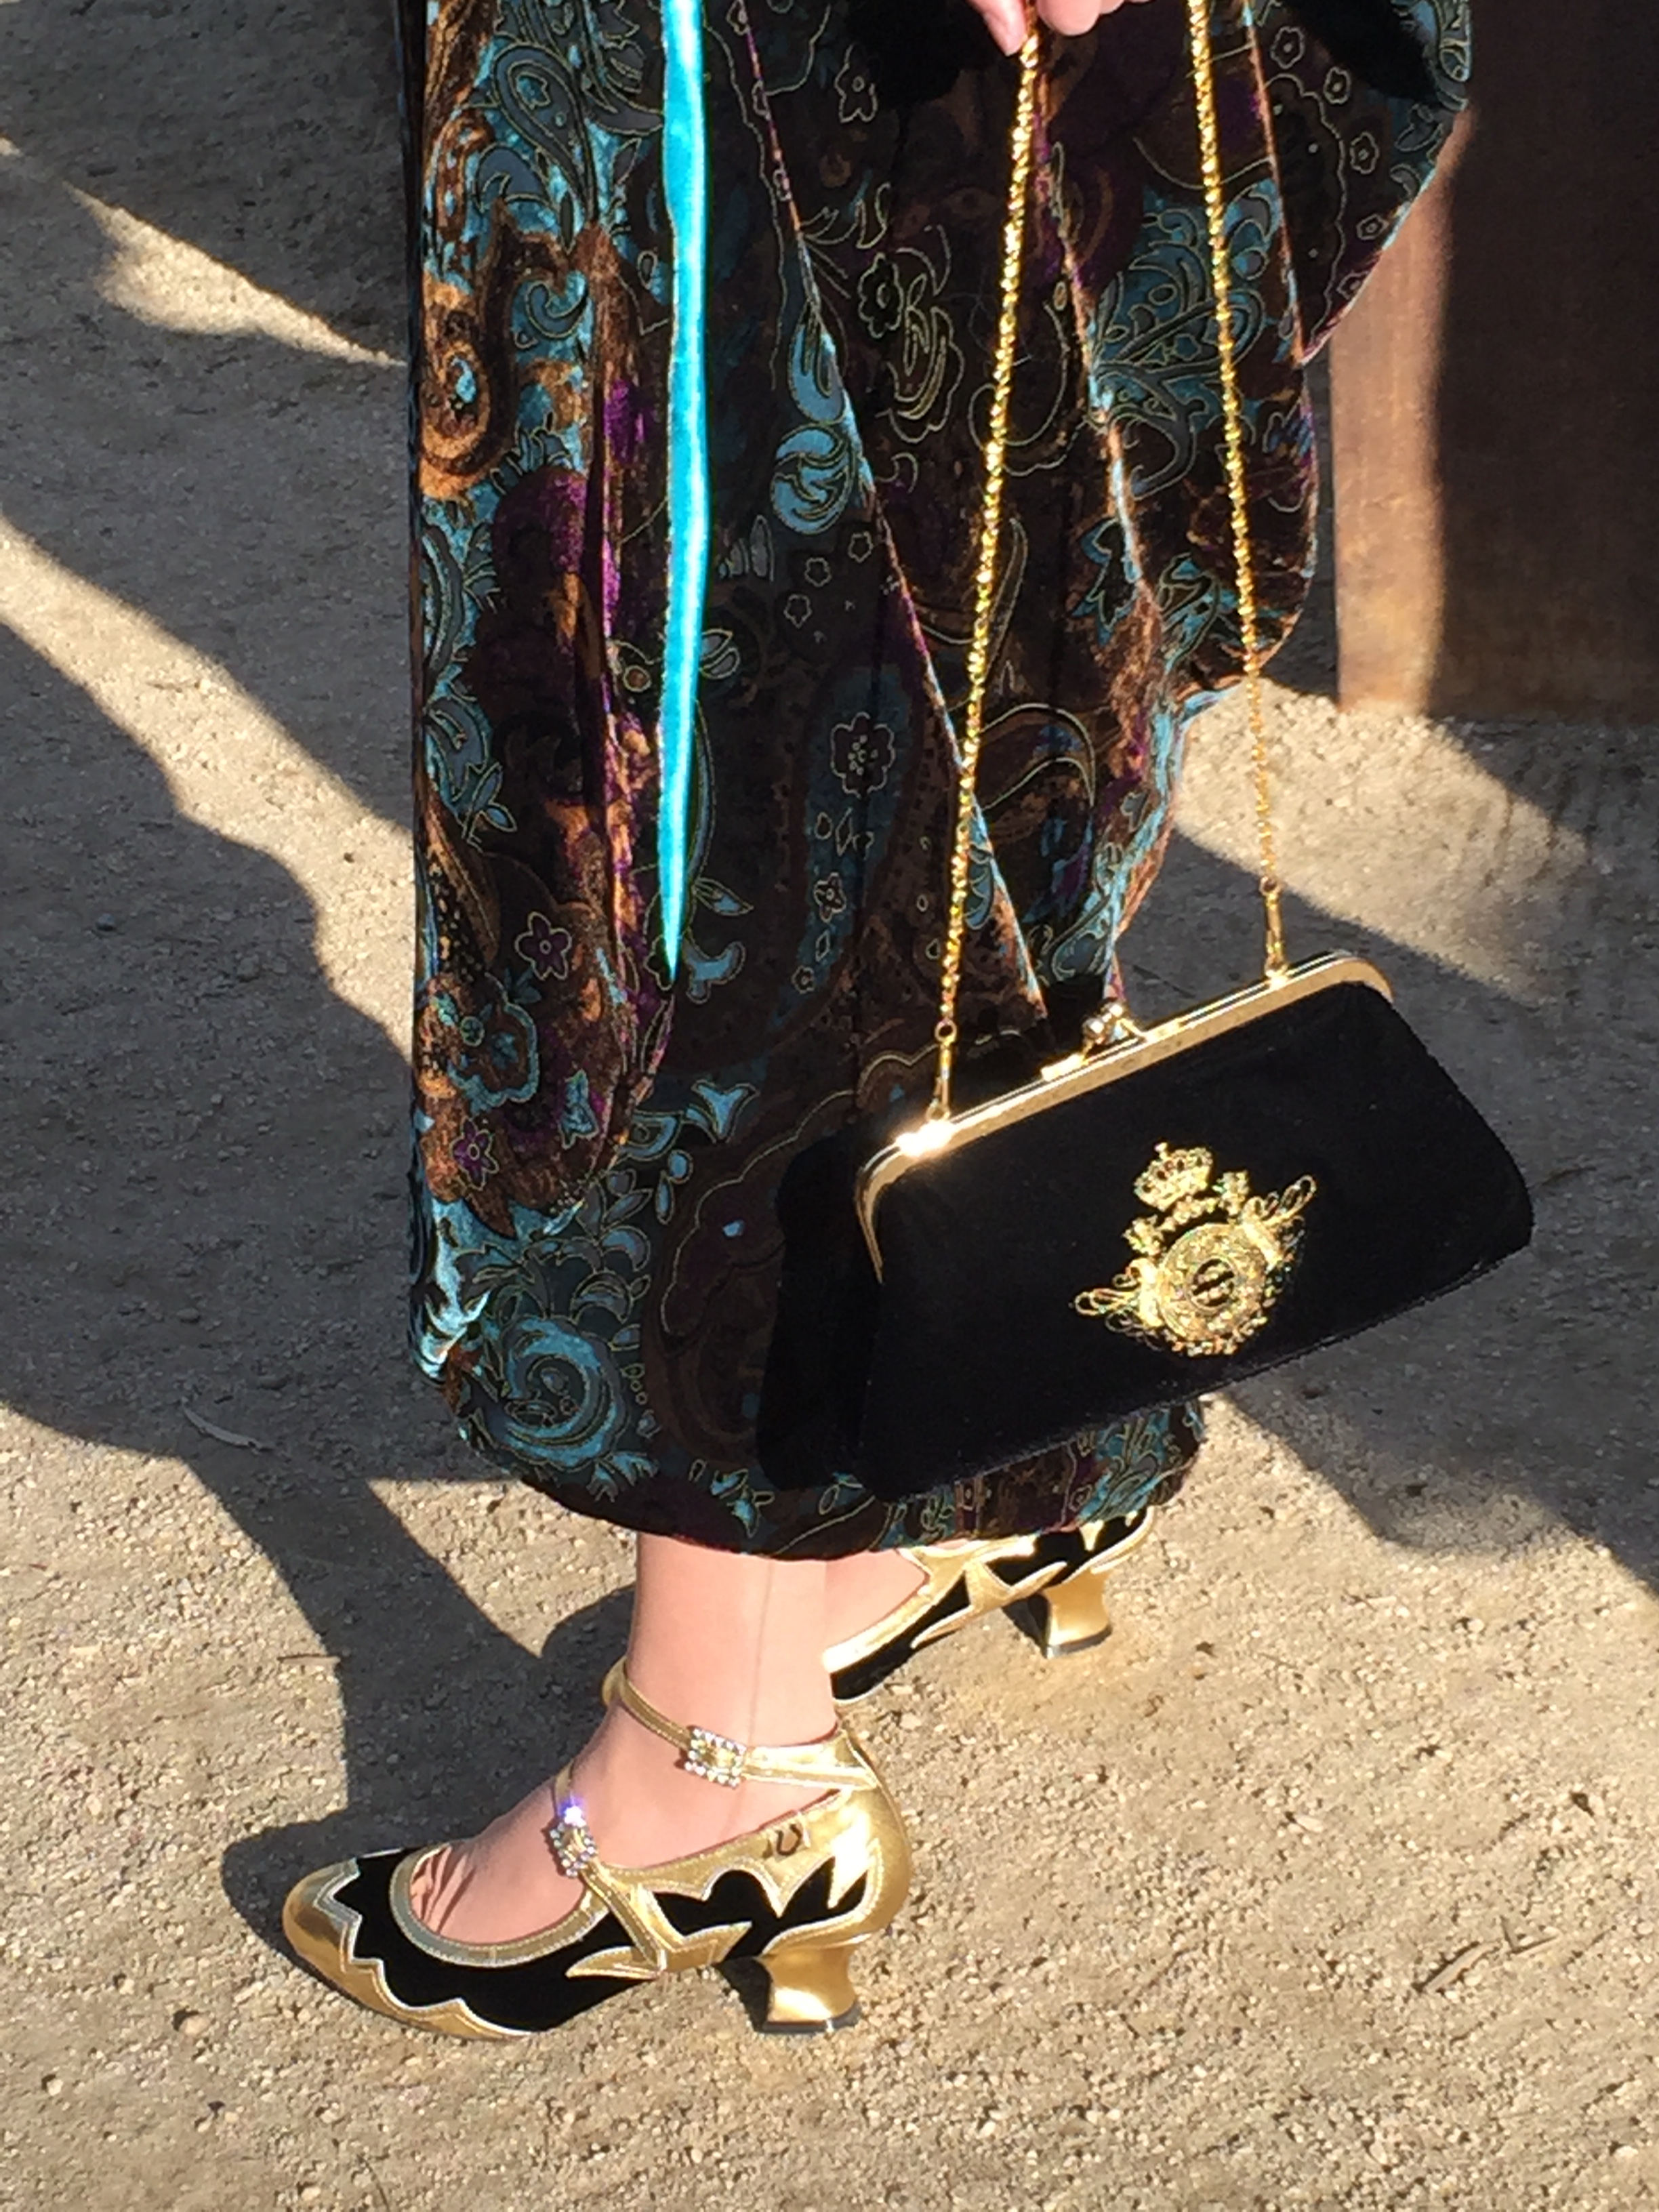
I glued crystals around the moons using E6000 Fabri Fuse (which is not the same as regular E6000). I glued larger crystals onto a piece of grosgrain ribbon to make the belt.

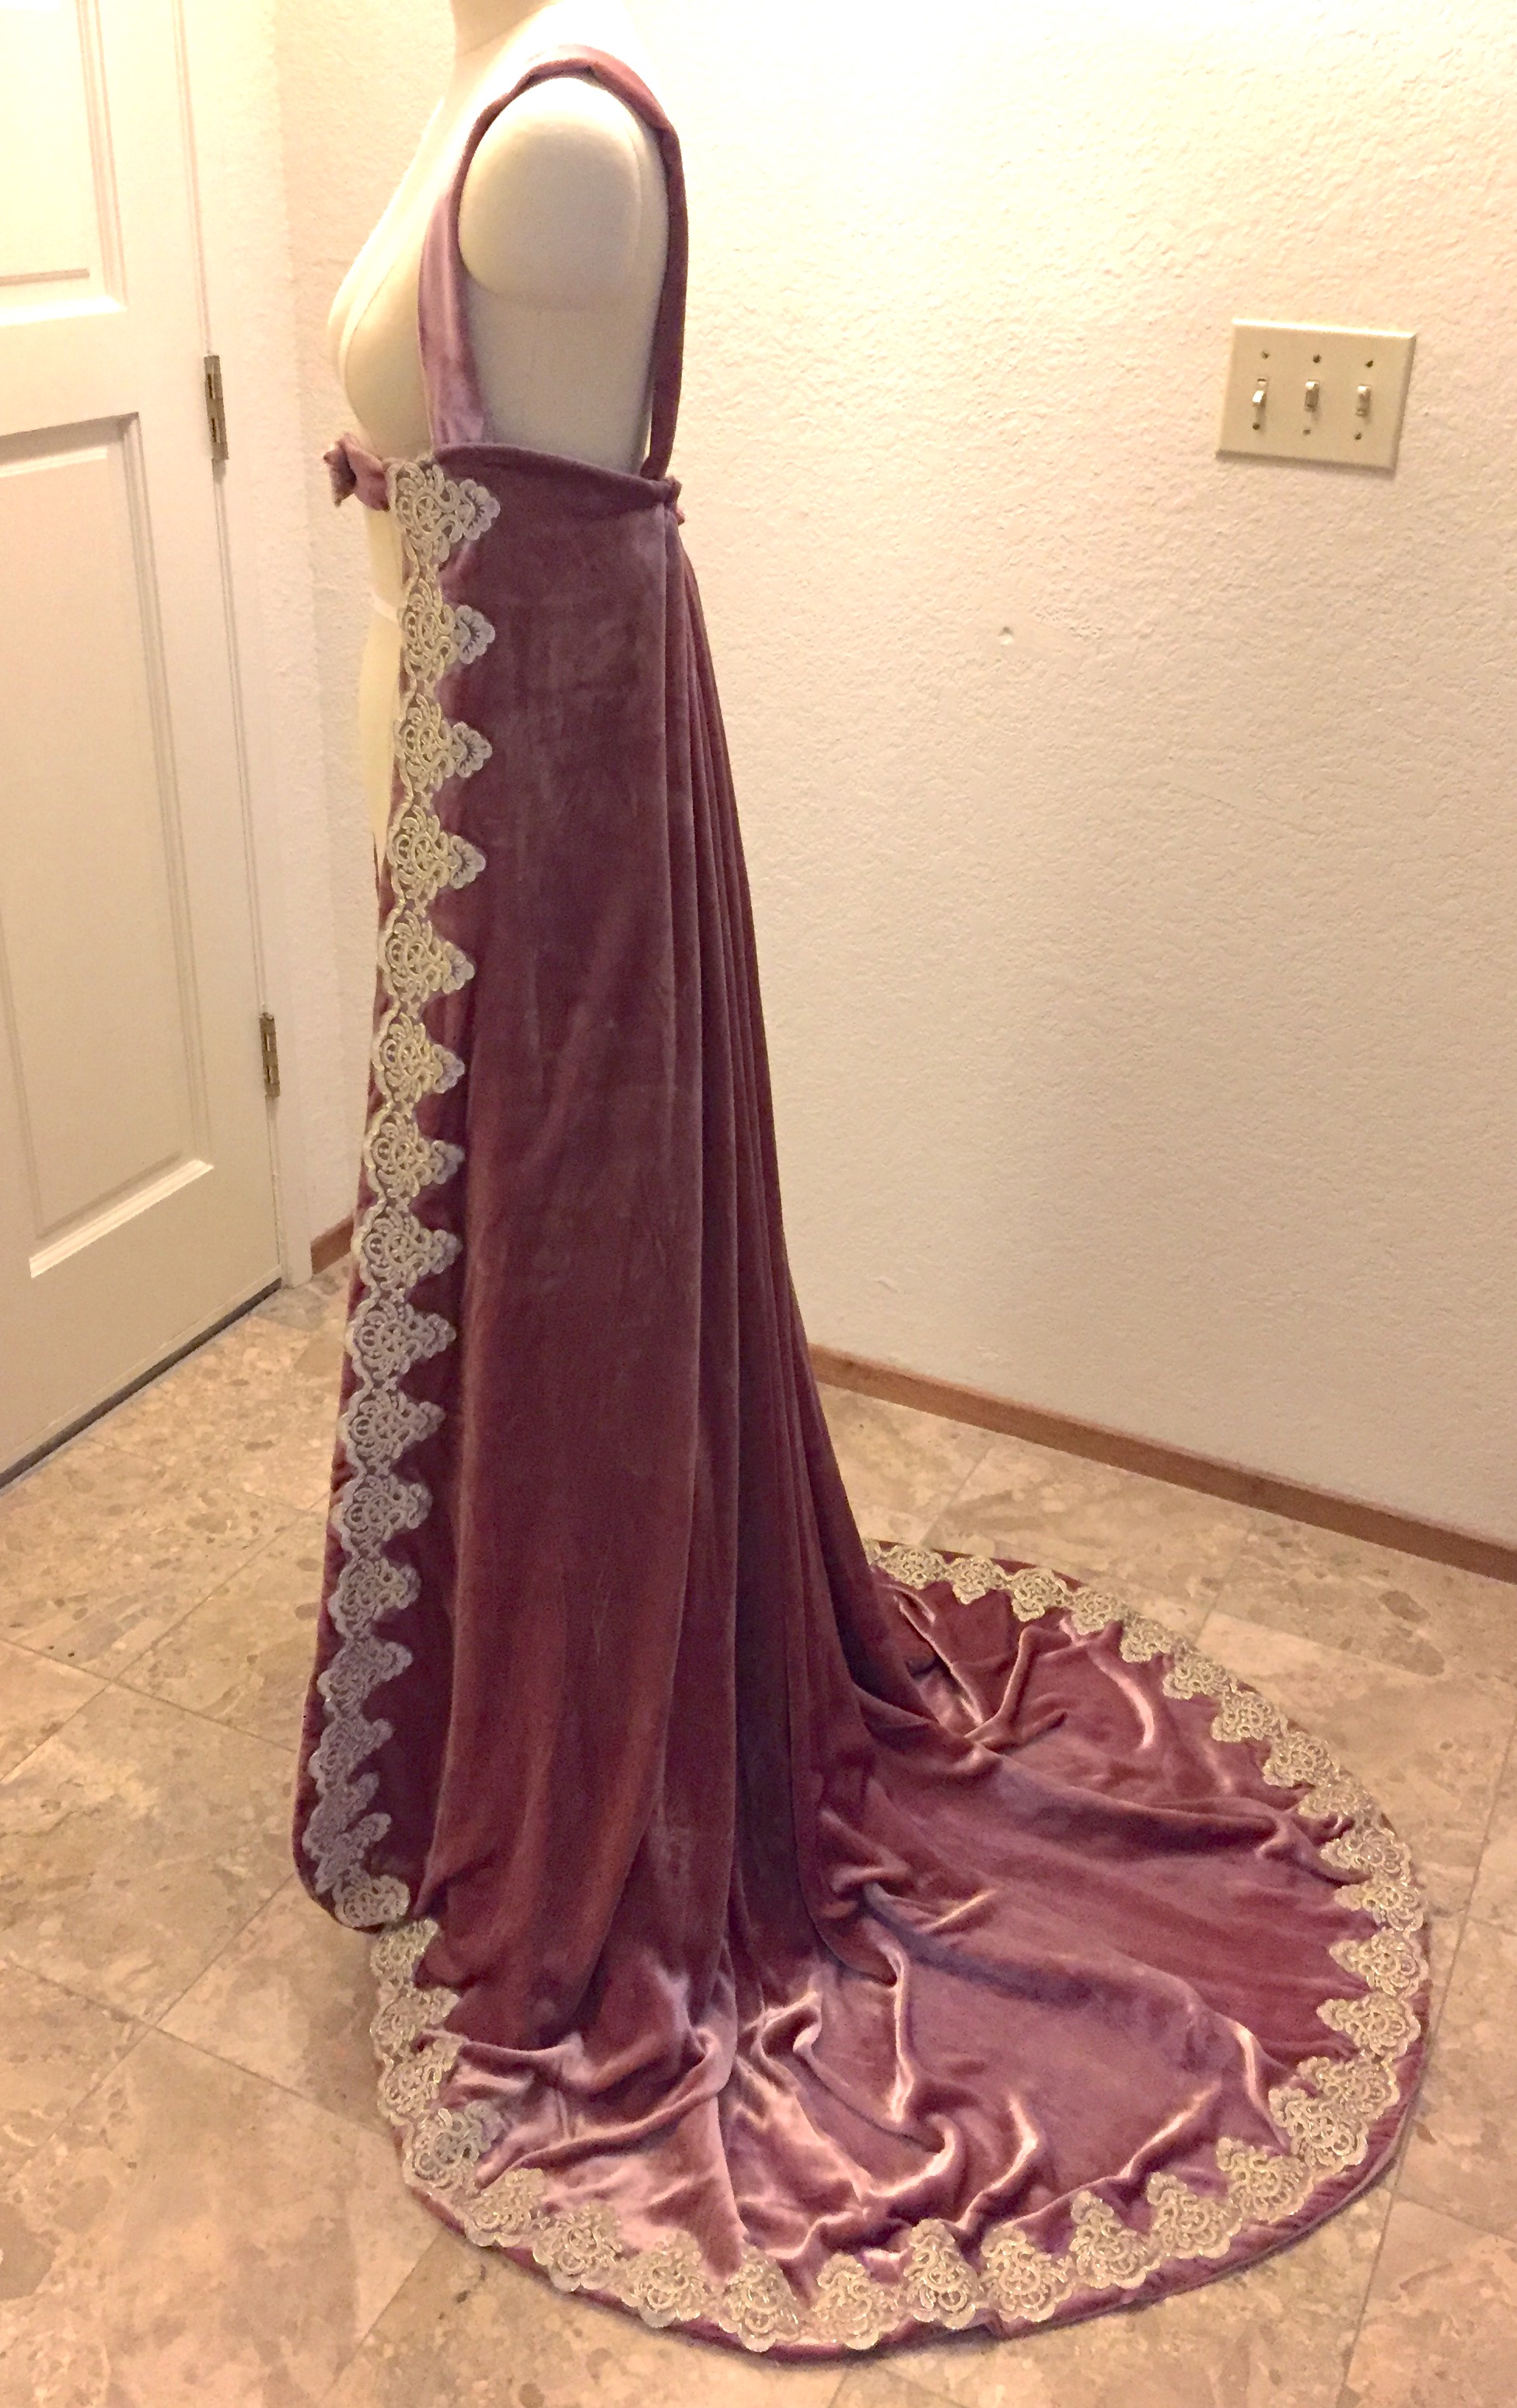
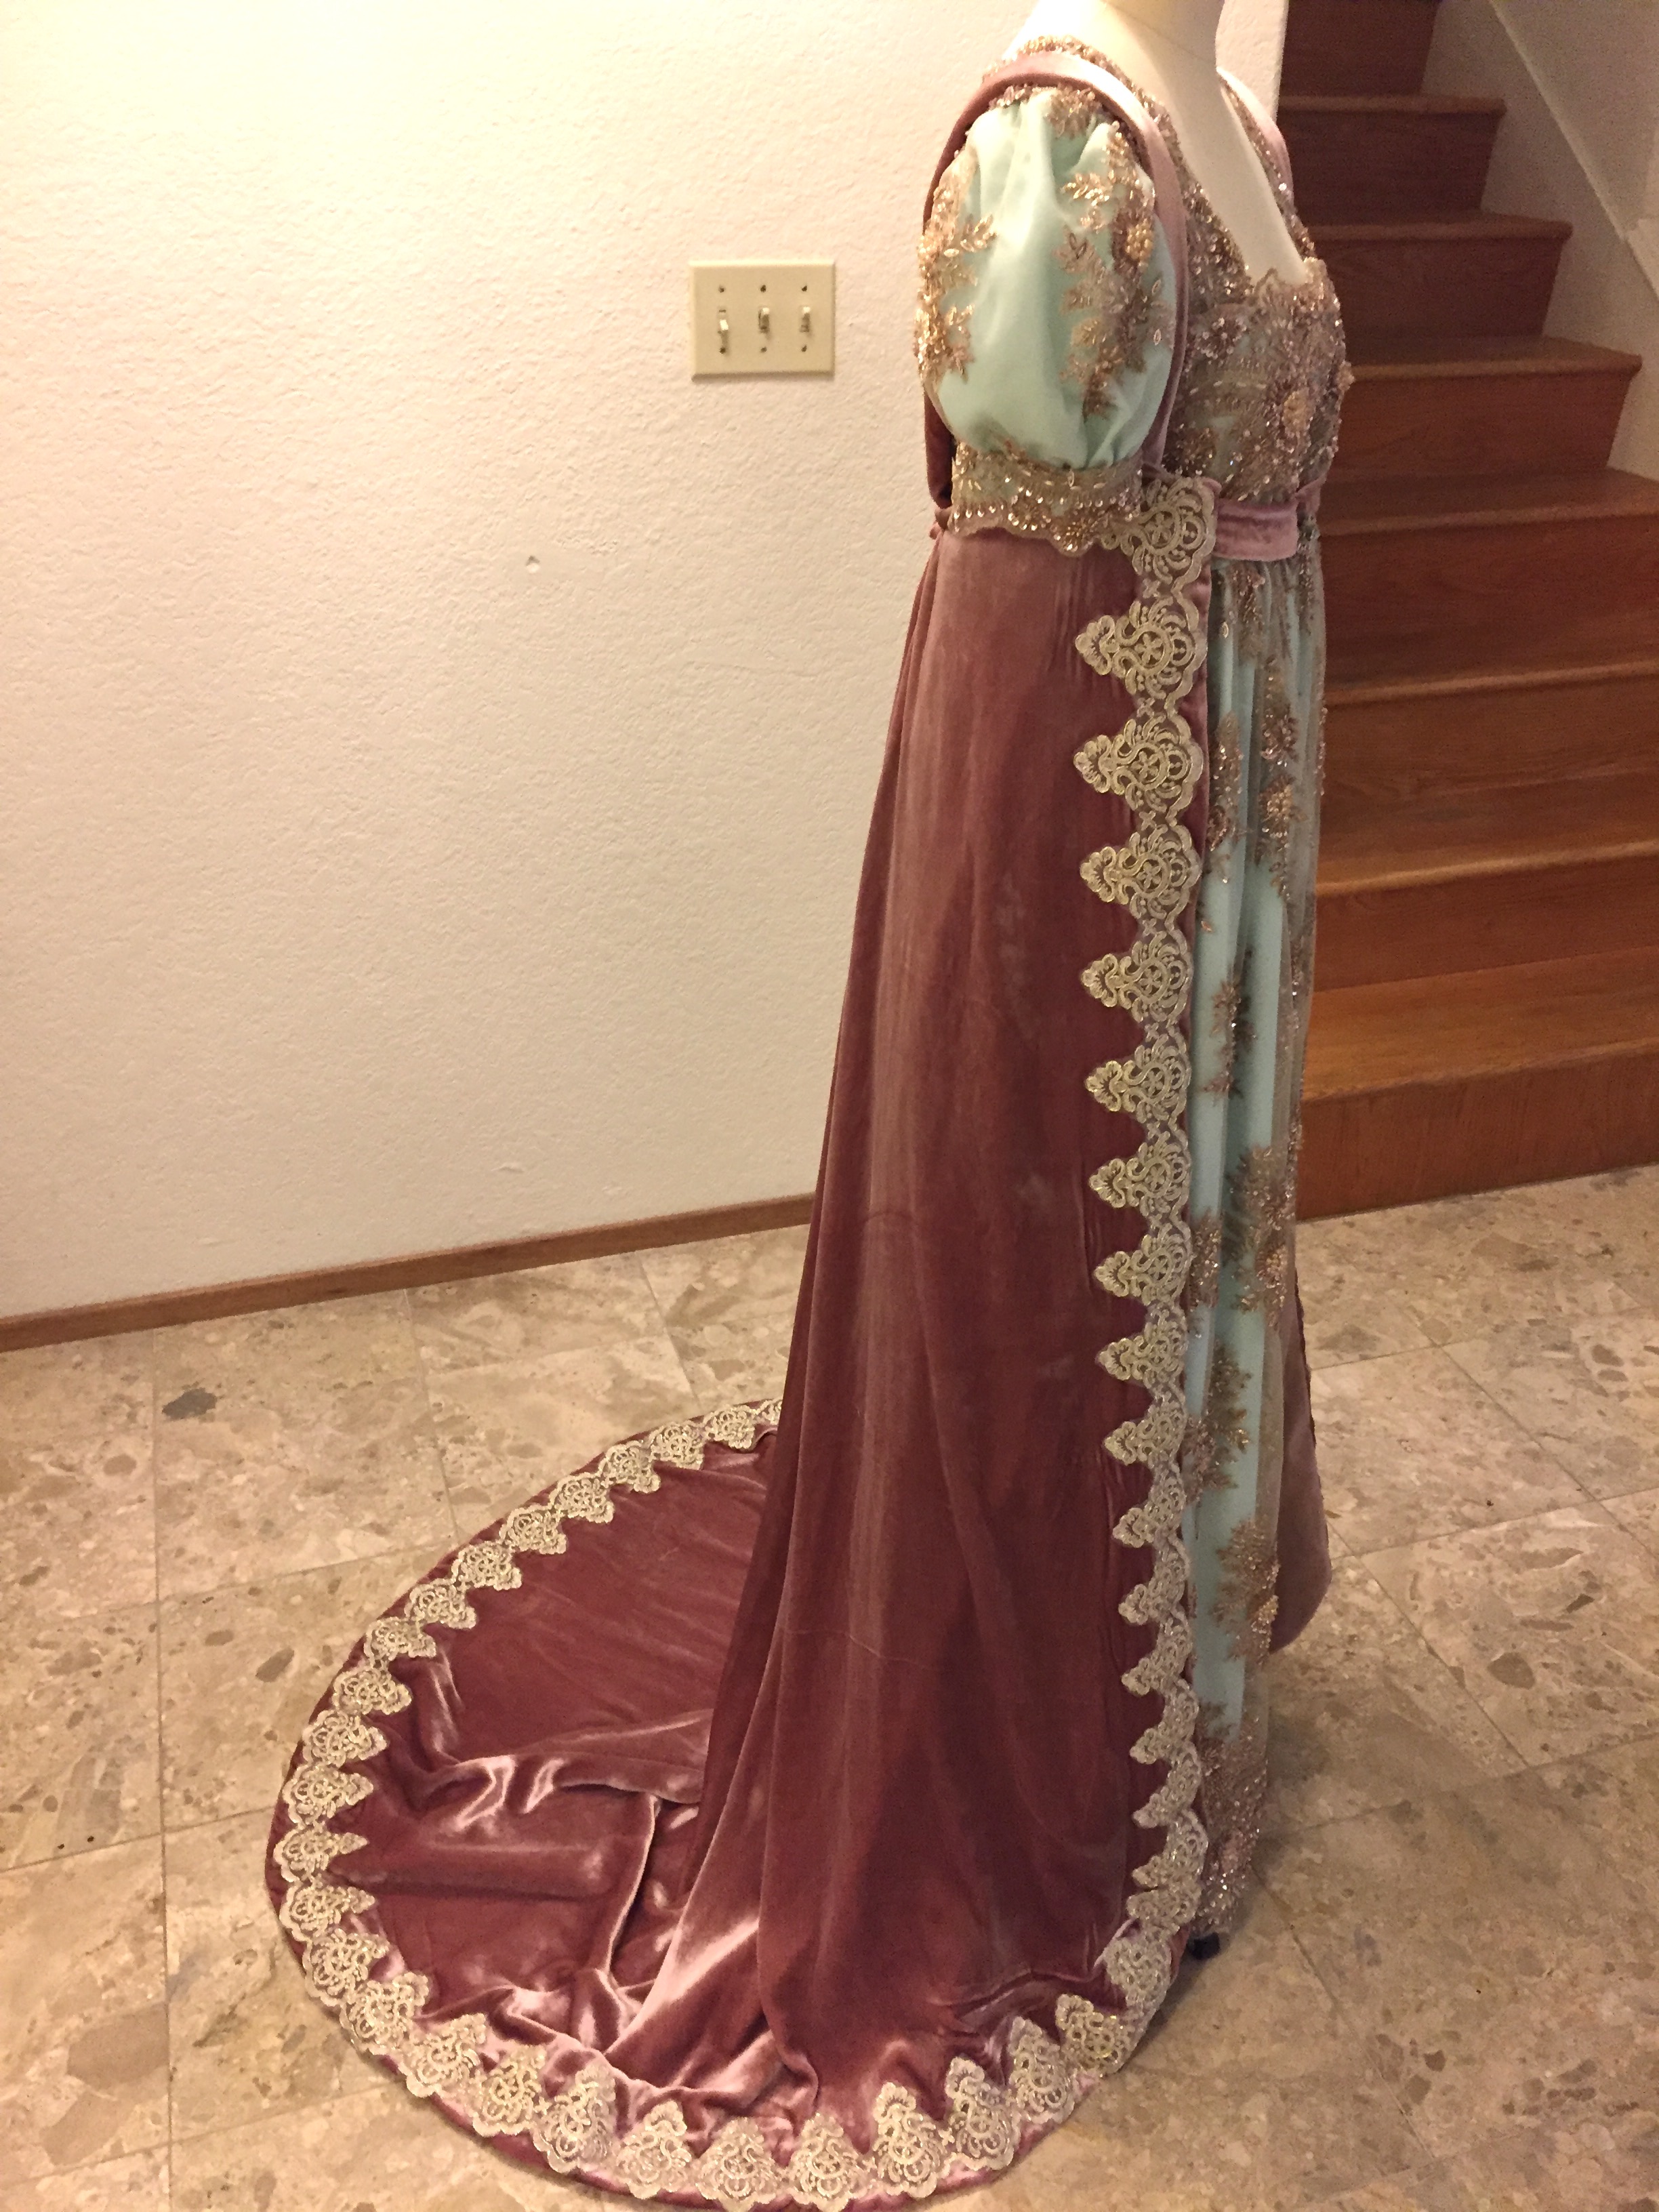
The pattern I used is Butterick B4827. It is a princess-seamed fantasy dress and I made very few modifications. I turned the lace-up back into a zipper back, and I added the cape. The cape is a long rectangle, pleated into the back neckline, with a cut open center slit part way down the back to access the zipper.

The front of the cape is sandwiched into part of the armscye shoulder seam, with excess removed, as explained in this video.

@freshfrippery

Reply to @sunflowerstardust how I put the cape on my moon goddess dress. #sewing #costume #learnontiktok

♬ original sound – freshfrippery

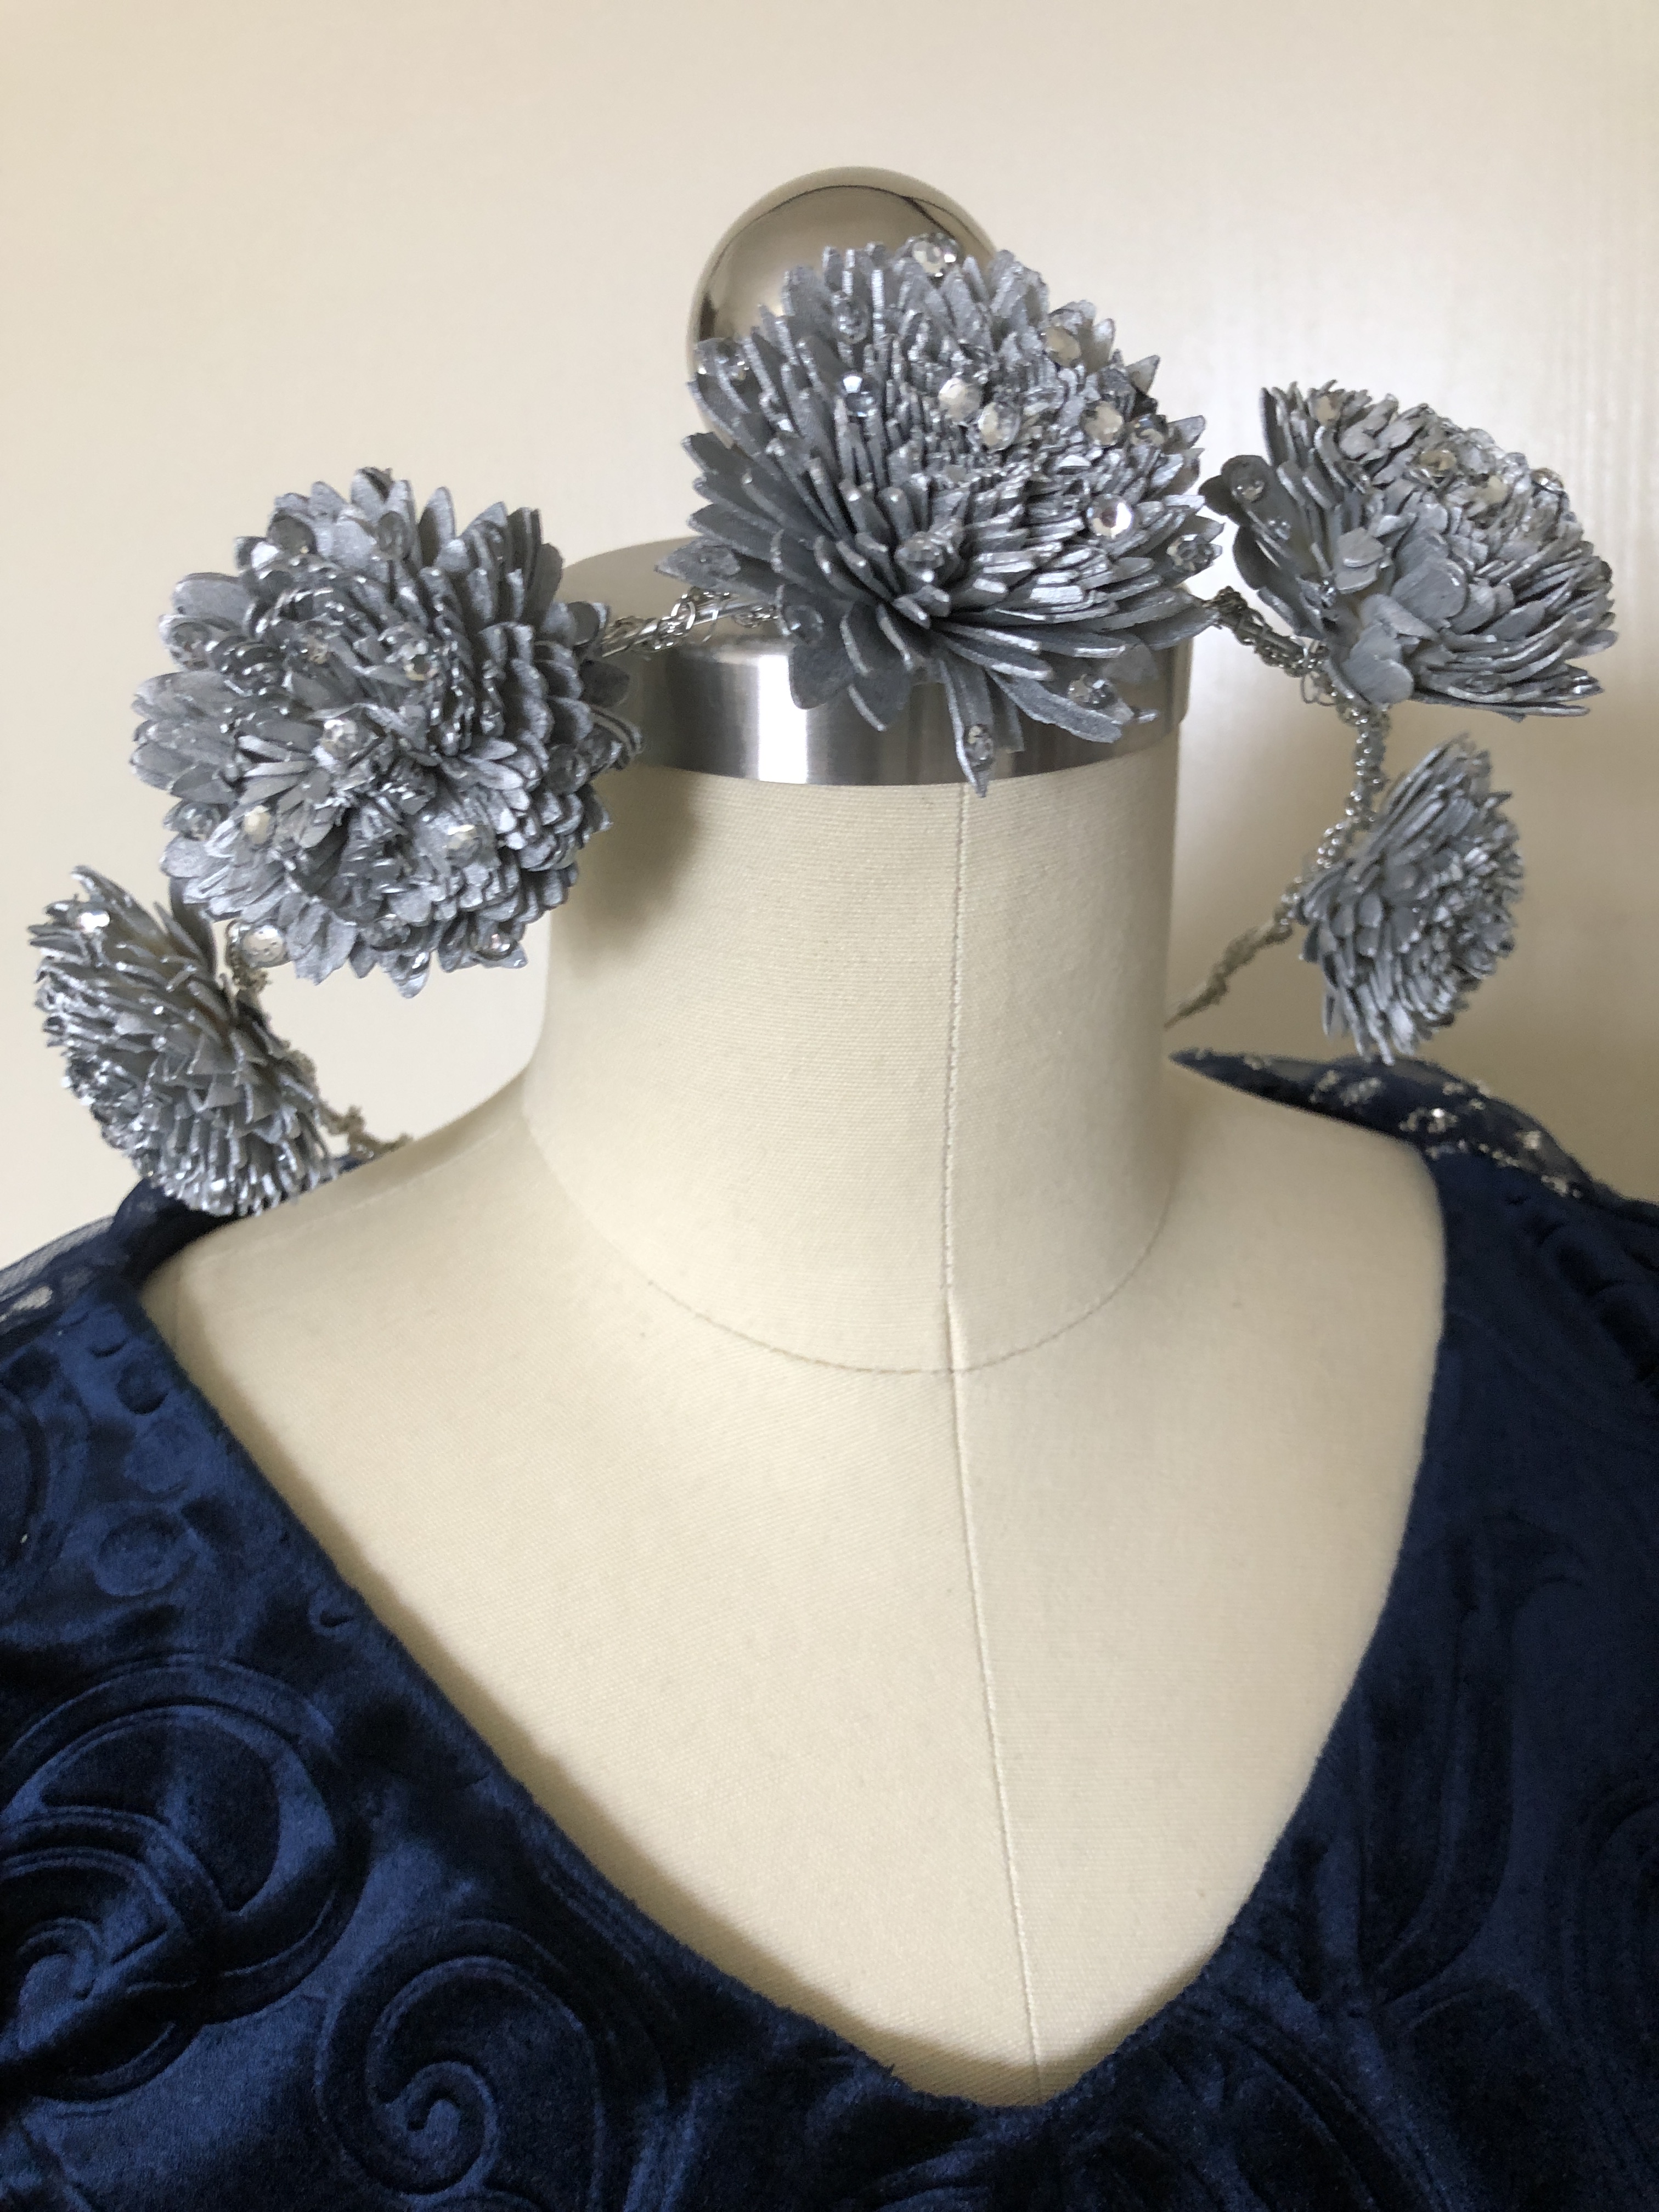
I made my flower crown by spray-painting sola wood flowers with Rustoleum silver spray paint. The base of the circlet is silver floral wire, and the flowers and a necklace are attached to the base using 26 gauge wire. I also glued crystals onto the petals using E600 Fabri Fuse. This video shows the process:

I have a few scraps left of the velvet and I am planning to make a pouch for carrying items. In my haste to whip up the long seams of this dress quickly, I serged all the panels together and forgot to add pockets!

Materials used:

  • 4 yards embossed navy velvet: $52.59 including tax and shipping from Amazon. The blue is sold out but there are other colors like black and ivory still available from Amazon (affiliate link). You can also find it at Fabric.com
  • 2 meters glitter star fabric: $19.84 including shipping from Aliexpress
  • Butterick B4827: $0 (previously used for another medieval princess project). However, I originally purchased it for $7.99 from Amazon (affiliate link).
  • Crystals, glue, flowers, thread, ribbon, wire, paint, etc. were items I already owned and mostly left over from other projects, but I’d estimate if I had to go buy that all new from a craft store I’d spend ~$20.

Total cost: $72.43 out of pocket plus miscellaneous stash items.

Thank you for reading! I took these photos on a cloudy day. Maybe one day I’ll get a chance to take some atmospheric night time photos!

Medieval Princess Dress

I recently made a medieval princess dress that isn’t historically correct (although inspired by 14th century cotehardies), but was fun to make, and a gift for teenage me. When I was in high school I wanted to have a medieval princess dress for prom but had neither the sewing skills to make one or the money to buy one, so this is a fulfillment of a dream! IMG_9966

Yeah, it was a bit breezy that day.IMG_9980

This dress was also a reminder that costuming and sewing is supposed to be fun, even if the details are “wrong.”  This dress has inexpensive polyester velvet, a zipper down the back, shiny jacquard trim, polyester sleeve tippets and a wrap belt made from curtain fabric, an impractical train, and princess seams! To someone concerned about historical accuracy these might be a bunch of no-nos, but this gown, despite all its anachronisms, is something I would have loved and felt pretty in back in high school. This dress is a gift for little former me.IMG_9969

I used Butterick B4827 as my pattern base. I skipped the back eyelet lacing and used an invisible zipper instead. The tippets and belt were drafted by me.  My goal was to machine-sew as much as possible, so the hem, neckline, and cuffs were machine-stitched and then covered with jacquard trim.MJNT1739.JPG

The tippets are T-shaped pieces of fabric sewn together and then turned inside-out to hide the raw edges. The tops of the Ts are then overlapped to make the cuffs.

The hair consists of 2 fake braided buns on a headband:

  1. Cover a headband in fabric matching your hair; I used black velvet.
  2. Make a short braid and cover in a hair net to help control flyaways.
  3. Wire the braid to the headband using gold wire, and insert pearls as you go.
  4. Make 2 long braids and coil each one into a bun shape.
  5. Use bobby pins to secure the bun shape.
  6. Glue pearls to each bun.
  7. Cover each bun with a hair net to control flyaways.
  8. Glue the bun to each end of the headband.

Project materials:

  • 7 yards micro-velvet from Fabric Wholesale Direct: $62.93 (I had some leftover; if you are petite and cut carefully you might be able to get a dress out of 5-6 yards).
  • 1 yard gold jacquard damask 118″ wide from FWD: $10.99
  • 6 yards jacquard trim from eBay: $12.62 (including tax and shipping)
  • Thread, buttons, pearls, wire, etc. from stash: ~$5
  • 2-3 packages of fake braiding hair and headband from stash: ~$10

Total cost: All of the fabric was a gift from my friends at Fabric Wholesale Direct, so my out of pocket cost was about $27.62 (instead of ~$101.54 plus tax and shipping). Thanks FWD!

If you’d like to make a medieval dress of your own, check out this tutorial I made. Happy sewing!EJIY8518

Regency/Napoleonic Court Train (Part 2) 98% Done!

My Regency/Napoleonic court train is nearly done! (I am just missing a proper brooch closure for the front; right now the straps are pinned into place).IMG_2285

I apologize for the weird lighting. I recently changed some of the lighting in my house to LED bulbs, which is great for my energy bill but not for the color of my pictures.

Don’t you just loooove the way silk velvet drapes?IMG_2276

Here is a shot with my court dress previously described here.IMG_2301

A reminder of what the gown alone looks like:b

I hope to get proper photos of the whole ensemble at Costume College.IMG_2307

Here is another mmm silk photo since I love the back so much.IMG_2278

I used Butterick B4890 to get the teardrop shape, but did not use the bodice portion of the pattern. I opted for the shoulder and underbust straps I saw in extant examples of court trains. I also decided to have a more “modest” length train since I will be using this at Costume College and it will be easier to navigate the crowds.

I can’t wait to wear this!IMG_2297

I still have to make a matching regency diadem and I have a pearl jewelry set on the way. Once that’s taken care of I can finally start on my gala gown!


(I will do my usual final tally of project costs once the whole ensemble is actually complete, but it is nearly there).

Regency/Napoleonic Court Train (Part 1)

The blog has been a little quiet lately since my last post on Regency diadems because I’ve been having some issues with my wrists and haven’t done much sewing except for things I can make completely by machine, like curtains. However, I have received all my materials for my court train, to go with my beaded court dress.

I have 6 yards of silk velvet, which depending on the light and the direction of the nap appears either a deep rose color or a silvery-pink. (I tried getting swatches of cotton velvet, but they were the wrong texture and stiffness and were obviously meant for upholstery). I didn’t realize before starting my search how hard it is to find a nice rose-colored velvet that isn’t either baby pink or hot pink! I would have been happy with a synthetic velvet if it was the right color, but ended up having to go over budget and buy silk. Of all the places I looked, you’ll never guess that the final winner was Amazon!IMG_1454

After a few tries at swatches of lining I settled on a linen-cotton blend from Renaissance Fabrics. The dusty pink color is good match to the underside of the silk velvet, and lighter than the deep rose but close to the silvery-pink. (Left to right: underside of the silk, the velvet, and the lining).IMG_1452

The lace I ordered online was a brighter gold than the stock photo (and what I was able to photograph below), but still rather pretty. However, I think bronze would be a better match to my dress, so I’m going to have to tone down the lace. I have a friend who has sponge-painted acrylic craft paint onto lace before, so I will be doing some experiments! I hope it works; after the purchase of the silk velvet I’d rather not spend any more money on this project buying new lace and crossing my fingers that it is the right color!IMG_1455

Mmm so buttery soft!IMG_1451

O-T-Tea Party 2016

Last week I went to the 2nd annual O-T-Tea Party in San Francisco. (The name is a reference to OTT, meaning over-the-top). The attendees were instructed to build opulent, imaginative, and or themed outfits using Japanese lolita fashion as a base.img_9740

I didn’t have time to make a new outfit from scratch, so I recycled an old dress I made years ago and jazzed up my coordinate with accessories and new embellishments. I wore the dress over a satin blouse with balloon sleeves and put on satin gloves with pearls and cutouts in the fabric. I carried a black velvet clutch purse with gold embroidery and had a golden rhinestone brooch at my waist. img_9704

I made my dress using a very soft and plushy black cotton velvet, screenprinted with gold. The crown motifs are accented with golden bows made of vintage jacquard ribbon and faux pearl and golden buttons I had in my stash.img_9751

I also wore a golden tiara with faux pearls (from Amazon) and a gold and black lace neck ruff from Aliexpress. These items were purchased new, but otherwise I already had a lot of things in my closet to complete my outfit!img_9755

I finished my outfit with Miss L Fire Vistas, which I previously wore with my 1920s outfit.img_9757

The event took place at the Sir Francis Drake Hotel, where we had delicious food, a vendor room, and many generous raffle prizes.

We were all given these pretty acrylic brooches with a number that was used for voting in the outfit contest.img_9749

Here are some group photos taken by the Lens Collective!lens-collective-1lens-collective-4lens-collective-2lens-collective-3

1920s Egyptian Revival and Poiret Cocoon Coat (Part 3) at the Rosicrucian Museum

Yesterday I wore my 1920s Egyptian Revival dress and my Poiret cocoon coat at the GBACG Egyptian Expedition at the Rosicrucian Museum in San Jose, CA.IMG_7051

You can read about the finished dress in my previous posts, but to summarize, both the dress and coat are made of silk velvet. I used the Decades of Style Zig-Zag dress pattern and the Folkwear Poiret coat pattern.IMG_6943IMG_6944

I am wearing a vintage fox fur collar and footwear from Royal Vintage Shoes. I felt so glamorous in this coat!IMG_6946

IMG_7026

I found a place in the museum that had interesting lighting and gave things a slightly eerie glow.IMG_6981

You can see the double-layered silk chiffon sleeves in this photo.IMG_6980

I am wearing golden bee pins in my hair.IMG_6987

Outdoors in the sun the colors of the coat are more obvious.IMG_7017

Here’s a shot of those gorgeous shoes (I got so many people asking where I got them!) with my matching purse. My vintage-style stockings started to pool and slip just like the real ones.IMG_7021

I came in under budget for the dress, so I splurged a little on the coat materials.

  • 5 yards of silk velvet burnout: $82.50 plus tax (from Fabric Depot in El Sobrante; I still have leftovers)
  • 4 yards heavy blue satin: $12.77 plus tax (from Joann’s at 50% off, with an additional coupon!)
  • Folkwear pattern: $19.95 plus $2.75 shipping (from eBay)
  • Tassle: free! (The place where I bought the velvet threw that in for free)
  • Button, thread: from the stash

Total: $119.12

You can see more photos of our museum adventures on Flickr. My friend Kim also has a very nice photo album here.