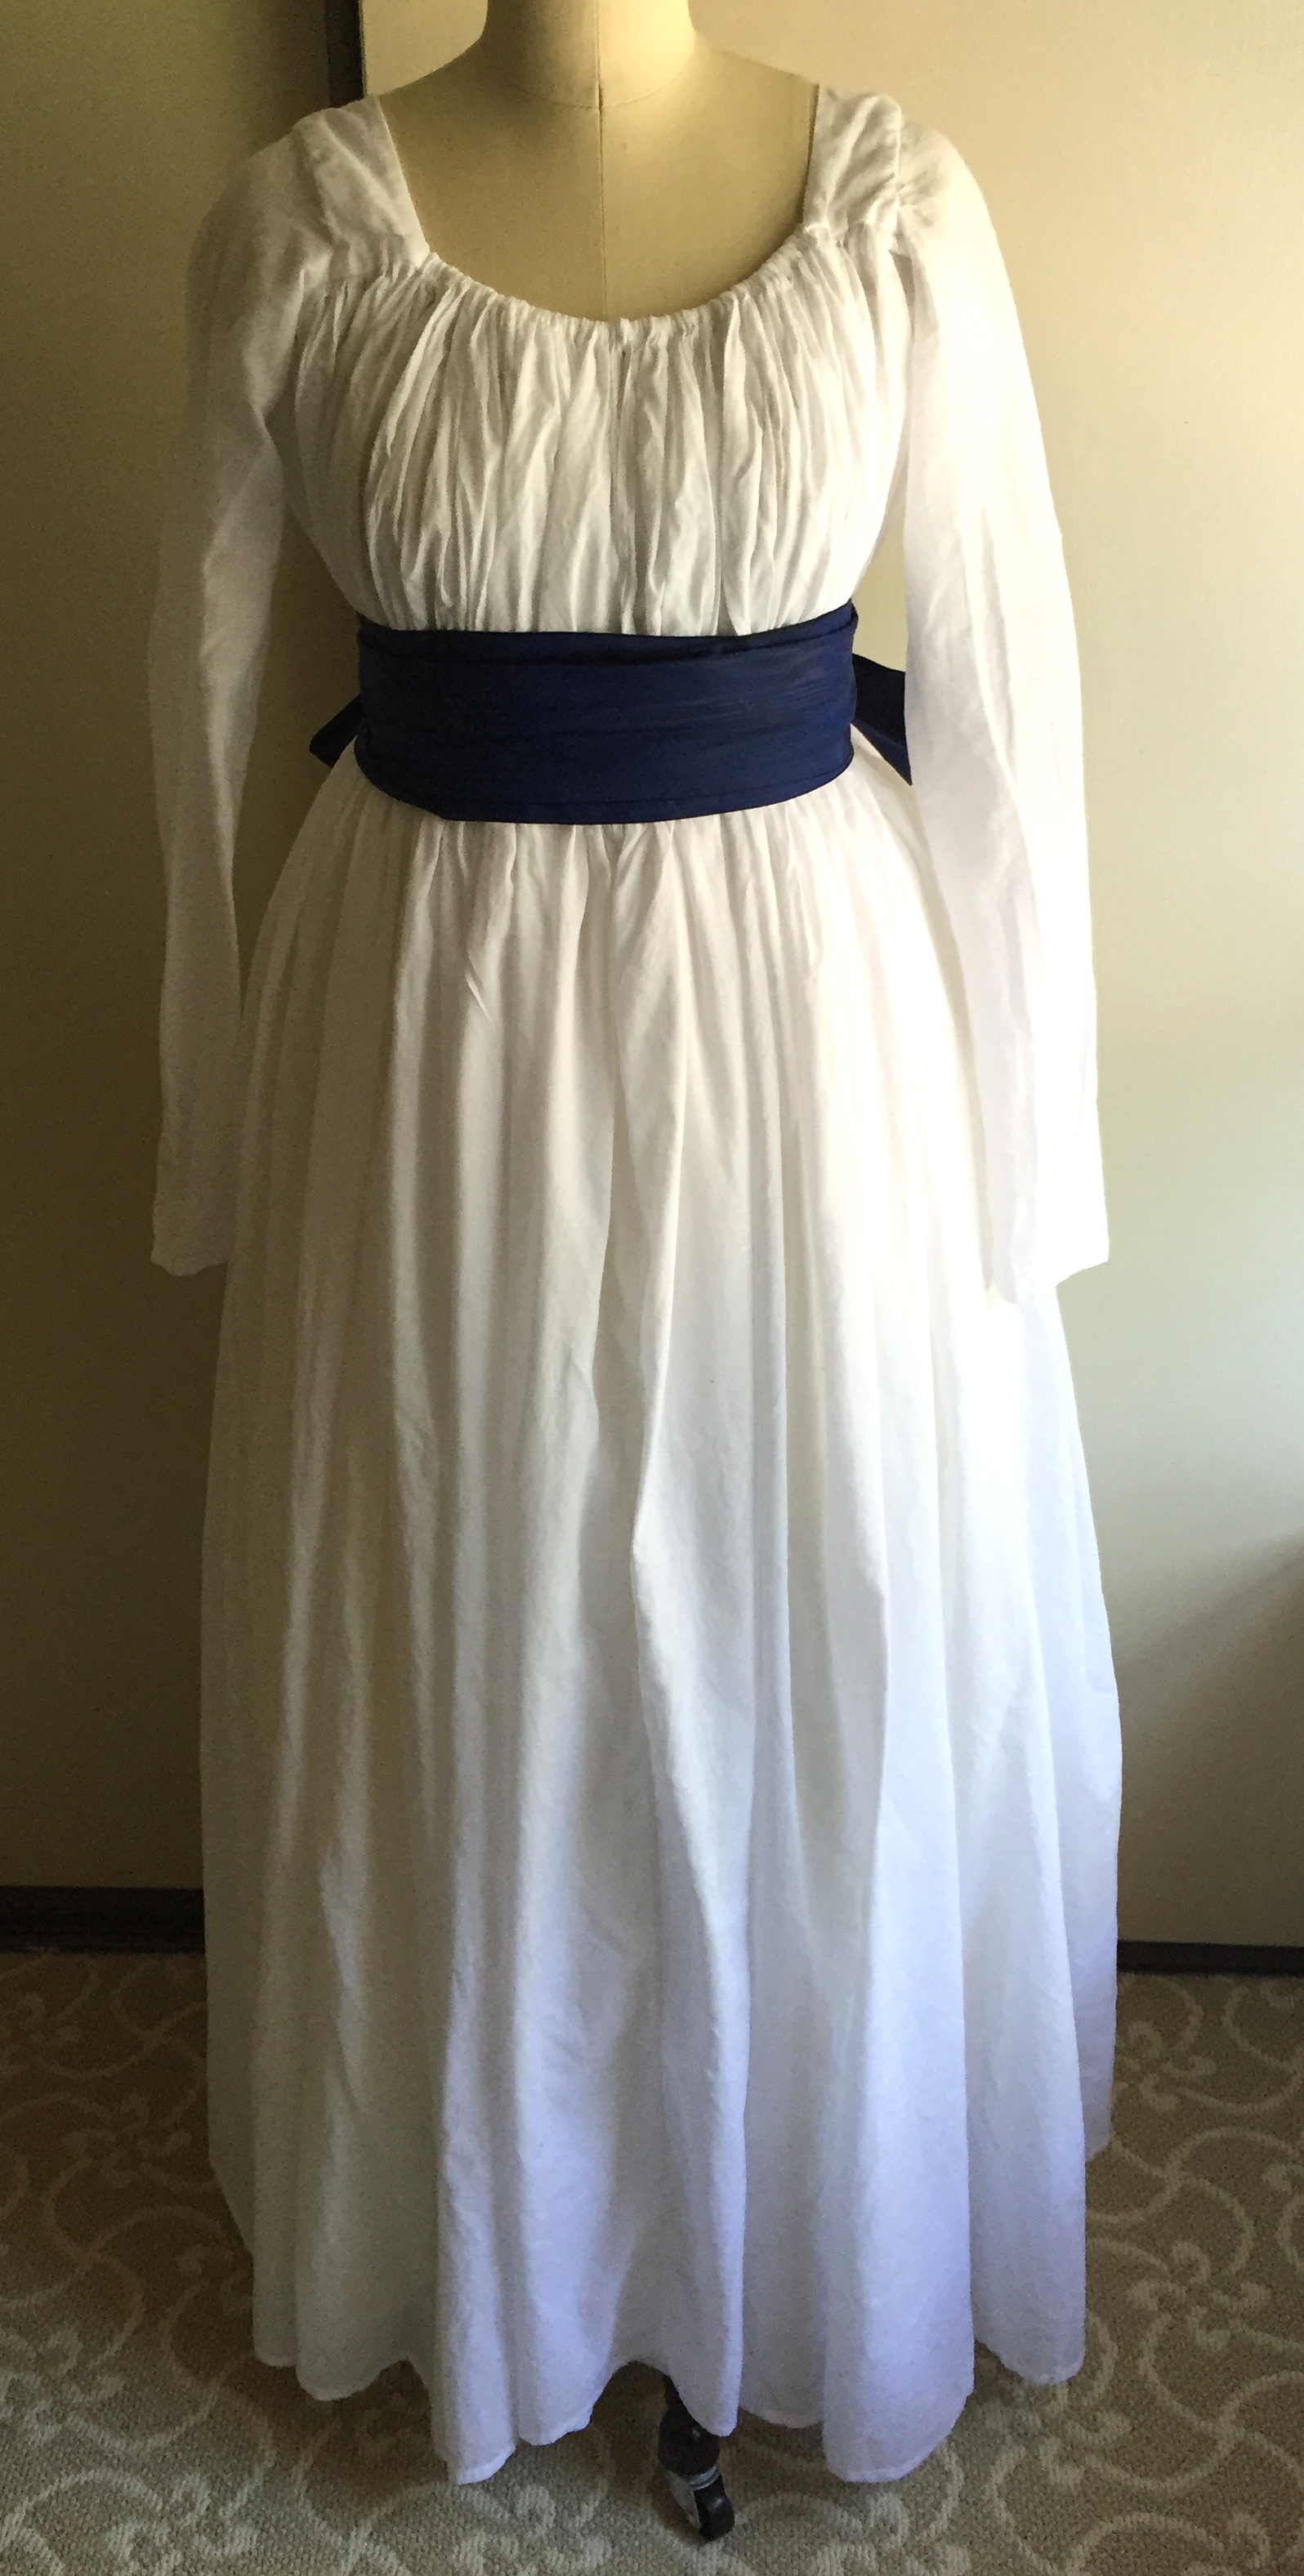
I have nearly completed the cotton voile underdress for my sheer striped gown inspired by the “Portrait of a Lady with a Book, Next to a River Source” by Antoine Vestier. I still have to hem the bottom and sleeves, but I will wait to do that until I’ve finished the overdress. I have a bum pad (not shown), but I still need to work on some petticoats to give the skirt some floof.
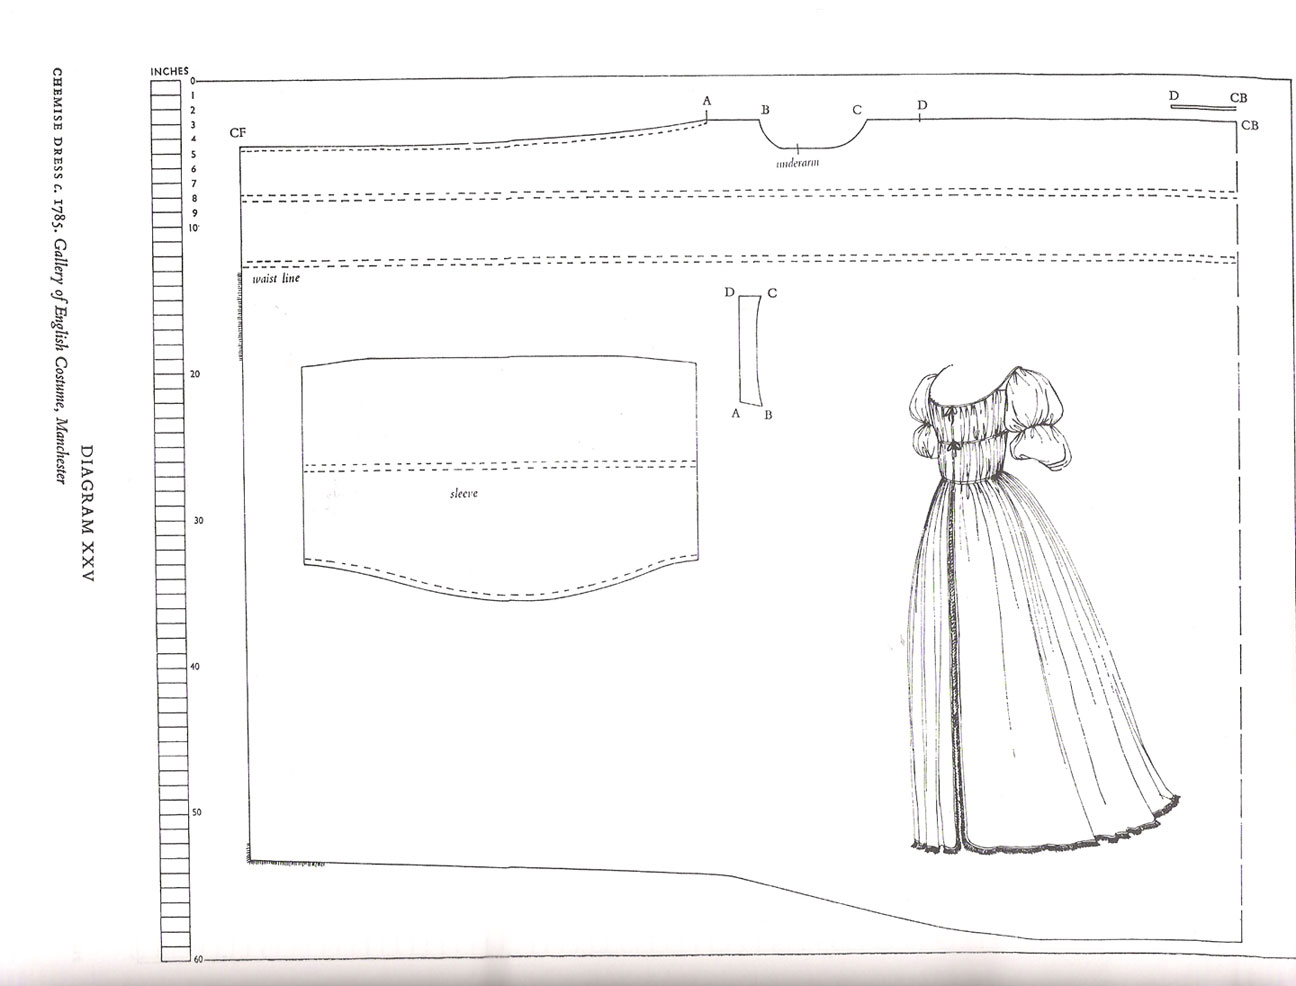
 I spent some time studying the Nora Waugh pattern, and many costuming blogs (with their very helpful construction techniques!) but in the end, decided to drape my own using my own adapted method. I think that if I used a proper pattern the dress could have been a little more polished, but for an underdress I am perfectly happy with the result. Plus it was very easy!
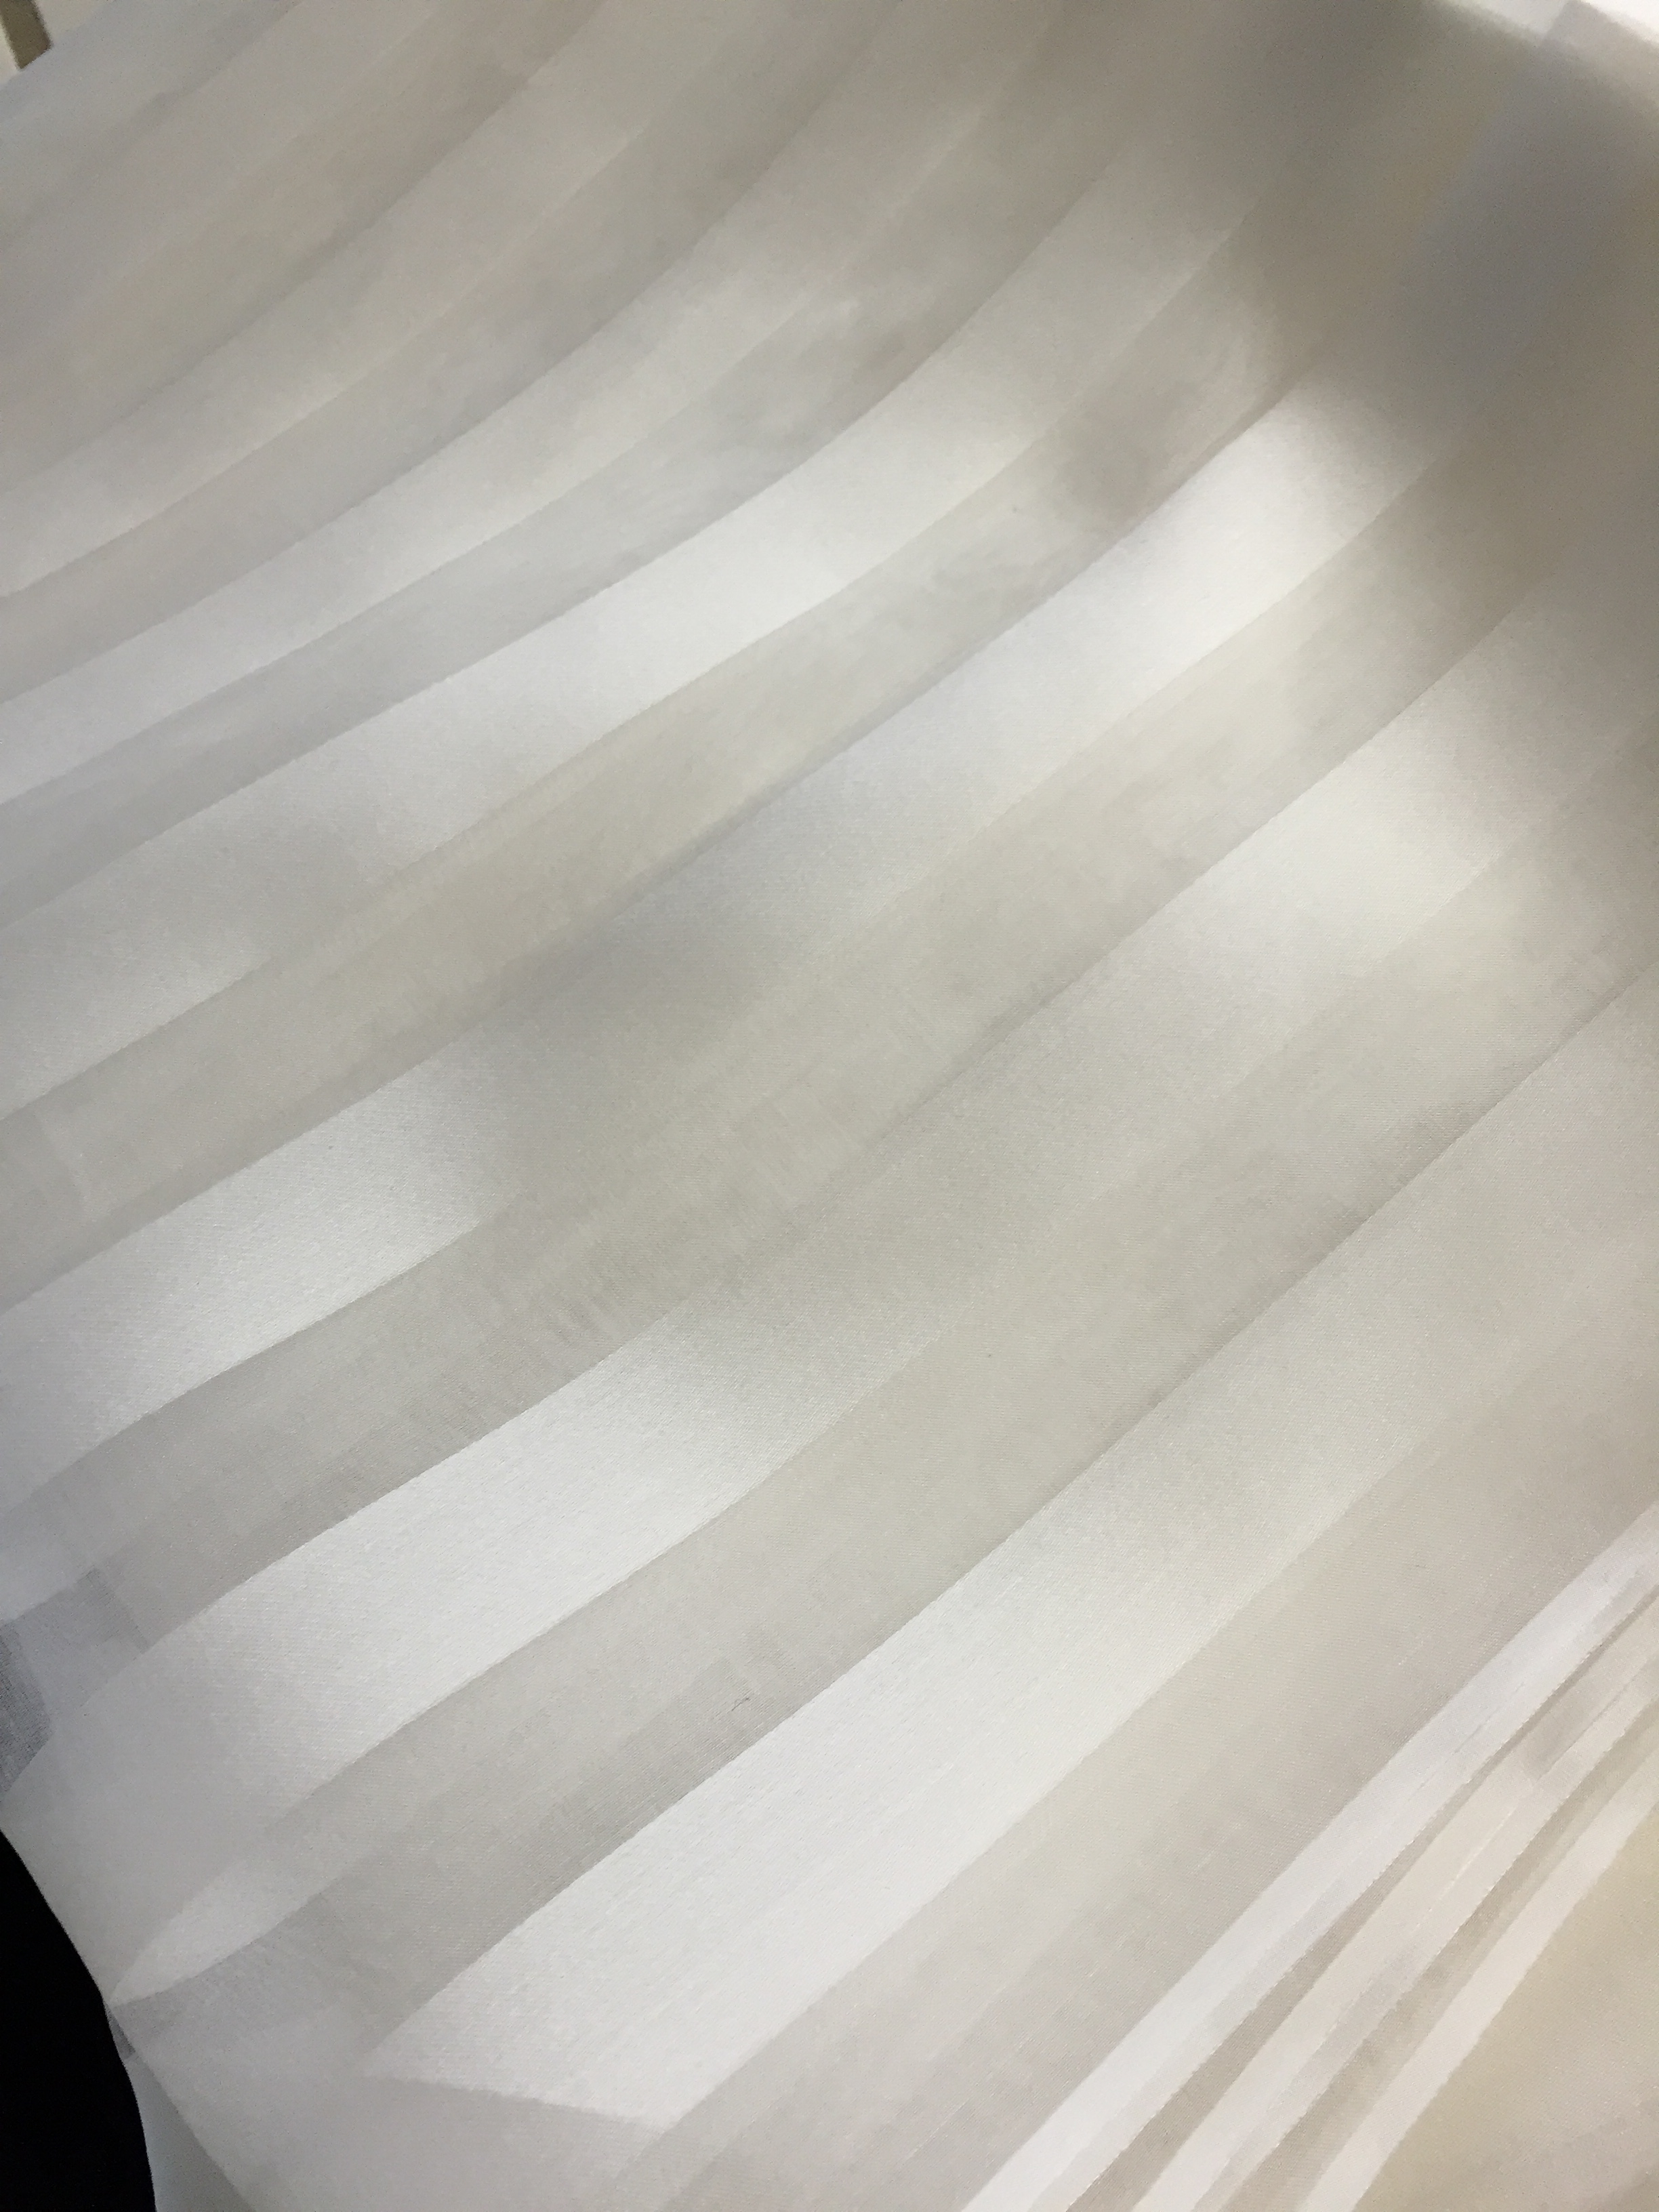
I used 3 panels of 55 inch wide cotton voile, purchased from Fabric Wholesale Direct, via their eBay store. I sewed them together at the selvedges, forming a giant rectangle. I rolled the top edge down to form a channel for gathering. I left 12 inch gaps at the seams, where the arm holes would eventually be. (My panels were also 55 inch tall. I am 5’6″, and wanted the hem short enough for dancing. If you are taller or want a floor-length dress your panels should be longer).
 The Nora Waugh pattern has dips cut out for the neckline, but I decided to have gravity take care of the scoop in the neckline for me, which you will see when it is gathered). I inserted ribbon into the channels and gathered them.
At this point it is useful to pin this a dress form (or have a friend help you) so you can know how tightly to gather the middle panel. It will be about the width of your shoulder blades once it is fully gathered. (You can also sew the gathered edge down to another strip of fabric for extra security). At that point you will cut of the excess ribbon and sew the ends down to secure them at the anchor points indicated on the picture below. Each of the side panels will have one free ribbon end, which you will use to close the neckline each time you wear the dress.
 I cut two bands for the shoulder straps. They are about 10 inches long and 3 inches wide, with a curve on one side, but the dimensions will depend on your height. (You also lose a little length in the straps if you sew them with the ends tucked in and hidden like I did). Once I gathered the top of the dress I pinned the straps on and tested the fit before sewing them down. The straps are lined in linen for extra strength.
 When the straps are sewn on you will have something that looks like a sleeveless tube dress that is open in the front. Pull the ribbons in the side panels to close the top, and you will have a curved neckline.
 There is excess fabric in the sides because the underarm holes have not been cut yet. (I did that after pinning sleeves on to fit). However, if you tie a sash on the middle you will see a chemise dress starting to take shape! The picture below is the dress shown inside out because . . .
 . . . if you take a string and wrap it around the middle you can use a pen to mark where you should put in another channel for the waist.
 Use the marked lines as a guide to sew down a wider ribbon, and then use that as channel for another ribbon that will be used to gather the waist when you put the dress on. I sewed the front of the side panels together starting several inches down from the waist. (The many gathers of the fabric will keep the top of the dress closed).
For the sleeves I borrowed a sleeve pattern I drafted from another dress I made. If you can’t draft your own, any tight-fitting sleeve will do. If you don’t want a fitted sleeve that’s even easier! Sew a big tube and gather it into the sleeve head and at various points to make a puffy elbow-length sleeve common in the earlier style of gowns.
 Pin the sleeve into the dress, pulling out the excess fabric that will be trimmed.
 Trim the excess, sew the sleeves in (I did French seams), hem, and voila! Add some petticoats and a pretty sash and you are set.
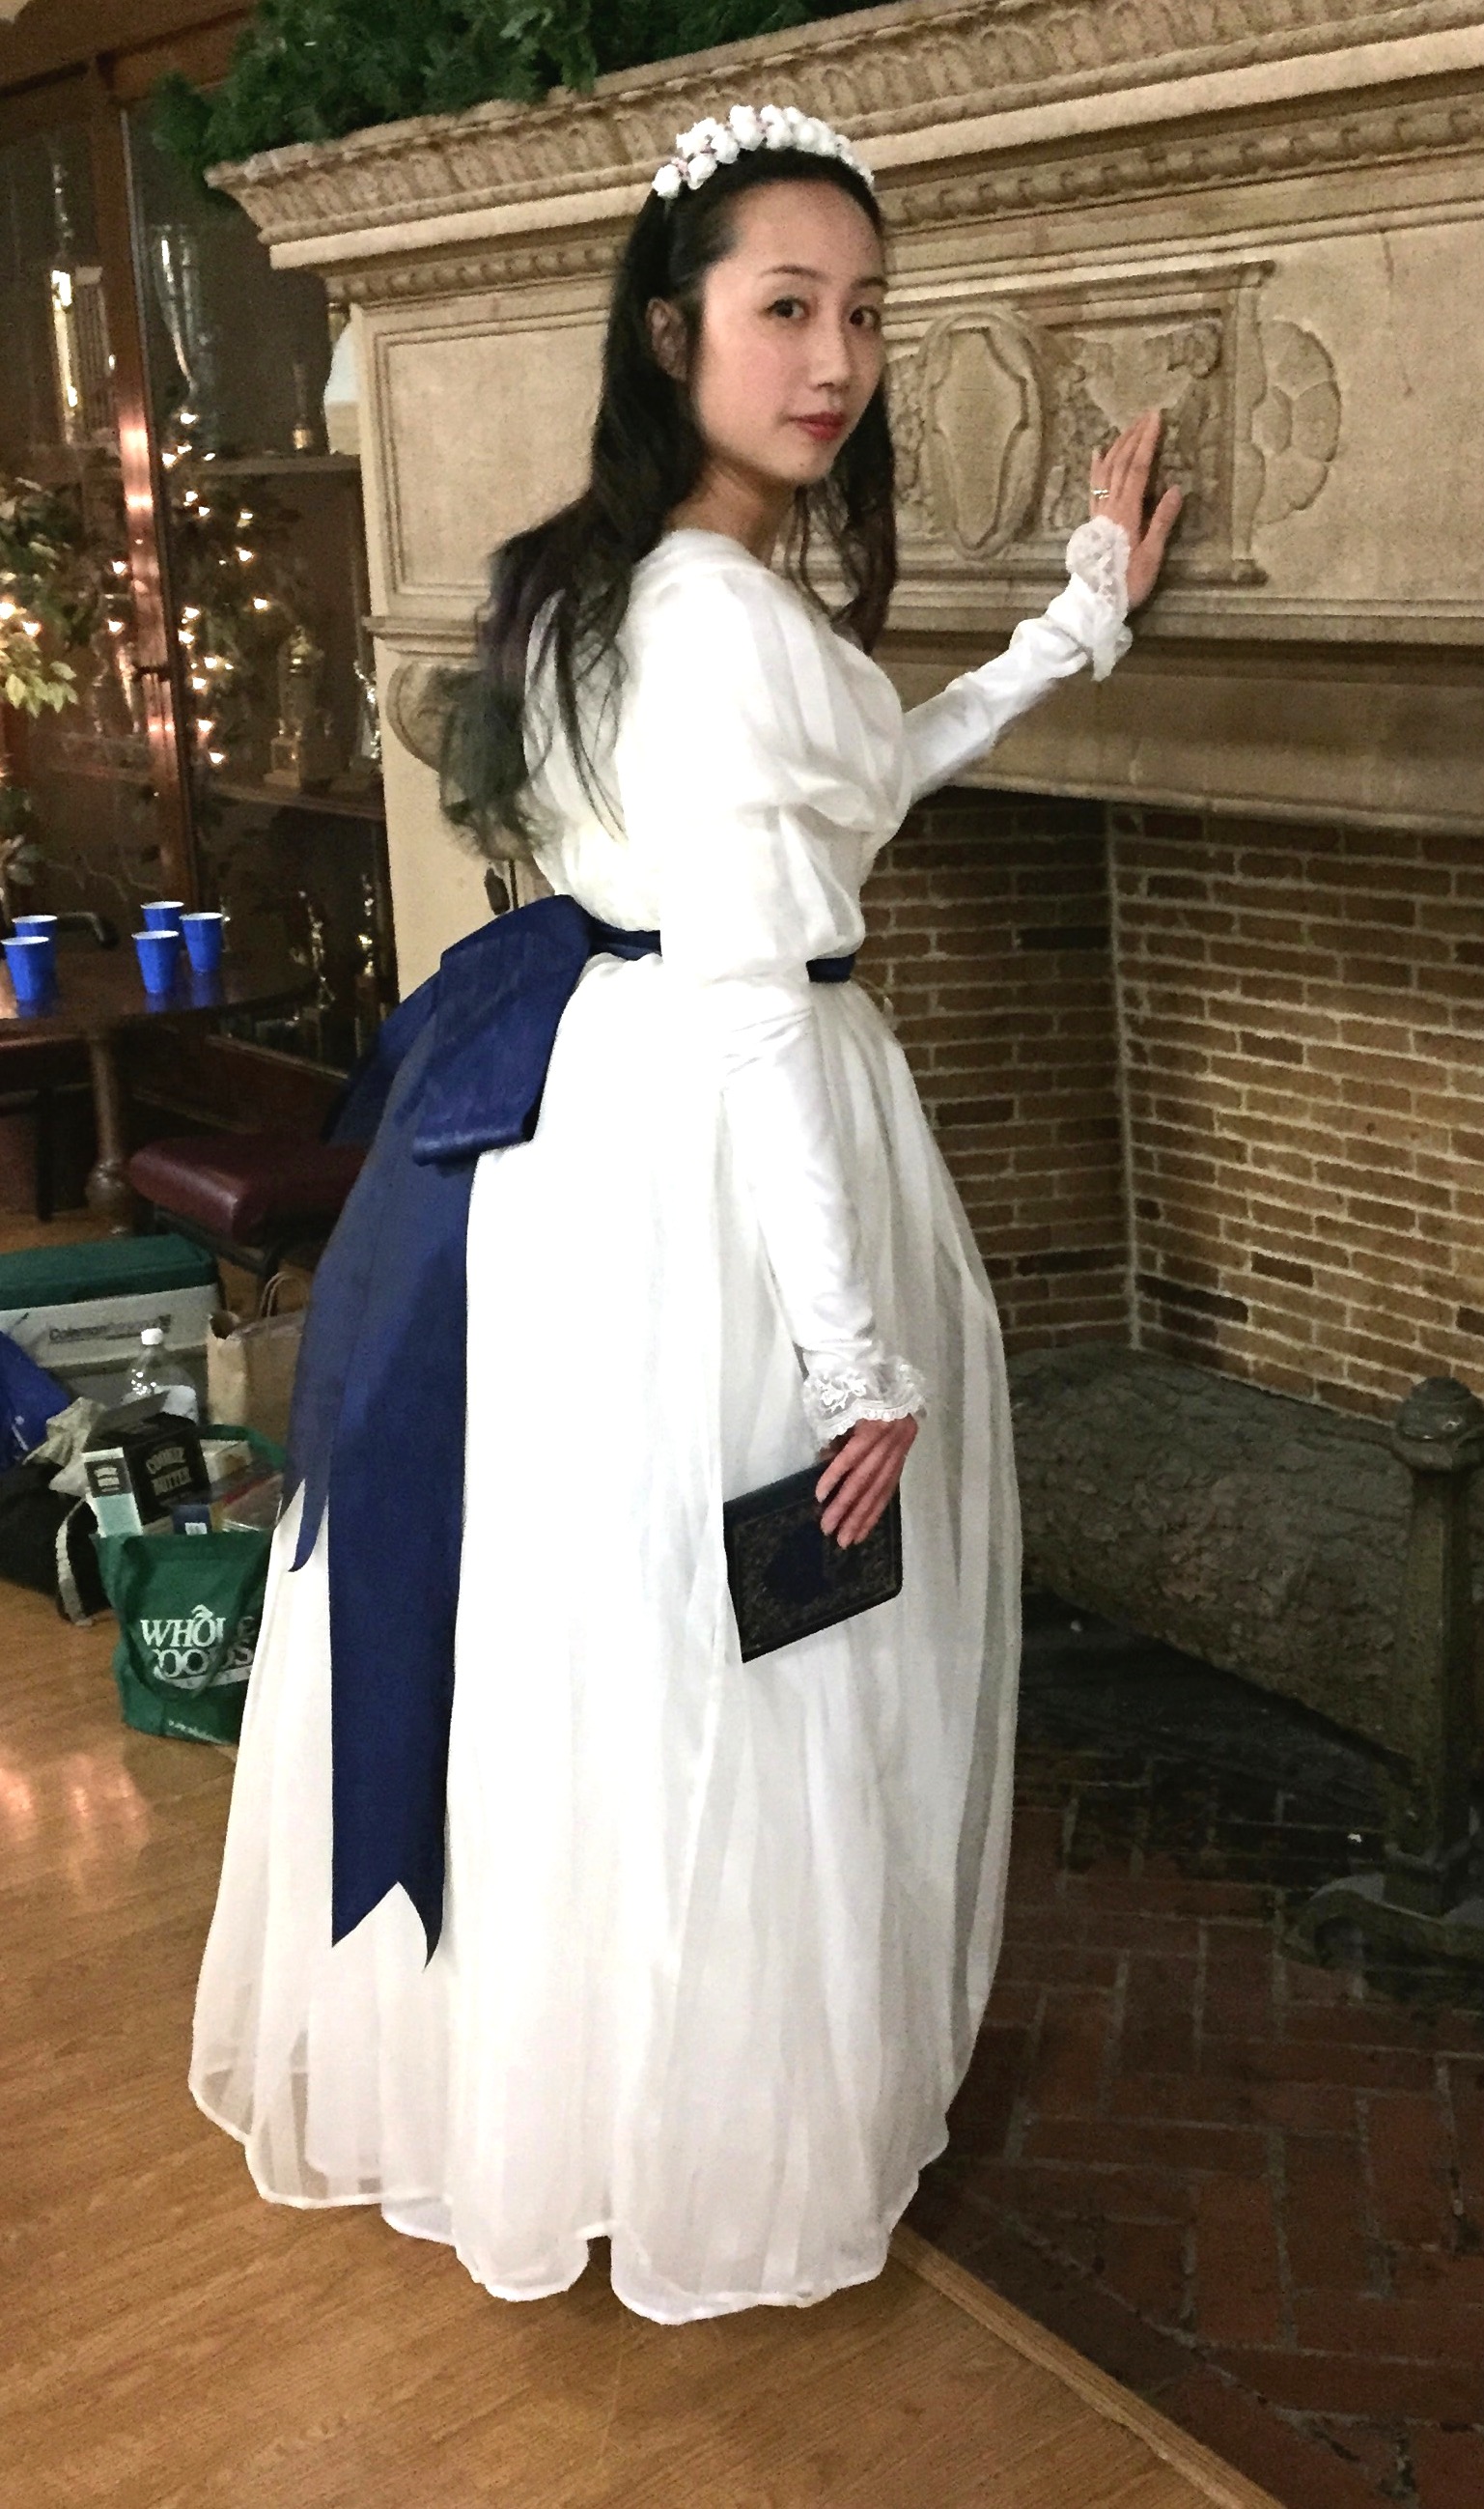
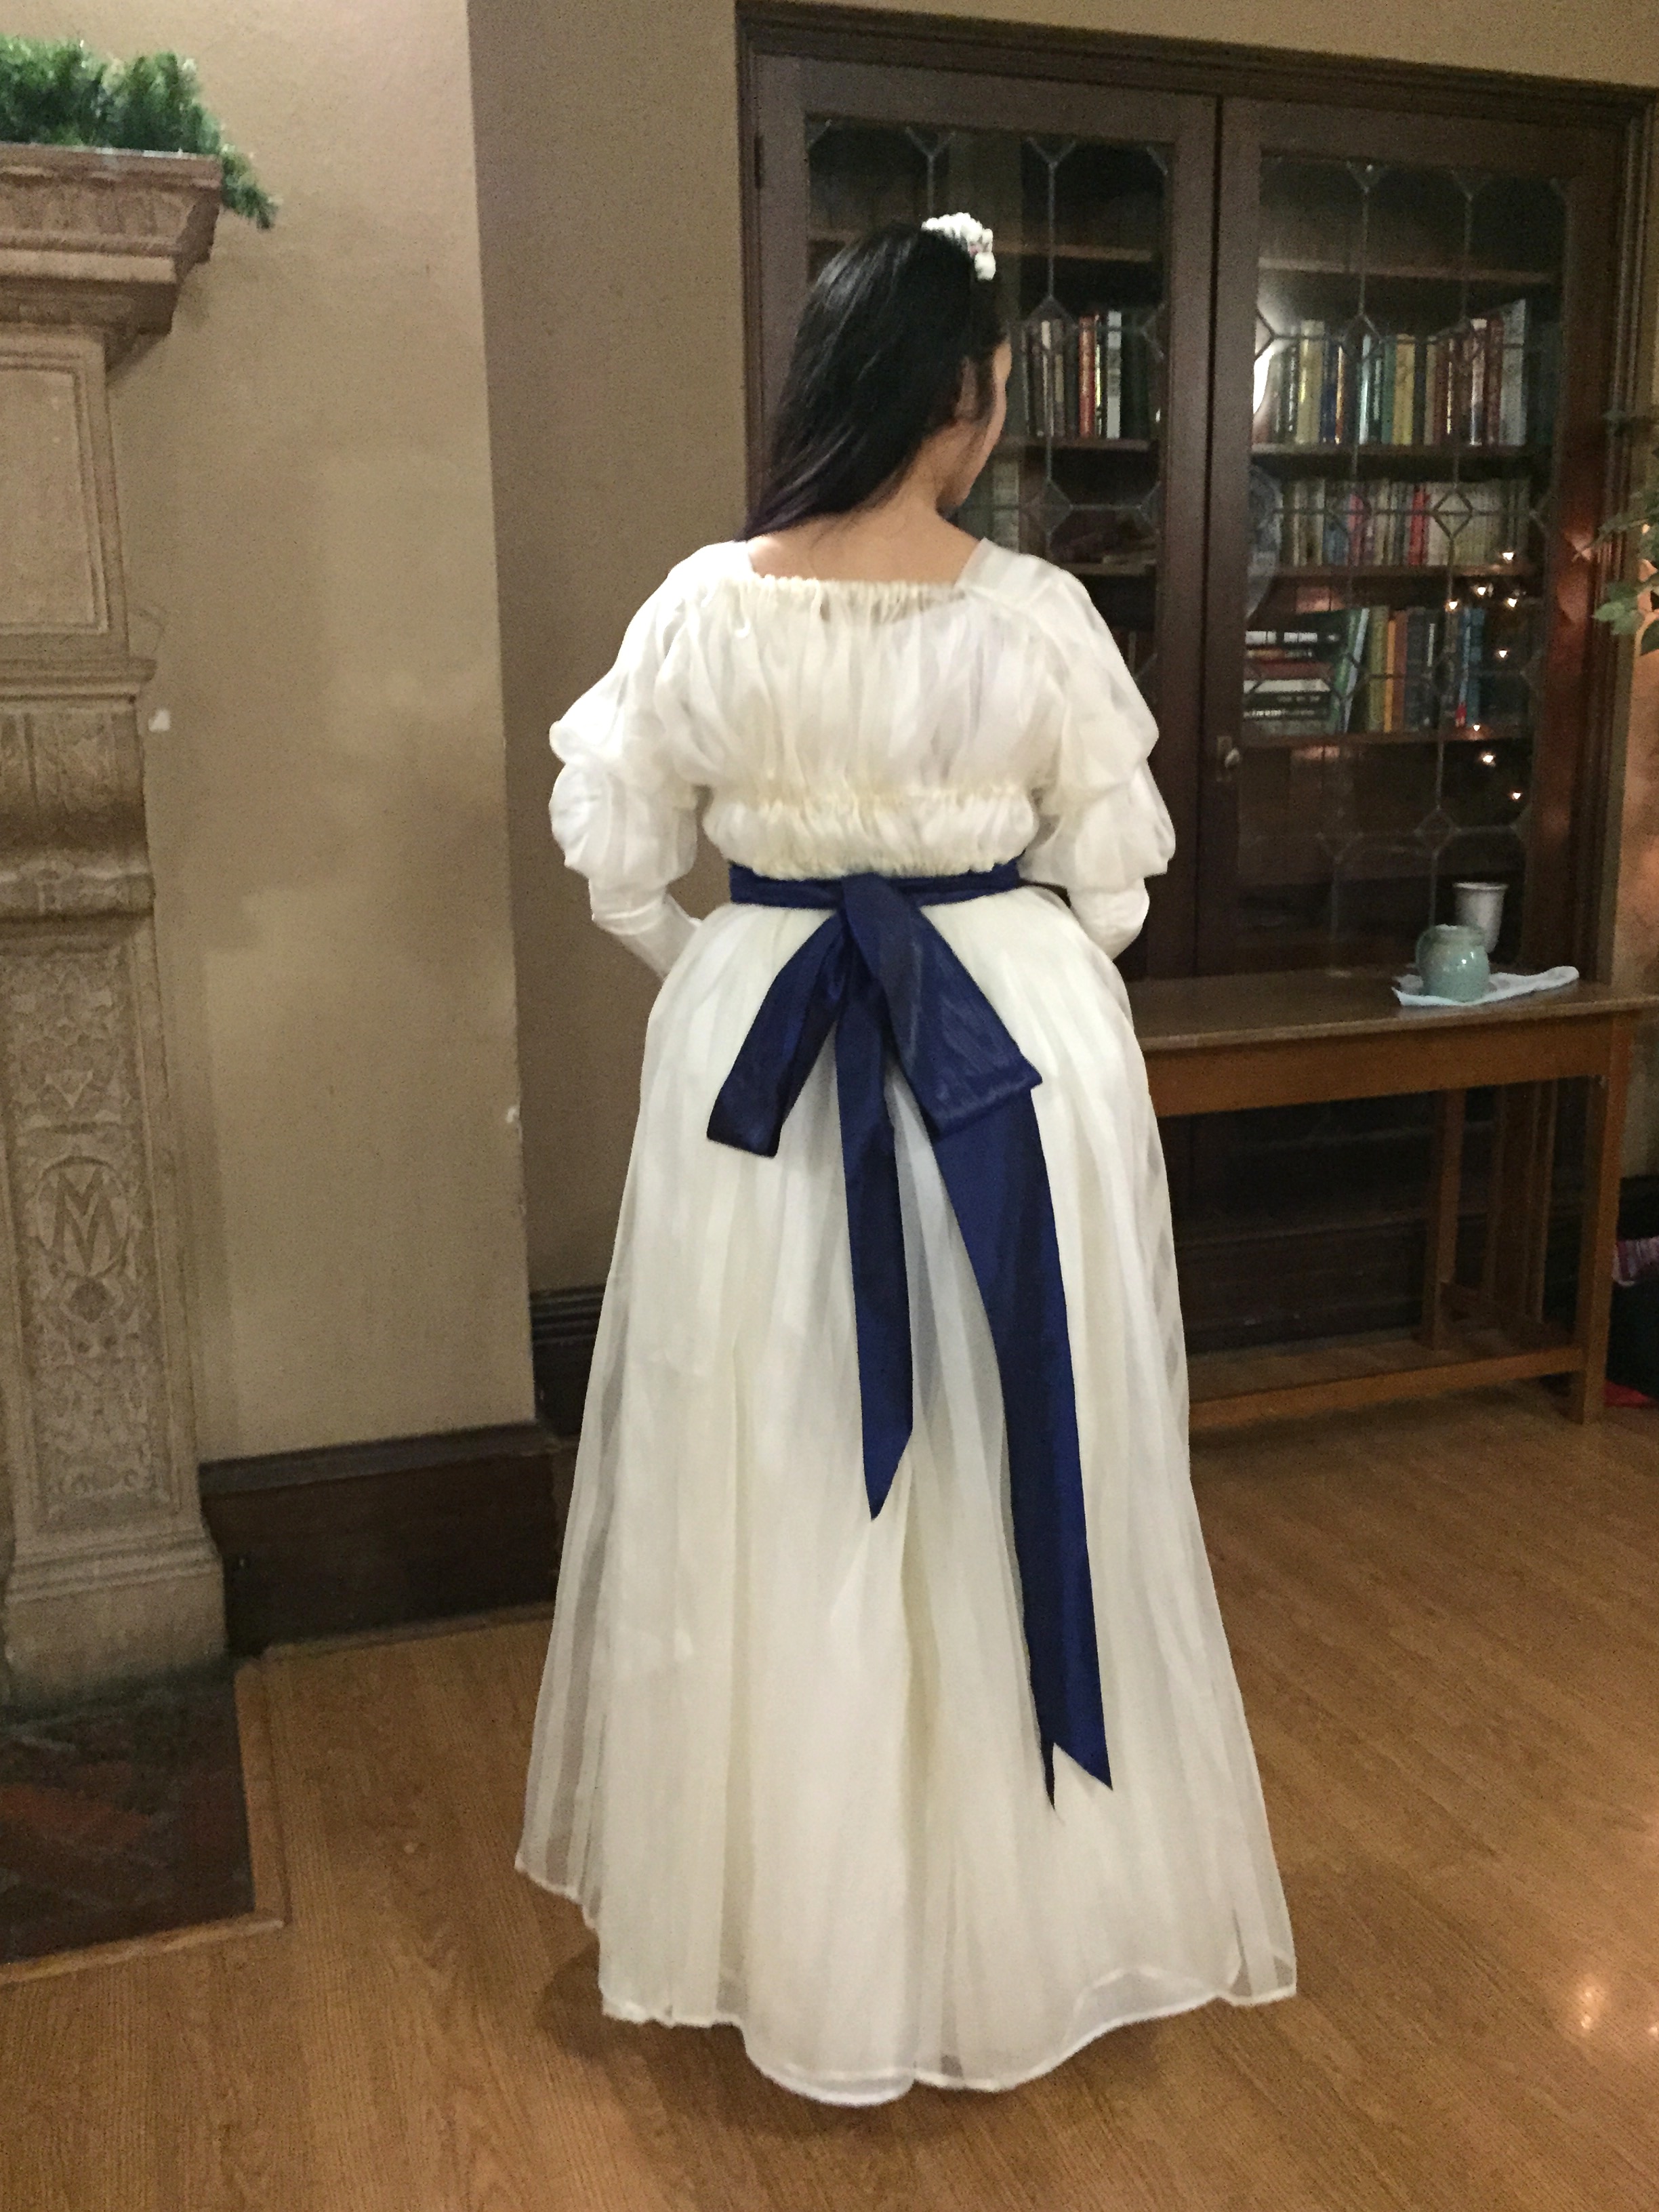
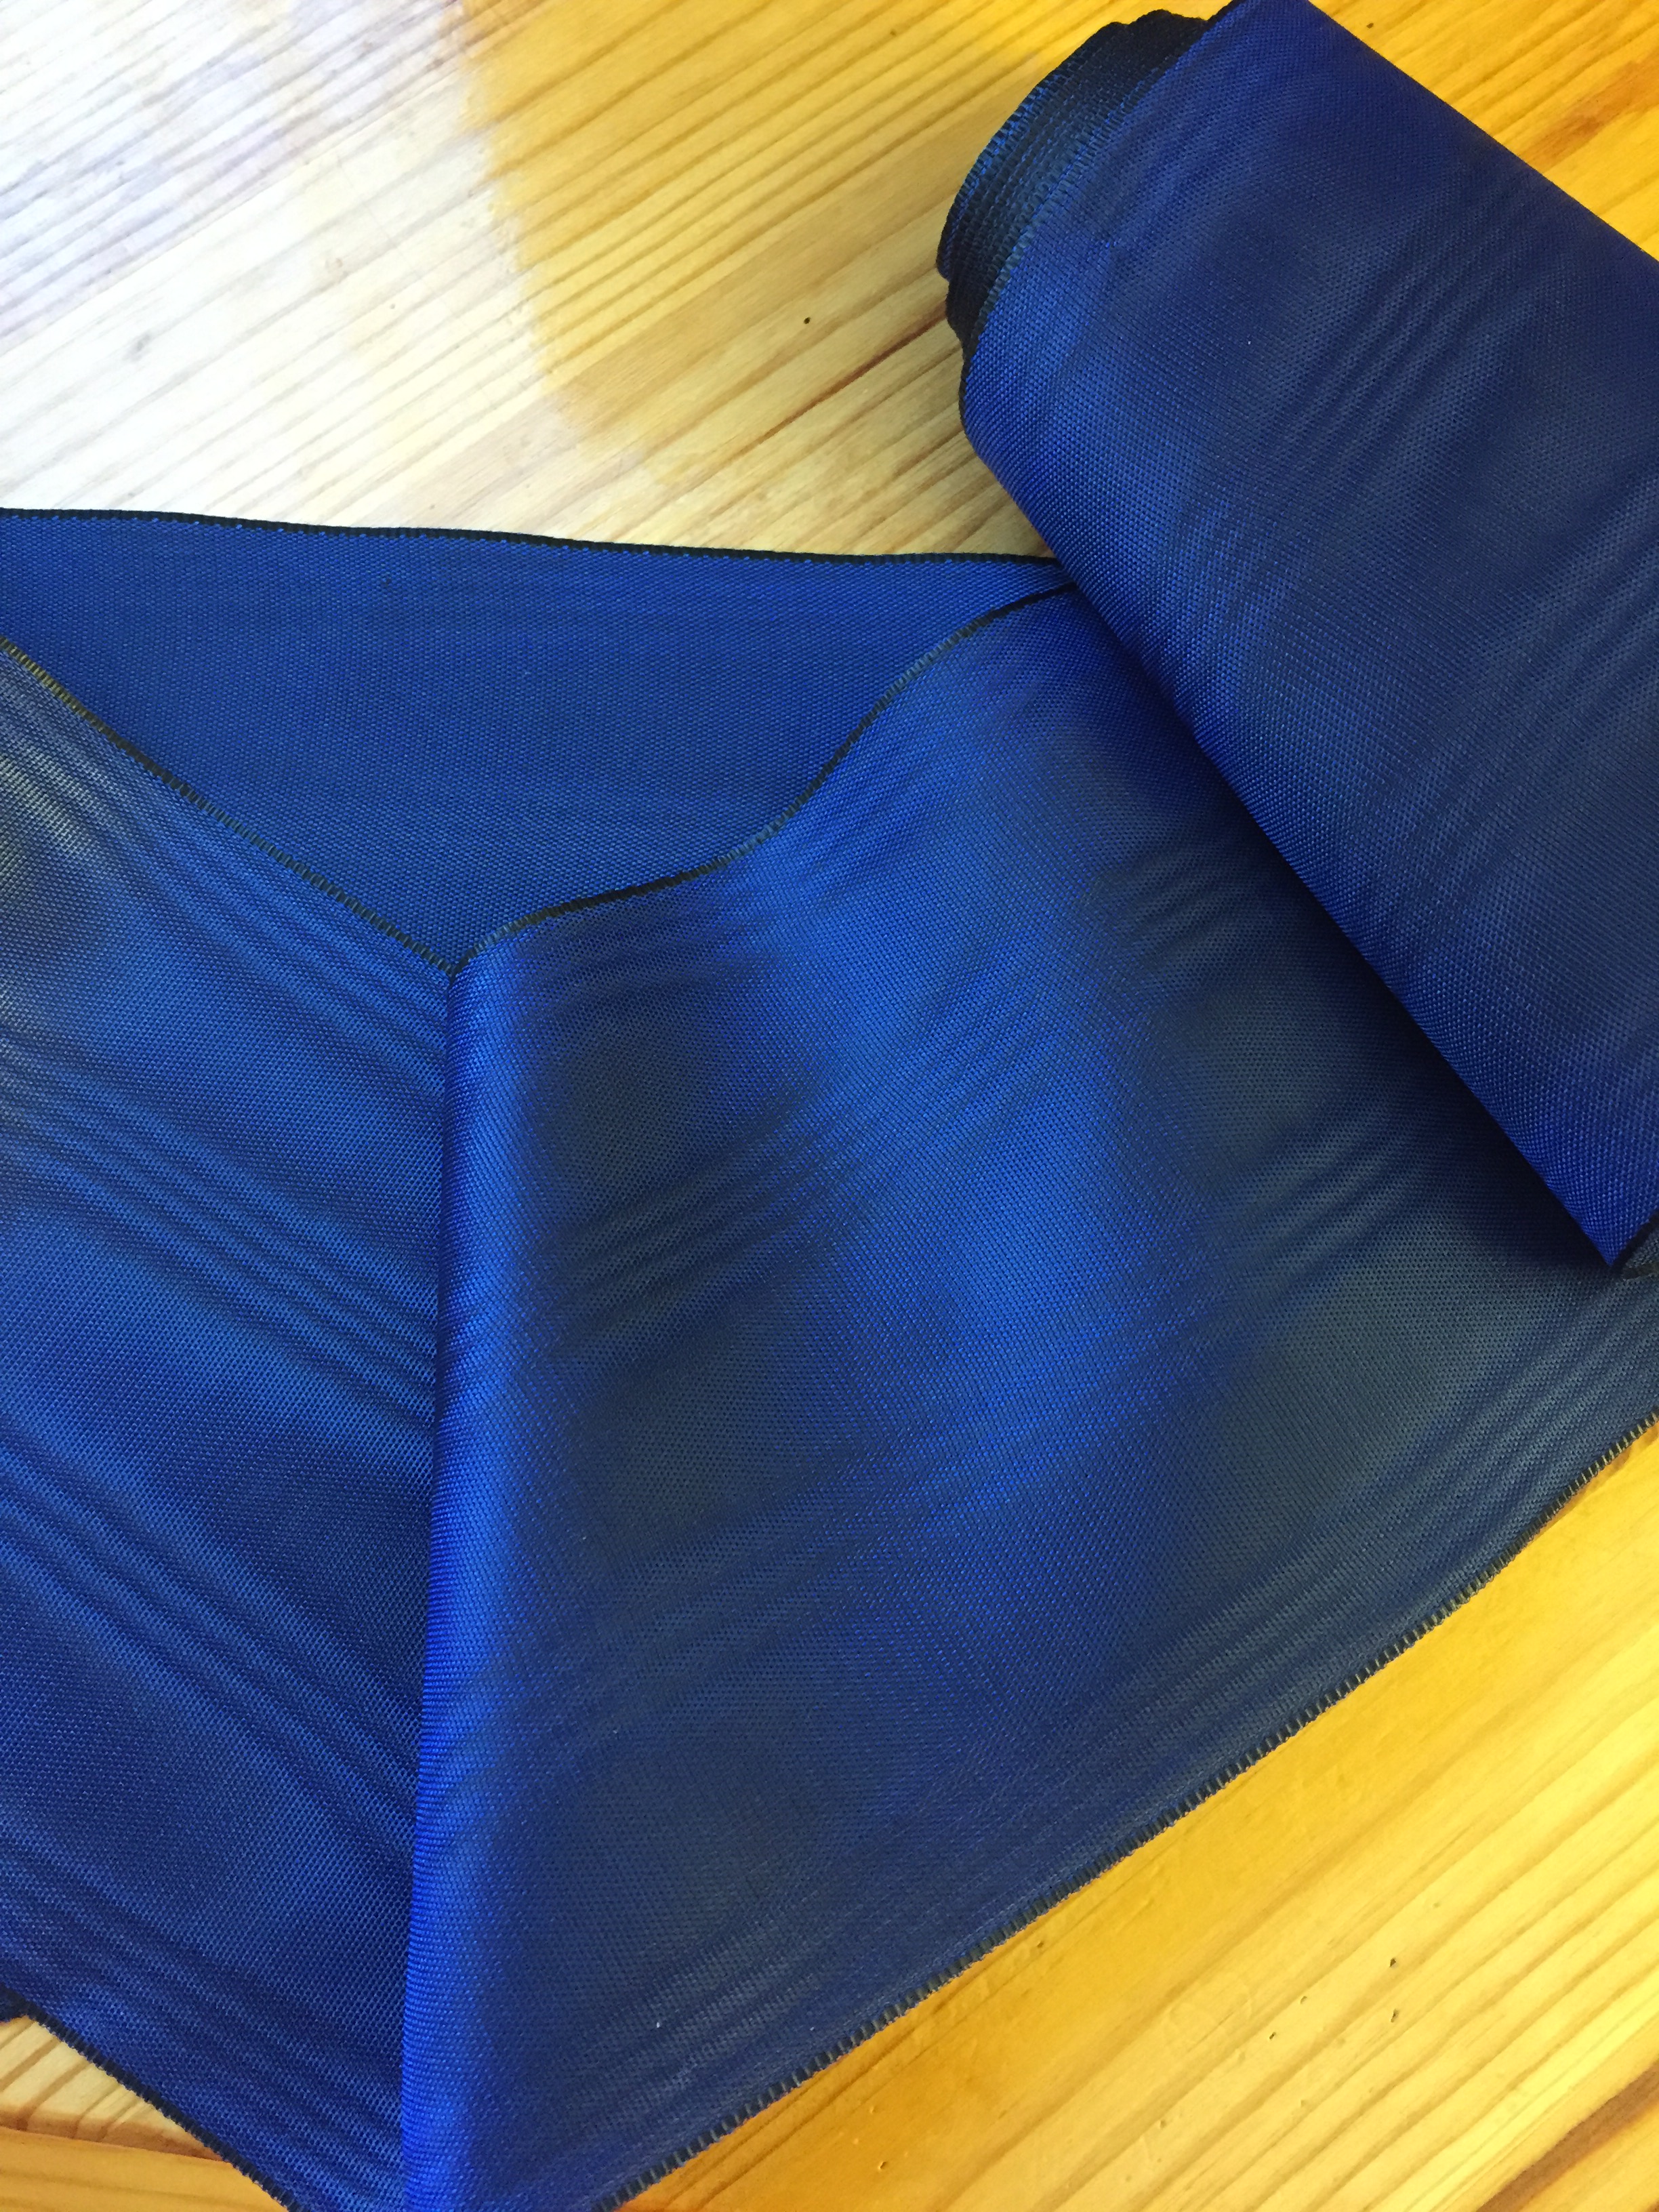
UPDATE: Now that I have a sash, here are some pictures of the finished cotton dress with a small bum pad and petticoat. (I plan to make another petticoat and possibly a slightly more padded bum). The sash is about 5 yards of moire ribbon, wrapped around the waist 3 times and tied into a bow.


 Here is a sneak preview of the silk overlayer I am in the process of draping, along with a temporary belt.
 I hope this tutorial made sense. I welcome any comments and questions.
You can see the finished dresses worn here: https://freshfrippery.com/2015/04/25/chemise-a-la-reine-and-girls-in-white-dresses-with-blue-satin-sashes/
I am happy to provide all patterns and tutorials for for free on my blog. It is absolutely optional, but if you would like to donate towards my domain registration and the data costs of hosting the many photos on my site, consider buying me a “coffee”: https://ko-fi.com/freshfrippery. Thank you!


 I also wore my red hooded mantle when it got cooler in the evening on the beach. It matched perfectly with my red American Duchess Kensingtons!
 I made the wig the day before, so it was a little rushed and not perfect, but I think a little more careful trimming will make it into something quite nice. I used the instructions in Kendra’s 18th Century Hair book, and I highly recommend it. There are wonderful step-by-step instructions and lots of color photographs. The overall steps were:
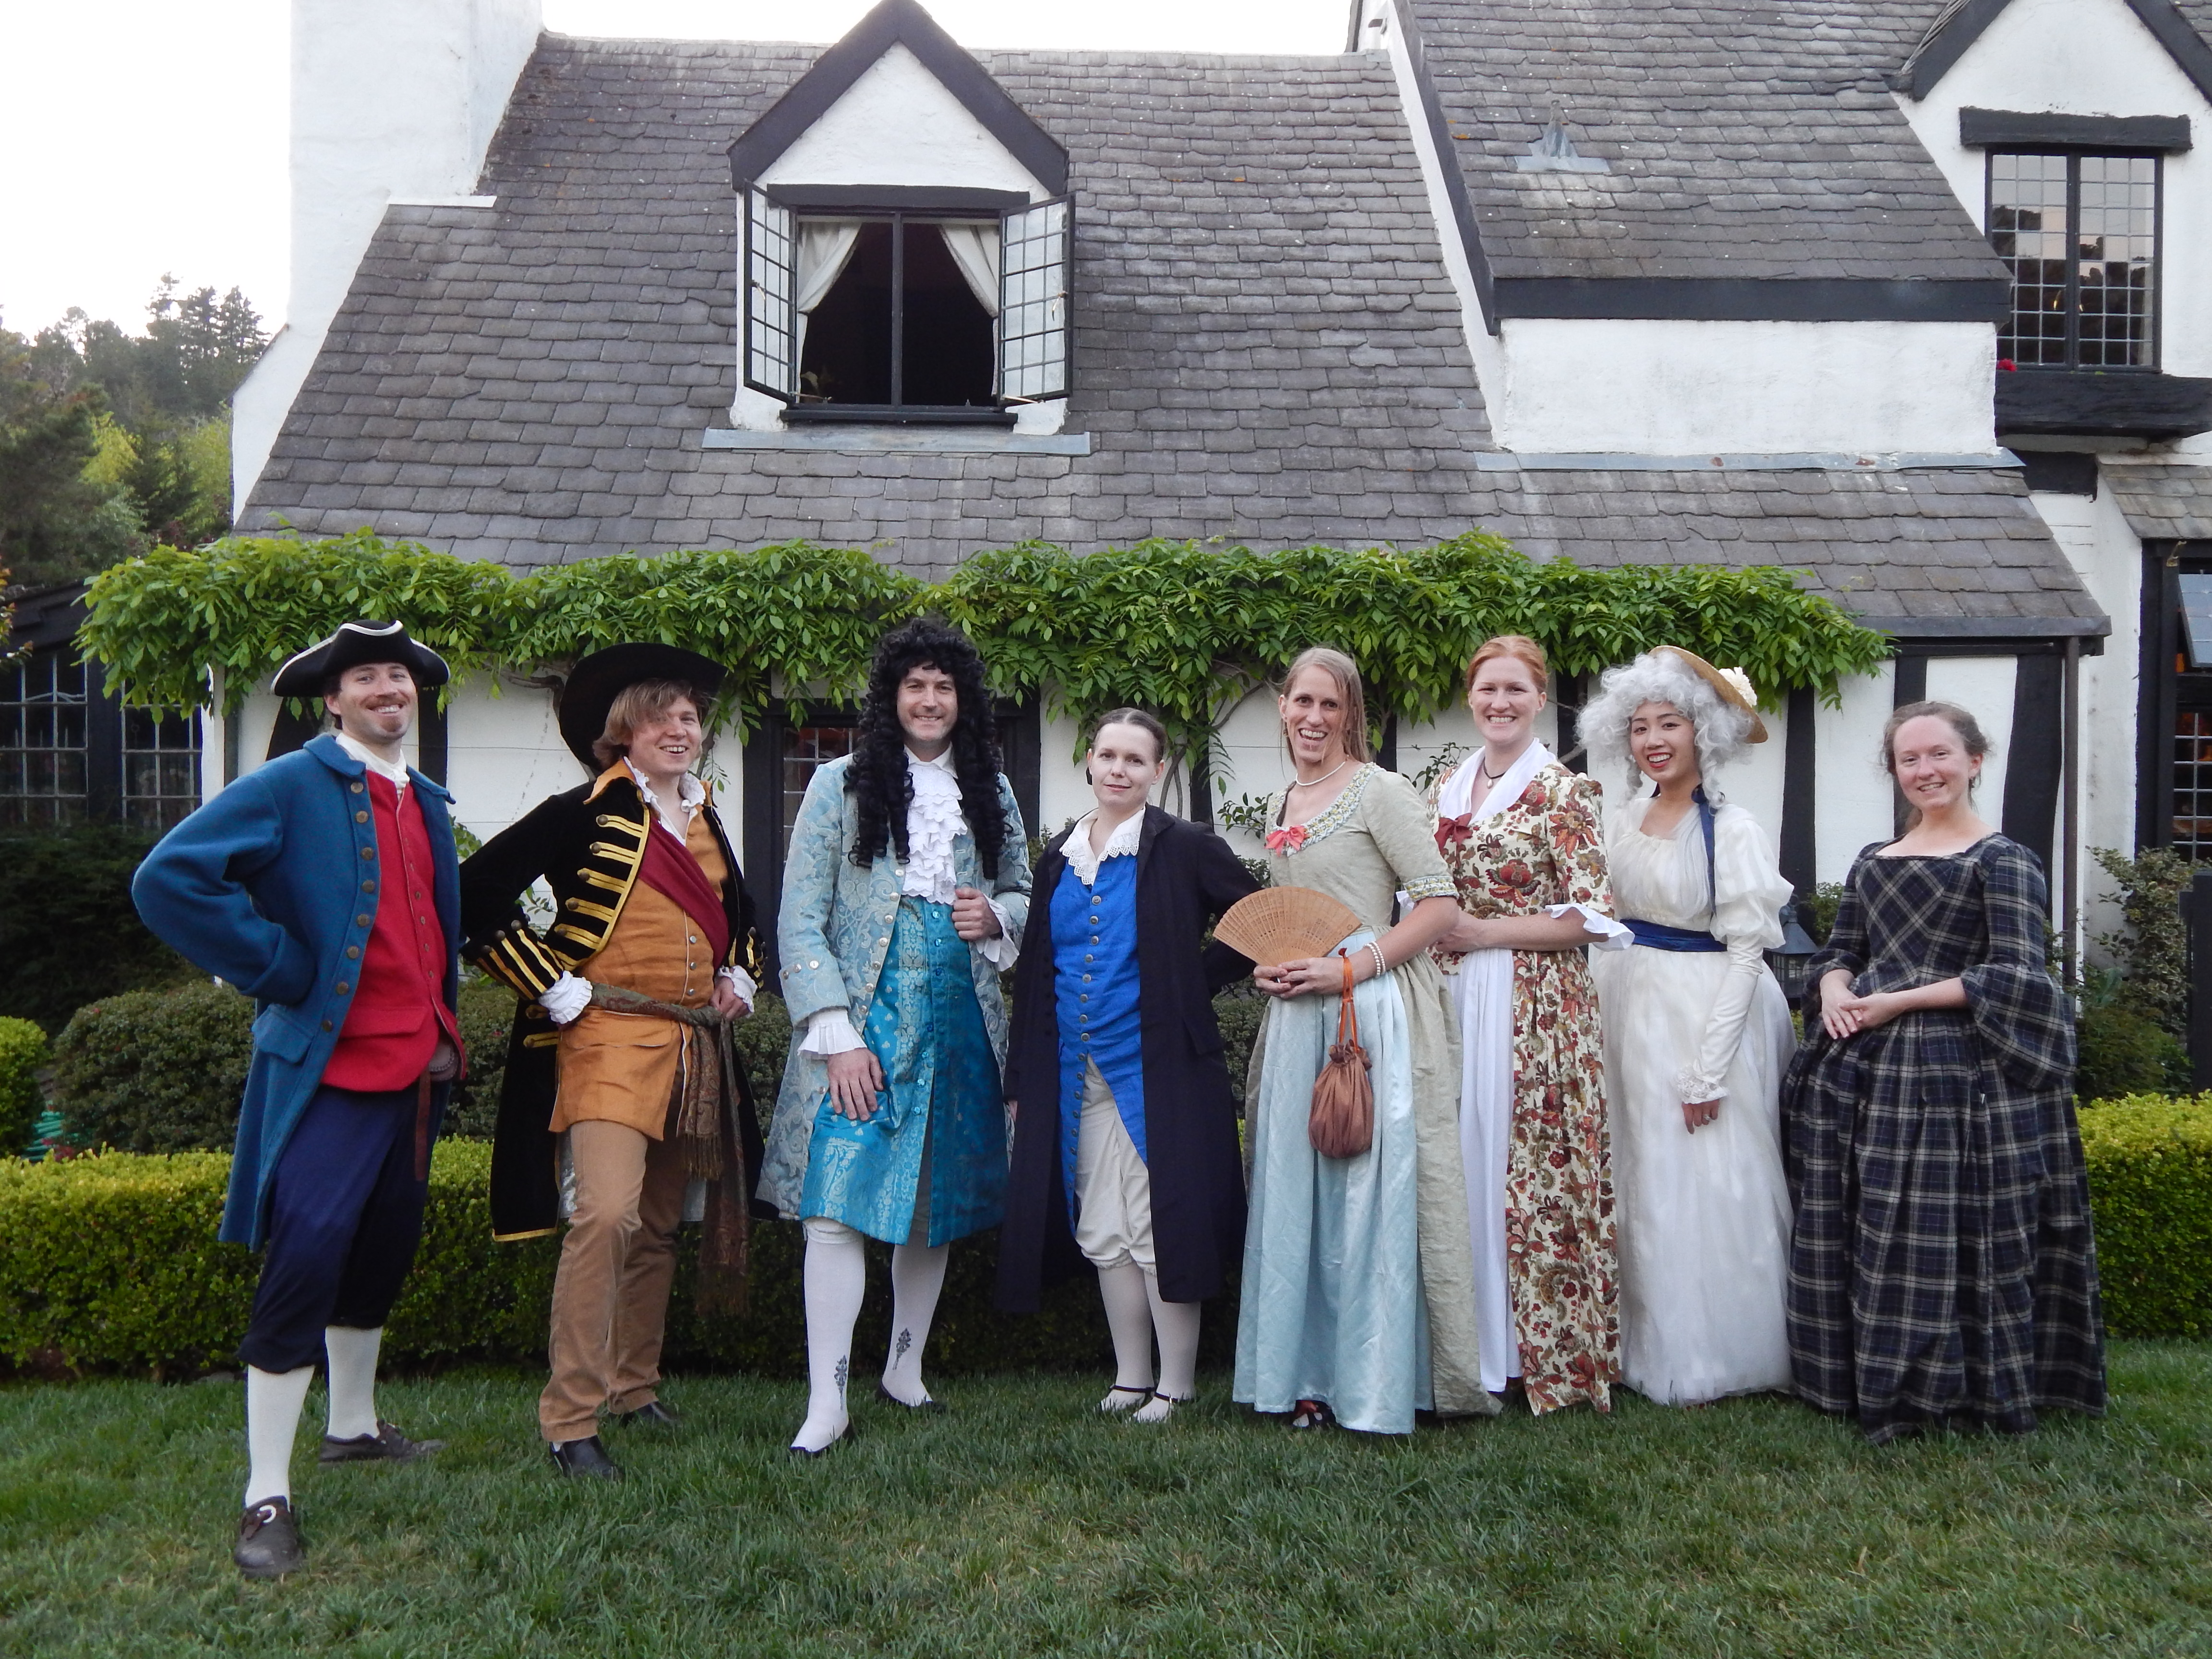 Although you must be on the lookout for highwaymen!
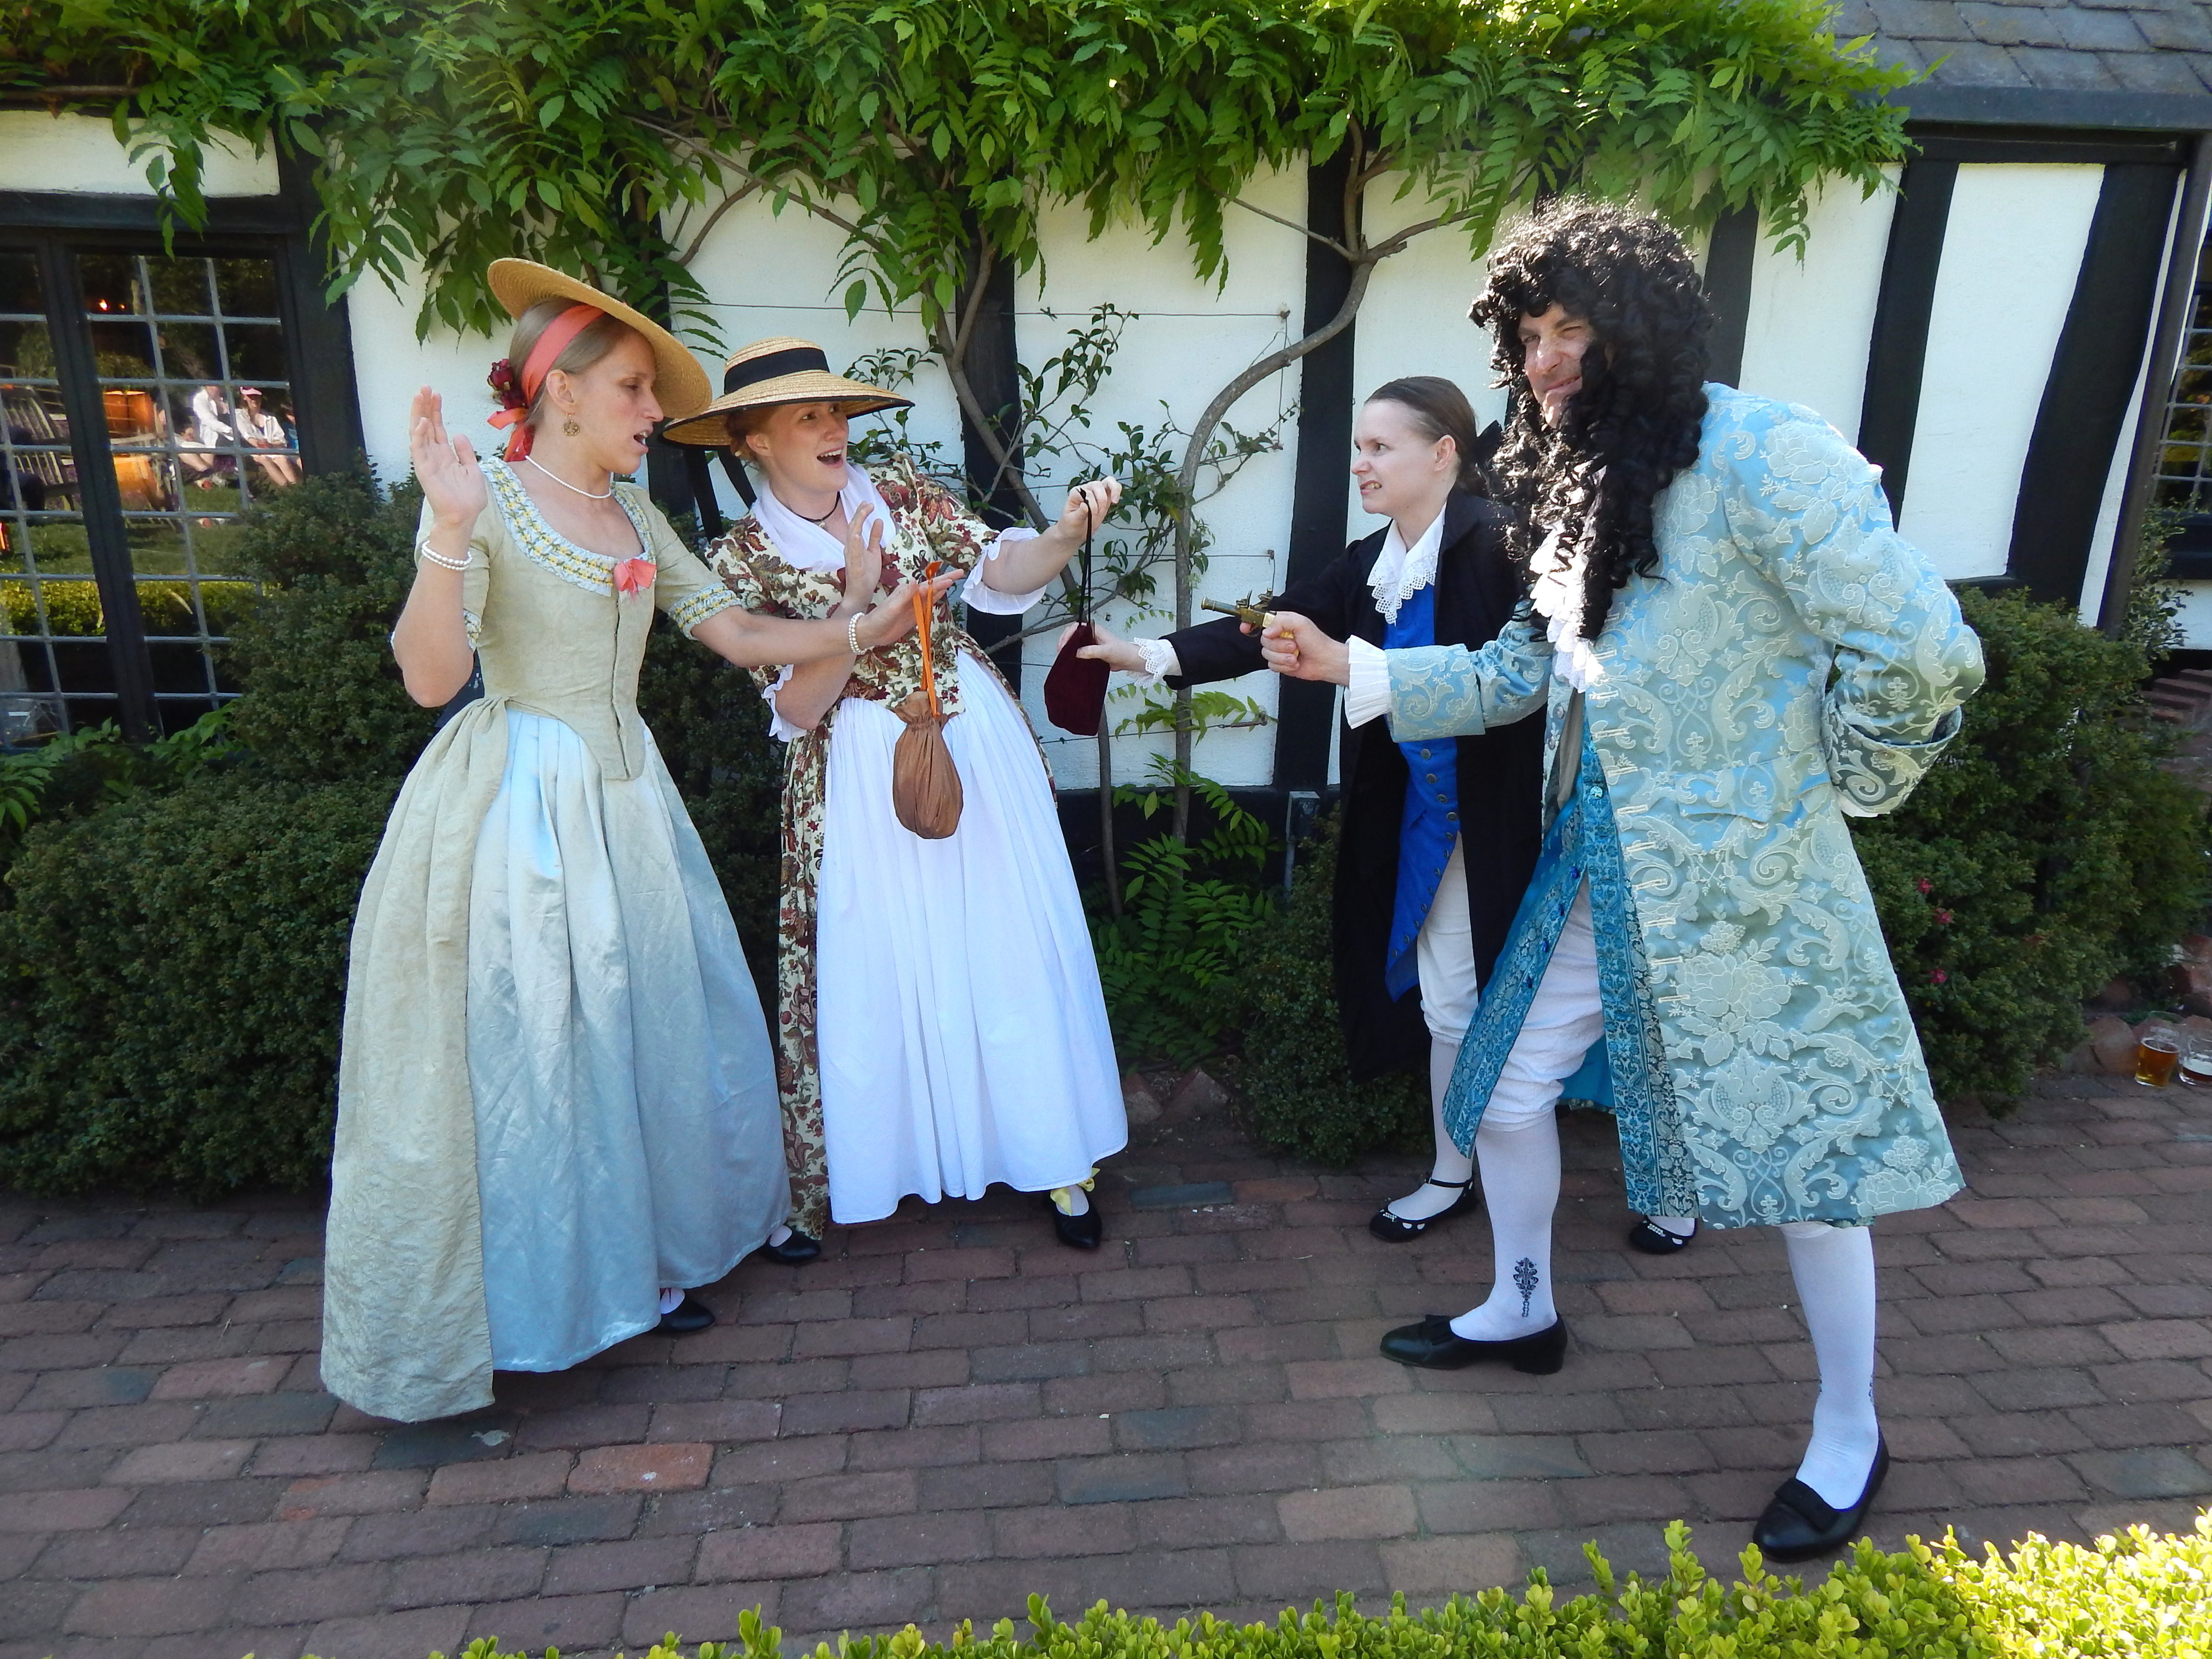 But fear not, you may be rescued!
 Or maybe not.
 For more fun photos see my Flickr album.


 12-14-19")
