Monthly Archives: June 2016

Matching “LJUSÖGA” 18th Century Dresses at the NorCal Pirate Festival

Recently a group of us noticed that Ikea has some “LJUSÖGA” duvet covers in an pretty floral print with a pattern, scale, and colors appropriate for 18th century cotton dresses.

We each bought a king size set, which included a duvet cover and 2 pillow cases, to make matching dresses with. We estimate there’s about 11 yards of 40 inch fabric, which is an incredible bargain for $30! (The price has now gone up to $40 on the website).

I decided to make an anglaise, and originally planned to start on it after Costume College, but just a few weeks ago we decided to go to the Pirate Festival together, and having nice cotton dresses would be perfect for the weather. (There will be more of us at the next event; some ladies are still working on their dresses).

IMG_8238

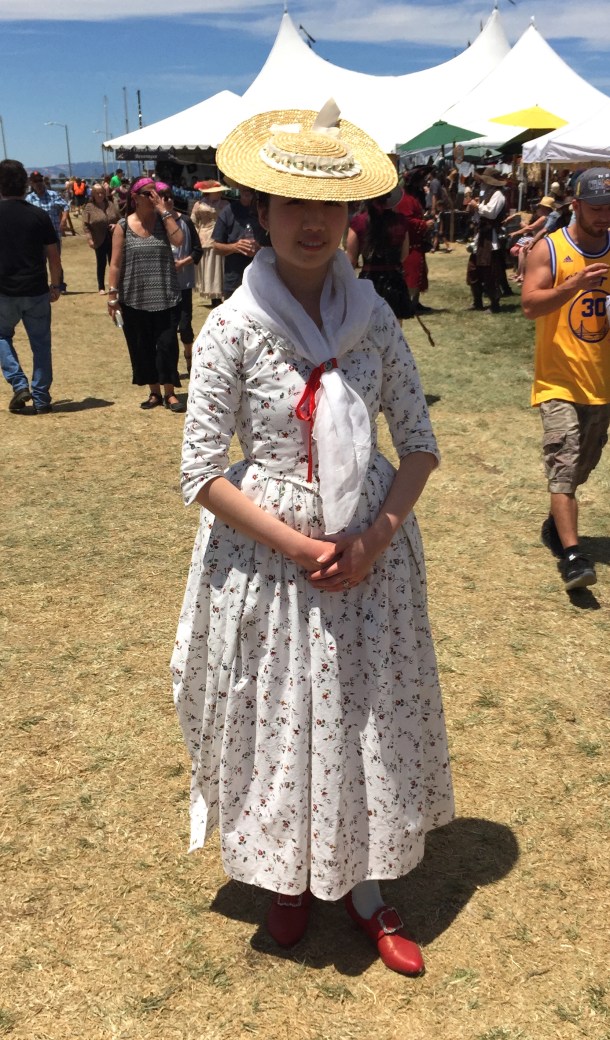
Due to the short time frame my dress is not quite finished, but was wearable, with some things I’d like to improve for next time:

  • I did not have time to put a flounce on my petticoat; it’s a bit shorter than I intended (although it shows off my American Duchess stockings and shoes!)
  • The neckline and front of the bodice has ruffled trim instead of box pleats to save time. Now that it’s on I might be too lazy to replace it, but it was originally meant to be temporary.
  • My sleeves are untrimmed. I would like to add some ruffling or pleating and some button detail.
  • My fichu should be pinned down. I just tied it with a ribbon and it kept riding up until it looked more like a bandana than a fichu.
  • I didn’t have time to get a new plain bergere hat to trim, so I reused the small one I wore with my silk francaise.
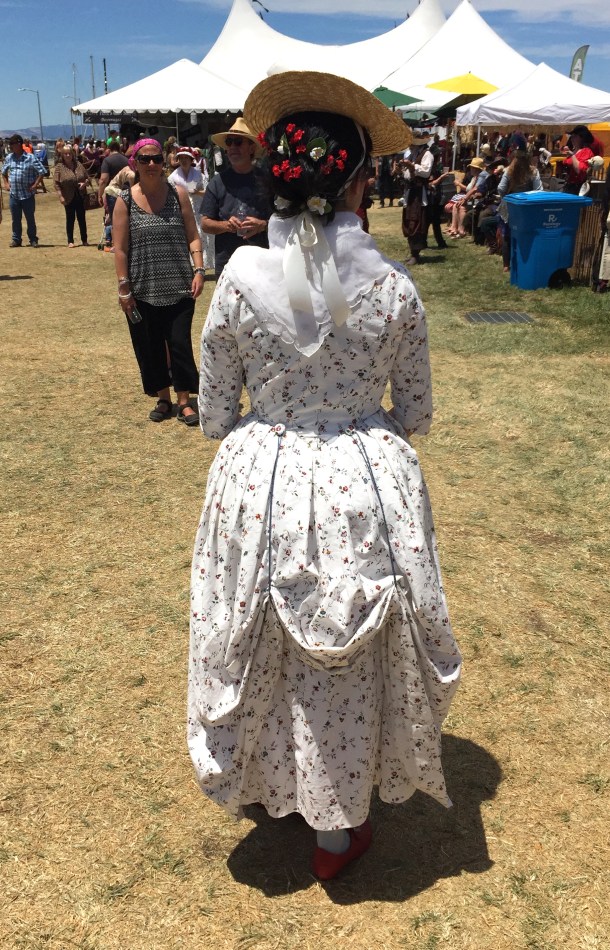
  • My hair is not done in a historically accurate style; I just curled it, made a bun, and then hid the mess with flowers.
  • And scandalously, I am not wearing stays(!), so there is a little wrinkling in the bodice. I do own stays, but the festival was outdoors in 90 degree heat, so I decided one less layer was preferable.

Since this is still a work in progress I will do a full post with detail photos, construction notes, and cost breakdown another time, but meanwhile here are a few pictures. The dress consists of a bodice with a front closure, trimmed with ruffles, attached to a pleated overskirt. The petticoat is made of matching fabric. I am wearing those over a bum pad and another petticoat, along with two pockets.

IMG_8222

The back of the skirt can be lifted with cords and looped around covered buttons to be worn as a robe à l’Anglaise retroussée. I’m still thinking about adjusting the length of the cords or the distribution of the fabric because this wasn’t quite the look I was aiming for.

IMG_8223IMG_8224

I did have a mishap with the buttons. I couldn’t locate my button-covering kit so the night before the festival I just wrapped some fabric around some domed plastic buttons until I could buy more of the right buttons. After I laundered the skirt the dye from the black plastic buttons actually bled through two layers of fabric and onto other parts of my skirt!IMG_8262

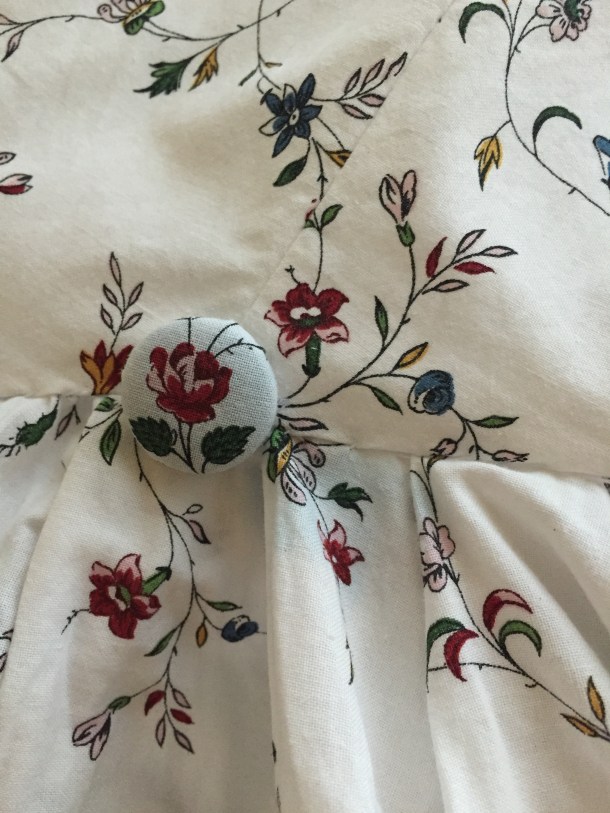
After several rounds of OxiClean, and a final careful swabbing of diluted bleach, I have the stains out and I’ve learned my lesson about mystery buttons from the stash. I will stick to my usual metal buttons, like this redcoat who was wearing lots of shiny buttons.

IMG_8227

1940s Star Trek TNG (Film Noir Costumes)

Last Saturday was the 1940s PEERS Ball, and my “crew” and I wore our 1940s Star Trek mashup outfits! (From left to right: Riker, Data, Troi, Red Shirt, Dixon Hill, Wesley, Dr. Crusher, and Geordi).IMG_8018

I was very worried that I couldn’t get the hair right, but with some tips from friends, a lot of foam curlers, and the magic setting lotion Lottabody I felt fabulous!IMG_8058

My hair was so fluffy you can’t see the vintage Bakelite dome earrings I’m wearing. They are mustard-colored and match the ring.IMG_8010IMG_8011

Here we are all so serious! IMG_8021

I had enough leftover fabric to give to Breanna so we could match! Her use of silver netting for Geordi’s visor was so clever!IMG_8038

Dr. Crusher made a dress and a coat!IMG_7997

Although Wesley was not so impressed by Mom.IMG_8029

Troi and sexy Riker got a little frisky!IMG_8055

Riker had to do the signature weird chair leaping!IMG_8067

And every away mission needs a Red Shirt!IMG_7993

All the ladies in our group made their own dresses from vintage or altered patterns. We had a wonderful time and I definitely want to wear my outfit again to Costume College!

See the rest of the photos on my Flickr account.

You can read about how I made my dress: Part 1, 2, 3.

1940s Star Trek Dress (Part 3) Finished

My 1940s style Star Trek dress is finished!  I am looking forward to wearing it to a 1940s party this weekend. (I will post pictures of the event next week).IMG_7949
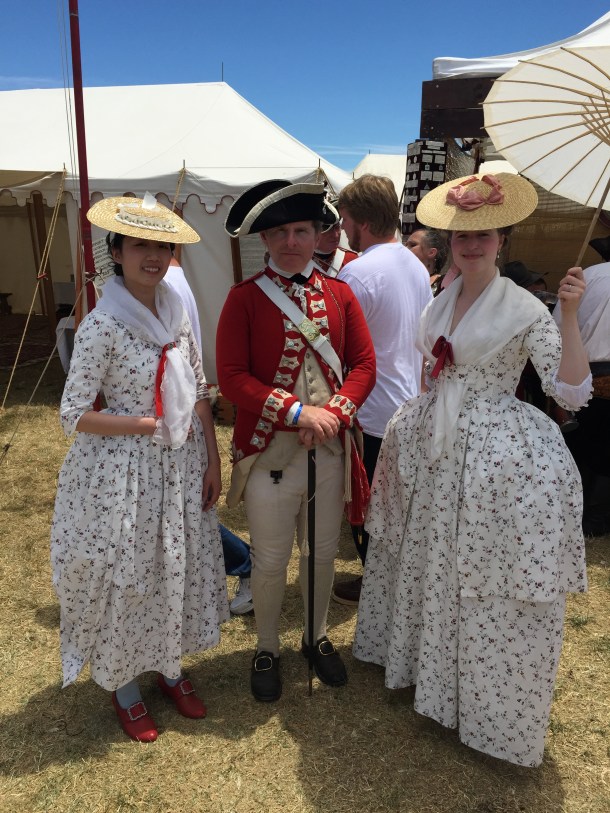
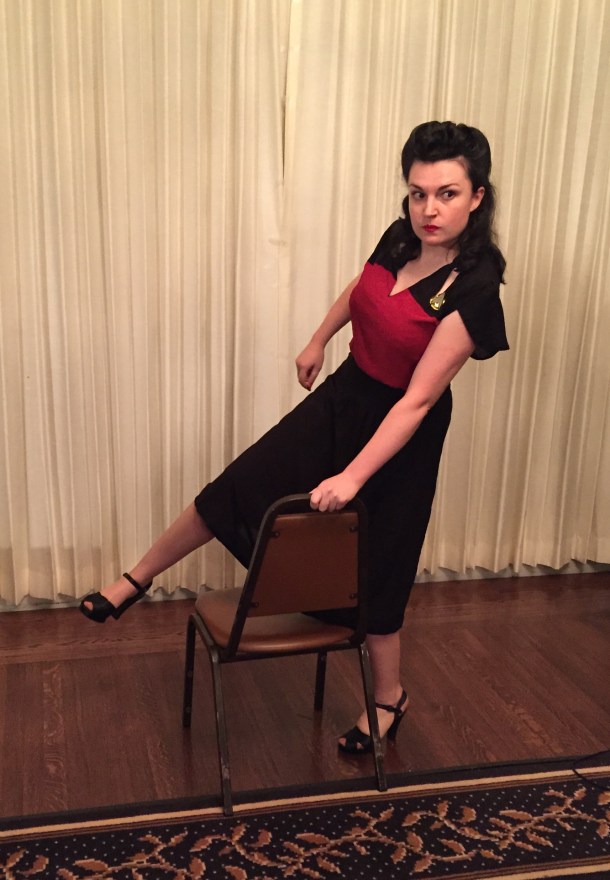
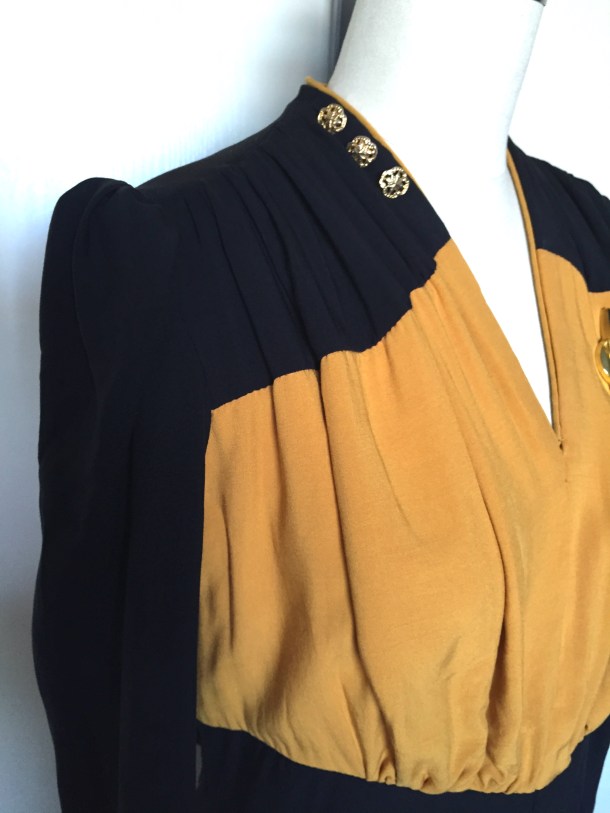
To summarize, the dress is made from 2 layers of rayon challis. The neckline is piped and has several gold buttons for “pips.” IMG_7939

I modified the Dahlia blouse pattern from Wearing History. I added in the extra seams in the front and back to create color-blocking and drafted the skirt myself.IMG_7944

The front is gathered at the shoulders with a puffed sleeve head.IMG_7945

The elbow is gathered, like many 1940s dresses, and the sleeves are extra long.IMG_7946

There is a curved seam where the bodice meets the skirt.IMG_7951

The rayon makes for a very nice, drapey dress. It is very form-fitting, especially around the hips. I’m afraid the construction shows off every bump and lump so proper vintage undergarments are required: a Rago girdle and a slip.IMG_7952

The dress closes on the side with a side-lapped zipper, hand-stitched in. (Originally I used invisible zippers, but this is more accurate to the time period).

I actually thought I completed it a few weeks ago, but when I put it on I wasn’t completely pleased with the way it hung, so I redid it – twice. Originally I made this as a 2-piece outfit, with a somewhat A-line skirt. I decided to change to a pencil skirt, which I felt would work better with the top. Also, I converted the outfit to a one piece, thinking the skirt would weigh down the bodice and keep the edges from flipping up. This meant I had to completely dismantle and recut the skirt, and remove 2 zippers.

Originally I prick-stitched the bodice to the skirt, which made the peplum front stand out, but the back looked a little odd. I took the dress and zipper apart again, and stitched everything together. There’s still little things I’m not 100% happy about, but overall I am very pleased with how it came together!

Final cost $87.93:

  • From Fabric.com: 3 yards black rayon challis, 2 yards mustard rayon challis, 1 spool black thread ($41.10 including tax and free shipping)
  • From Wearing History: a digital pattern bought on sale (I highly recommend you pay to get a paper pattern instead; I bought mine digitally because I needed it right away, but the paper ones are worth it!)
  • From the stash: gold buttons and zipper
  • From Thinkgeek: TNG communicator pin ($19.99 plus $6.95 shipping)
  • From Amazon: TNG phaser ($10.89 plus free Prime shipping)

I especially pleased with the communicator. It’s a quality reproduction that is on a strong magnet so I won’t get pin holes in my dress. The communicator is now available on Amazon (affiliate link) so if you have Prime you can even save on the shipping:

star-trek-the-next-generation-communicator-badge_670

I bought a TNG phaser just because it was fun and cheap. (It makes noise!): IMG_7953

I purchased some incredible Miss L Fire shoes, but sadly they are a bit big for me. I might see if I can get some inserts that won’t show in the peep toe, but for now I’ll have to wear plain black pumps with the dress.

misslfire-lanai-black-1-250x250

I also own these Capezios, which are very comfortable dance shoes, so they might be better for the event I have in mind this weekend anyway.

411ZhApLeSL._SY395_

Read Parts 1 and 2.

Next step is to figure out how to do hair and make-up, which are not things I excel at. Wish me luck!