Tag Archives: 18th century

Historical Belle: My 18th Century-Inspired Beauty and the Beast Costume

I made an 18th-century inspired mashup of Belle’s iconic yellow ballgown and her hooded winter outfit from Disney’s Beauty and the Beast.

The costume has aspects inspired by 18th century fashion but is not a historically accurate reproduction particular to a specific decade. I was heavily inspired by Brunswicks (the hooded traveling outfits) but you can also see elements from robe a la anglaise gowns, caracao jackets, and side-opening petticoats.

The yellow fabric I used is a quilted cotton harvested from a king-sized bedspread! It saved me a lot of time quilting, but the material created some challenges: I had to employ strategic cutting in order to maintain symmetry in the stitch designs in the final costume, and to keep the finished edges in the skirt, peplums, sleeves, and hood. The winter-appropriate thick cotton batting meant to avoid bulky seams I had to carefully pick out excess batting in the seam allowance of each pattern piece while maintaining (or restitching) the lines of quilting stitches. Raw edges were also serged to prevent fraying and loss of batting. Interior excess seam allowance had to be sewn down by hand since ironing was insufficient to keep seams pressed flat. In addition, the pleated areas were too thick to fit into the sewing machine and had to be stitched by hand.

However, I really like how the thickness of the material gave the garment a lot of structure, especially in the jacket peplum.

The scallops were also a feature I liked.

I lined the hood with scraps of white silk dupioni left over from a previous project. It was hand-stitched in so I could keep the scalloping on the hood.

The jacket was decorated with realistic foam roses on wired stems that I trimmed and shaped with pliers to create a base for hand-sewing onto the jacket.  Each rose is accented with red crystals I glued on individually using E6000 Fabri-Fuse glue, which I highly recommend. (This is not the regular E6000 glue. Fabri-Fuse is low-odor, dries quickly, and comes in a squeeze bottle with a sharp tip for detail work).

The yellow and white striped bows are made from vintage French ribbon with picot edging, accented with antique lace. Each sleeve has embroidered tulle lace, large red satin bows, and a rose. 

My necklace and earrings were purchased from In the Long Run Designs on Etsy. The mirror was purchased from Amazon (affiliate link).

Underneath the gown I am wearing 18th century silk and linen stays made by me.

The lace-front wig was styled by me and decorated with the same roses, crystals, and ribbon as the jacket.

The wig base is a long black wavy wig that I purchased from Amazon (affiliate link).

Pattern Info:

The outfit was a combination of self-draping and Frankensteining. The main body of the jacket and sleeves used a heavily modified version of the Period Impressions 1780 Polonaise pattern, which I previously used for my Outlander dinner party dress. However, I took out some back seams and altered the sleeves around the elbow region. The peplum was created by holding and pinning material up to the upper jacket on the dress form until I got the length and fullness I wanted.

The hood and lining are pleated in a fan shape, and the pattern was adapted from the hooded cloak pattern in Linda Baumgarten’s Costume Close-up book (Amazon affiliate link).

The hood doesn’t stand up by itself, so it’s being held up here by a piece of boning to show you the shape:

No pattern was needed for the quilted petticoat, which was constructed in the same manner as your usual 18th century petticoat with side slits. The front and back panels were pleated into twill tape that served as waistbands and ties. Because of the thickness of the material there were less pleats than usual and I left a large section of the front center unpleated to allow for the jacket to sit flat over the stomach.

Materials used:

  • BrylaneHome king-sized quilted bedspread (in “aspen gold” color): $49.90 from Amazon (affiliate link).
  • Two boxes of artificial foam roses: $17.99 each from Amazon (affiliate link)
  • Red crystals (with lots left over!): $7.59 from Amazon (affiliate link)
  • Fabri-Fuse glue: $8.00 from Amazon (affiliate link)
  • Twill tape, thread, hooks/bars, red ribbon, hair clips from stash: ~$5
  • Vintage striped ribbon: $10 (this is a guess because I don’t remember how much I paid for it from a vendor table at an event)
  • Vintage lace: $0 (gift from a friend)
  • Sleeve lace: $8.27 with tax and shipping from Wikilaces on Etsy
  • Hood lining: $0 (scraps from previous project)
  • Lace-front wig: $36.99 from Amazon (affiliate link)

Total: ~$161.73
(I’m not including the shoes or jewelry because those were items I already owned for other costuming purposes. About $40 of the total is a wig I can reuse, plus I had some left over materials, so I’m calling this project a win for my pocketbook!).

I had a lot of fun making and wearing this costume. I even entered it in my first ever cosplay contest and was delighted to be a finalist in the Cosplay with Singer contest this fall! Here’s a video of the costume in action that I made for the contest:

Enjoy this silly video of me trying to fit my large costume through a small space.

Thank you for reading!

An 18th Century Weekend at Wagner House

This past September there was an 18th century themed weekend at Wagner House (Lakewold Gardens) in Lakewood, Washington, hosted by Vanessa of @pinksewing. The weekend consisted of a picnic and a dinner, plus a day of workshops. Jenny of Jennylafleur taught a historical hair class and Denise of Romantic Recollections taught fly fringe. Additionally, photoshoots were provided by Gloria and Mike of In the Long Run Designs and there were trunk shows from Redthreaded and Dames a la Mode.

Here is a photo of the attendees of the picnic, taken by In the Long Run Designs.wagner-house_48828852158_o

And the following are the beautifully attired dinner guests, photo also by In the Long Run Designs.48844032341_9d21e5cf42_o.jpg

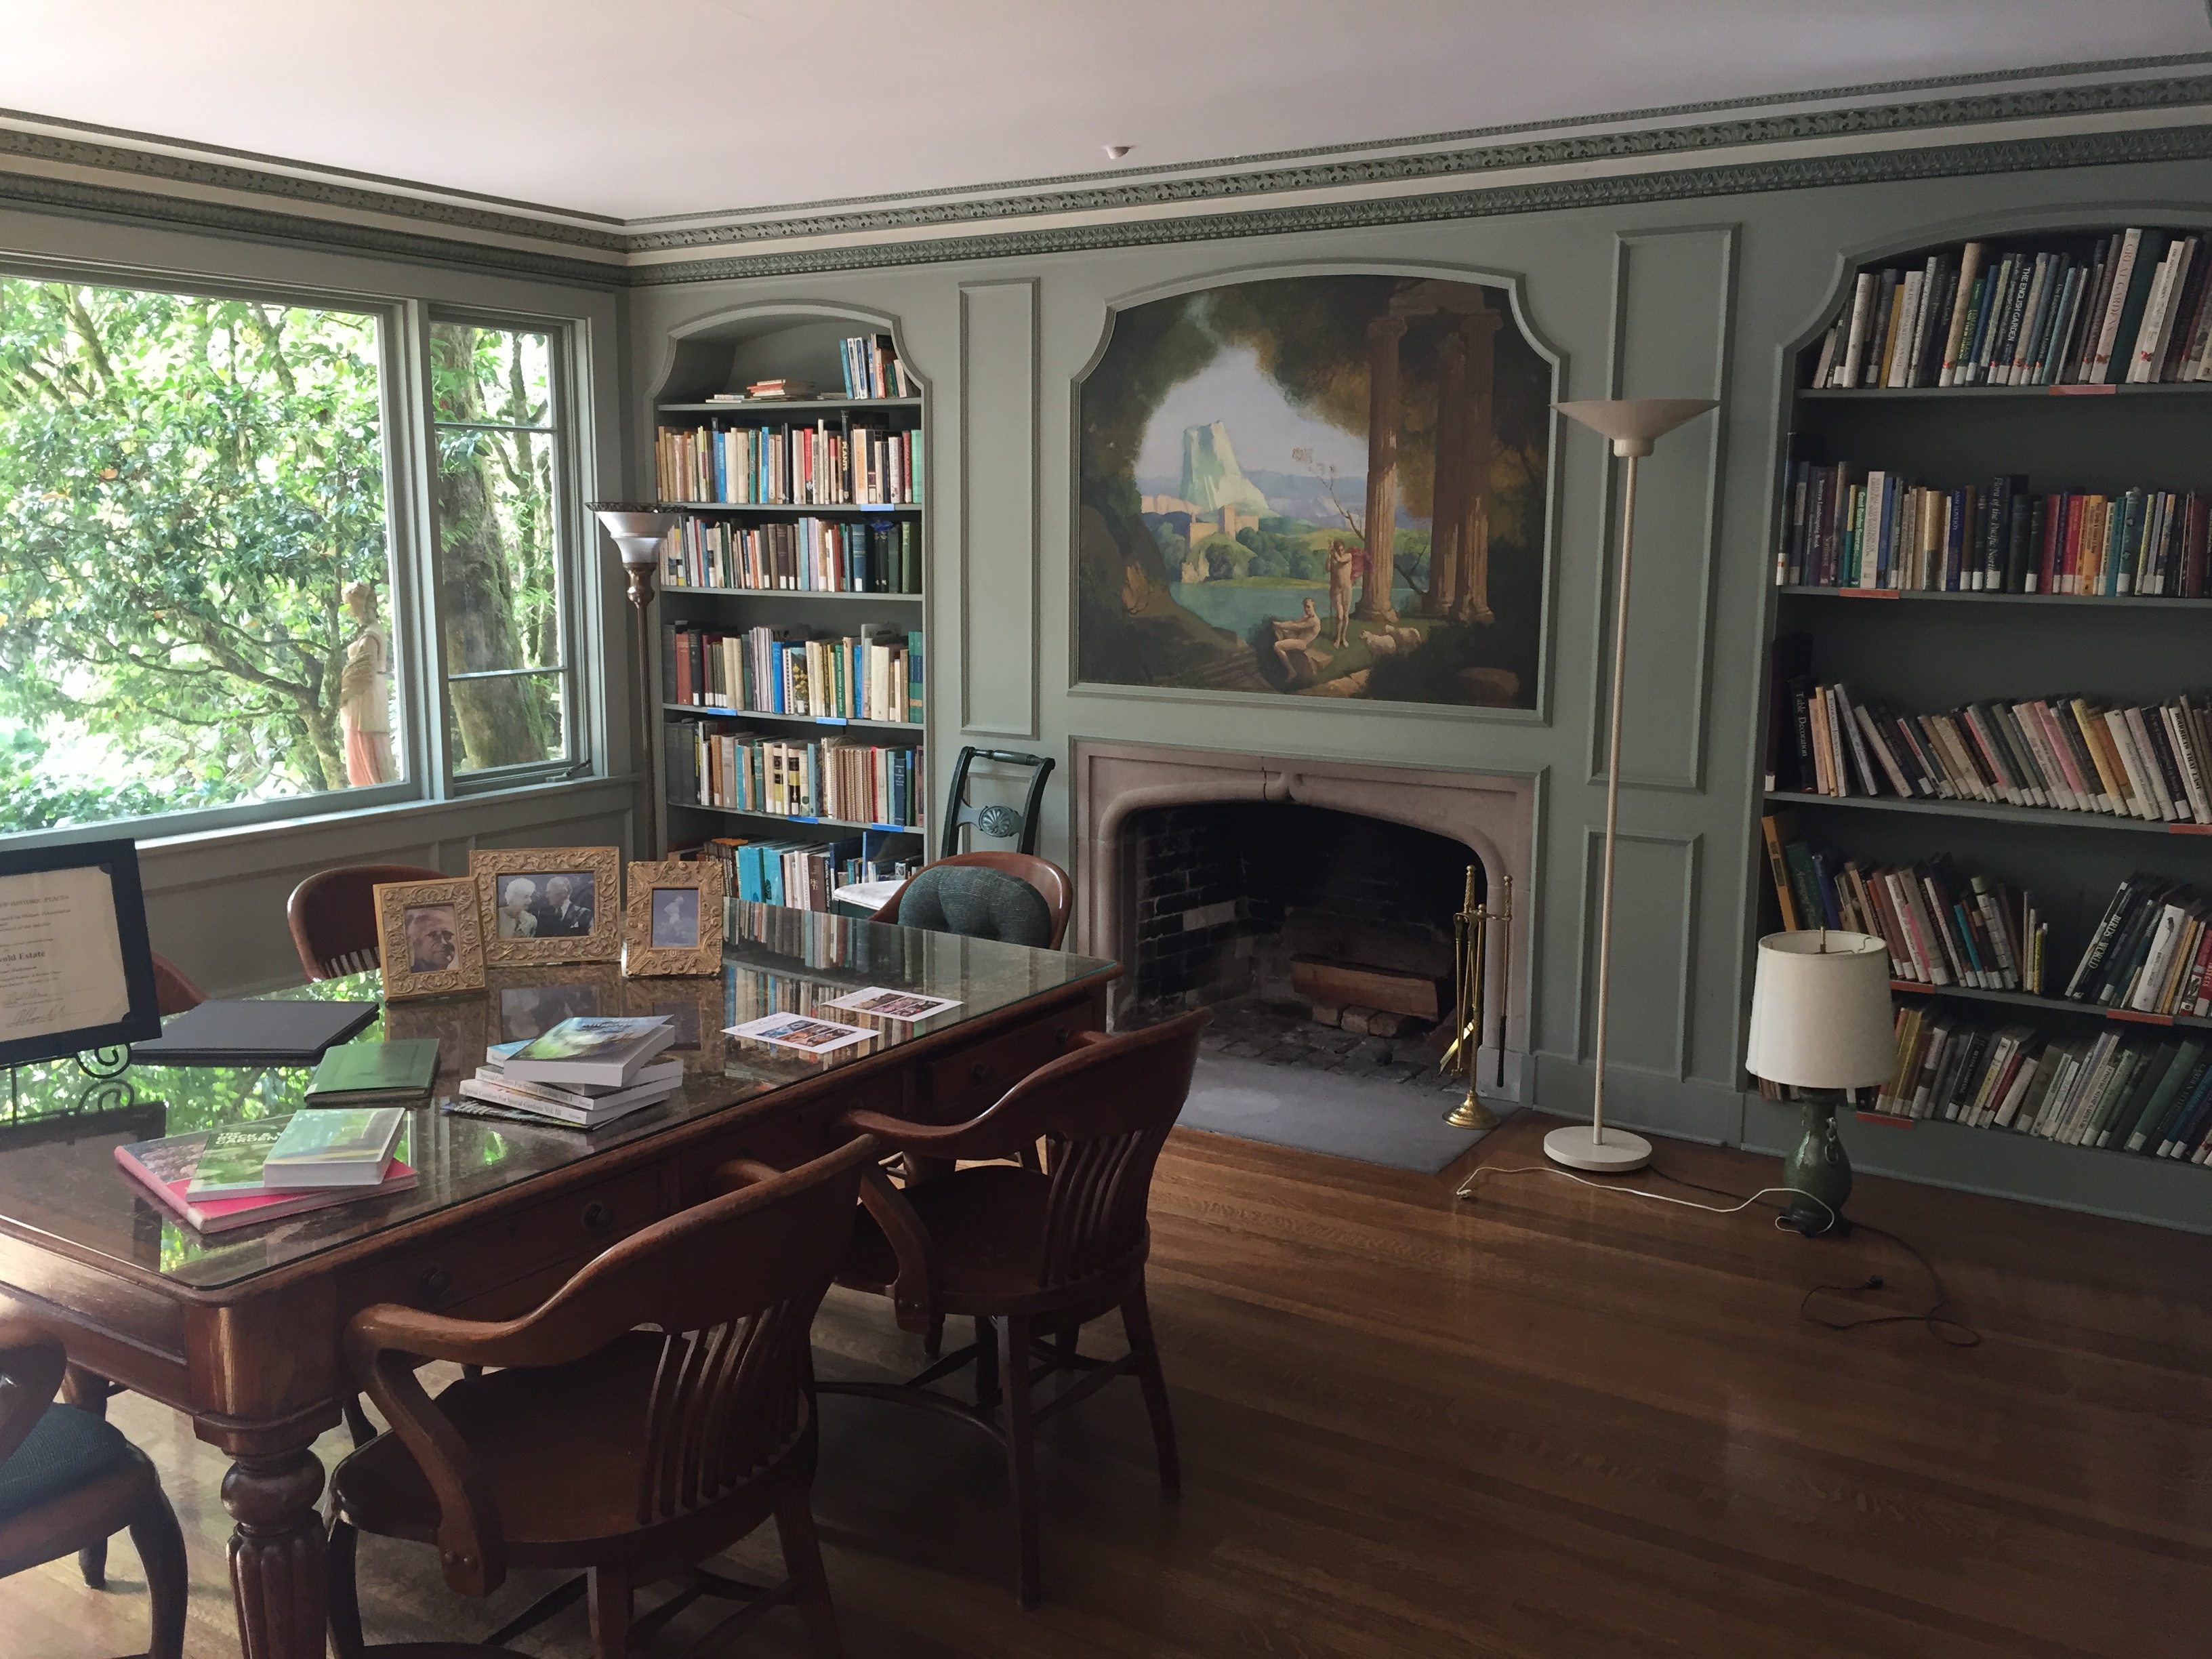
Wagner House is not huge but very elegant. The rooms of the house have been converted to conference/meeting rooms. Downstairs there’s a dining room, solarium, bathroom, marbled foyer, library, and kitchen. We were not allowed upstairs but could take photos at the bottom of the stairs during dinner. In my opinion though, my favorite parts were the gardens and the beautiful woods surrounding the property! IMG_2735IMG_2731IMG_2717

I am in love with this library!IMG_2740IMG_2737IMG_2742IMG_2743

Wagner House is not set up for overnight stays so most of us stayed in a nearby hotel or Airbnb and drove to Lakewold Gardens for the events. Some guests were local to Washington state.

In the first group photo I am wearing my 18th century shepherdess costume, and you can read more about it in my previous post.(Photo by In the Long Run Designs).48867872061_9edf6e25a0_o

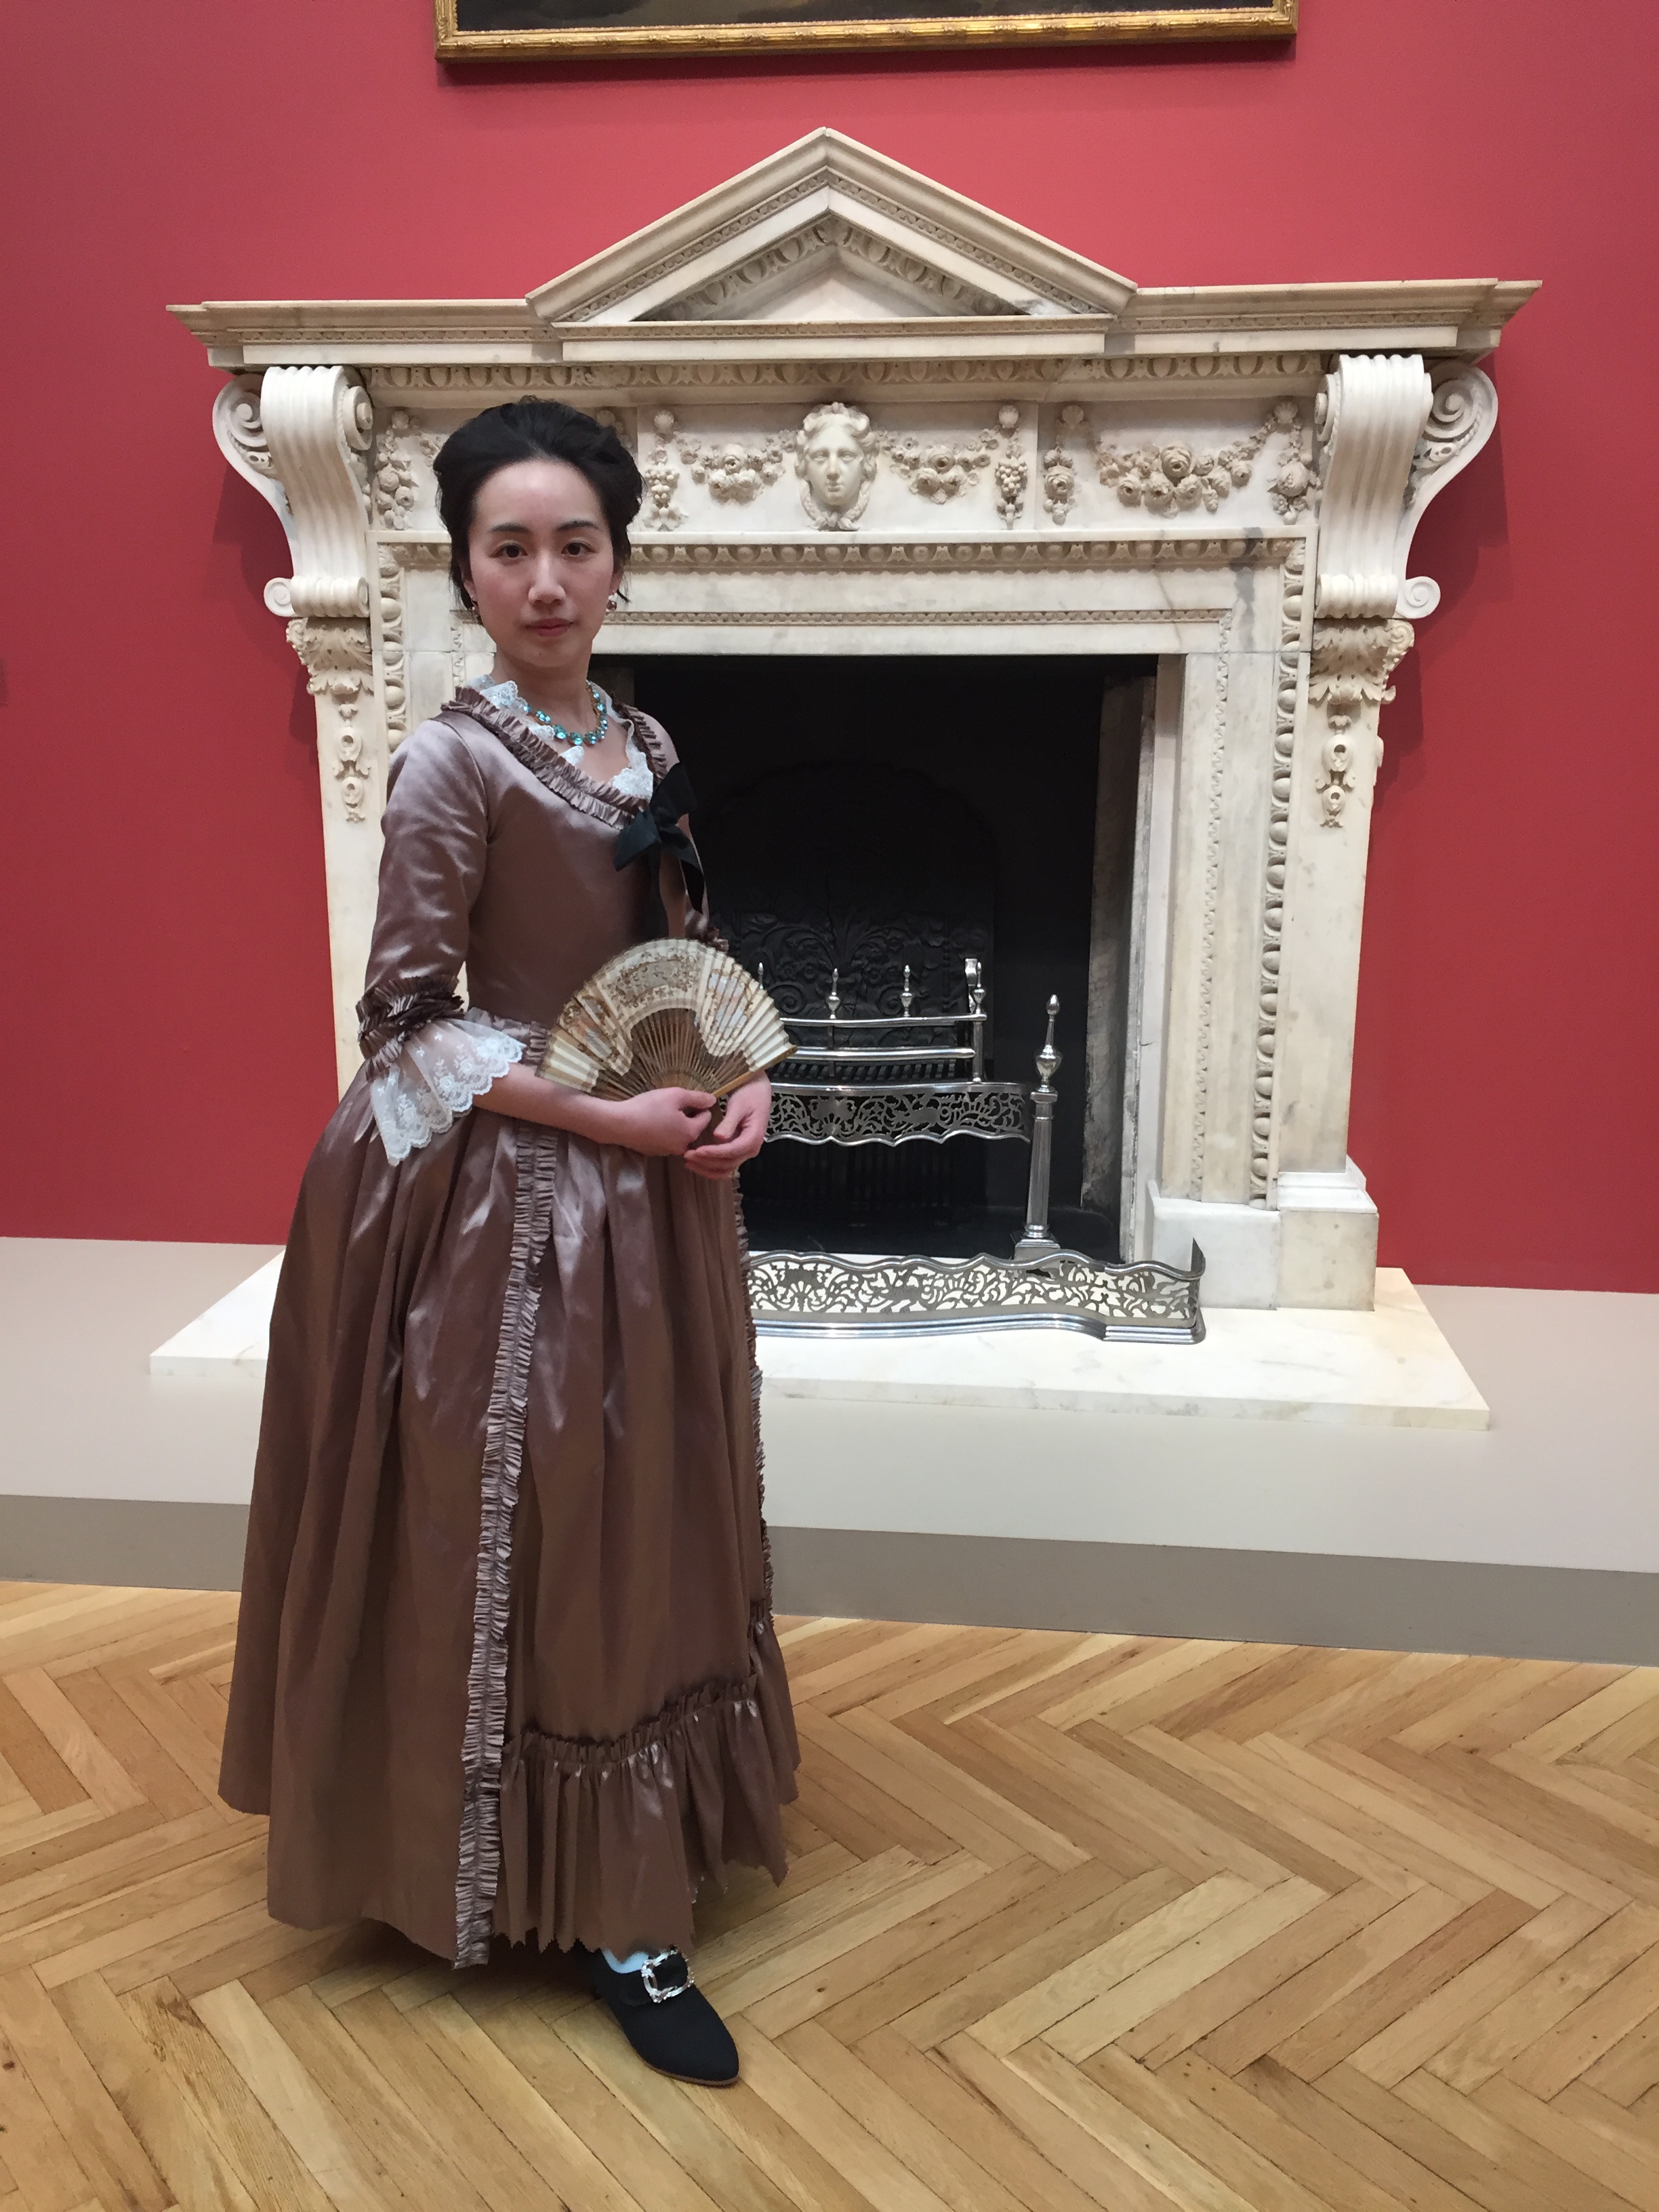
In the second group photo I am wearing a mauve silk Italian gown that I previously wore to the Casanova exhibit at the Legion of Honor, but added additional trim to for this event. (Photo by In the Long Run Designs).wagner-house_48829563677_o

I normally wear this dress with a large split bum pad, but it would have taken up half the space in my suitcase, so I opted for a smaller half-moon bum pad and a petticoat. More petticoats would have created a fluffier look, but sometimes we have to make allowances for travel!

IMG_2926IMG_2935

And here are photos of some of the beautiful guests! I enjoyed seeing old friends and making new ones.

Here is Beth in her beautiful candy stripes.IMG_2922

Ginger is so fluffy!IMG_2934

Laina and Cathyn made a striking couple.IMG_2952

The colors that Denise and her husband wore were luminous in person.IMG_2951

Lindsey looked so pretty in pink, and I loved her hair!IMG_2946

Sacque gowns are fantastic from the back!IMG_2944

A shot of Ginger from the picnic.IMG_2904IMG_2801

Taylor and Jenny in stripes during the daytime event.IMG_2796

Guests were milling about before dinner.IMG_2966IMG_2965 2

Dinner was delightful! Vanessa took care of every detail, including limiting the number of seats at each table to fit all our giant dresses. There was also a pianist and bartender! 😉  I’m afraid my camera wasn’t good enough to do the food justice under the lighting conditions, so I’ll just provide the menu here so I can reminisce fondly:

Appetizers:
Bacon Wrapped Chili Chicken Bites
Cranberry Brie Bites
Herbed Mushroom Puffs

Dinner:
Mixed Greens Salad w/Apples, Goat Cheese, w/Balsamic Viniagrette
Tuscan Chicken
Beef Bourguignon
Garlic Parmesan Pasta
Garlic Mashed Potatoes
Roasted Herb Zucchini
Foccacia Bread

Dessert:
Rose & Lemon Macarons
Black Forest Trifles
Vanilla Cream Puffs

As a parting gift we all received an engraved fan as a memento of the weekend, as well as a champagne and macarons enamel pin by Aimee Steinberger.

IMG_2993.JPG

Thank you Vanessa for a magical weekend!48844032341_9d21e5cf42_o

18th Century Shepherdess Costume

Earlier this year I got to spend a magical 18th century-themed weekend at Wagner House in Lakewood, Washington. I’ll share pictures of the event activities and the gorgeously attired attendees in my next post, but in this one I’m sharing the “18th century shepherdess” costume I put together for the picnic. It is historically inspired but not historically accurate, but was still delightful to wear!

Portraits in this post are by Gloria and Mike of In the Long Run Designs. I was lucky to have a photoshoot with them inside and outside Wagner House.48867872061_9edf6e25a0_o

Since I had to fly to the event, to be efficient with suitcase space I decided to wear an outfit where I could reuse the undergarments (stays, shift, bum pad, under petticoat) for my evening look. I already owned most of the items needed for my outfit except for the moire petticoat and embroidered apron I made.48867352163_323dd5c8f8_o.jpg

A number of small, women-owned businesses made this outfit possible! My beautiful embroidered silk stays were custom made by Redthreaded. My delightful bergere hat is a concoction by Atelier Mela. And of course, as always, American Duchess was the source of my shoes (Dunmores) and clocked stockings. I carried a little stuffed sheep that was named Sarah, at the suggestion (insistence) of Sarah of La Dauphine Costuming.48867872956_9ffc34cd0a_o

I made my petticoat in an 18th century style with front and back ties and side slits for my pockets. There are tutorials online that you can find to make your own and also one in the American Duchess Guide to 18th Century Dressmaking (affiliate link).  It is a simple design with one front and one back panel pleated into the waistbands. I used a vintage moire fabric I purchased from Elizabeth Emerson Designs and “rococo” ribbon trim from Mokuba.JEDE5176

I added a pleated decorative “ruffle” to the bottom of my petticoat. Due to the thickness of the cotton rayon moire the pleats don’t iron down as crisply as taffeta pleats, but the ribbon trim across the top helped!IMG_2304

I have some of this fabric left and I am thinking of making a matching jacket at some point.

For the apron I used a scrap of embroidered netting that I got from a friend. The length of the apron was determined by the size of the remnant I had. (Some of you may recognize this as a “shabby chic” curtain that is used by many cosplayers who make Queen Padme Amidala’s picnic dress!)IMG_2301

The apron is attached to a simple waistband with organza ribbon ties. The raw edges of the netting were hidden by some lace I had in the stash that were just the right color!IMG_2306.JPG

My linen shift is not actually a historically correct 18th century one, but has a drawstring neckline and sleeves so that I can adjust it for different outfits. I originally made it for my 1660s outfit, and you can find instructions for it in the post about my Cavalier dress.

My hair consisted of a wig I styled myself using tips from the American Duchess Guide to 18th Century Beauty (affiliate link) and 18th Century Hair and Wig Styling by Kendra van Cleave.IMG_2912 copyIMG_2901

Wagner House was quite beautiful and I’ll share some pictures of the rest of the weekend in my next post!48868069312_3170d2cb39_o

18th Century Costumes at the Legion of Honor

Yesterday I saw the “Casanova, The Seduction of Europe” exhibit with the Greater Bay Area Costumer’s Guild at the Legion of Honor Museum in San Francisco. It was full of incredible artwork, and even antique garments on display. I highly recommend it! I spent the last few weeks working on a new outfit to attend the exhibit instead of blogging about it, but it I will post more about the construction details once I get the last bit of trim on (which did not arrive in time). I wore my new mauve silk Italian gown pinned shut, as is historically correct, but will be changing it to a hook-eye-and opening. (I was paranoid about marking up the silk so I wore it a bit loose).

Many of the photos in this post are used courtesy of John Carey Photographic Imagery. Thanks John!

I love how this photo reminds me of candlelight!

28235509_1444740205653240_7574251756318558416_o

Photo by John Carey

This one is outside the museum.

28070584_1444740978986496_6306691411018361472_o

Photo by John Carey

Here’s a few full-body shots from my phone:IMG_6848IMG_6850

My shoes are 18th century black wool Dunmores from American Duchess (affiliate link) and the earrings and necklace are from In the Long Run Designs. My fan is an antique. IMG_6852

There was much gossip and court intrigue with my fellow Taffeta Sisters, Kelsey and Natalie.IMG_6955

Some of it was of a highly shocking nature!IMG_6868

There were many gorgeous costumes in attendance.

28071272_1444740812319846_2482247944423106324_o

Photo by John Carey

28162085_1444739882319939_3872600878878233833_o

Photo by John Carey

28164556_1444740768986517_9753430740362626_o

Photo by John Carey

28162079_1444741058986488_8766254981545986397_o

Photo by John Carey


There was unavoidable 18th century rump shaking.

Plus other silly shenanigans.


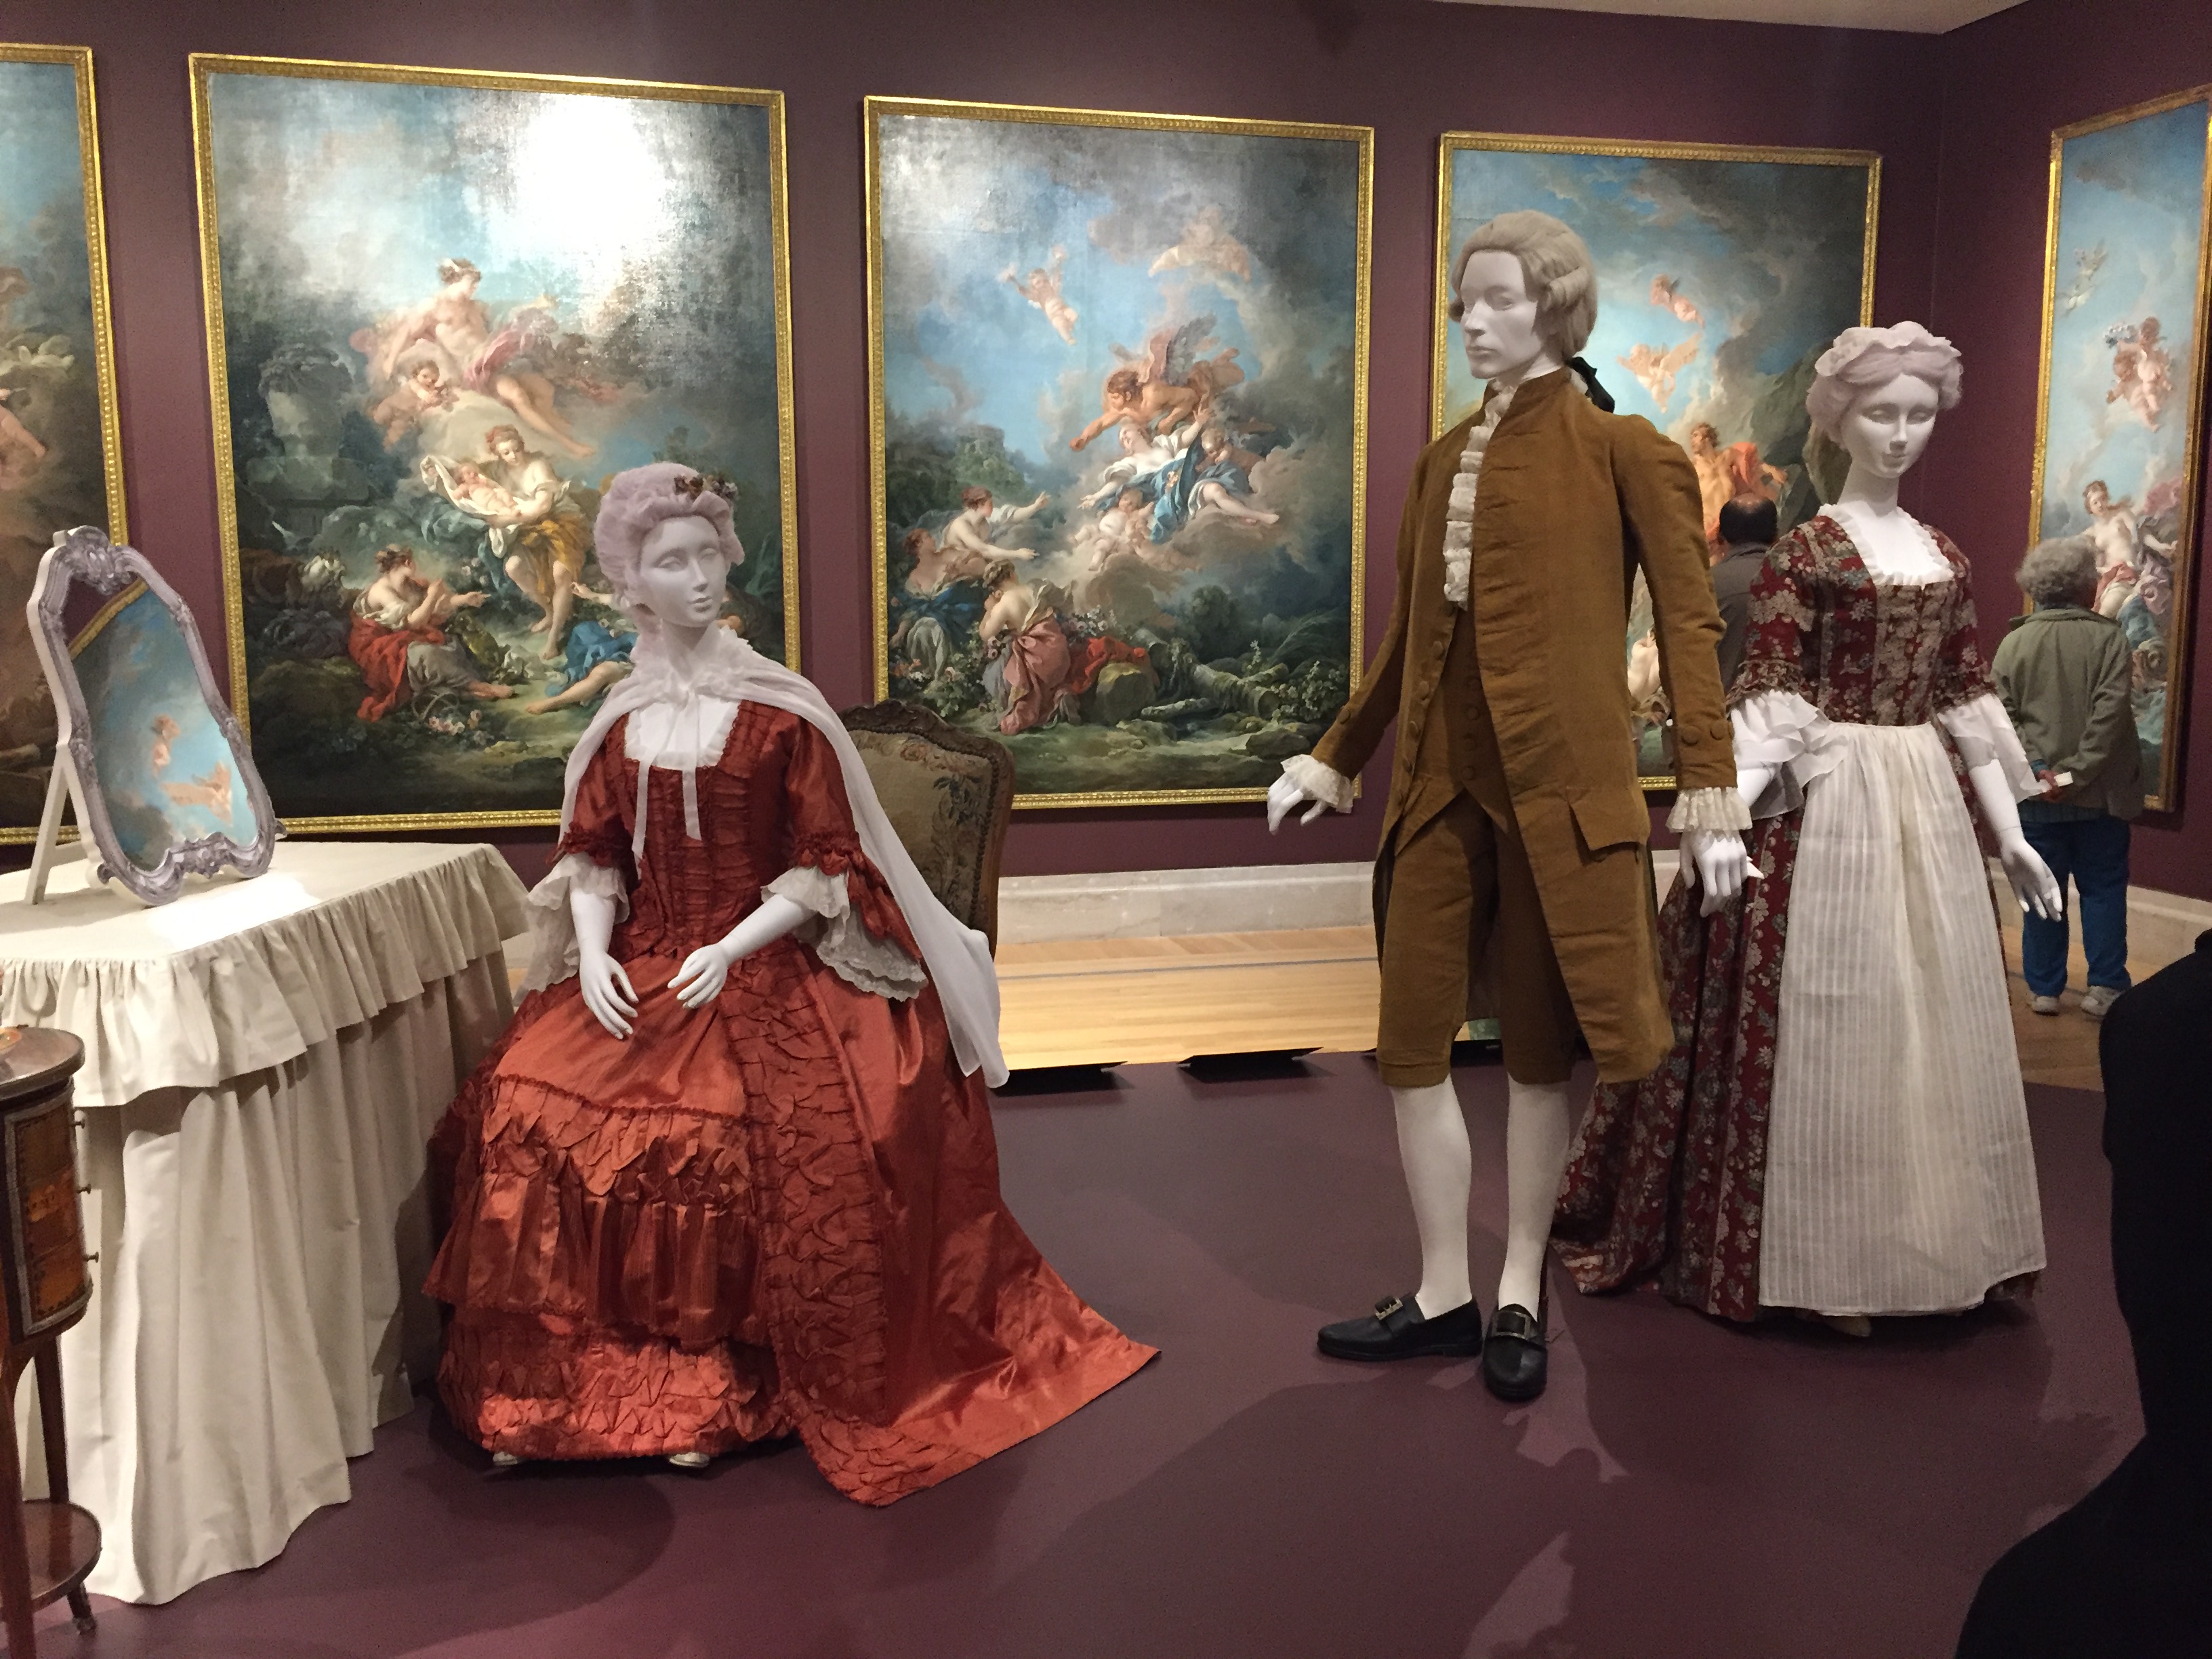
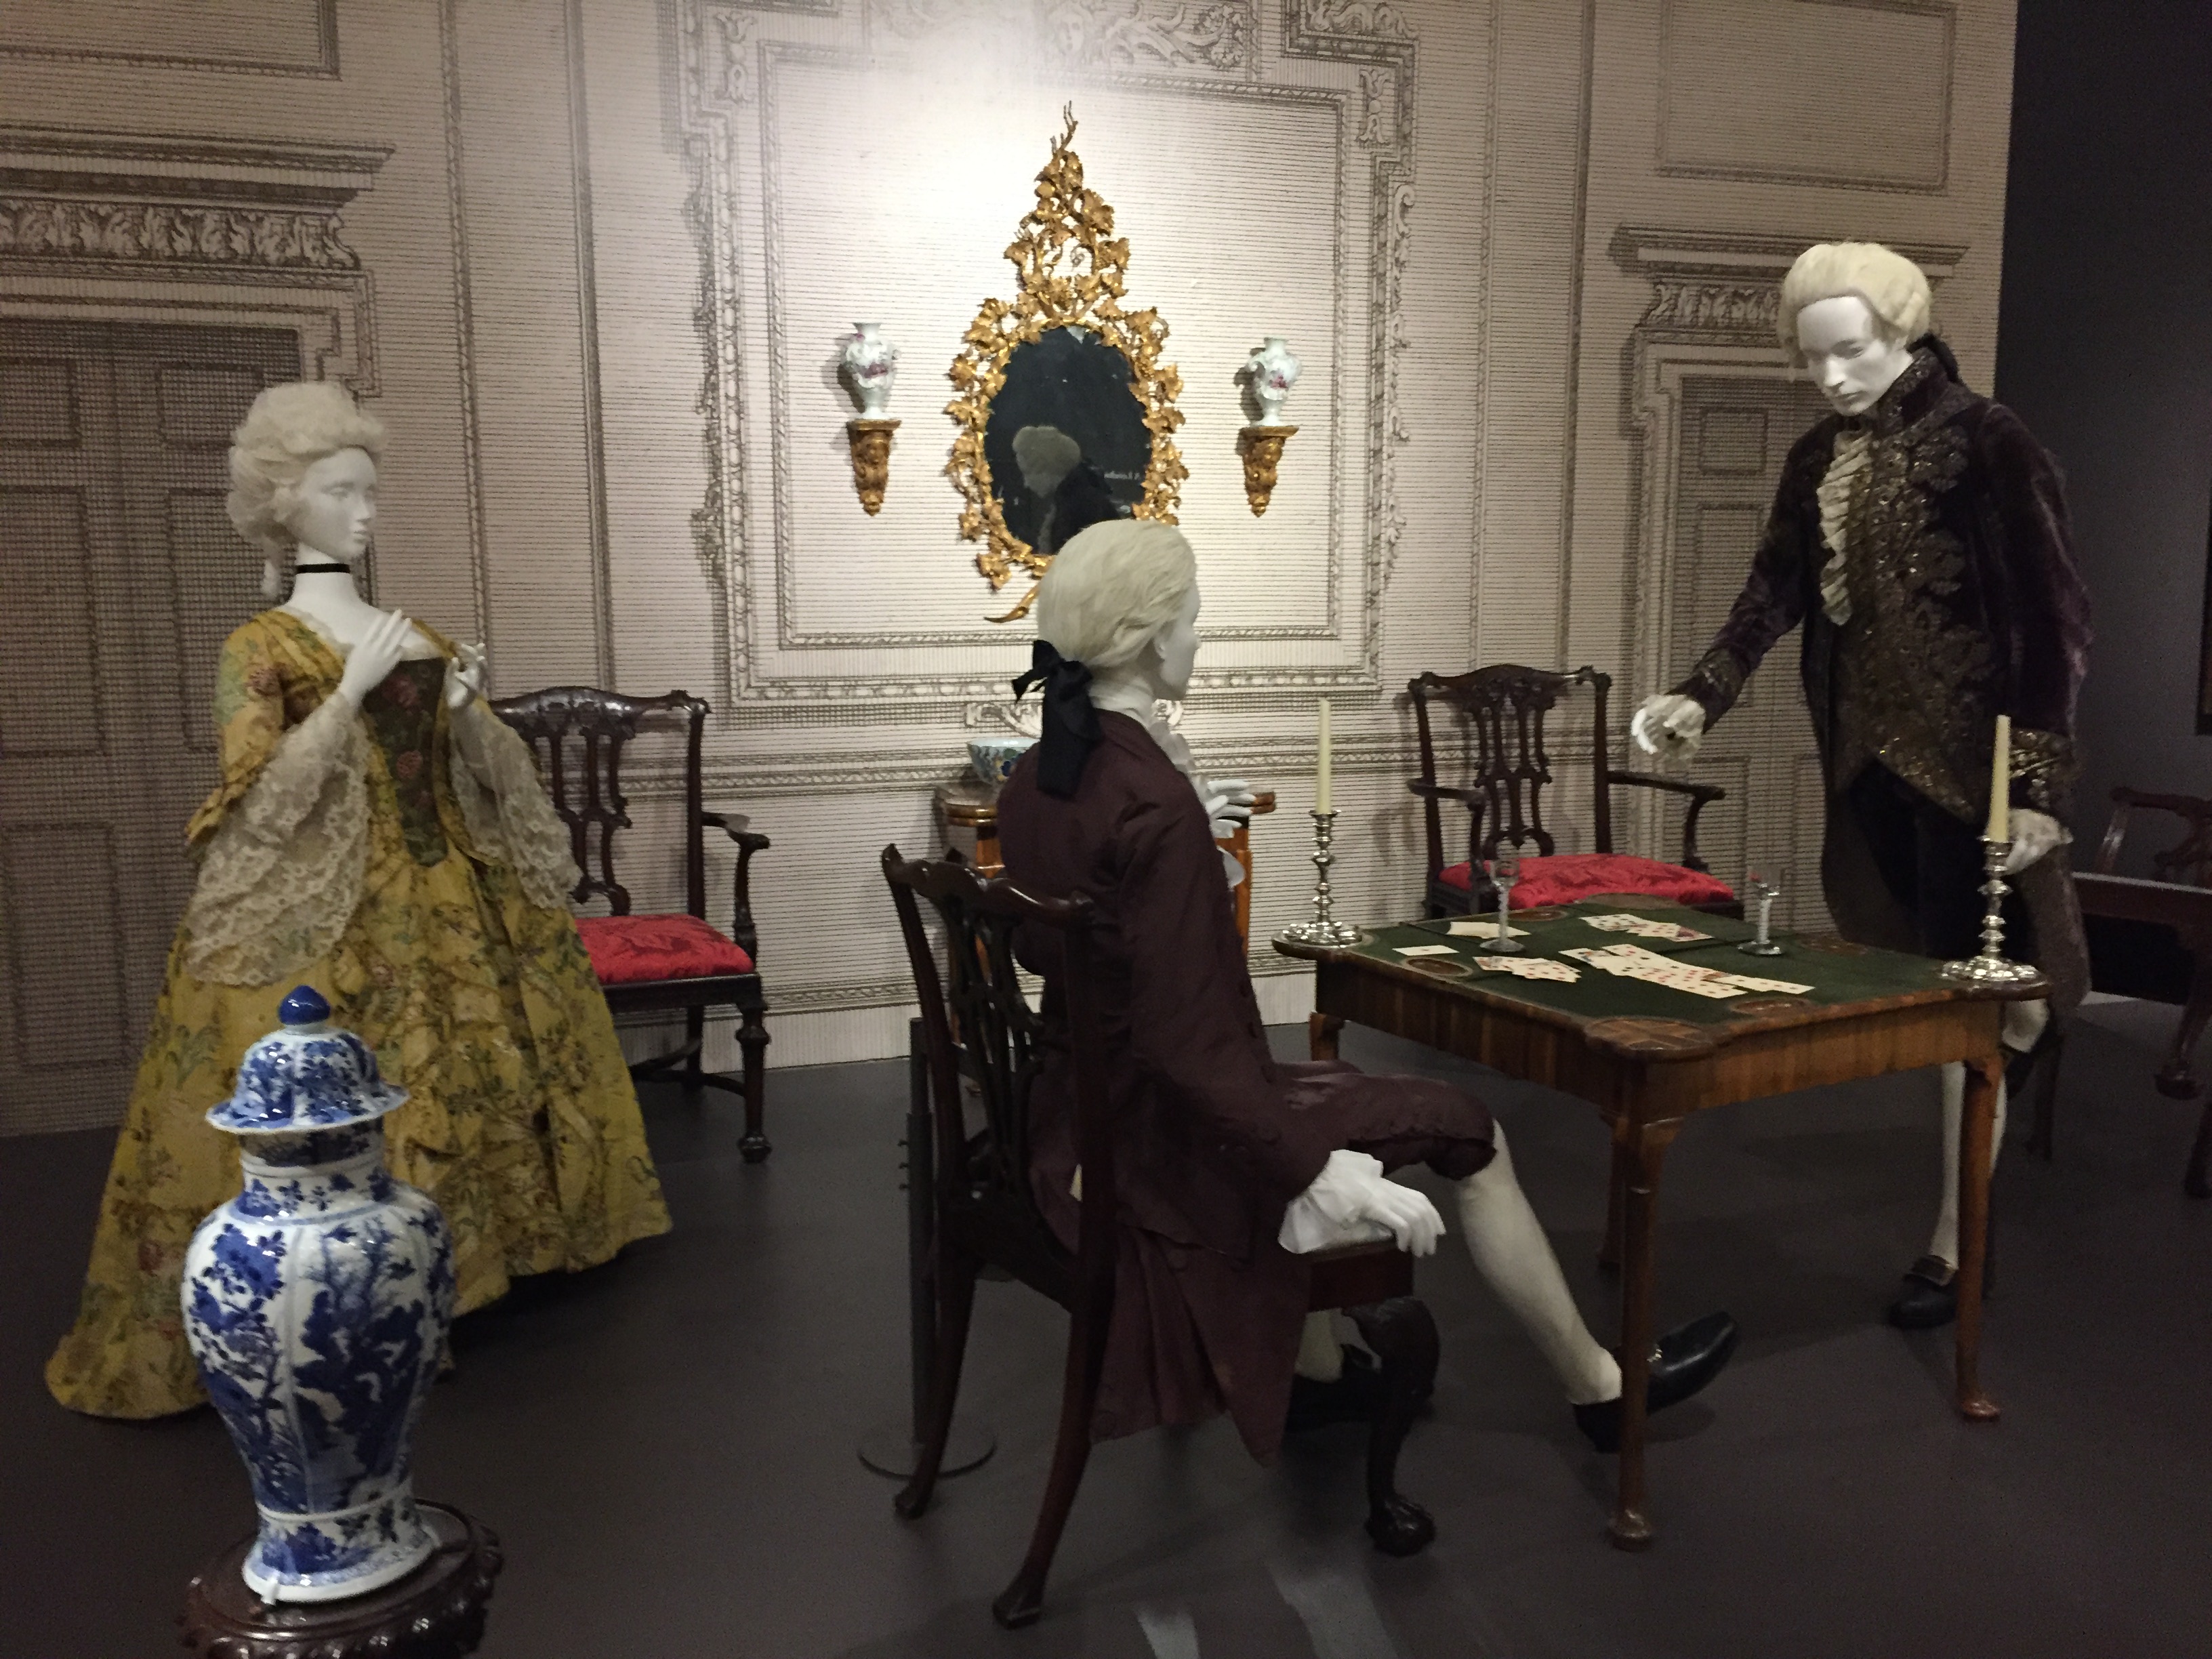
We enjoyed the stunning artwork, costumes, and artifacts on display.IMG_6814.JPGIMG_6829IMG_6805

I felt quite at home with the paintings. =) Many more photos have been uploaded to my Flickr account so please take a look!

28165039_1444739302319997_1270203275298556190_o

Photo by John Carey

Outlander Dinner Party

Last night I went to a lovely Outlander-themed dinner party at the Sequoia Lodge in Oakland. The wooden building surrounded by trees definitely contributed to the mood!  We were greeted by a bagpiper as we entered. Later, as part of the dinner entertainment there were also musicians signing and playing instruments, and some dance demonstrations.

I wore a gown I made for the occasion out of cotton plaid. I am also wearing a wool petticoat, 2 under petticoats, a double-bum pad, a pair of stays, a chemise, a fichu, and a pair of beautiful black 18th century Dunmore shoes from American Duchess.IMG_2029

It was my first time using pins to close an outfit instead of hooks and eyes. I bought some reproduction 18th century gown pins from Larkin and Smith. (I am using a combination of the medium and fine pins). I am still figuring out how to do it without stabbing myself or putting weird wrinkles into my dress, but I am getting better! (Hint: the stays are for safety as much as they are for support). You can read about construction details in my previous post.IMG_2037

My hair is rather short at the moment (even too short to braid properly) so I put it into a tiny bun on the back of my head and covered it with a large fake braided bun.IMG_2034

My fichu is actually a small vintage cotton organza tablecloth. It has lovely floral whitework, scalloped edges, and best of all, zero effort on my part! (For those that are curious, it is about 35×35 inches wide. If you are tall or broad-shouldered I’d recommend a larger square).IMG_2006

As usual, I was too busy chatting and stuffing my face with the delicious meal (puff pastry wrapped asparagus with prosciutto, roasted fowl with buttered leeks, roasted blue and gold potatoes, haggis, and sweetmeat cake with marzipan) to take as many pictures as I should have, but here are a few more!

You’d never realize that Christina of The Laced Angel and Natalie both finished their jackets that afternoon. Christina started the same day! IMG_2024

The tables were set up in  large U in the lodge. This was the side I was sitting on.IMG_2050

There was a range of social classes and decades at the dinner.IMG_2060IMG_2064

I especially loved the variety in jackets! (You can catch a glimpse of the bagpiper to the right of the photo).IMG_2015

I had a delightful time, and I think everyone else did too. (There was even a couple celebrating their 25th wedding anniversary, and they were married 25 years ago in the same location!)IMG_2032.JPG

Outlander 18th Century Plaid Dress

In a few weeks I am going to an Outlander-themed dinner party hosted by my local costuming guild. I don’t subscribe to premium cable so I have never actually seen the show, just lots of pictures, but I am always a fan of dressing up and eating!

I’m aware that there are some fabulous silk dresses in the second season of the show, but I wanted something relatively quick and inexpensive, so I decided to go with a plaid 18th century dress using a pattern I’ve worked with before. (I used the Period Impressions 1770 Polonaise Pattern when I made my Ljusoga dress).

I found a decent plaid cotton from the “Wales plaid” Fabric.com collection. (I ended up purchasing it through Amazon due to a 20% off promotion and free shipping!) It was cheap enough I used the same fabric for lining the bodice and skirt. I dithered for a long time as to whether I should make the fabric out of the same fabric or make a fancy quilted one. In the end I could not find a suitable pre-quilted fabric or bedspread to repurpose, and some well-priced wool appeared on a destash group I am part of, so my decision was made.IMG_1861

In real life the bodice fit is rather different (and much better!) because I would be wearing stays to provide a smooth front. My mannequin is not wearing stays because it does not have a compressible torso and the boobs would be in the wrong place. Right now the front is pinned with regular straight pins while I await some proper 18th century reproduction pins in the mail. IMG_1866

See how the middle point of the back of the bodice rides up a little? I’ve got to adjust my underpinnings a bit to fix that, but what prevents it from flipping up all the way is a split bum pad.IMG_1864

My old half-moon bum pad was too small and not up to the task of the much larger faux butt I wanted for this outfit, so I made a new double bum pad. The split down the back  is what gives it this particular shape. I should have curved the top edges but this was a rather quick project. It is just twin trapezoid pillows bound with a single twill tape at the top.IMG_1740

The front comes forward enough to increase my hips too. The way I constructed these bum pads is not period correct, but works for my particular body shape.IMG_1739

See how gloriously wide it makes the petticoat compared to my real figure?IMG_1859

Final project costs:

  • 8 yards (45 inch wide) cotton plaid fabric: $45.31 from Amazon (affiliate link) including tax and discounts; I still have leftover fabric.
  • 2.5 yards (60 inch wide) brown wool fabric: $20 plus $6.50 shipping from Facebook; Normally I use 3 yards for a petticoat but this was wide enough to do piecing in the back.
  • Pattern: $0 (already used for another project)
  • Bum pad fabric, stuffing, and twill tape: $0 (left overs from other projects)

Total (without notions): $71.81 (Not bad! I was originally planning $50 just for the main dress and I can reuse the petticoat for other outfits).

1770s Robe à l’Anglaise Retroussée Using Ikea’s Ljusöga Fabric

At Costume College I wore my finished robe à l’Anglaise retroussée, previously debuted in an unfinished form at the Pirate Festival.  I don’t have all my formal portraits yet, but Andrew Schmidt, the official CoCo photographer, put up this picture as one of the preview shots.

18th century elegance by Andy Schmidt

Photo by Andrew Schmidt

The dress is made from one king-sized Ikea duvet cover! And I still have plenty of fabric left over for another project, such as a jacket. The bodice is lined with linen and I used the Period Impressions 1770 Polonaise and Petticoat pattern. (I highly recommend this pattern. It was simple to follow, relatively quick to put together, and I had to make very little adjustment to the fit).IMG_8771

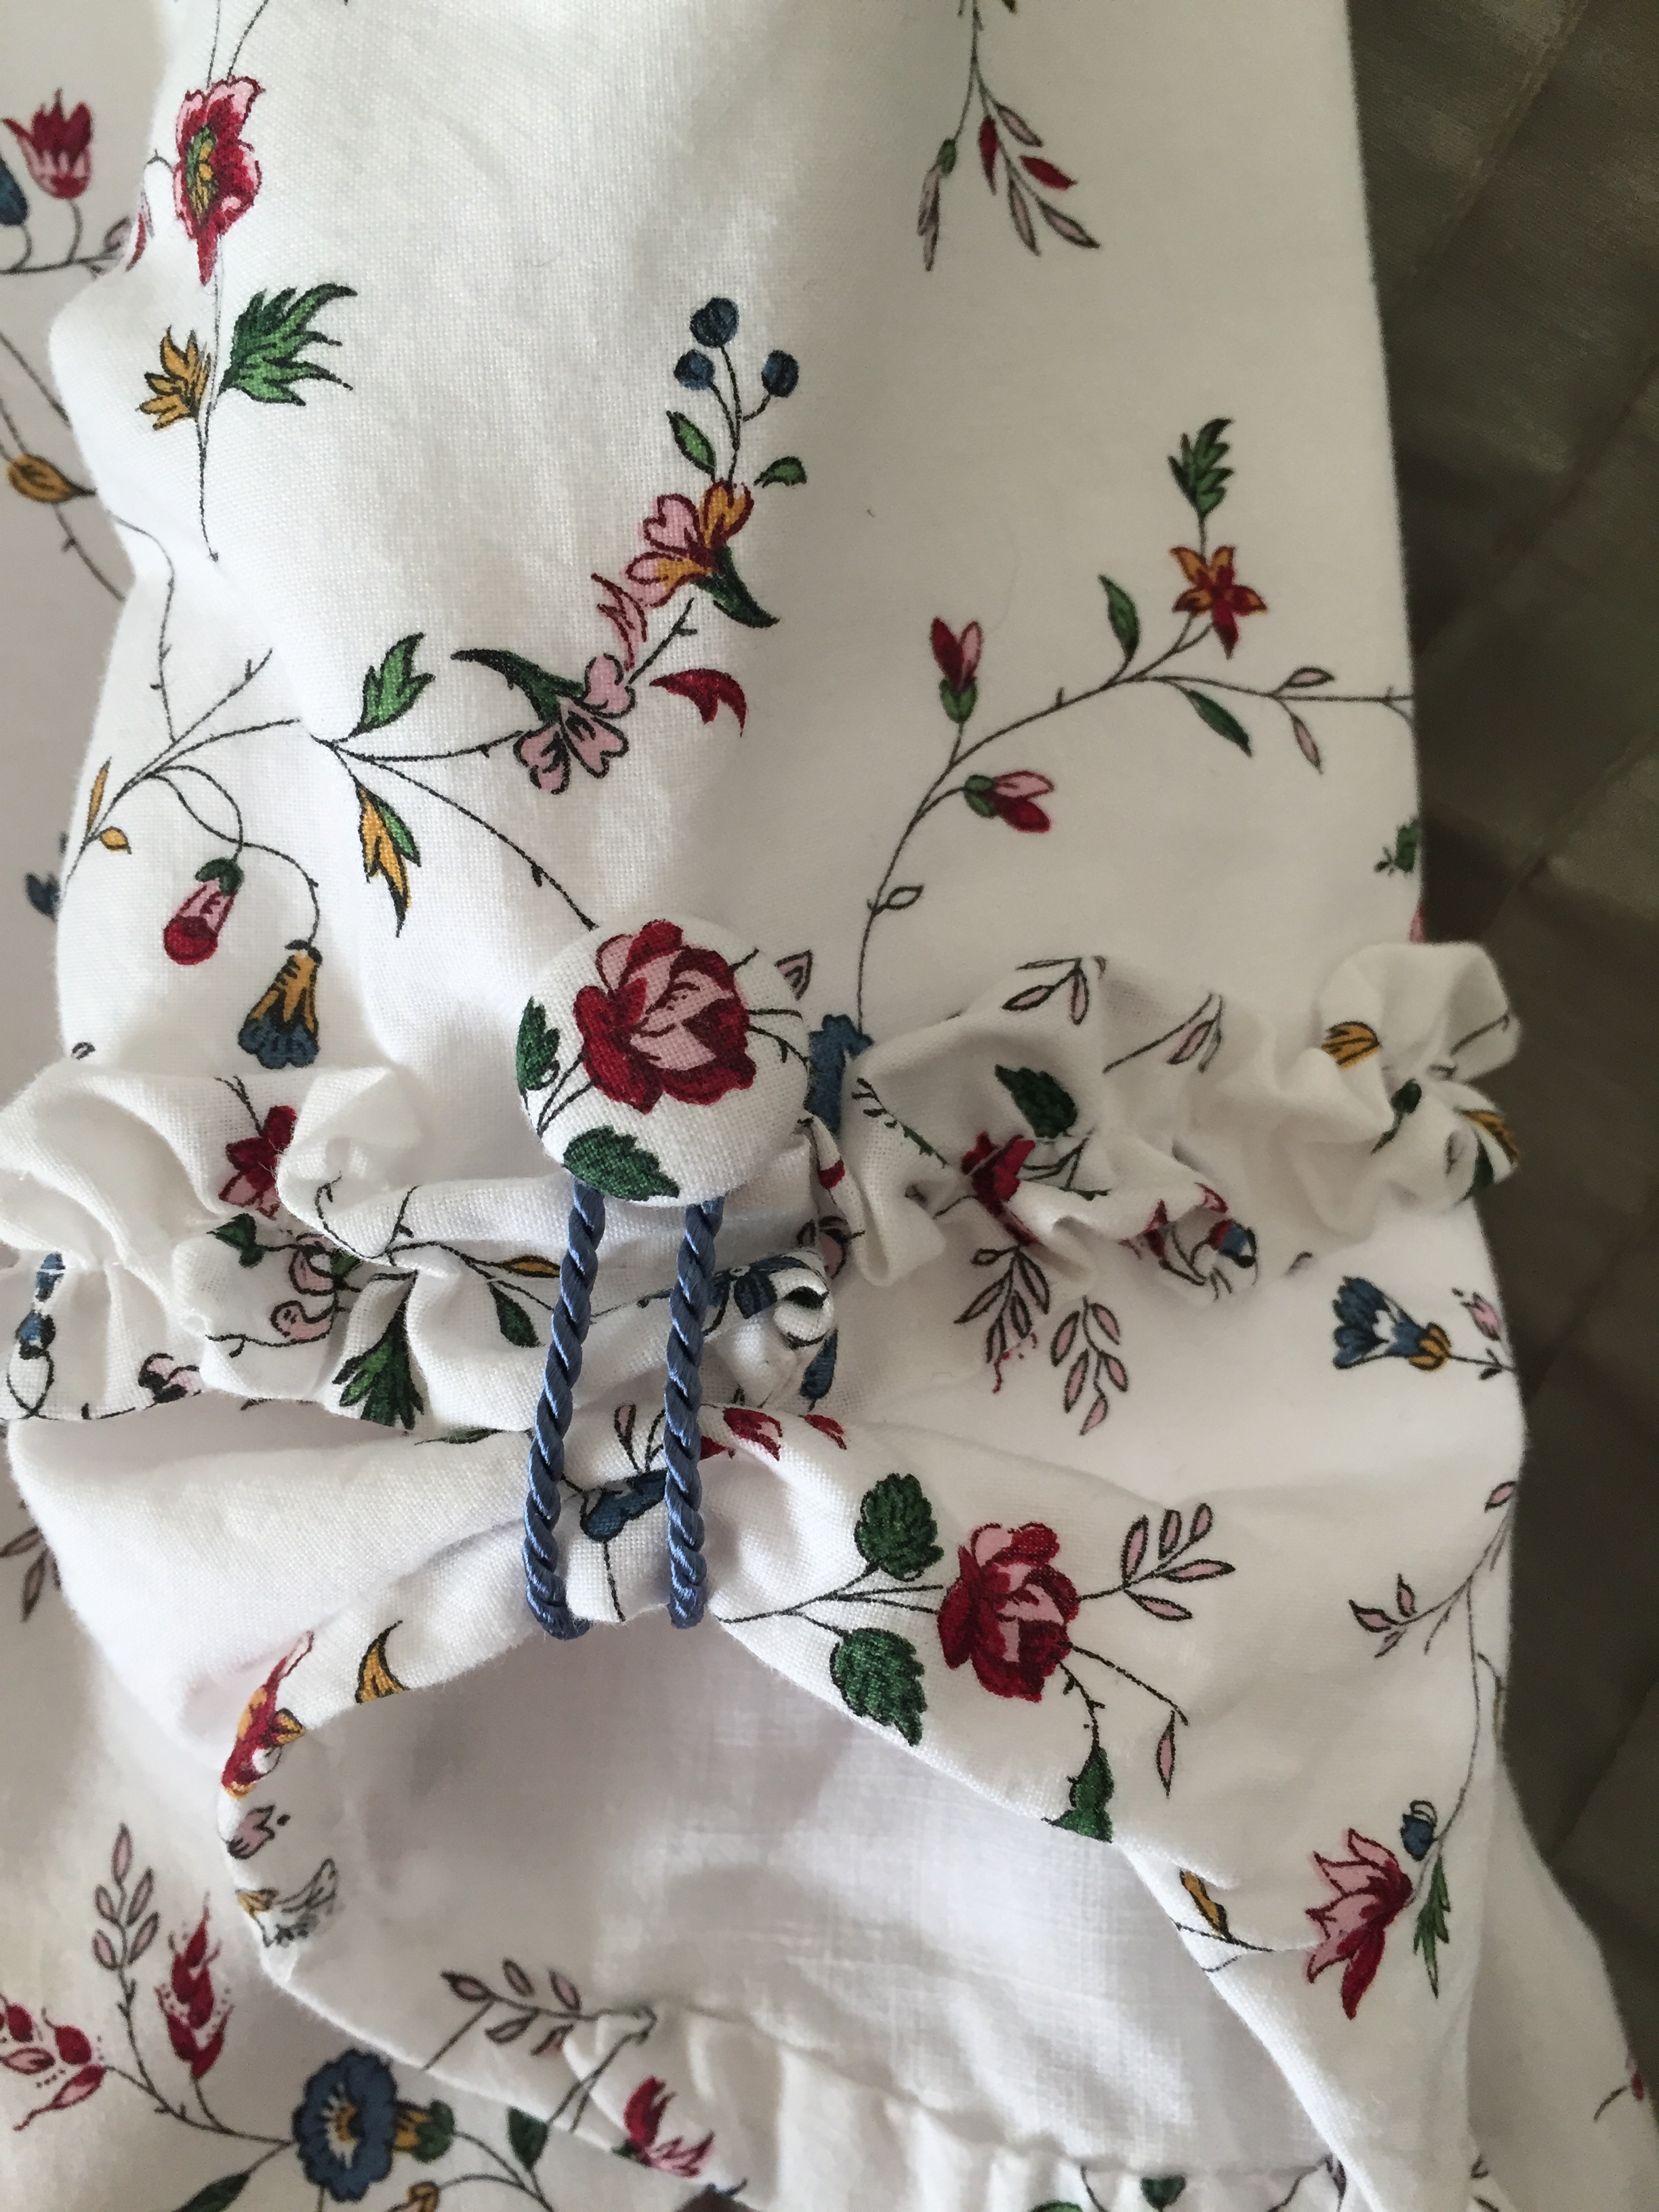
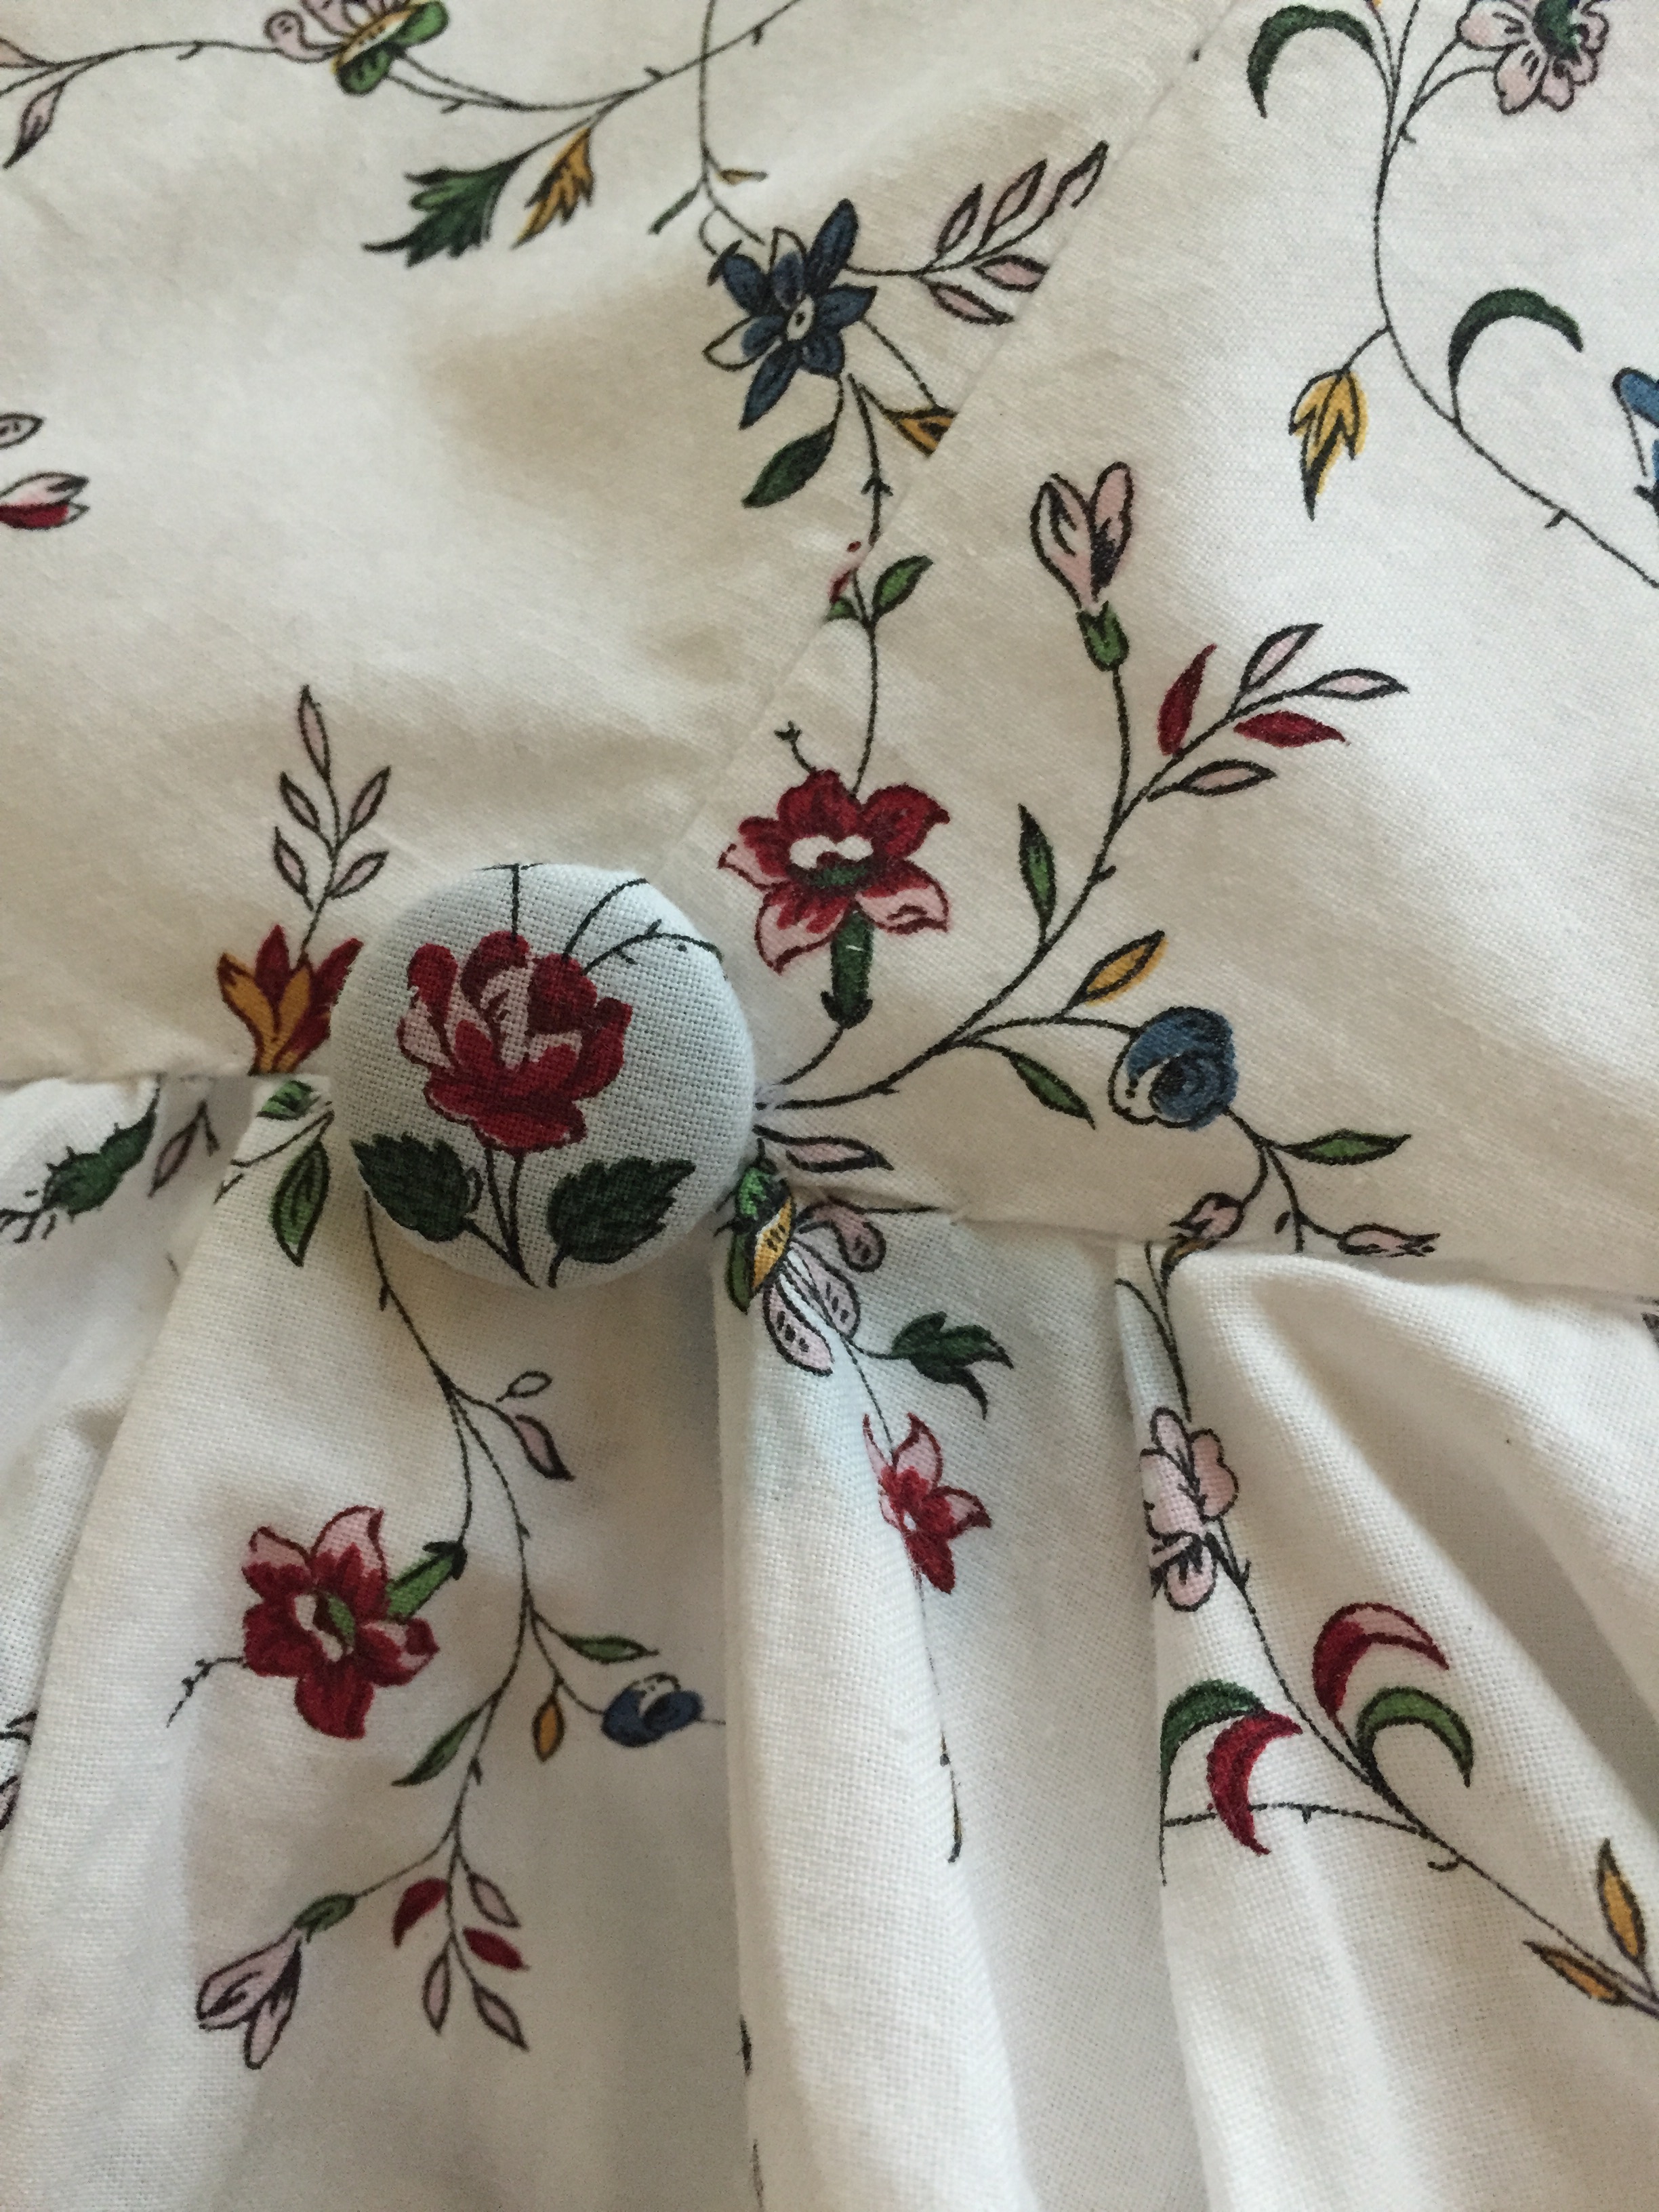
(I am wearing red Kensingtons with paste buckles and clocked silk stockings, all from American Duchess). The back of the dress can be worn down as a regular Anglaise, or retroussée by looping the two twisted rayon cords around the fabric-covered buttons.IMG_8772

IMG_8983

I would like to get a bigger hat (this one goes with a different outfit) but ran out of time. I also attempted hair buckles, but that was a disaster, so I  just put my hair up in a high bump over a rat, then put flowers in the back.IMG_8774IMG_8776


The sleeves also have a little loop of rayon cord and a slightly smaller fabric-covered button.IMG_8982

Unlike the previous time I wore this dress, this time I am wearing the correct stays. Here’s a silly selfie in the hotel bathroom while still in PJs and messy hair. Now you know what I look like in the mornings! (Well, except for the stays).IMG_8731

Project costs:

  • Ikea king-sized duvet cover: ~$30
  • Linen lining: $0, leftover from another project
  • Period Impressions pattern: $13.95 + $4.85 shipping from Etsy
  • Buttons: from stash
  • Rayon cord: ~$5 from Britex

Total: ~$53.80

Way under budget! I got to splurge a little on the accessories. 😉 Onsite I happened to hear about Dames a la Mode’s trunk sale, and bought this lovely set that I wore with my dress.IMG_8973

Matching “LJUSÖGA” 18th Century Dresses at the NorCal Pirate Festival

Recently a group of us noticed that Ikea has some “LJUSÖGA” duvet covers in an pretty floral print with a pattern, scale, and colors appropriate for 18th century cotton dresses.

We each bought a king size set, which included a duvet cover and 2 pillow cases, to make matching dresses with. We estimate there’s about 11 yards of 40 inch fabric, which is an incredible bargain for $30! (The price has now gone up to $40 on the website).

I decided to make an anglaise, and originally planned to start on it after Costume College, but just a few weeks ago we decided to go to the Pirate Festival together, and having nice cotton dresses would be perfect for the weather. (There will be more of us at the next event; some ladies are still working on their dresses).

IMG_8238

Due to the short time frame my dress is not quite finished, but was wearable, with some things I’d like to improve for next time:

  • I did not have time to put a flounce on my petticoat; it’s a bit shorter than I intended (although it shows off my American Duchess stockings and shoes!)
  • The neckline and front of the bodice has ruffled trim instead of box pleats to save time. Now that it’s on I might be too lazy to replace it, but it was originally meant to be temporary.
  • My sleeves are untrimmed. I would like to add some ruffling or pleating and some button detail.
  • My fichu should be pinned down. I just tied it with a ribbon and it kept riding up until it looked more like a bandana than a fichu.
  • I didn’t have time to get a new plain bergere hat to trim, so I reused the small one I wore with my silk francaise.
  • My hair is not done in a historically accurate style; I just curled it, made a bun, and then hid the mess with flowers.
  • And scandalously, I am not wearing stays(!), so there is a little wrinkling in the bodice. I do own stays, but the festival was outdoors in 90 degree heat, so I decided one less layer was preferable.

Since this is still a work in progress I will do a full post with detail photos, construction notes, and cost breakdown another time, but meanwhile here are a few pictures. The dress consists of a bodice with a front closure, trimmed with ruffles, attached to a pleated overskirt. The petticoat is made of matching fabric. I am wearing those over a bum pad and another petticoat, along with two pockets.

IMG_8222

The back of the skirt can be lifted with cords and looped around covered buttons to be worn as a robe à l’Anglaise retroussée. I’m still thinking about adjusting the length of the cords or the distribution of the fabric because this wasn’t quite the look I was aiming for.

IMG_8223IMG_8224

I did have a mishap with the buttons. I couldn’t locate my button-covering kit so the night before the festival I just wrapped some fabric around some domed plastic buttons until I could buy more of the right buttons. After I laundered the skirt the dye from the black plastic buttons actually bled through two layers of fabric and onto other parts of my skirt!IMG_8262

After several rounds of OxiClean, and a final careful swabbing of diluted bleach, I have the stains out and I’ve learned my lesson about mystery buttons from the stash. I will stick to my usual metal buttons, like this redcoat who was wearing lots of shiny buttons.

IMG_8227

18th Century at the OT-Tea Party

Back in September I attended a fancy tea event called the OT-Tea Party. (It is a reference to OTT, meaning “over the top”). It was held in the gorgeous French Parlour at the Palace Hotel in San Francisco. Recently I received the official photographs from the event. (Pictures below are by KV Photography, with editing by Nicole Keane).

I wore a silk dress inspired by both 18th century gowns and Japanese lolita fashion. The dress is one of my favorite things I’ve ever made, and I’ve worn it to Costume College, Gaskells and PEERS balls, each time with a little change in the trimming or accessories.

24007948342_1c17f09645_o

I am wearing a pearl necklace and earrings, and a straw bergere I trimmed. My shoes are by American Duchess (the very first run of Georgianas!)23748249499_6142597493_o

I wish my hair had behaved a little better that day, but I had a wonderful time, and ate lots of delightful sandwiches and desserts.24089779936_50bef4e720_o

Here is the whole group together. There were so many amazing outfits and I hope the tea becomes an annual tradition!23488213444_df2dc8fd16_o


2015 Year in Review

I don’t usually do an end-of-year review, but I finished more than I thought this year, so here we go! (My plans for 2016 are at the end of this post).

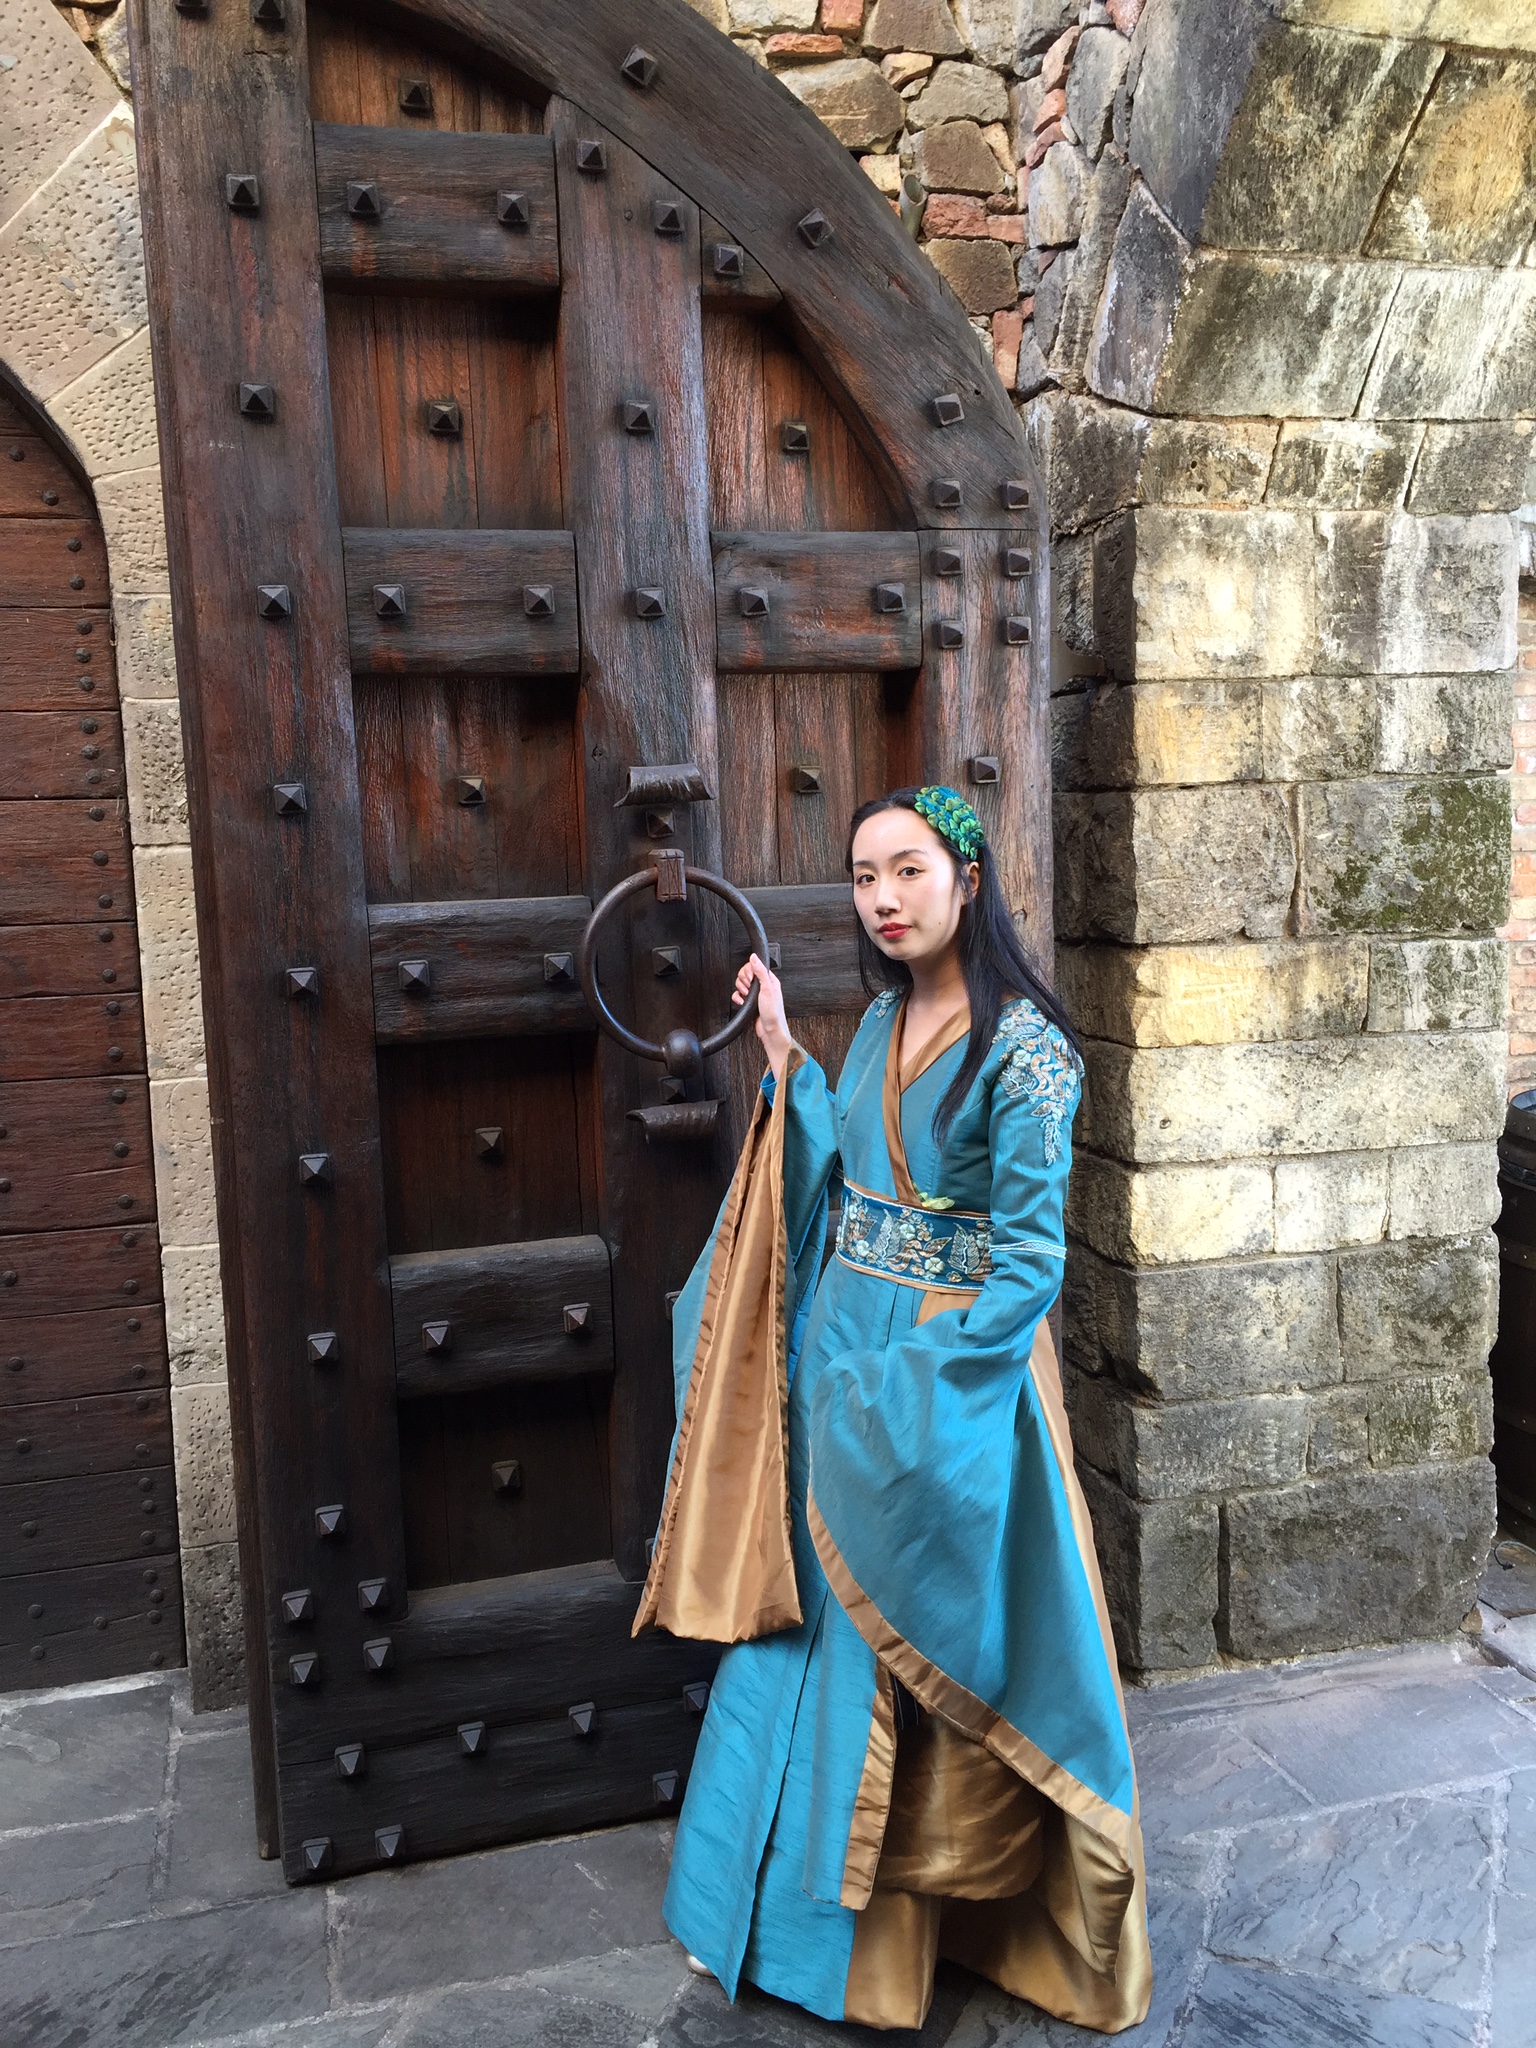
I made a Game of Thrones Kings Landing gown for myself, and an Oberyn
Martell-inspired costume for my husband.

IMG_1707

DSCN1478

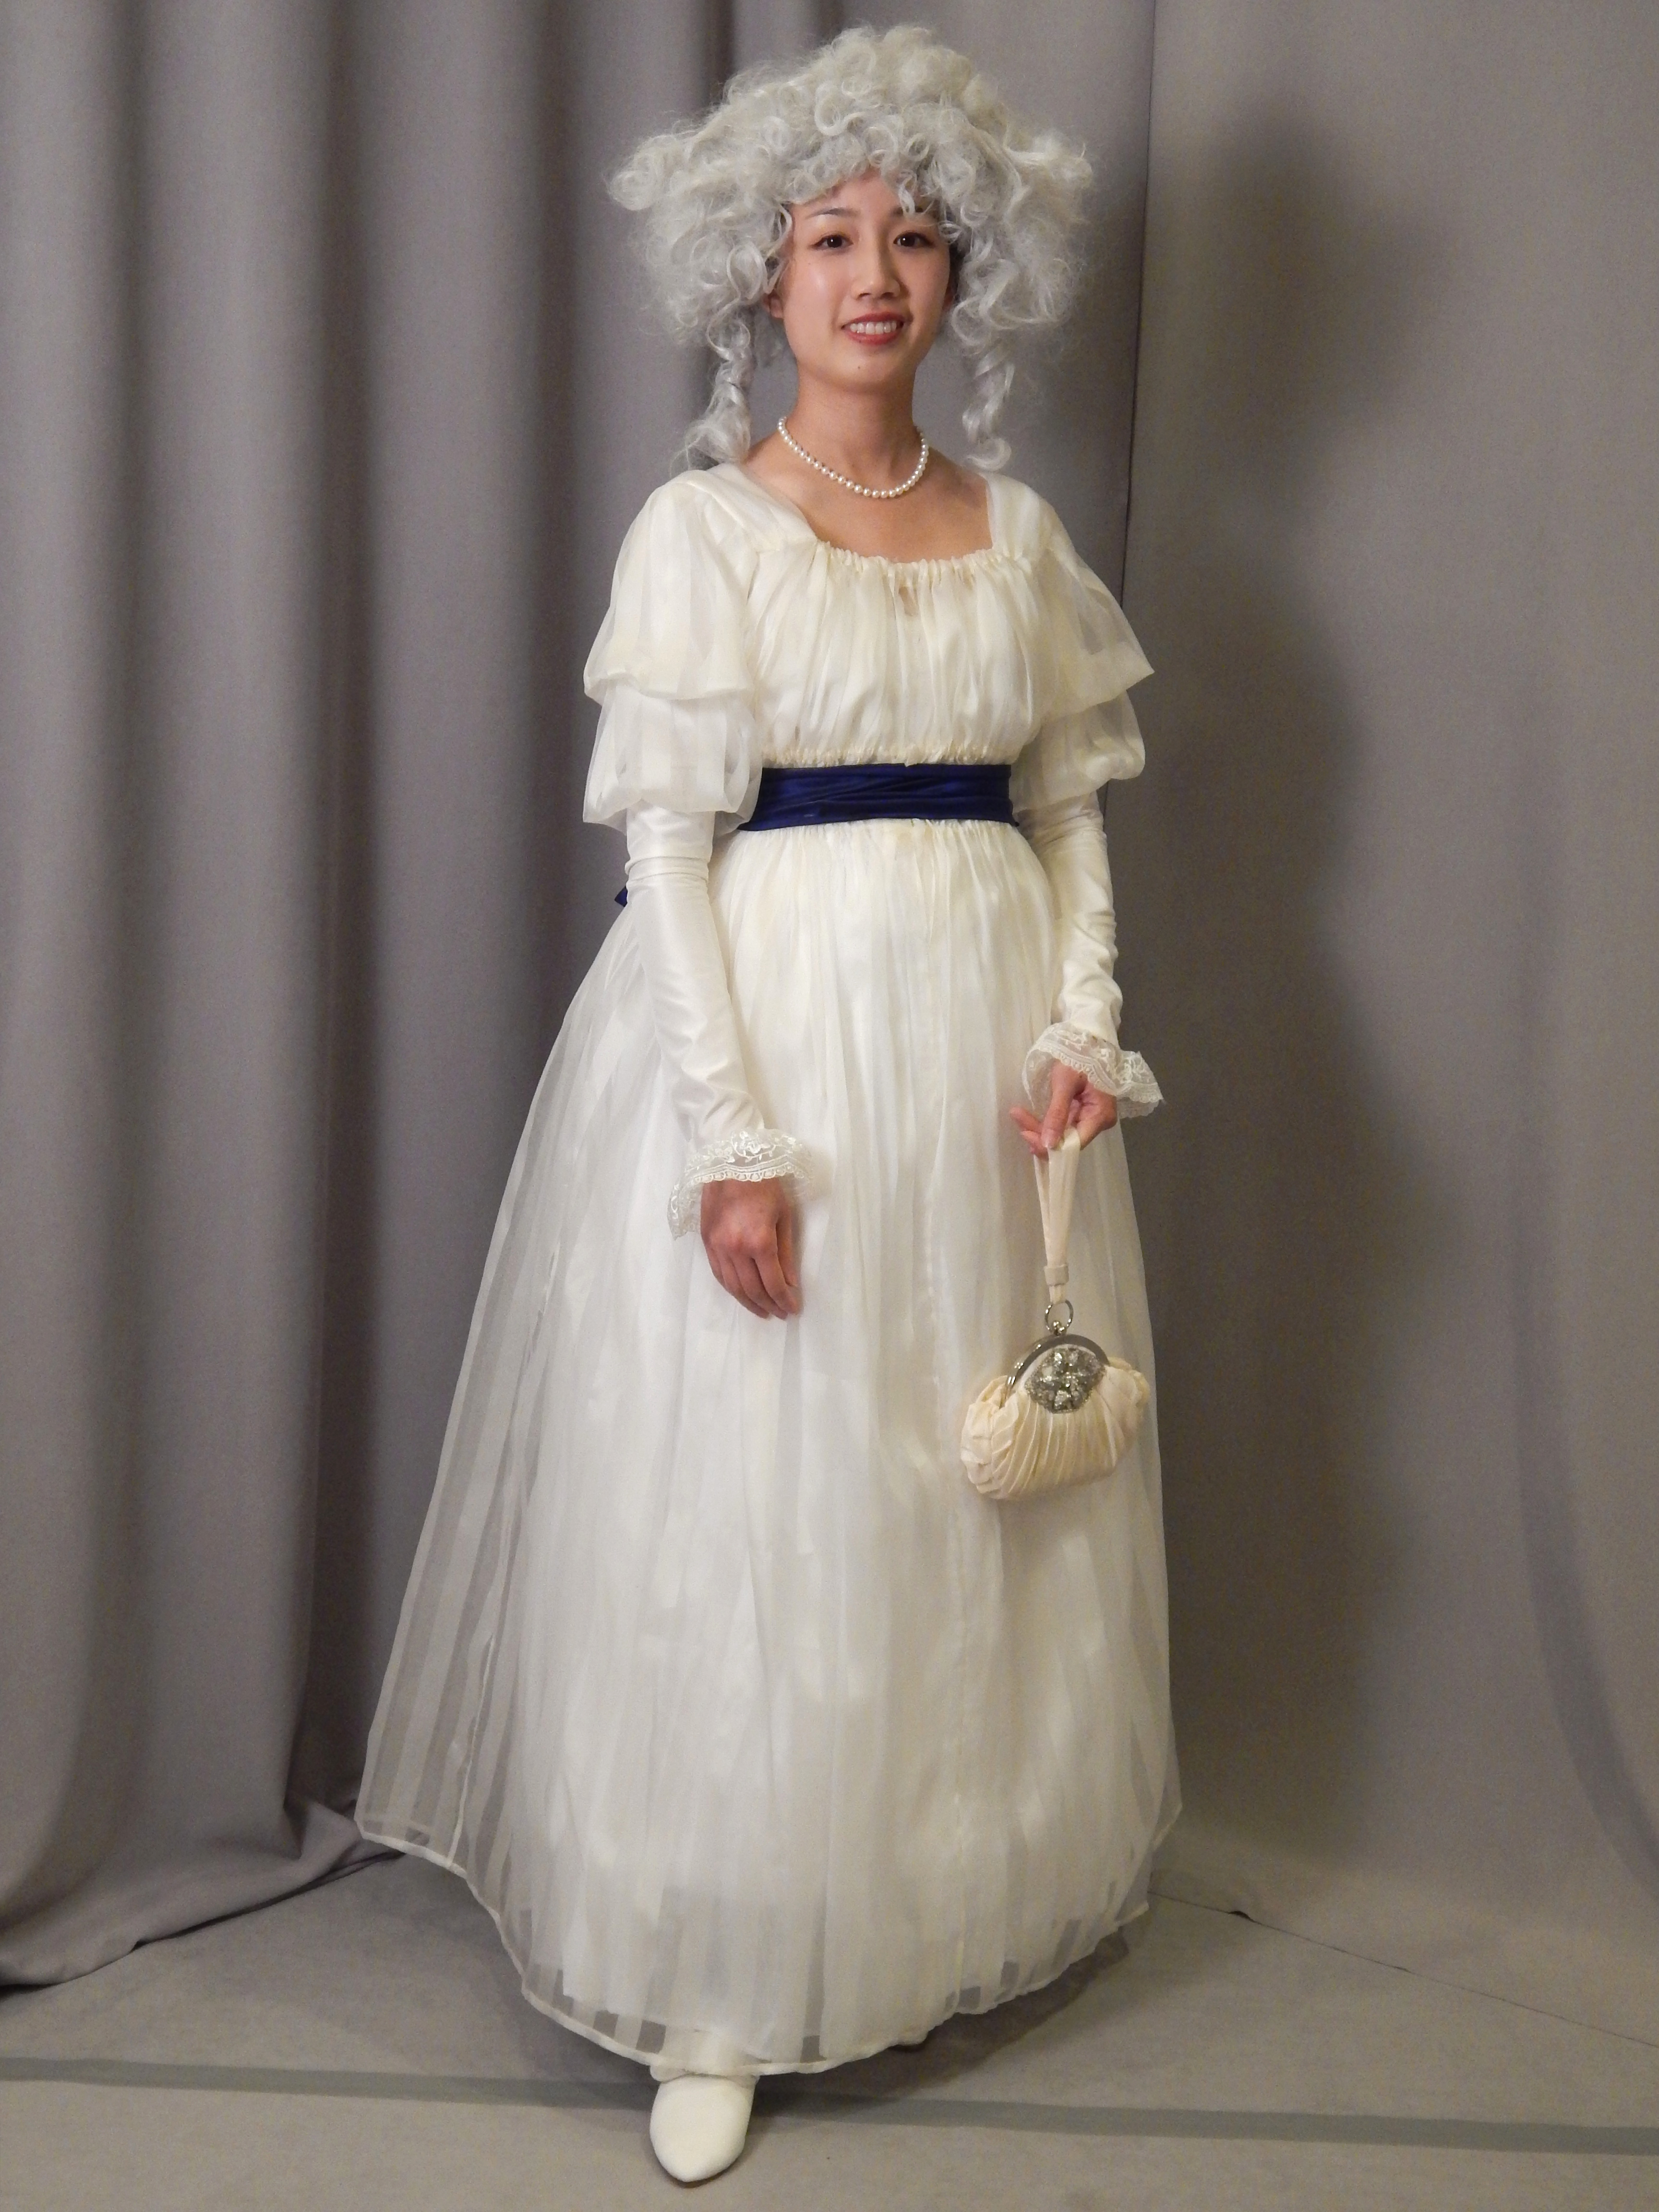
I made two chemise a la reines (one cotton and one made of sheer
striped silk) and wore them together to a few events.DSCN1814

I had fun frolicking in a tulle fairy tale skirt.IMG_4895

I made a wool-blend Victorian bathing suit.
IMG_5038

I was a maid from Downton Abbey.
DSCN1616

I retrimmed a bergere hat.
IMG_5412

I attached appliques to a dress to make my Circulatory System outfit
for the Vampire Ball.
IMG_6037

I finished the underskirt and overskirt for my Lady Tremaine costume.
IMG_6133

I made new undersleeves for my 1850s silk plaid Victorian day dress.
IMG_6102

My final project of the year was my 1840s fan-front Victorian day dress.
IMG_6401

Goals for 2016:

  • Finally complete my 18th century stays! I actually “finished” them months ago except for the binding on the eyelets, but took a break from most hand-sewing because of a wrist injury.
  • Make the bodice for my Lady Tremaine costume.
  • Trim a hat for Lady Tremaine.
  • Sew a 1920s Egyptian Revival dress for a GBACG event.
  • New regency gown – not sure day or evening yet.
  • Make more PJs.

Wish list with time frame unknown:

  • Black silk 18th century market hat
  • Black chemise a la reine
  • 1940s cocktail dress
  • Fur muff
  • Velvet cloak