Tag Archives: edwardian

1910s Edwardian Wool Suit

I love the Edwardian era and the Wearing History 1910s WWI suit pattern seemed smart and cozy. 

3D873E11-B0BE-4567-AD90-AA14344025C7
1E9D50E6-EE1B-4C26-B1EF-3EBDA0731651

I liked the big lapels, sailor collar, and tulip-shaped pockets and cuffs.

AB119FB6-9259-4C3C-A8CD-B5D731A2A21B

I used a gray and black houndstooth wool for the skirt and accents and a yellow wool for the jacket. The black buttons are vintage Czech glass buttons and the the yellow ones are vintage handmade.

6399A312-27A4-4D95-AEC8-FFFC483EB605
27D58852-097A-4F2B-97CE-982EFFDBE036

There are different options for collars and pockets in this pattern.

The skirt is made according to the construction methods of the era where there’s an internal waistband that actually holds the skirt up. The waistband you see on the outside is attached at the top but not at the bottom, allowing for the gathers in the back of the skirt to hang loosely. 

7EE1FE73-F2EA-49AC-998A-3D72E50EB371
7A811B00-2301-487E-BB56-C343998D18E2

I made myself a matching hat which was pretty easy! The base of the hat used the same pattern as the jacket belt. I wrapped it around my head at a jaunty angle and pinned it to fit. The center of the hat is just a giant pleated rosette with a pompom hiding the center hole.

D9926C7F-17BA-48C9-A37A-97DACFEAC92E

I’m afraid I took my photos while it was getting dark quickly during winter, so they are a bit grainy.

B91953ED-CBAB-4AE0-B041-3C5017CC1D8A

Some sizing notes: This is based on an antique pattern from the period.

  • The original skirt is quite long (great for tall people) but WH includes a cutting line if you want a shorter version of the skirt. I am 5’6″ and cut the shorter version.
  • The shoulders of the jacket are rather broad. I had to take in the shoulders a little bit to reduce the width.
  • The jacket is very full and loose but this is intentional. Shaping is done by the belt. You do not need to cut a smaller size; it is supposed to be a bit tent-like. (For security I have some hidden snaps in the jacket and hooks and bars in the belt).

Materials:

  • 3 yards gray/black houndstooth wool: $31.50 plus tax and shipping from Fabricmartfabrics
  • Pattern from Wearing History: $28 plus tax and shipping
  • 4 yards yellow wool: $65 including tax and shipping from a FB destash group
  • Vintage yellow buttons: $6 + tax from a marketplace
  • Vintage Czech glass buttons: from eBay; I’ve had them for years and don’t remember how much I paid
  • Thread, snaps, etc. from stash

I’m not quite sure of the total cost because items 1 and 2 had shipping bundled with other items; I don’t have receipts for everything, and I have leftover wool in both colors, but I hope this gives you an approximate idea of what it will cost you to make your own. Thank you for reading!

02D0951B-1787-49DA-9B8B-52A9E6D51C30

Victorian/Edwardian Pumpkin Witch Costume

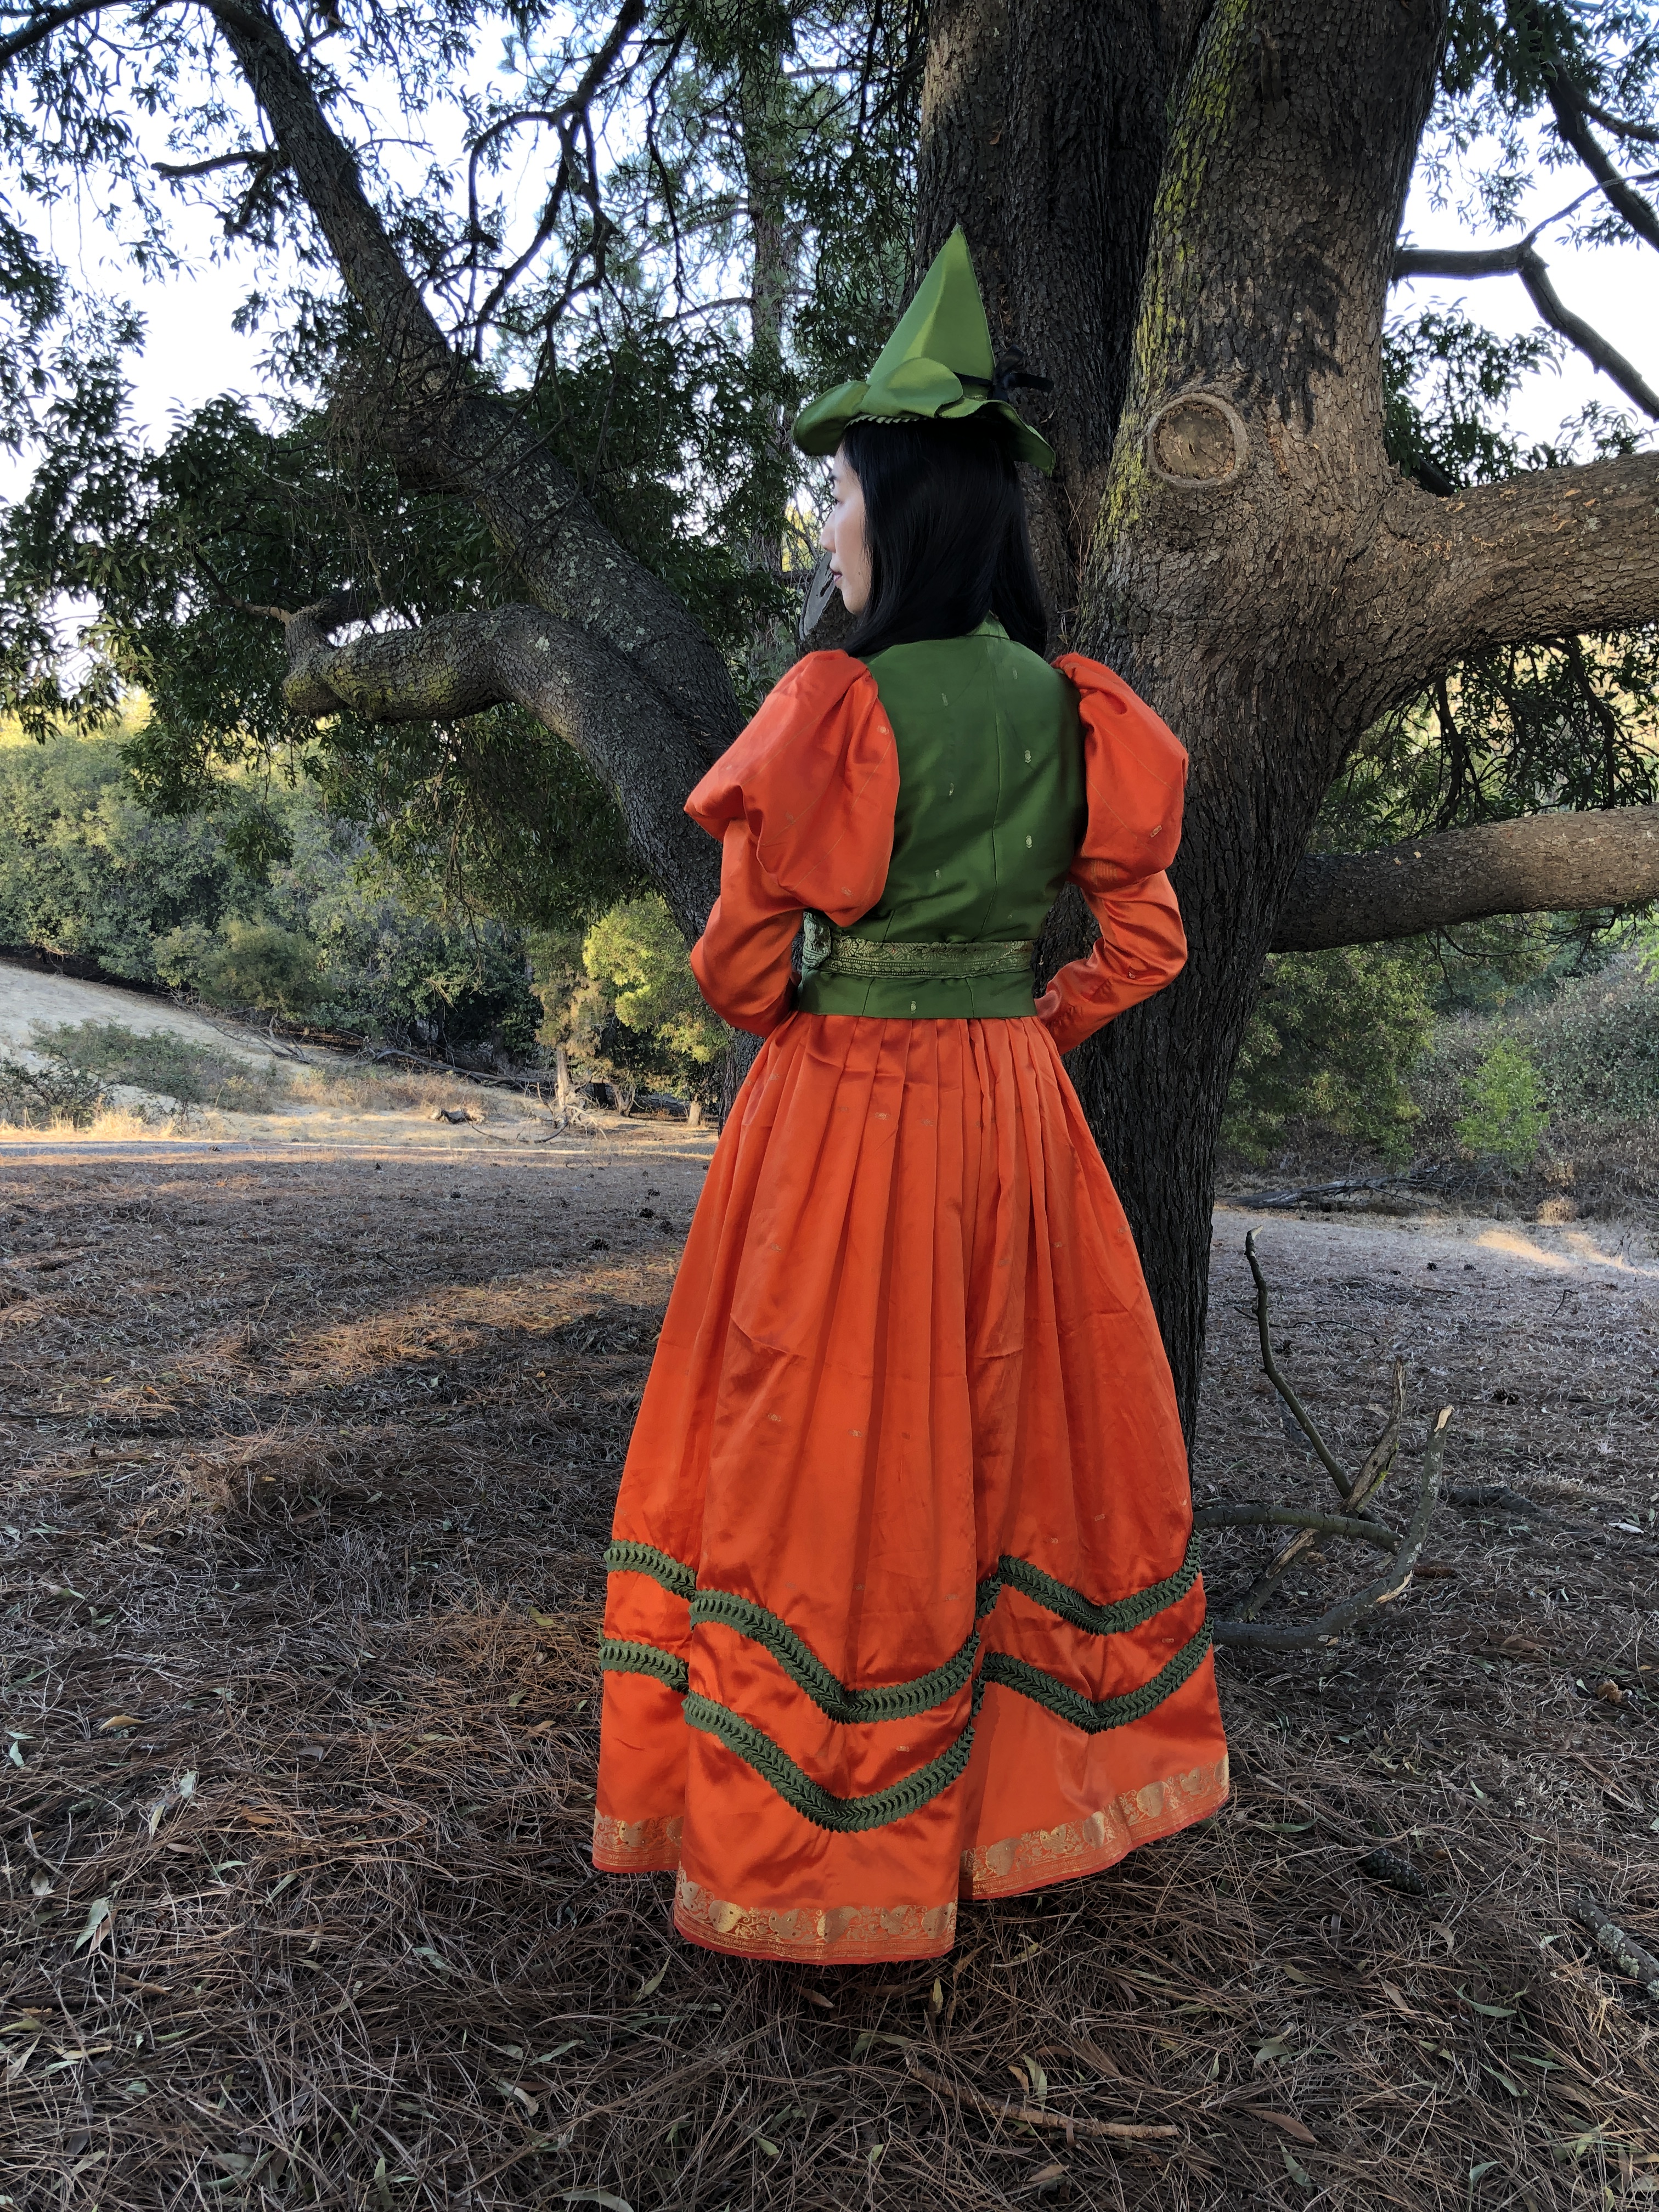
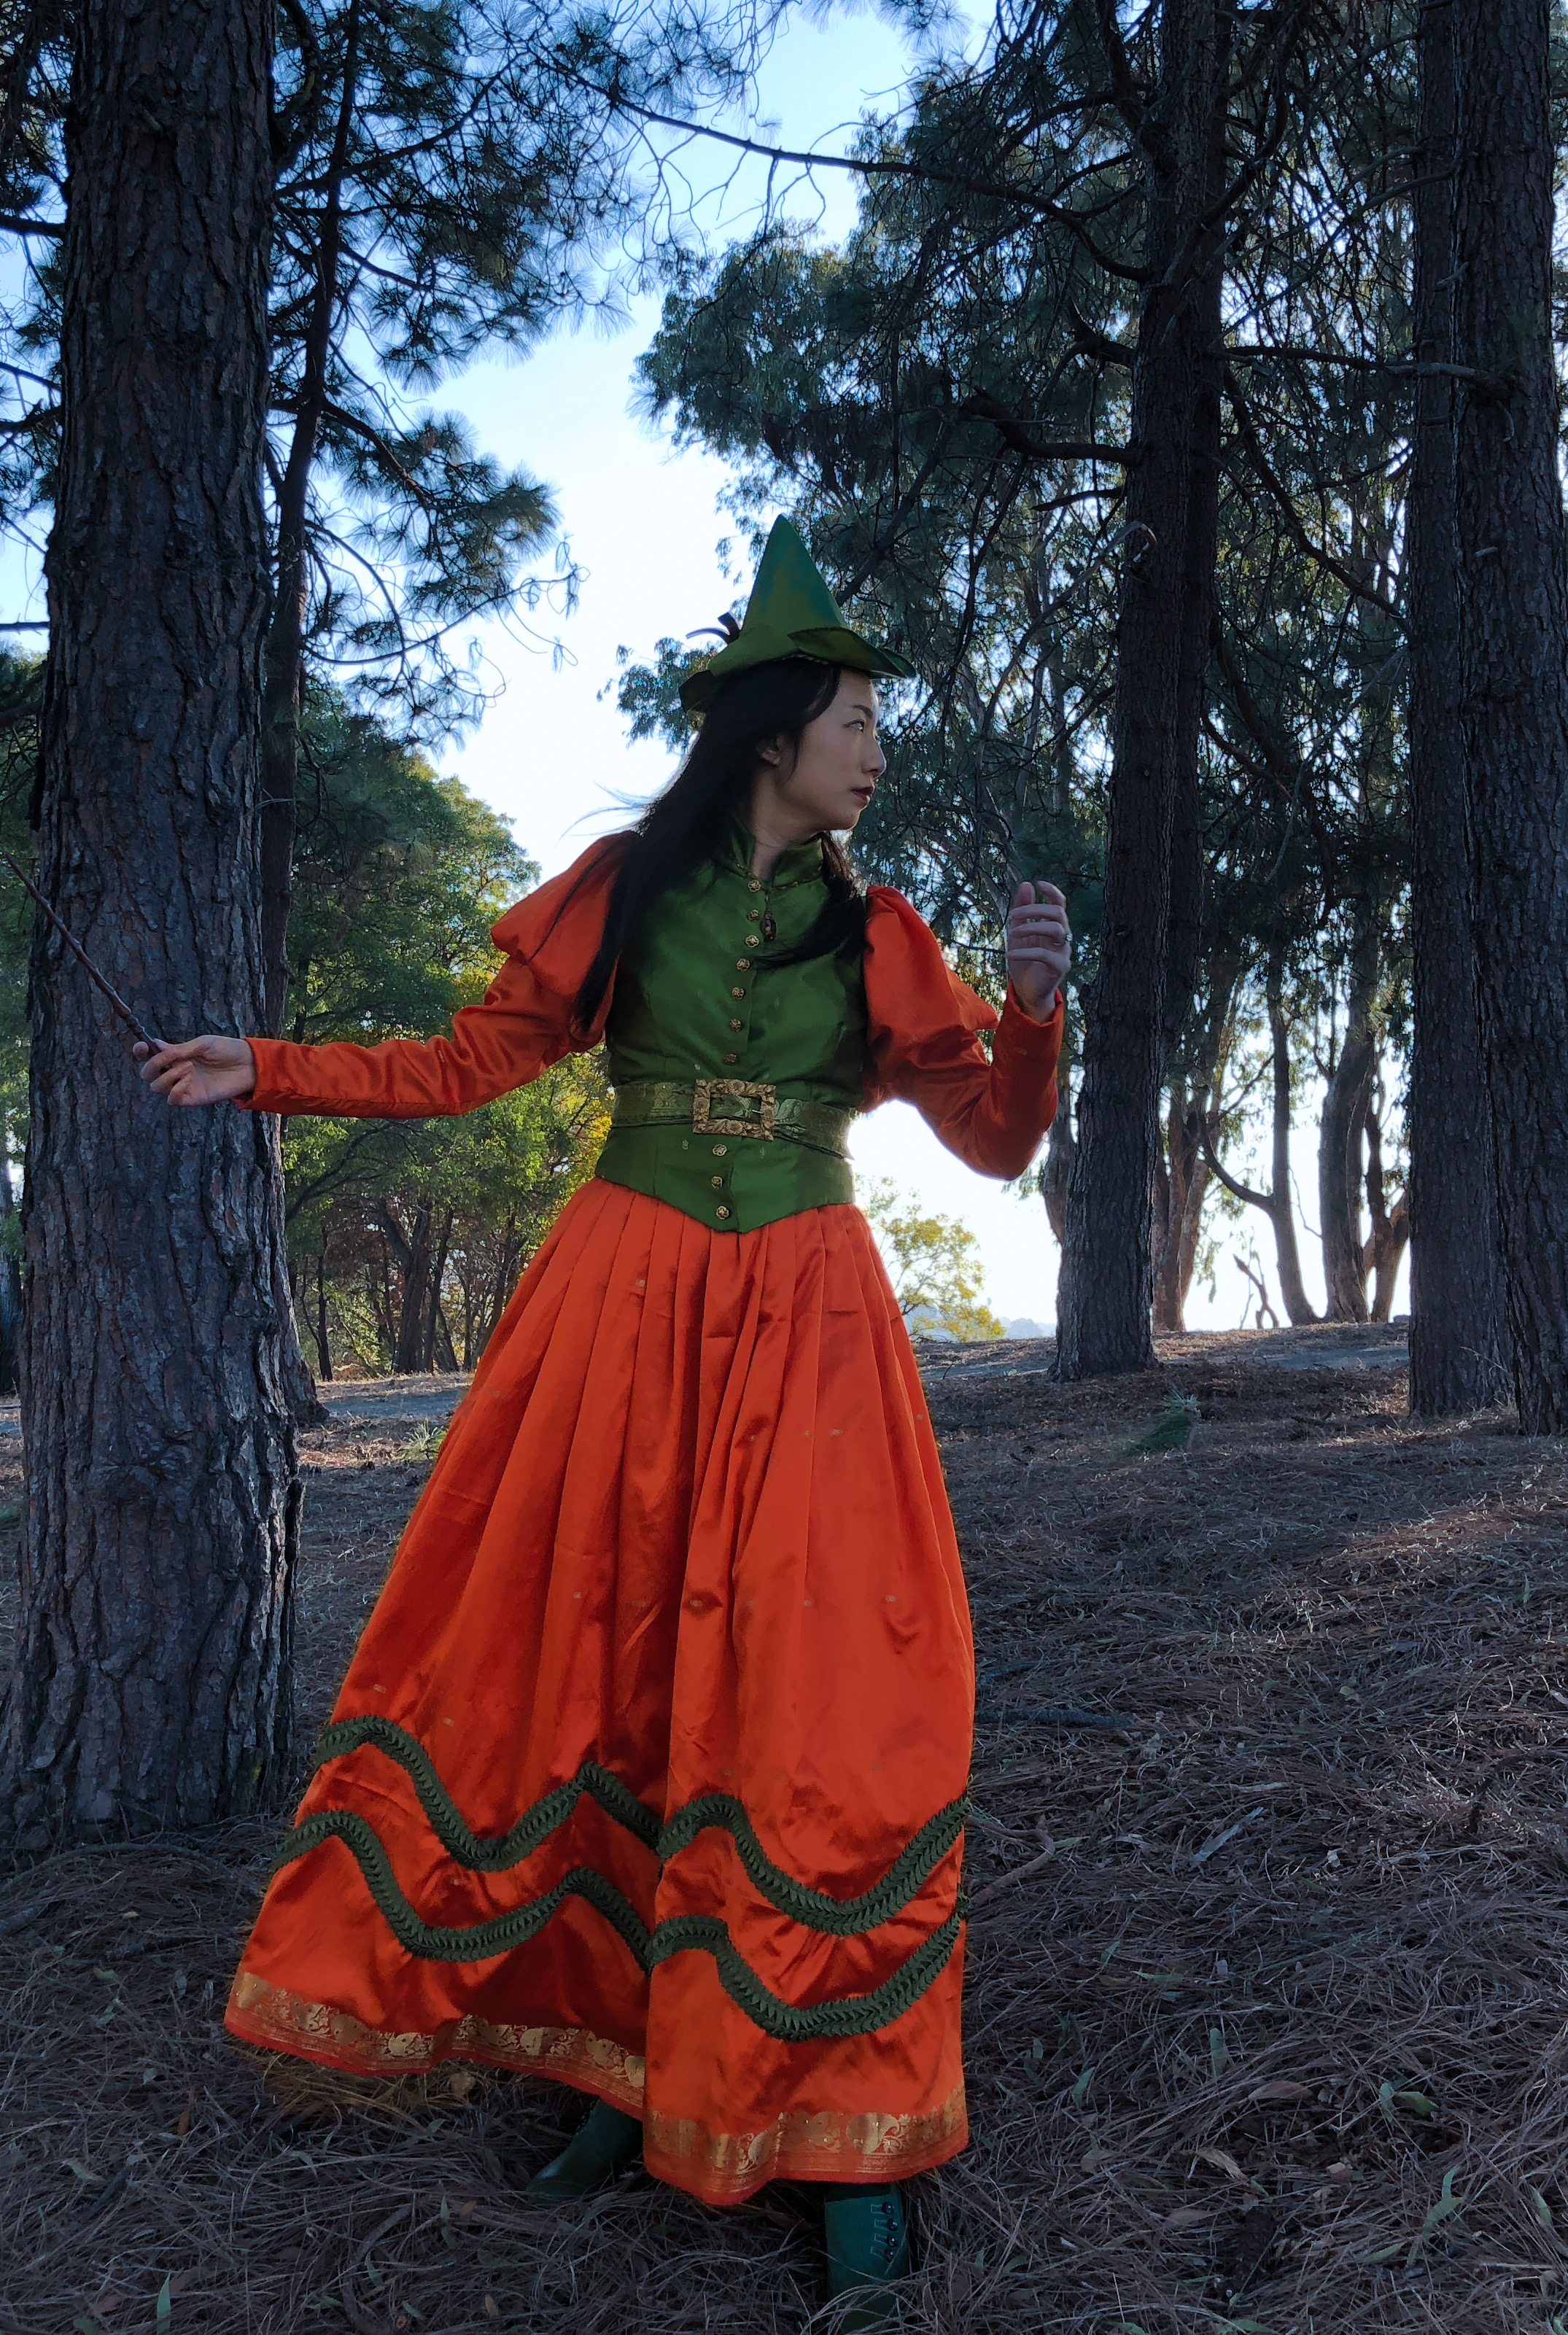
For Halloween I made myself a Victorian/Edwardian-inspired mashup witch costume. I got large amounts of sari fabrics rather cheaply from a local person after they were used as party decorations, and even after distributing most of it to friends I still had a lot left over, and decided they were perfect for a bright Halloween witch. Since this was a costume I didn’t worry about combining details from various decades.BZWR0824

The skirt is a basic pleated two-panel skirt with seams on the sides. One seam has a pocket and the other has an invisible zipper. Since the sari is thin and I had so much of it I flat-lined it with more of the same.IMG_3705

The blouse and vest patterns are both from Black Snail Patterns on Etsy. They are the 1890s Late Victorian Day Blouse/Bodice and 1890s Edwardian Ladies’ Vest. Because this was meant to be a Halloween costume I took a “theatrical” approach to the construction and skipped a lot of the detailed and historically accurate instructions in the patterns such as creating facings, boning, etc. so I cannot comment on those. As usual, I did find the pattern pieces to be well-drafted and needed very little adjustment.  My biggest cheat is I sewed the sleeves from the blouse pattern directly to the vest to make one garment. This saved me a lot of time, and also made the costume less warm with less layers!XWJE4219

Instead of making lots of buttonholes for my small gold buttons I did hidden hooks and bars down the front of the bodice and the buttons are decorative. WRIE9403

The belt is made from a scrap of the green sari fabric, paired with a vintage belt buckle. The buckle is actually plastic painted gold but looks pretty good from a distance!IMG_3471

The green pleated grosgrain trim was purchased pre-made from Amazon (affiliate link) and comes in other colors. I used the olive color this time but you may recognize that I used a baby blue version for my pink striped bustle dress!IMG_3526

The hat was made using my own pattern for a Professor McGonagall-inspired deerstalker witch hat, and you can find the instructions on a previous post.OOMF7987

I’m afraid I didn’t do a great job tracking the yardage since I had basically unlimited fabric, but I would estimate that I used 3 orange saris (since everything was 2 layers) and one green one. The saris I got were used and pre-cut and were 3-5 meters each. Thus, my rough estimates for project costs are as follows:

  • 4 saris: ~$20 (yeah I got a great deal!)
  • 25 yard roll of pleated grosgrain trim: $9.50 from Amazon, and I have a lot left. (The trim usually runs about $40 a roll but I’ve bought other colors through random price drops).
  • Gold buttons: free from a friend
  • Vintage buckle: ~$10? (I don’t remember).
  • Thread, hooks and eyes, collar interfacing, lining: ~$5 (stash and scraps from other projects)
  • Bodice pattern: $8.60
  • Vest pattern: $7.37
  • Printing costs: $5.56 plus shipping (I had my A0 patterns printed by PDFplotting.com and the shipping was bundled with other things)

Total: ~$45 for materials and ~$25 for patterns I will reuse

Some final thoughts:

This project was all polyester. The fabric was pretty enough it didn’t “matter” if it was silk and I hope this a reminder that costumes don’t need to be expensive.

Did you notice that I pleated the front of the skirt differently than I did the back? I didn’t until I put the waistband and zipper on, and I didn’t care to redo it! Here’s a reminder that maybe “mistakes” aren’t really that big of a deal and probably most people won’t notice. 

I did some cheats to simplify construction.  What works for you is what works for you, whether it is historically accurate, historically appropriate, historically adequate, or historically adjacent!

Thank you for reading!IMG_3821

My necklace is antique glass and brass from the 1930s and my shoes are from American Duchess.IMG_3526

Edwardian Dress at the Monet Exhibit at the de Young Museum (Plus Butterick B6229 Pattern Hack)

Last weekend my local costume guild organized an outing to see an exhibit of Monet paintings at the de Young Museum in San Francisco and I wore a dress made of blue cotton sateen and antique lace.IMG_7850

I had to take photos looking upwards because my broad-brimmed hat created shadows on my face, and I was also trying to hide a splint on my hand, so sorry about the weird poses! It was a bit cold that morning so I wore an antique Edwardian blouse underneath my dress as a guimpe.IMG_7818

I needed a quick and simple dress so I used Butterick B6229, with modifications. I picked that pattern because I was already familiar with it after using it for my Downton Abbey maid costume, and knew it fit.IMG_8004

This is what the pattern looks like before I hacked it.IMG_7539

The 4 main changes I made to the pattern for this dress:

  • I changed the dress from front-opening to back-opening. The front button closures were turned into back hook/bar closures. (Cut the front bodice piece as one piece instead of two, and cut the back bodice piece as two instead of one. Do the same for the skirt panels).
  • The sleeves were shortened. (I cut them off a little below the elbow and turned the edges inside the sleeve. You don’t need to cut the cuff pattern pieces).
  • I cut a square neckline and omitted the standing collar. (I pinned the lace collar and strudel panel on the unfinished dress while it was on a dress form and marked where to cut the neckline).
  • Instead of having the belt go completely around my waist it does not cover the center lace panel. (I shortened the belt and based on my waist measurement minus the lace panel plus seam allowance).

IMG_8013

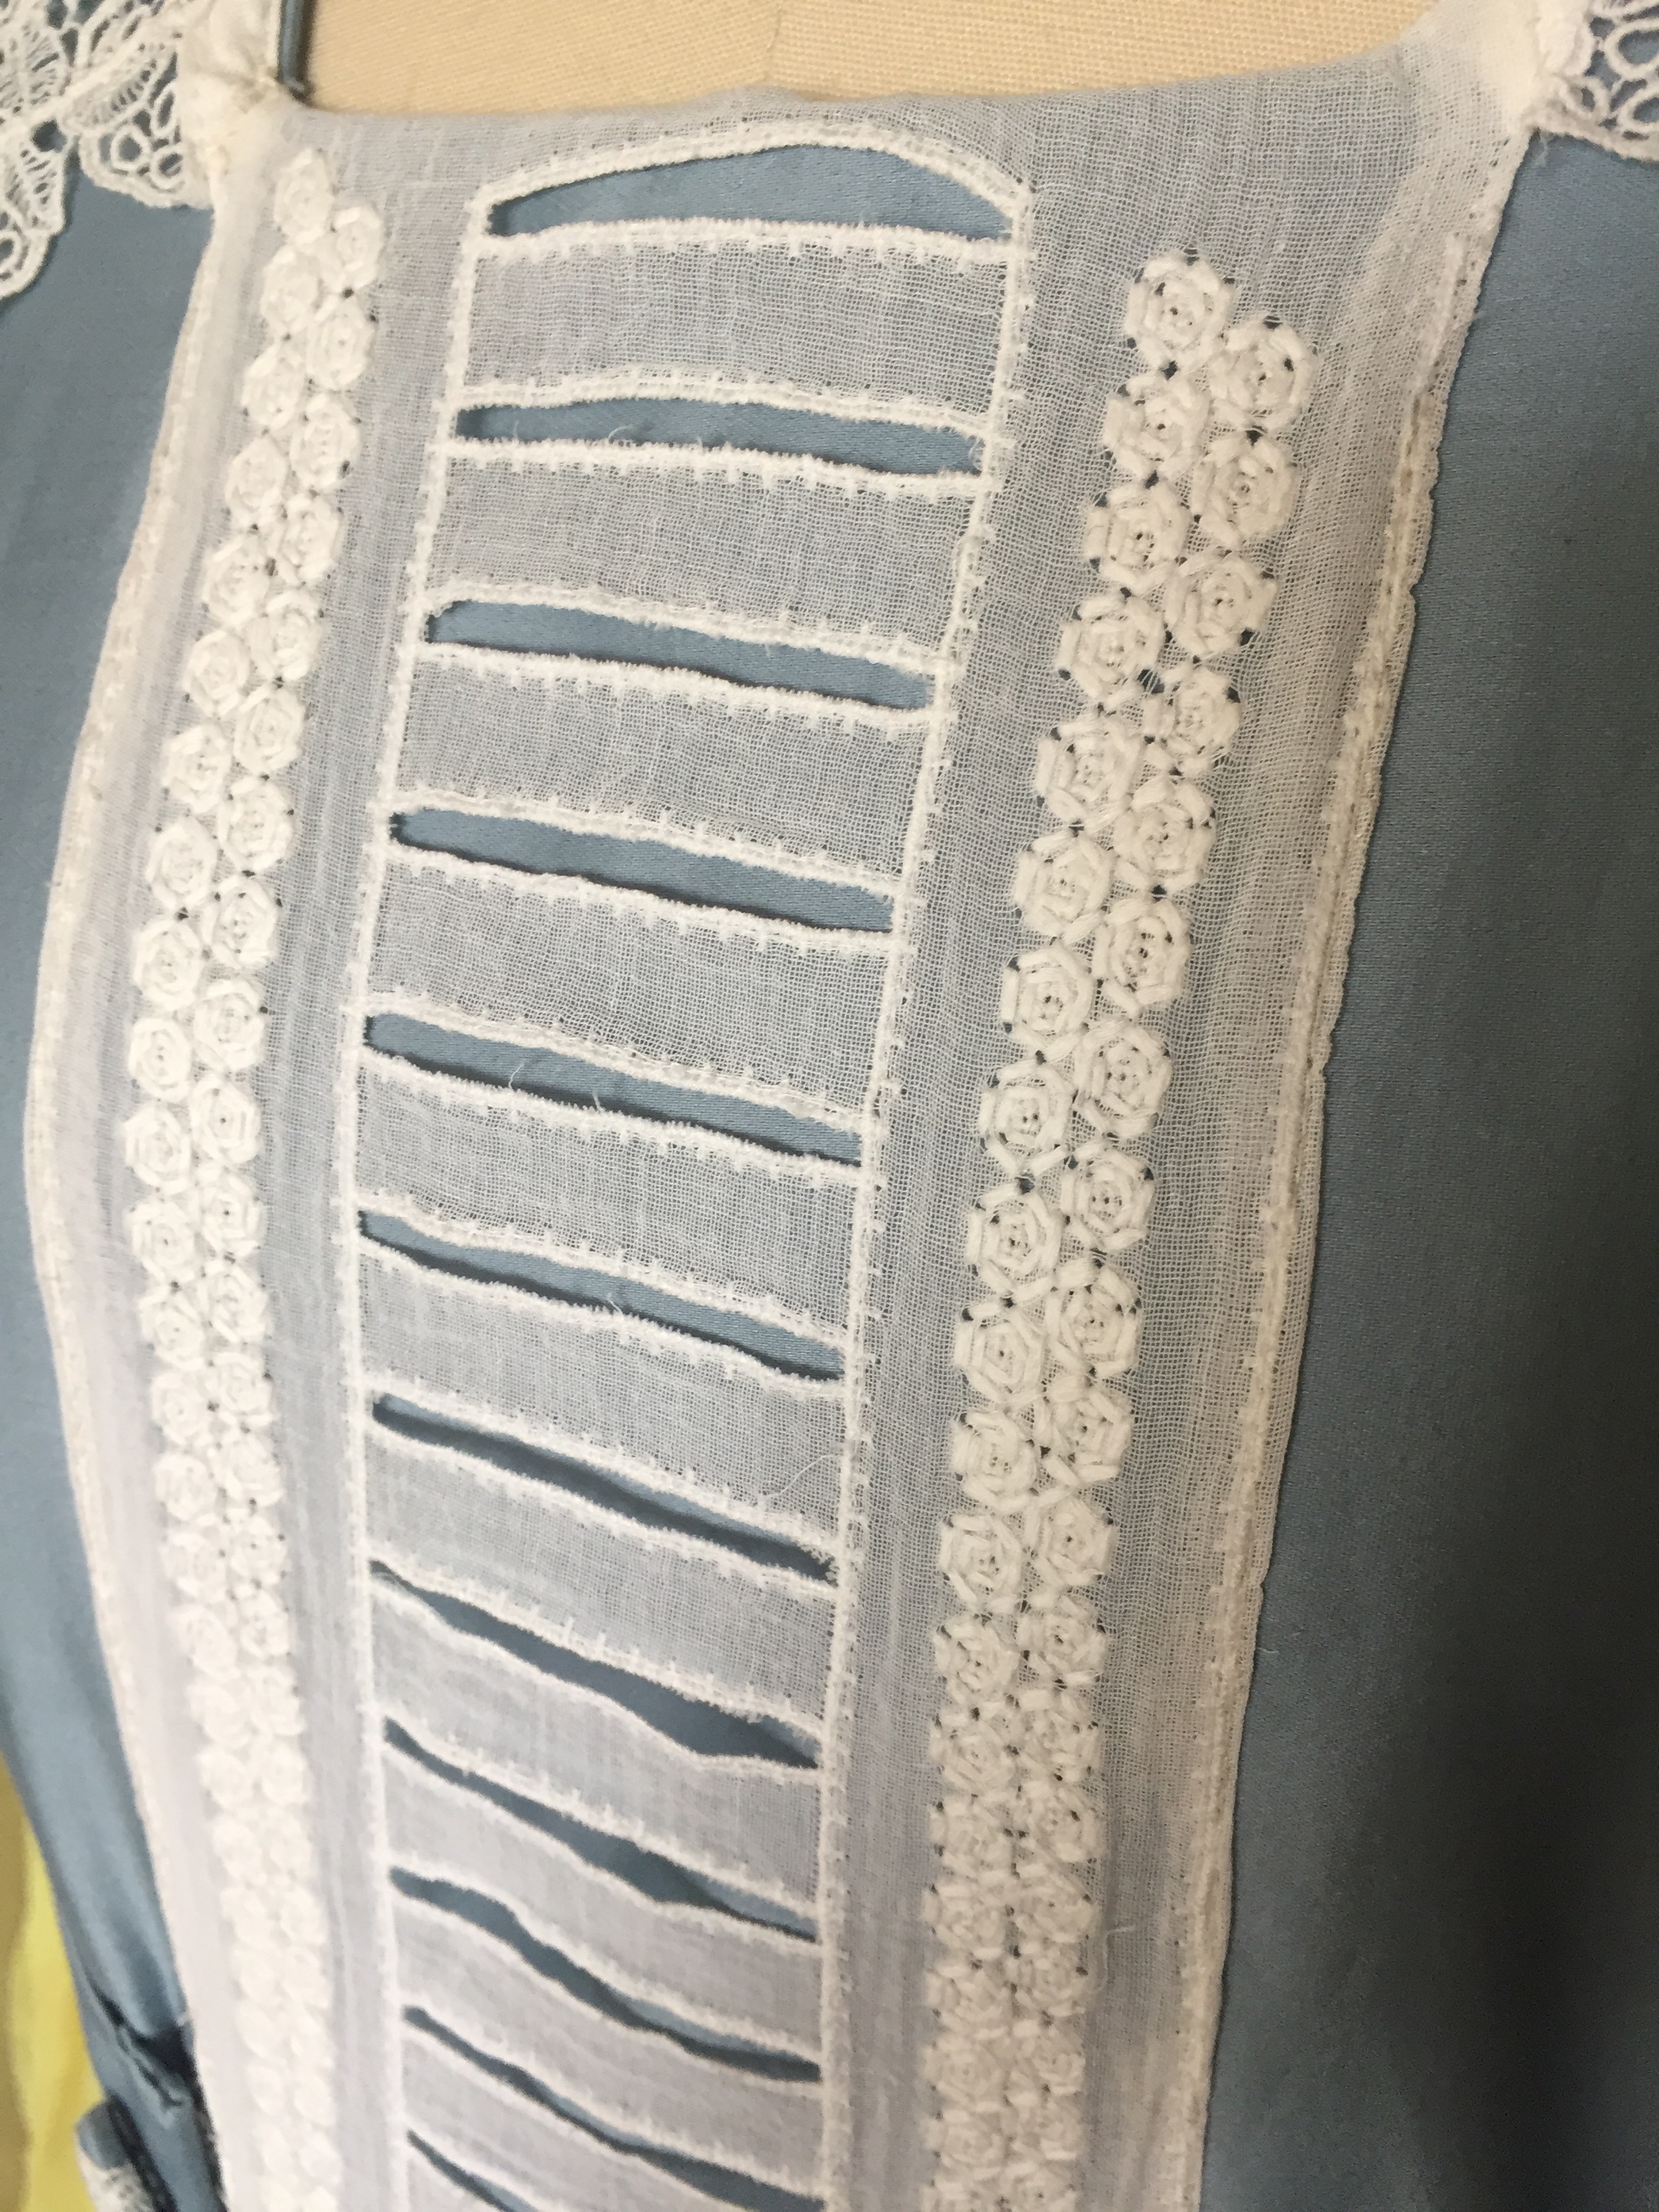
I am calling this my Strudel Dress because of the slits in the lace panel down the front. I bought the panel a while back and wasn’t sure what to do with it until I realized it was perfect for this dress. I had just barely enough; I literally had 1 inch of lace left over. My shoes are American Duchess Theda Edwardian shoes, aka “Skeletor,” which also have a bit of a strudel-y look to them.IMG_7560.JPG

The Supima cotton sateen I used has a lovely sheen to it, but is a bit thin and prone to wrinkling so I flat-lined all the pieces with cotton broadcloth. In retrospect I should have skipped the flat-lining for a more flowy Edwardian look, but perhaps having no flat-lining would have made the dress wrinkle even more when I sat down.IMG_8006

The dress closes in the back with hooks and bars, and the belt is sewn down on one side and attaches on the other with hooks and bars. The buttons are decorative only. (They were made with a covered button kit).IMG_8018

The collar is antique lace, picked up at the Costume College Bargain Basement.IMG_8007

The “strudel” lace is from a Costume College marketplace vendor.IMG_8008

The antique lace cuffs were a scrap piece left over from my Downton Abbey maid project, and I had just enough!IMG_8015

Dress Cost:

  • 3 yards blue Supima cotton sateen: $13.20 including tax with stacked coupons at Joann’s
  • 3 yards white cotton lining: $12 including shipping from eBay
  • Pattern: $0, already previously used
  • Lace panel: $5.50 from Costume College vendor
  • Lace collar: $1 from Costume College bargain basement
  • Lace cuffs: $0, leftover from other project
  • Lace for buttons: $0, gifted
  • Buttons, thread, hooks and bars: ~$3 from stash, bought in bulk

Total cost: ~$34.20

Woohoo, less than $35 for a dress!

My hat was made from a straw beach hat I already had and I don’t recall how much I spent on it, but they are easy to find. I hot-glued a lot of fake flowers from my stash onto the hat and filled in a few spots with assorted feathers. (Tip: buying a floral garland from the craft store is cheaper than buying individual stems).IMG_7915

Oops, I just noticed that stray thread. I admit this dress was a bit of a rush job. Aside from the closures and hemming, I made the bulk of it in a weekend using a machine and forgot to iron flat all the seams like I usually do.

There was a neat doorway in the garden where I posed for some photos.IMG_7952 copy

And here are some of the other lovely ladies that were there that day. There were many more that I forgot to capture.IMG_7855

Overall it was a lovely day!IMG_7906

Wedgewood Blue Gibson Girl Gown and Undergarments

I attended a dinner party on the Delta King River Boat in Sacramento. The event was hosted by the GBACG and people were encouraged to wear clothing from 1870-1900. I decided to make a Gibson Girl dress out of a Wedgwood blue silk taffeta, trimmed with white lace.IMG_2870IMG_2856

My inspiration was the famous Wedgewood pottery. IMG_1670.JPG

I have some additional appliqués I purchased that I didn’t have time to add for this event, but will for the next wearing to make it even more like pottery. IMG_2096.JPG

The bodice is made with Truly Victorian’s 1892 ball gown bodice and 1893 bell skirt patterns. I found the fit of both to be good, but the bodice is very long and I had to cut a bit from the bottom, even though I am long-waisted.IMG_2796

Some bodice in-progress photos that show the amount that needed to be trimmed:

My jewelry is by In the Long Run. My gloves are vintage and the purse is from a bridal shop. I am wearing Tissots from American Duchess.IMG_2742

I did not use the sleeve pattern that came with the bodice pattern. Instead I gathered up a rectangle of silk chiffon to make flowing sleeves.IMG_2727

The top was gathered and serged.IMG_2673

The back closes with hooks and eyes.IMG_2729.JPG

I decorated the front with a silk chiffon sash and little flowers that I put faux pearl centers in. IMG_2725

I would have liked to hem the end of the sash and add little pearls to the edge, but I was recovering from a hand injury and couldn’t do any hand-sewing, so it’s just a pouf for now. Thus I had to get creative with ways to avoid it!

Ways to save on hand-sewing:

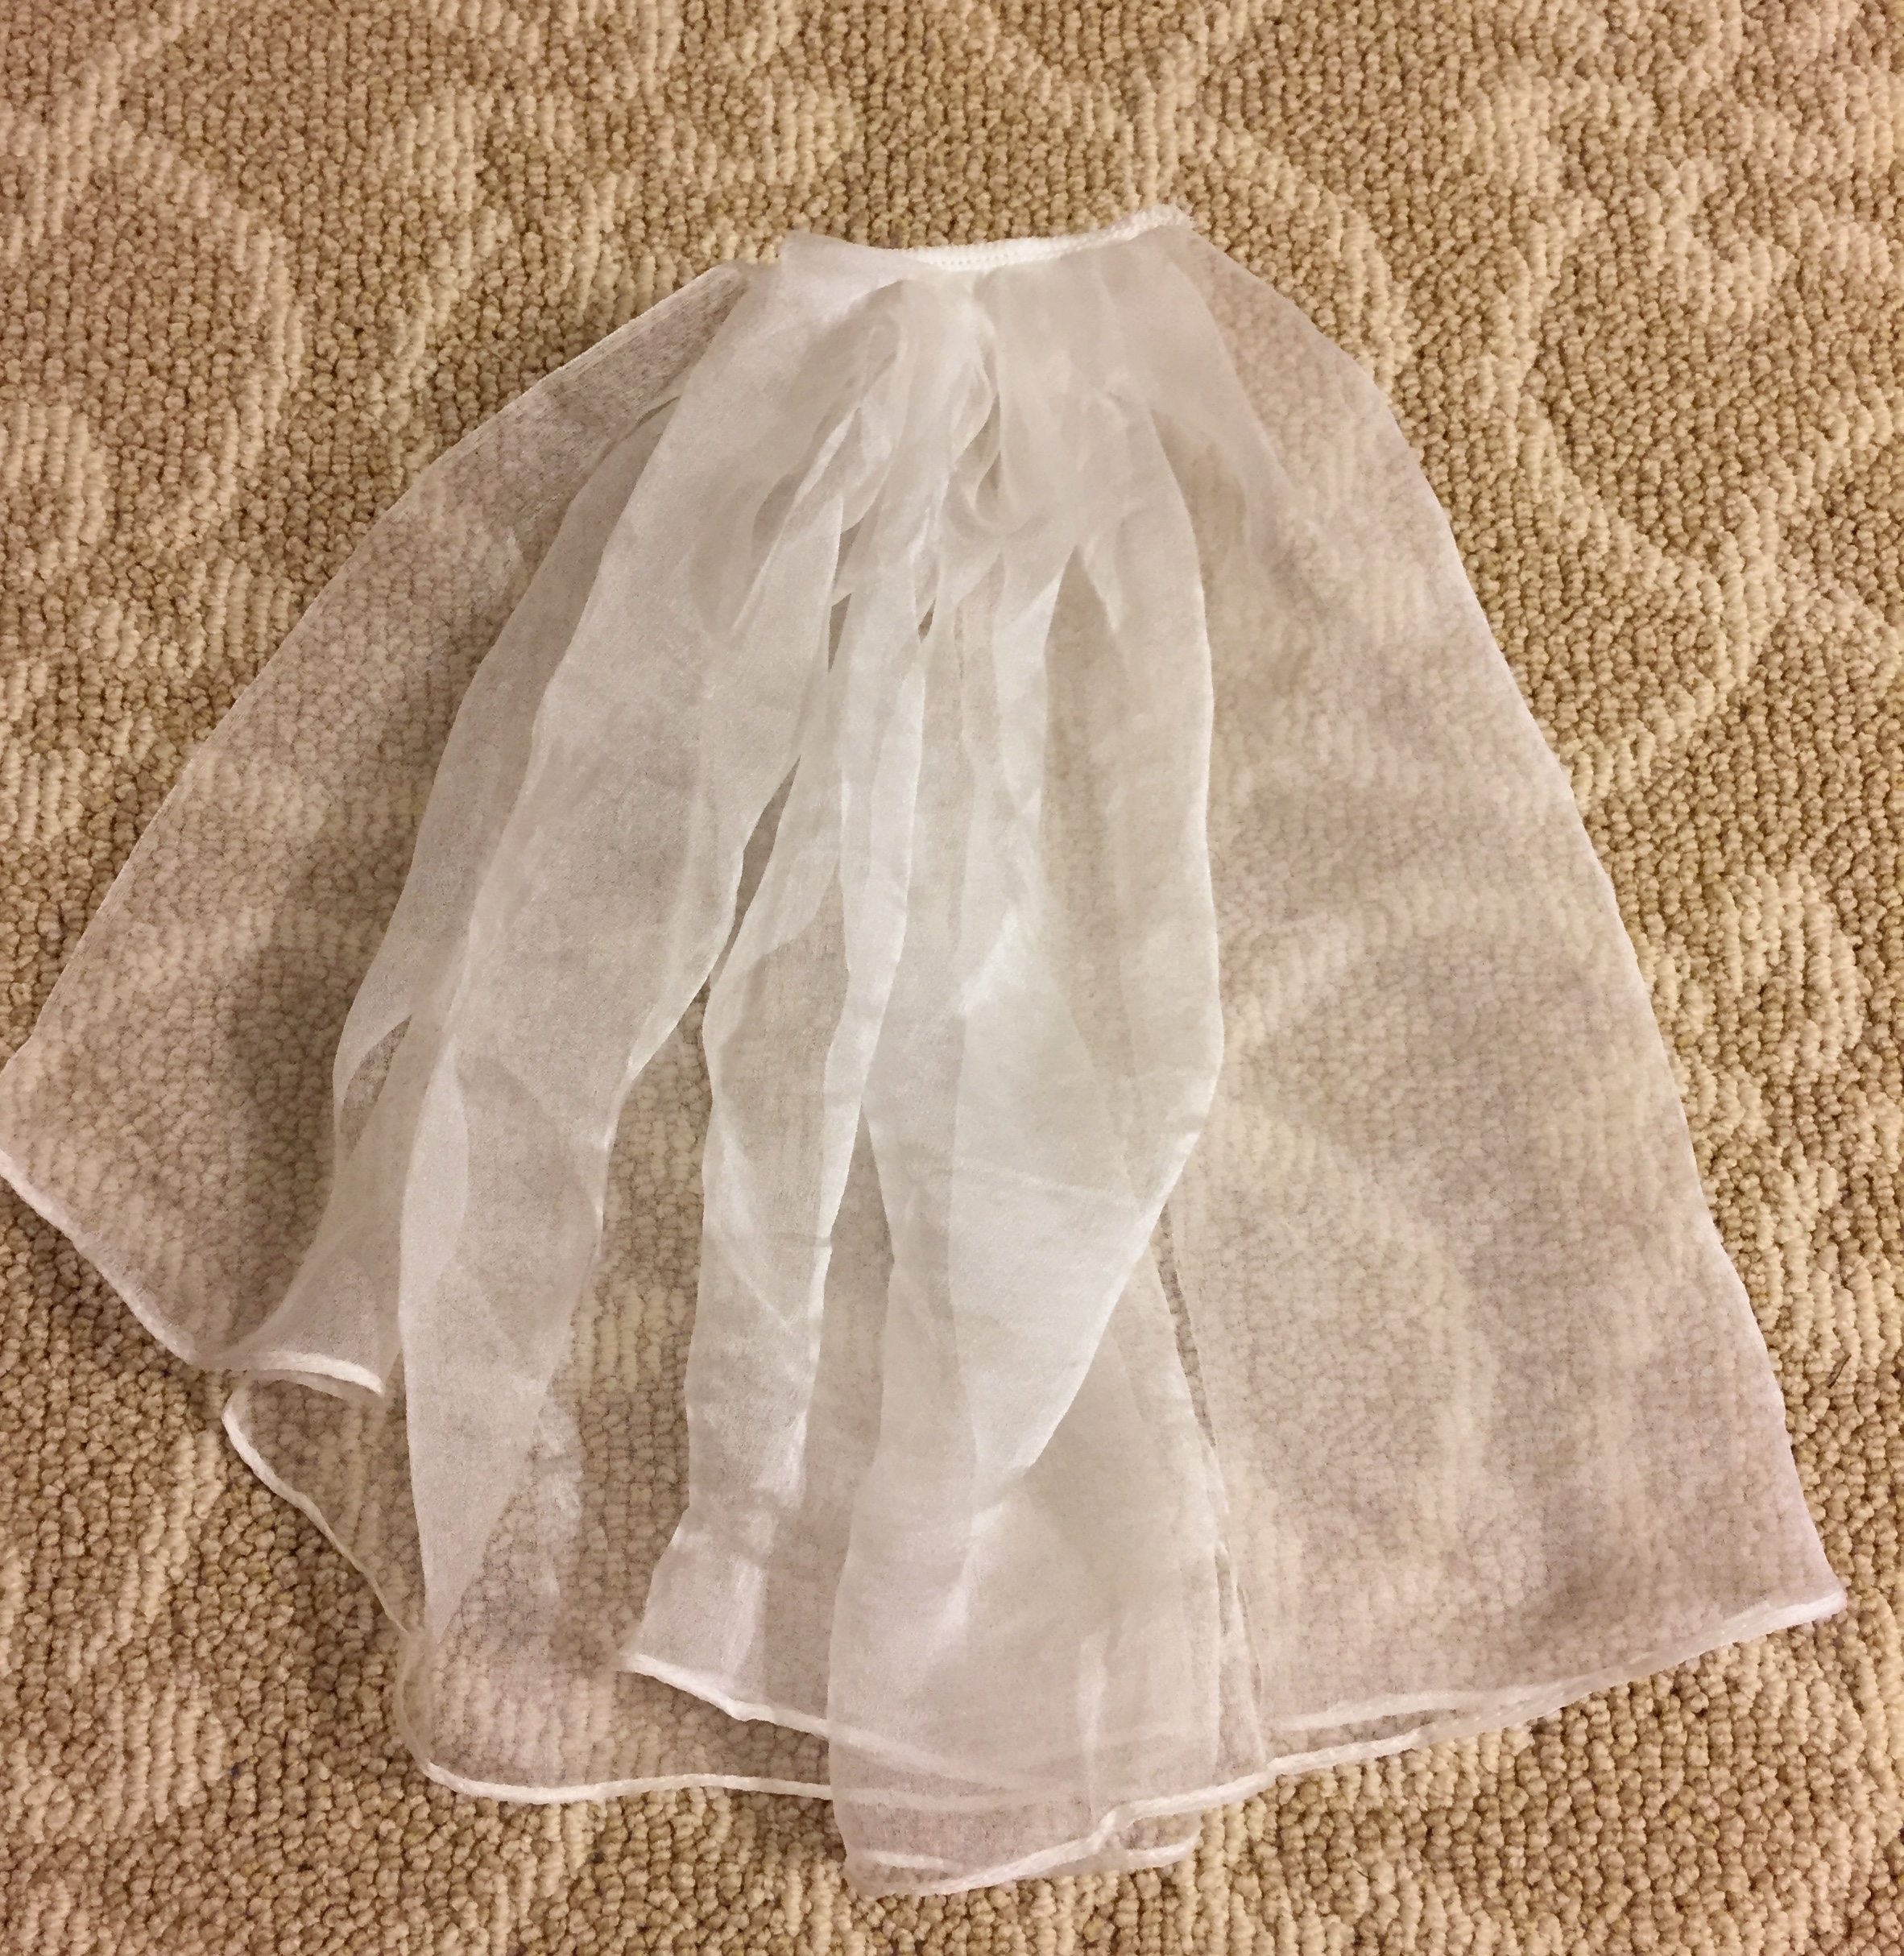
  • I used a white silk chiffon scarf to trim the bodice, so the edges were already hemmed!
  • I serged or machine-sewed any seam I could.
  • I hemmed the skirt by machine, and then covered the machine stitches by sewing lace over it.
  • Instead of cutting a facing, I used a wide vintage rayon ribbon as a hem facing.
  • I used boning that already came with a casing, so I didn’t have to make the casing. I also had casing that had little “fins” on it so that I could machine-sew the boning onto the seam allowance of the bodice.
  • I used hook and eye tape instead of individually sewing on hooks and eyes.
  • Oh horror: I serged the bottom of the bodice, then flipped it up and held the hem in place by ironing on Stitch Witchery!

Because I flat-lined the fashion fabric to a cotton base, and I couldn’t hand-baste the pieces together there is some puckering. Although it’s not up to my “usual standards” I am still quite proud of what I was able to do with what I could, and I had fun with my friends!IMG_2848

Underneath the skirt I wore a long petticoat based on the Truly Victorian bell skirt pattern, with a big ruffle and trim attached.IMG_2162.JPG

IMG_2175

I wore a custom S-bend corset from Redthreaded, with hip pads, and a bust pad. The padding is necessary to achieve the exaggerated Gibson silhouette. I went from an 8 inch differential in my waist and hips to 13 inches, with only a 1 inch waist reduction!

IMG_E2015IMG_2016

I used the “bust improver” pattern from Wearing History, which comes in 2 sizes. I recommend it to give your girls a little extra something!Screen Shot 2018-11-04 at 8.11.32 PM.png

IMG_2708

Project costs:

  • 8 yards silk taffeta: $113.44 including tax from the LA Fabric District (I still have 3 yards left!)
  • 10 yards white veins lace: $34.01 including shipping from Aliexpress
  • 15 pairs grape leaf appliques: $36 including shipping from Aliexpress
  • bodice pattern: $10.75 from Truly Victorian (digital file)
  • skirt pattern: $0 (already used previously)
  • vintage rayon ribbon spool: $3
  • silk chiffon: $0 (gift from friend)
  • 3 yards white cotton for petticoat: $12 from eBay
  • pink trim for petticoat: $3 from garage sale
  • boning, thread, hook and eye tape, flowers, etc. from stash: ~$10

Total cost: $222.20 (plus I have a lot of silk and lace leftover I’ll probably sell to recoup some costs). Normally I don’t tally the costs until the dress is finished, and I still have to add the grape appliqués, but at this point it’s additional labor and not additional materials, so I added everything up. (When I started this blog my goal was to make things for $100 or less, and I’m seeing costs creep up because of nice materials. Hopefully my next project is a lot cheaper!)

All the hair you can see in the picture below is my own, which is currently shoulder-length. I pinned a big hair rat to the top of my head and two smaller ones on the sides, and then all the hair was pulled over the rats and pinned into place. The messy center was hidden by a faux hair bun pinned on top.IMG_2856

I’m not sure yet, but this might be a nice gala gown for Costume College 2019, when it’s all done!


Costume College 2018 Outfit Recap

I went a little overboard at Costume College this year and brought 8 costumes. Originally I thought I’d just dress up for the evening events and then bring some vintage dresses for casual daywear. Then I got recruited into various group costumes and things snowballed from there . . . I’ll be following up this post with more featuring the costumes worn by the other talented individuals at Costume College, but for now, here is my parade!

At the Thursday Night Pool Party the theme was “In the Realm of the Goblin King,” so of course I had to dress as Jareth! Elizabeth was my baby Toby.IMG_0366

The boots are American Duchess Tavistocks and the blouse is a vintage Gunne Sax. Everything else was cobbled together from modern clothes.IMG_0476

On Friday I  wore my Victorian bicycling outfit with the “Adventurer’s” group of sporting ladies.IMG_0639IMG_0643IMG_0613

Friday night I wore my Crimson Peak Edith picnic outfit, along with my Elizabeth as another version of Edith, and Adrienne as our “sister-in-law” Lucille. I’ve worn this outfit before but it wasn’t fully finished then. I’ve made a number of upgrades and will be making a more detailed construction post on the blog.IMG_0674IMG_0737IMG_0735

It was a delightful surprise to even get some kudos on Instagram from Kate Hawley, costume designer for Crimson Peak!IMG_E1265

On Saturday I was a member of a surprise group of Downton Abbey maids. It was decided I was the “head maid” since I had the most lace, and our pregnant friend Christine played the part of “the fallen maid” that got a little too friendly with the young master of the house.IMG_0790IMG_0797

We passed out buttons as prizes to people who could identify us correctly. (As Asian costumers we’ve experienced people calling us by each others names at conventions for years, so we thought it’d be fun to dress alike this year). Christine also made embroidered patches for us to wear with this same design.IMG_0823

Saturday night was the grand gala! I have so many wonderful pictures for a future post, but here I am in my Vice Admiral Holdo, along with my brilliant friend Kelsey in her Queen Amidala.IMG_1017IMG_1022

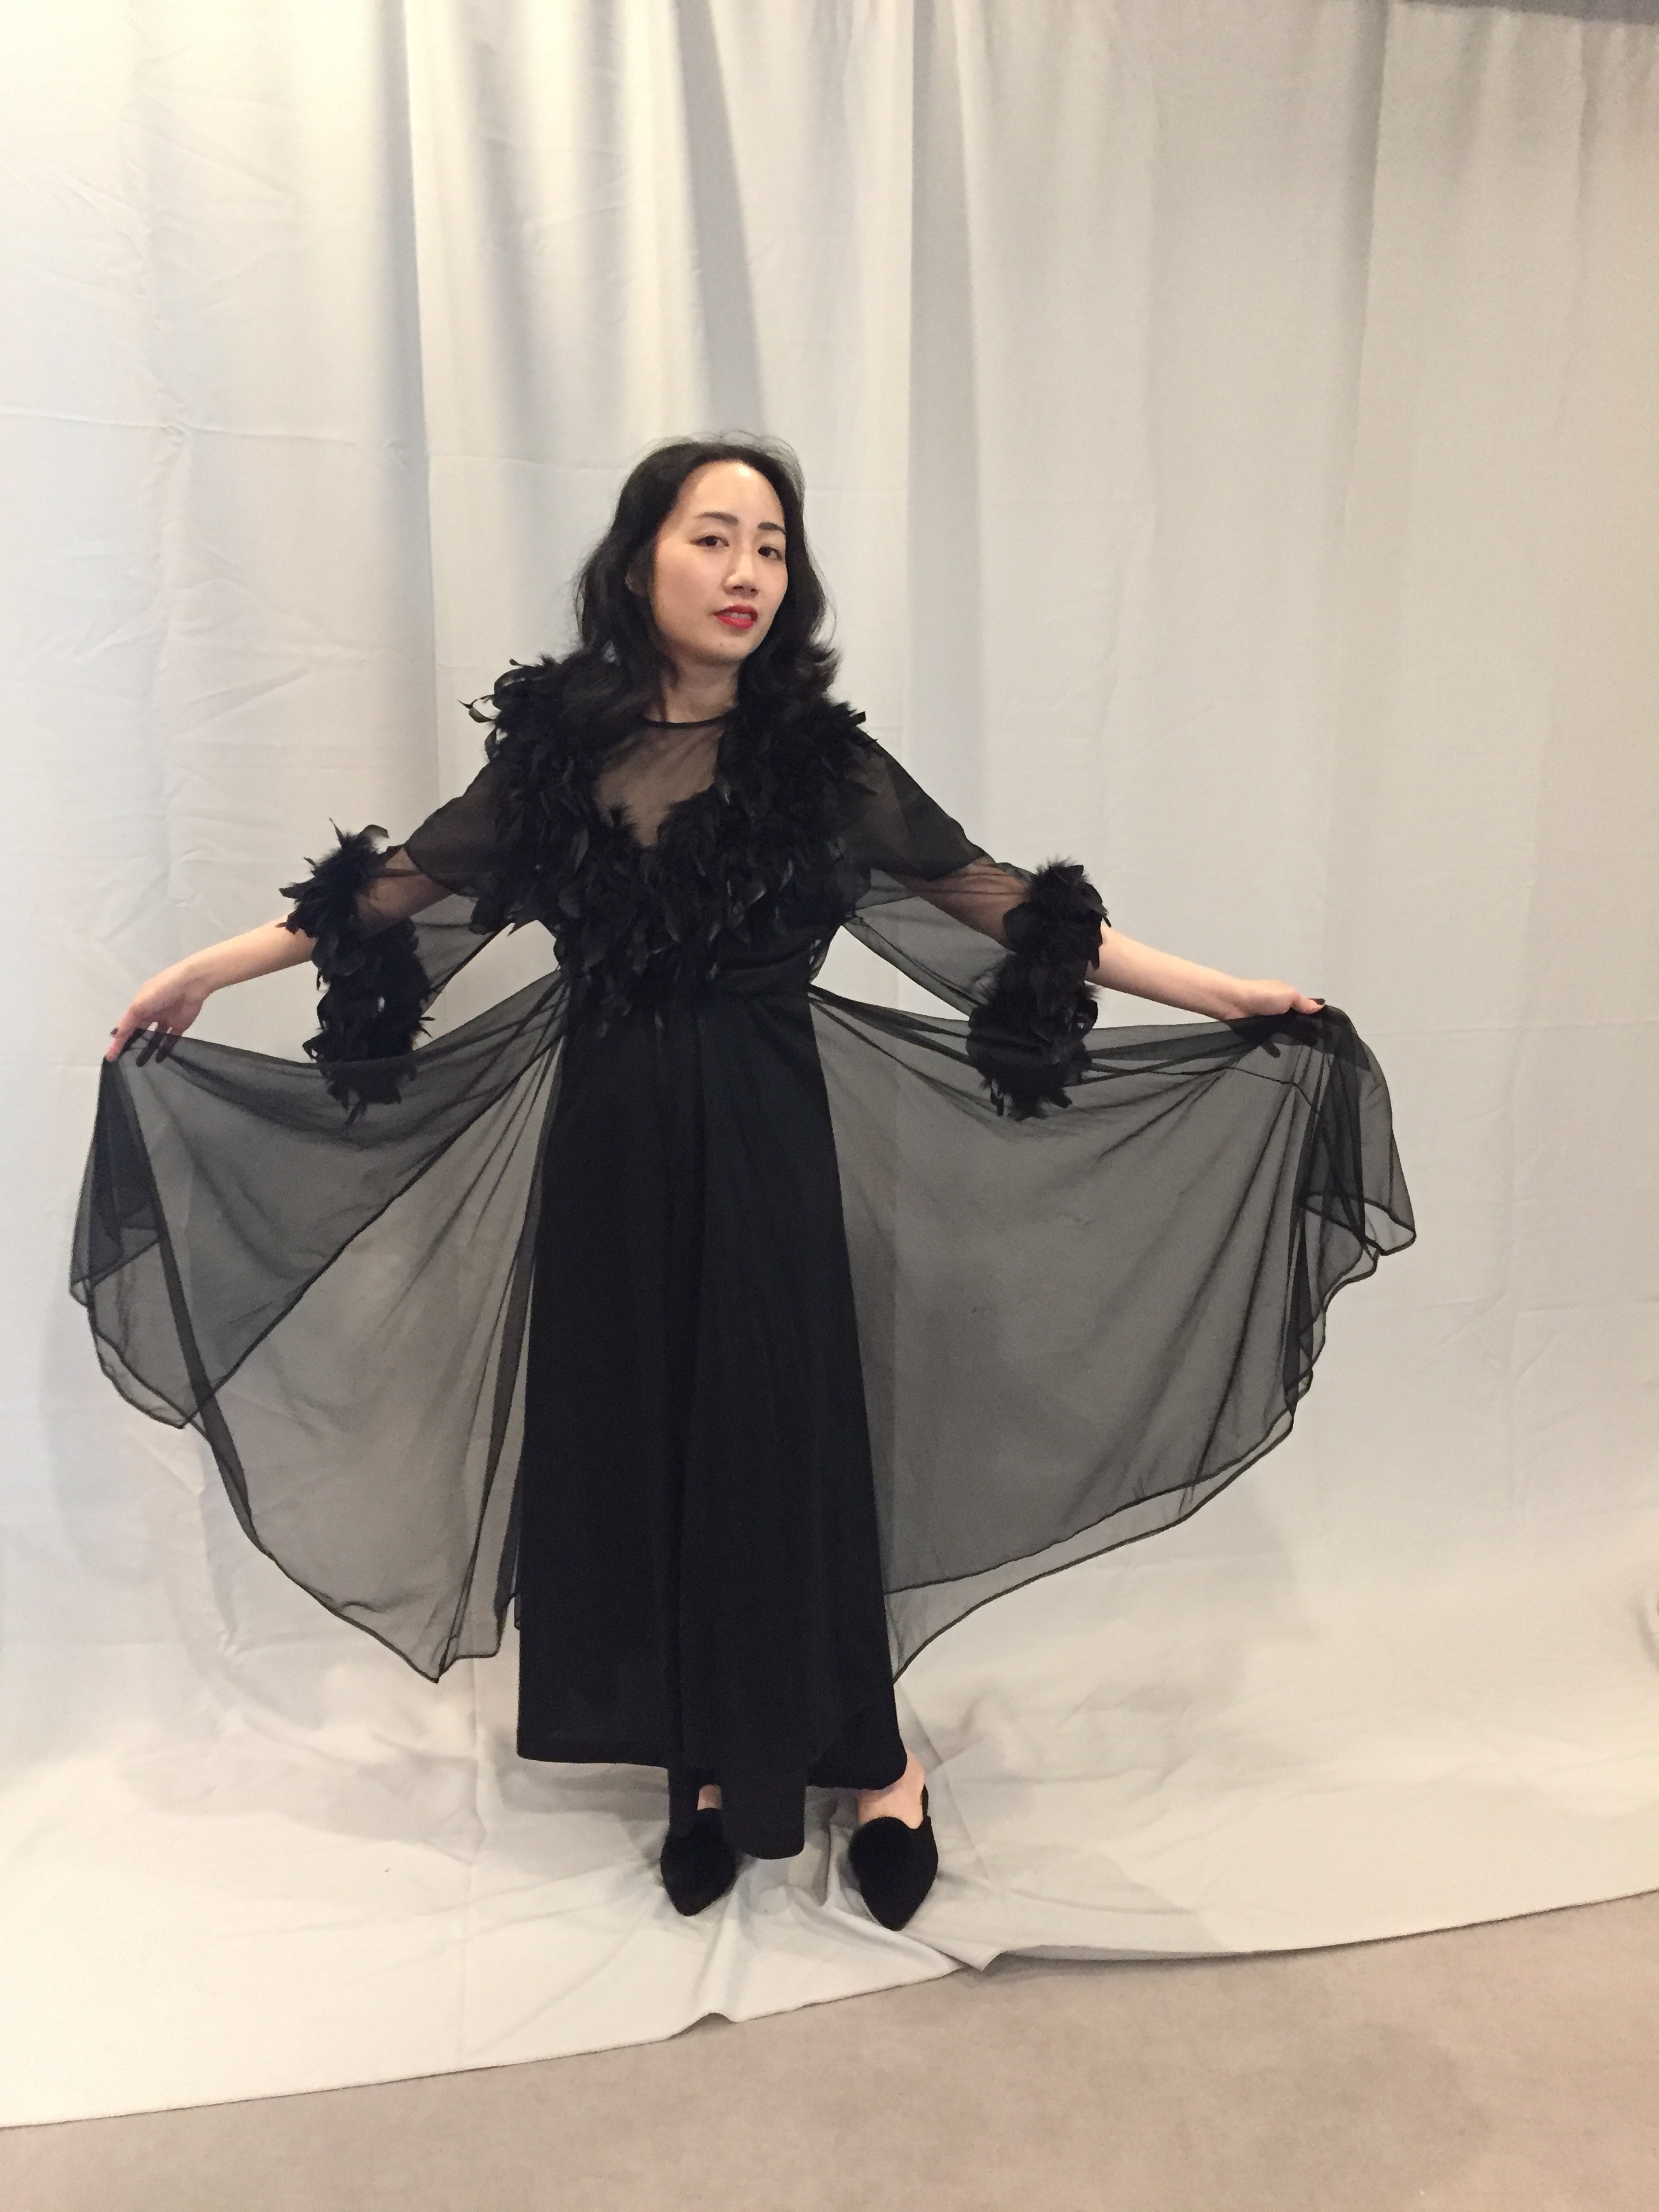
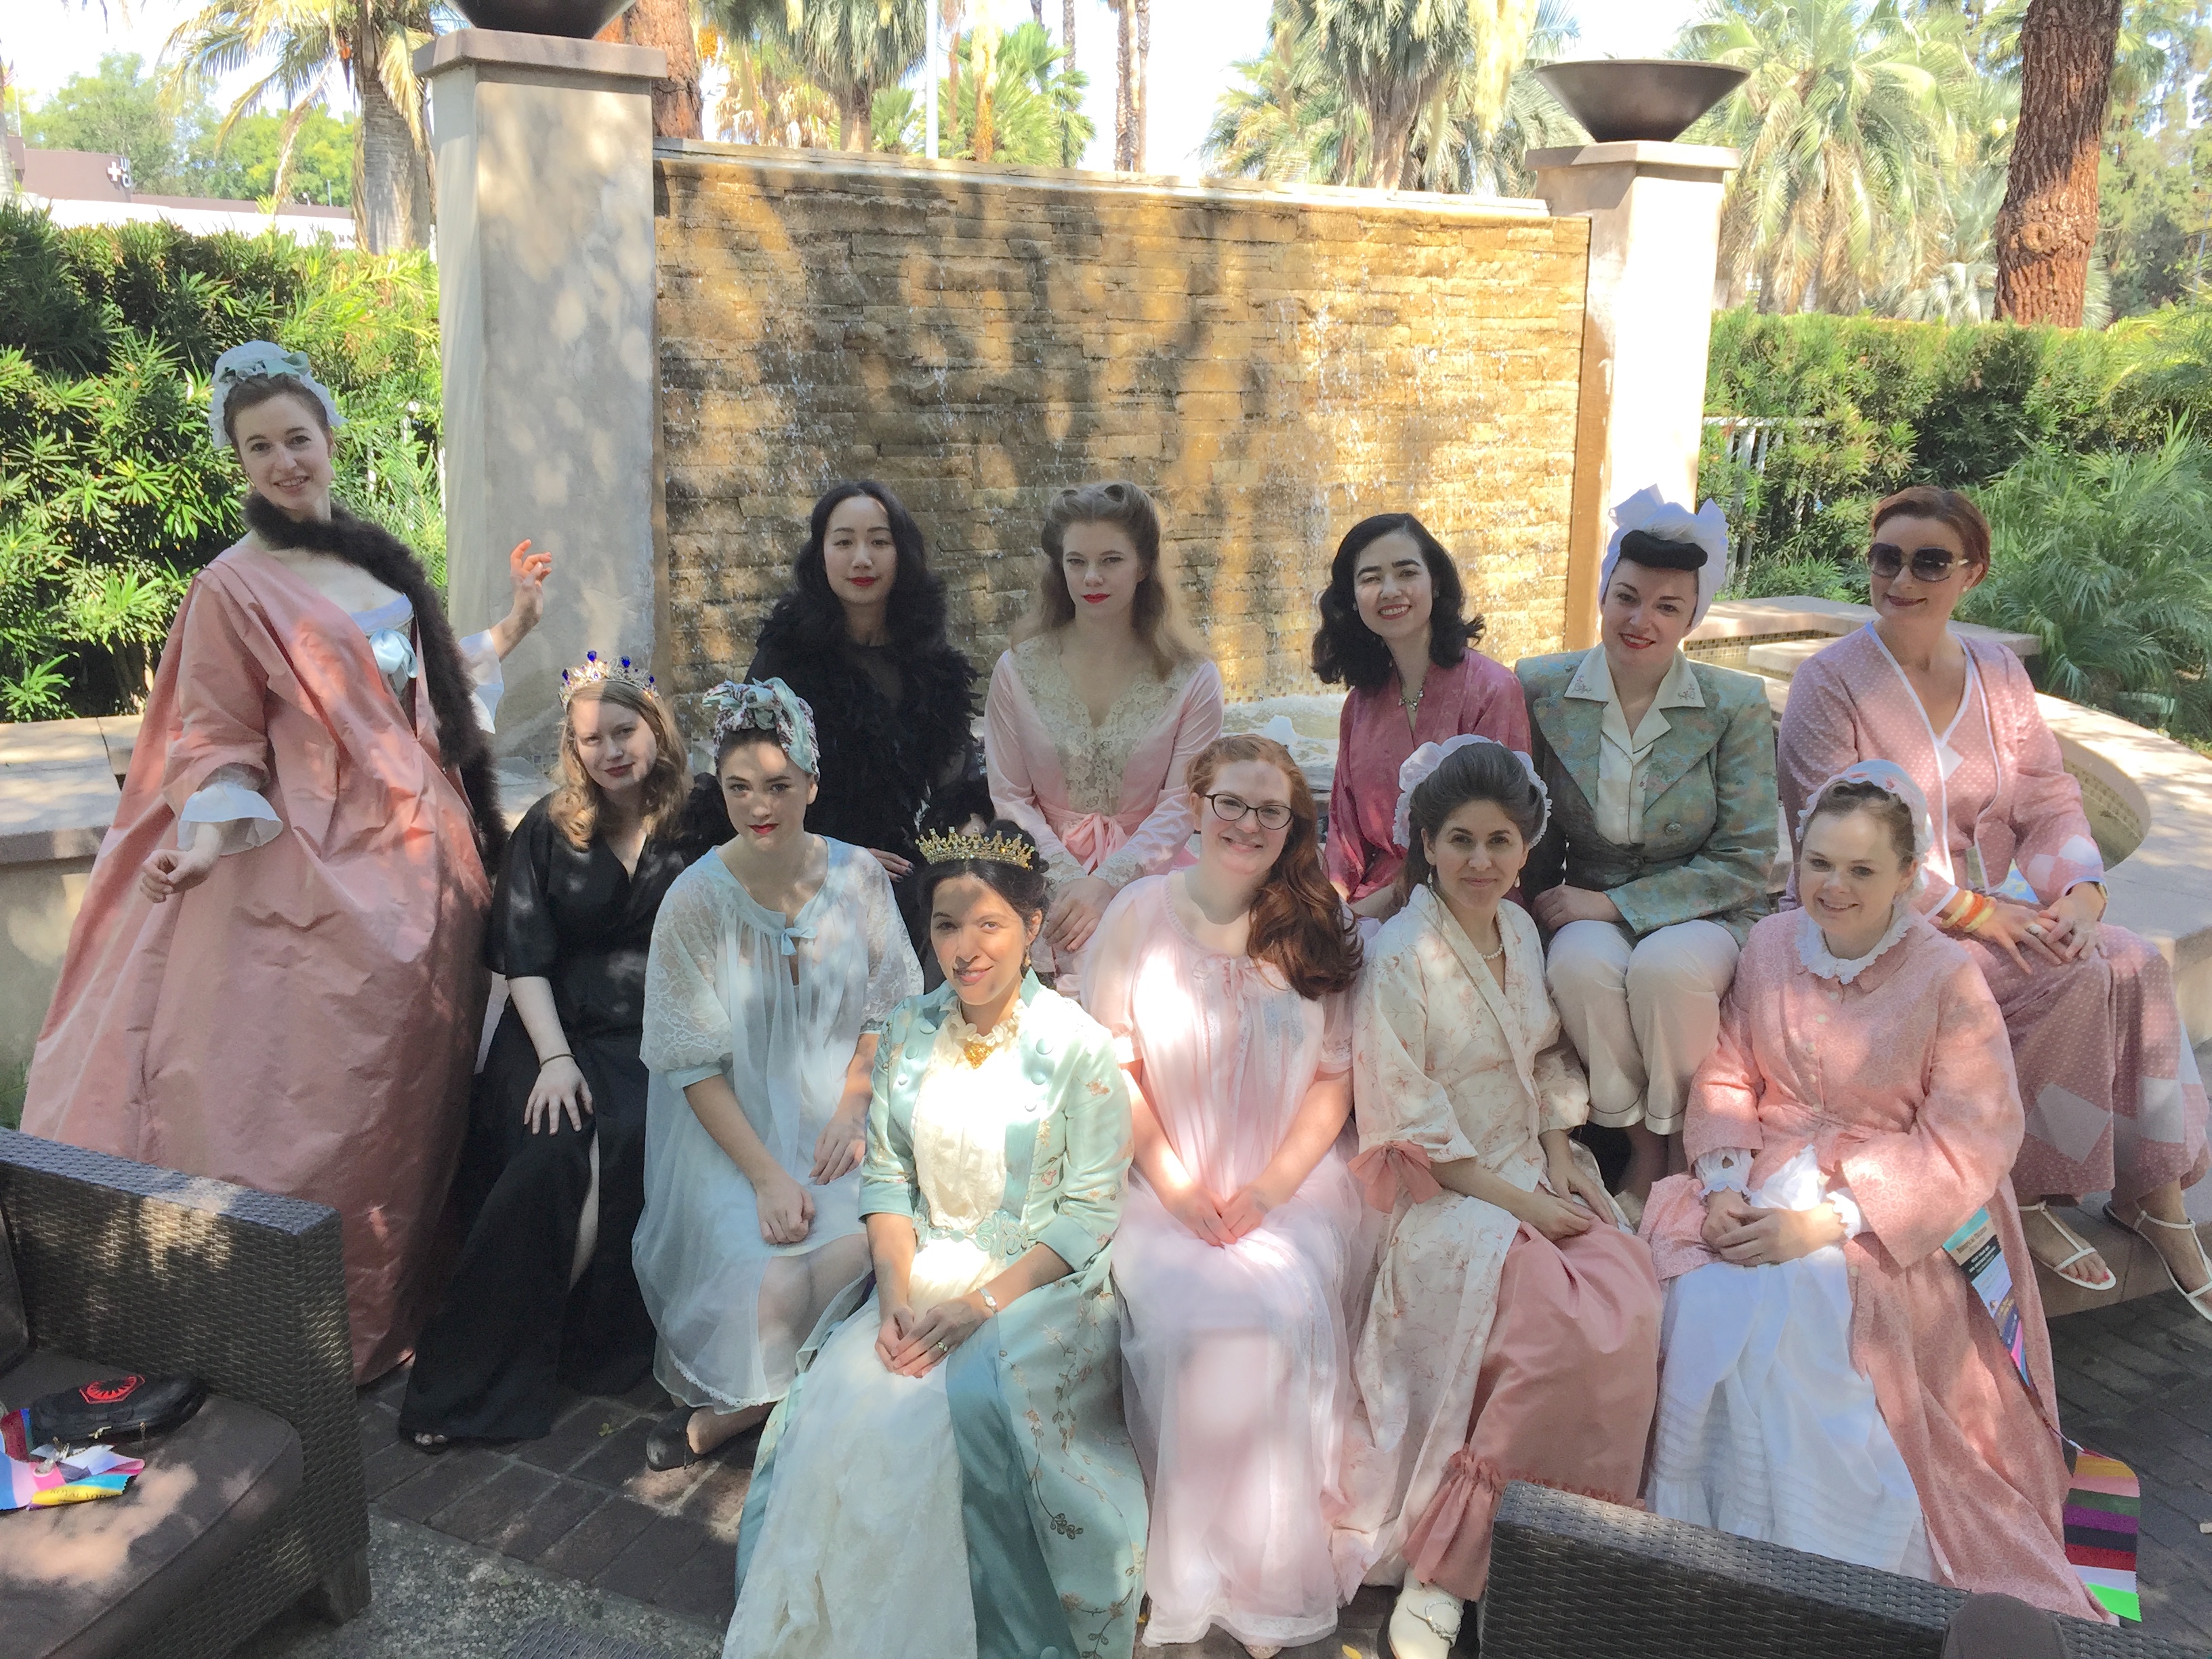
On Sunday I wore a vintage peignoir with feather trim over a black nightgown, and joined other ladies wearing their glamorous “Sunday undies.” IMG_1136IMG_1139IMG_1169

For the rest of the day on Sunday I rewore my vintage-style Star Wars First Order uniform, with a new purse and re-tailored collar. I had the privilege of a photoshoot with Gloria of In the Long Run, and here is a preview image I received. I can’t wait to see the final photos!38122893_551589561924580_164237582304018432_o.jpg

Adrienne also took this slow-motion villain cape action video. (Click on the link, not the photo). https://www.instagram.com/p/Bl2G7-vDvse/?taken-by=freshfripperyScreen Shot 2018-08-10 at 10.17.34 AM.png

For those of you keeping track, outfit #8 was a fuzzy Totoro kigurumi (which I forgot to photograph).  It was very useful during the evenings when I wanted to feel cozy. (FYI, for anyone feeling a little unease, I am an outlier that brings more costumes than average. You are absolutely not required to dress all day, every day for CoCo. Many people attend classes in jeans, and not every attends the evening social events).

I had an incredible time at Costume College! Stay tuned for more posts featuring other costumers.

Victorian Bicycling Outfit at Roaring Camp Railroads

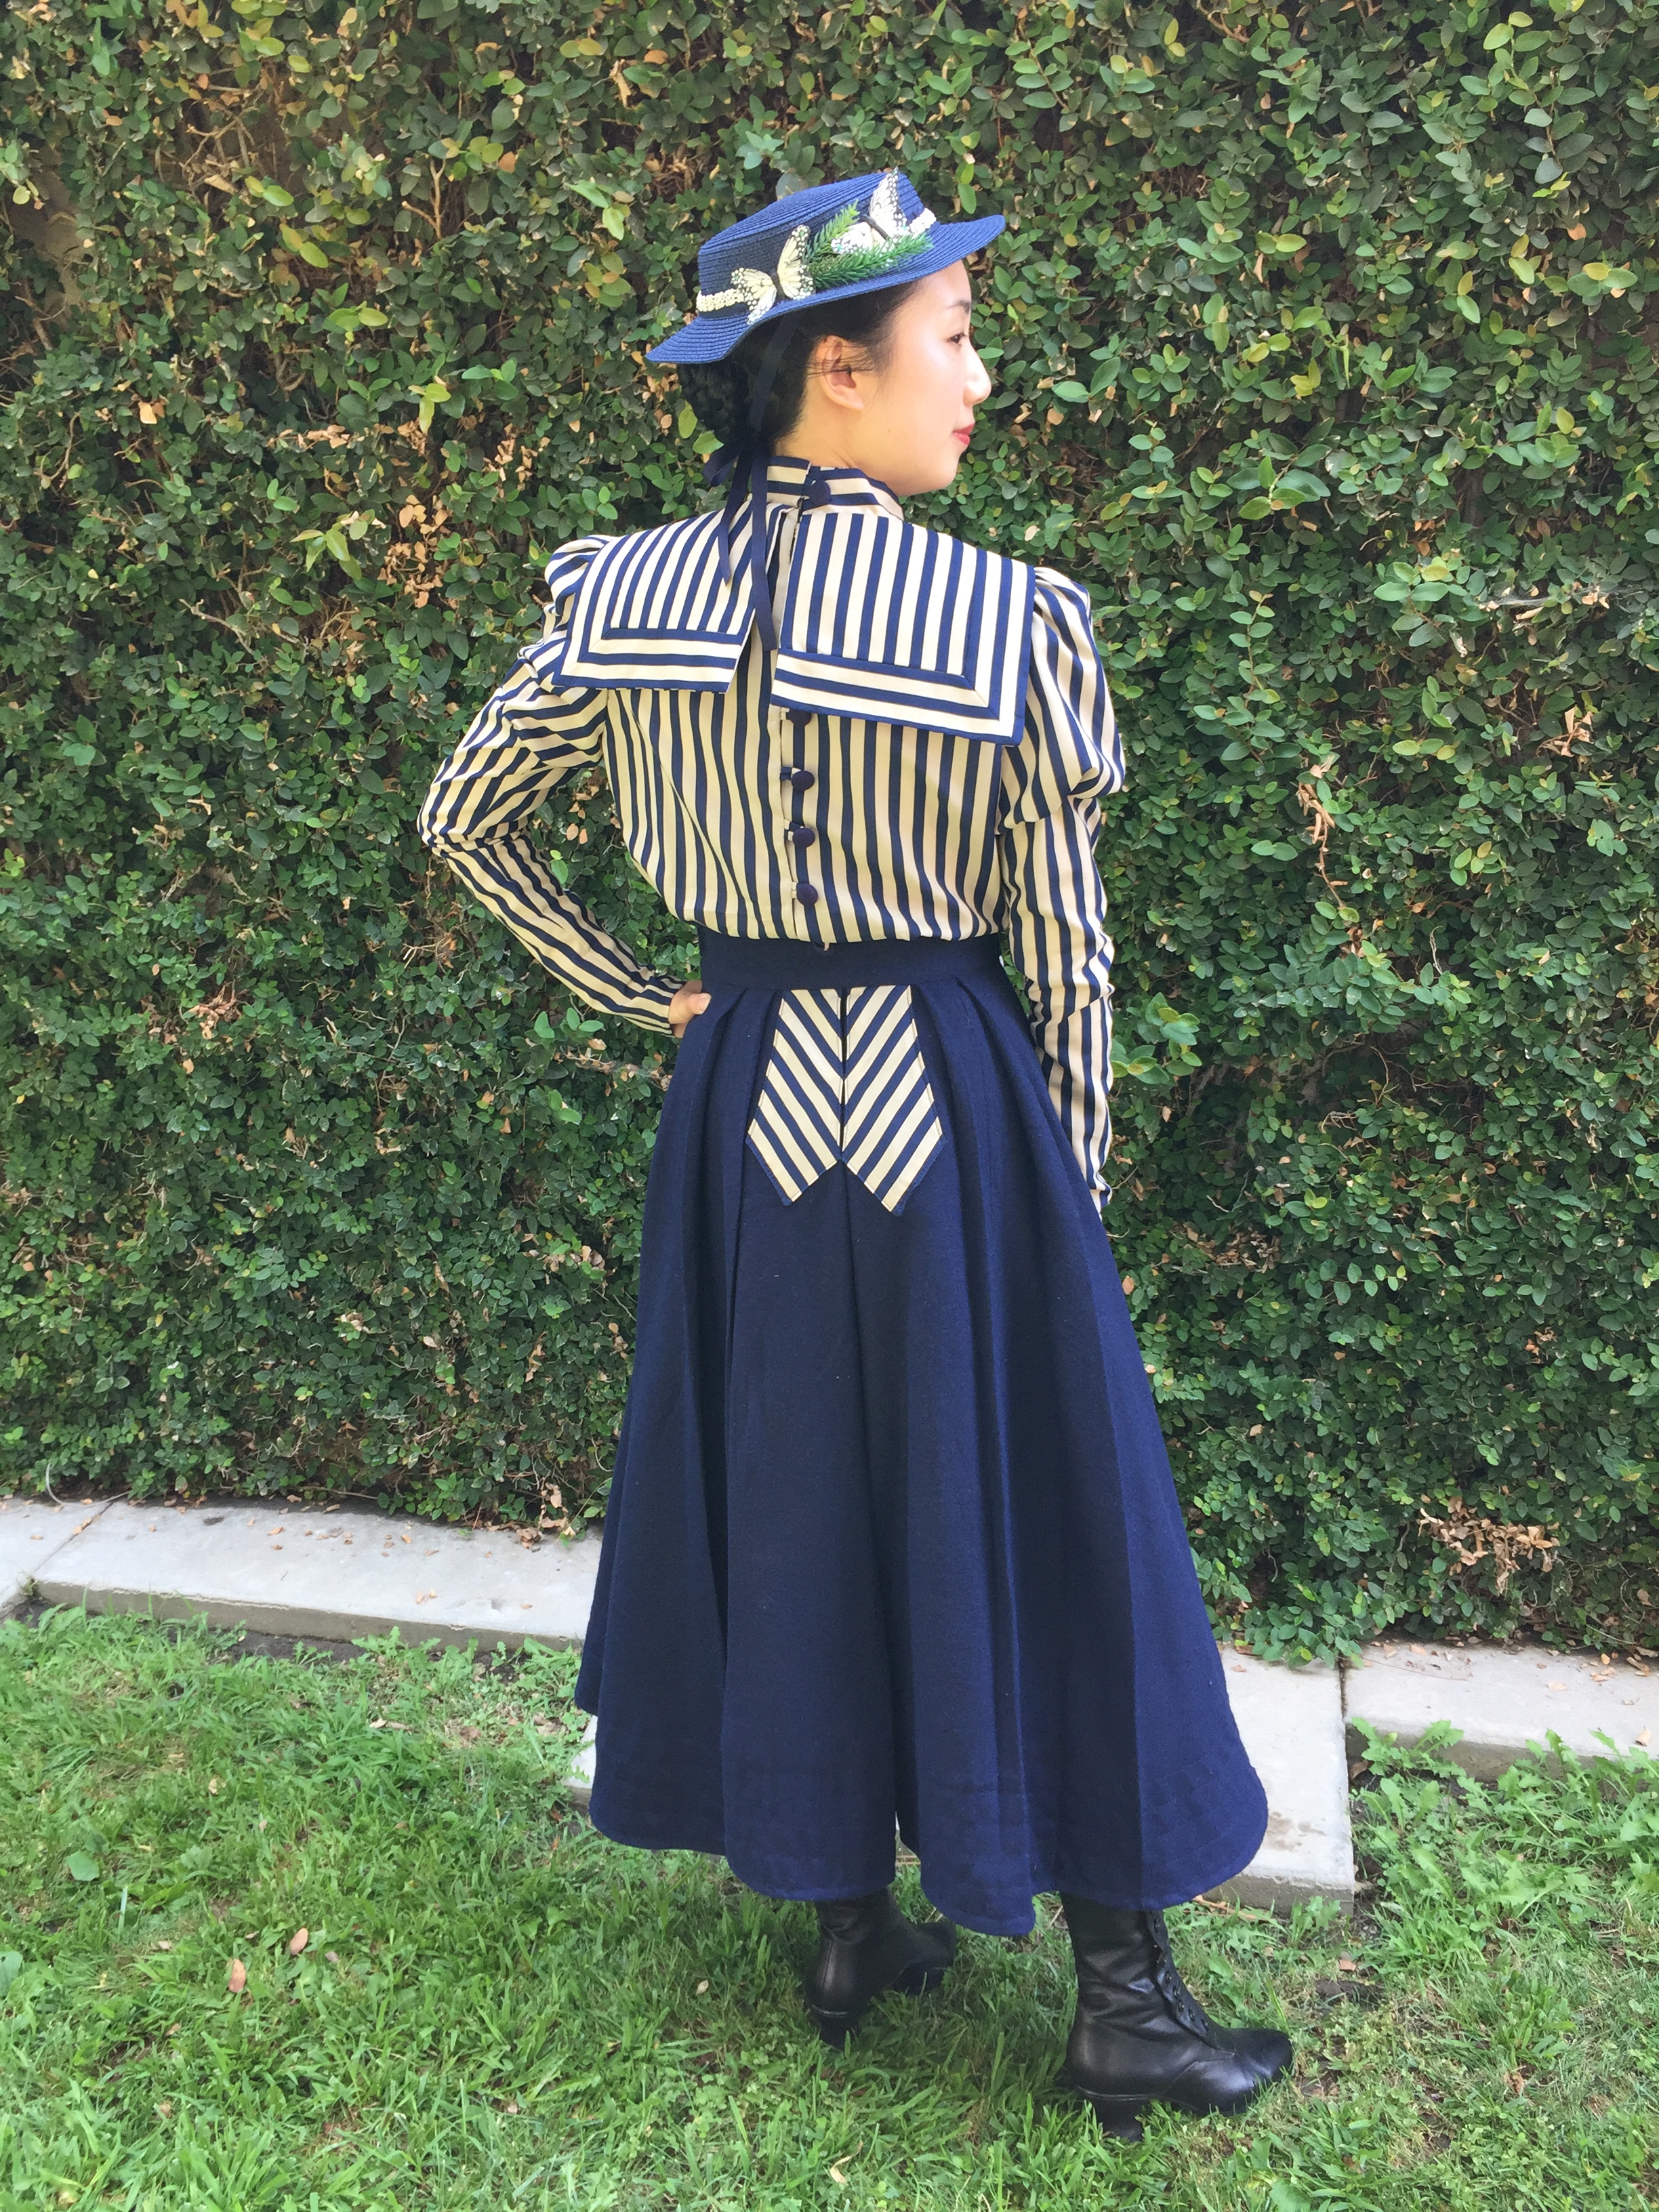
Last month I went to a wonderful steam train ride and BBQ, hosted by the Greater Bay Area Costumer’s Guild at Roaring Camp Railroads in Felton, California. I wore a Victorian/Edwardian-inspired bicycling outfit with a boater hat.

9N6A3285

Photo by Chris Wiener

9N6A3291

Photo by Chris Wiener

9N6A3294

Photo by Chris Wiener

The blouse, skirt, and hat were made by me (with construction details at the end of this post), and the boots are Tavistocks from American Duchess.

Roaring Camp Railroads was very picturesque, with a charming little Western “town,” and a beautiful ride through the redwood forest on a real steam train. I highly recommend taking your family!

There were plenty of places to lounge around, like our cowgirl Elizabeth did.IMG_8232

Natalie had fun balancing on the tracks.IMG_8414.JPG

There were also couples, like Kim and David, enjoying the day out.IMG_8245.JPG

It was my first time on a steam train, so it was quite the adventure!IMG_8372

A covered wagon was available for photos.IMG_8369

We went deep into the woods . . .IMG_8309

. . . to commune with nature . . .IMG_8350

. . . and to have Elizabeth eaten by a tree.IMG_8326

After the filling BBQ I relaxed by doing some fence-sitting.IMG_8396 copy.JPG

There was quite the turn out of Victorians, steampunks, and cowboys!

from GBACG FB.jpg

Photo by GBACG

In a previous post I described how I made my blouse, but upcycling an ugly 1990s dress to take it back 100 years! Before and after:

For my skirt, I used the Edwardian Bicycle Skirt pattern from Black Snail Patterns on Etsy. The skirt was made out of a navy wool-blend fabric. (I started with almost 4 yards of 60″ fabric, and had about 1.5 yards left over that I turned into a cape that was too warm to wear at Roaring Camp that day).  The front and back of the skirt was accented with decorative panels made from the same fabric of my blouse, as well as matching fabric-covered buttons.IMG_6299IMG_6296

The hem was stiffened a little by a self-facing that was top-stitched in place.IMG_6313

I made my boater hat by my usual refashion of removing extra layers of braid in a cheap hat, hot-gluing the brim back to the crown, hiding the joins with ribbon and lace, and then adding trimmings. FFGJ0368.JPG

Project costs:

  • 4 yards wool blend fabric: $45 including shipping from Facebook destash group
  • Skirt pattern PDF: $6.16 from Etsy (bought during a sale)
  • 1990s dress: $12 + $5 shipping from Facebook
  • Boater hat: $2.80 from eBay (with coupon)
  • Gimp braid, butterflies, ribbon, small & big covered button kits: $0 (leftovers from previous projects: Regency coat, Crimson Peak hat, a 20s dress, a Downton Abbey maid outfit, and a floral vest!)
  • Thread, glue, misc. from stash: ~$3

Total cost: $73.96

This was a comfortable outfit for a day of traveling; I didn’t even wear a corset. 😉

IMG_8451.JPG

NEBZ9597.JPG

Gibson Girl (Part 1)

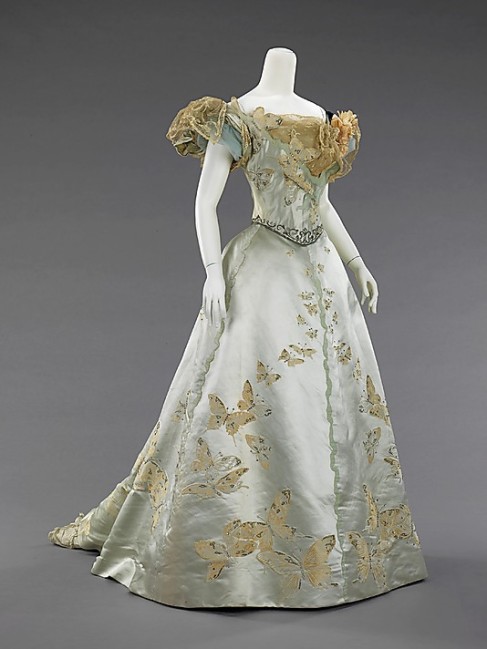
My next major project is to make a Gibson Girl ensemble for an event in April.  I’ve been looking at pictures from the Metropolitan Museum of Art’s website, and I rather like some of the elements in this beautiful butterfly dress.

Image

(Source http://www.metmuseum.org/collections/search-the-collections/80093882?img=4)

In particular, I like the use of appliques, and the embroidery around the bottom of the bodice. If you look carefully there are little rhinestones scattered about.

I am not sure yet about the dress design but I knew I wanted embroidered tulle lace. I decided to buy some great lace and then find a solid-colored fabric to match, instead of the other way around. My color scheme will be baby blue, accented by black. It reminds me of Alice’s dress in Tim Burton’s Alice in Wonderland.

Image