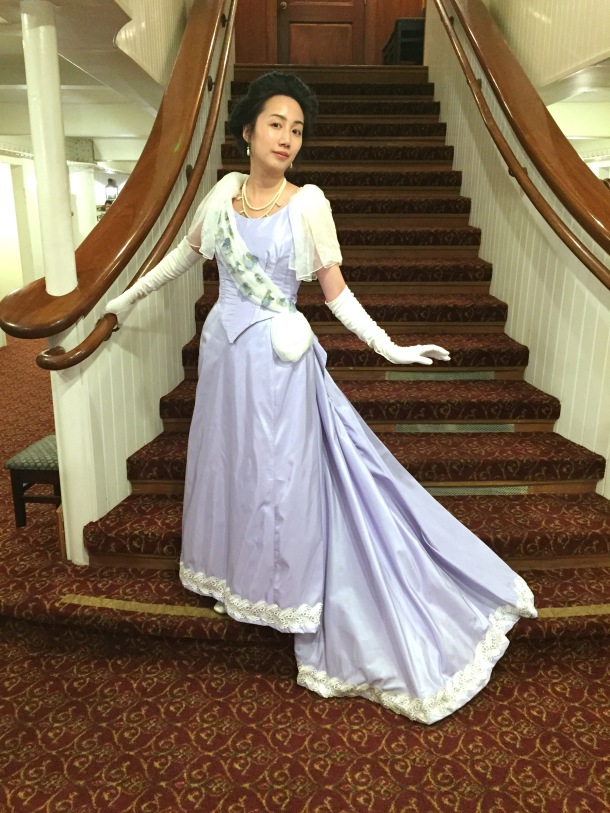
I attended a dinner party on the Delta King River Boat in Sacramento. The event was hosted by the GBACG and people were encouraged to wear clothing from 1870-1900. I decided to make a Gibson Girl dress out of a Wedgwood blue silk taffeta, trimmed with white lace.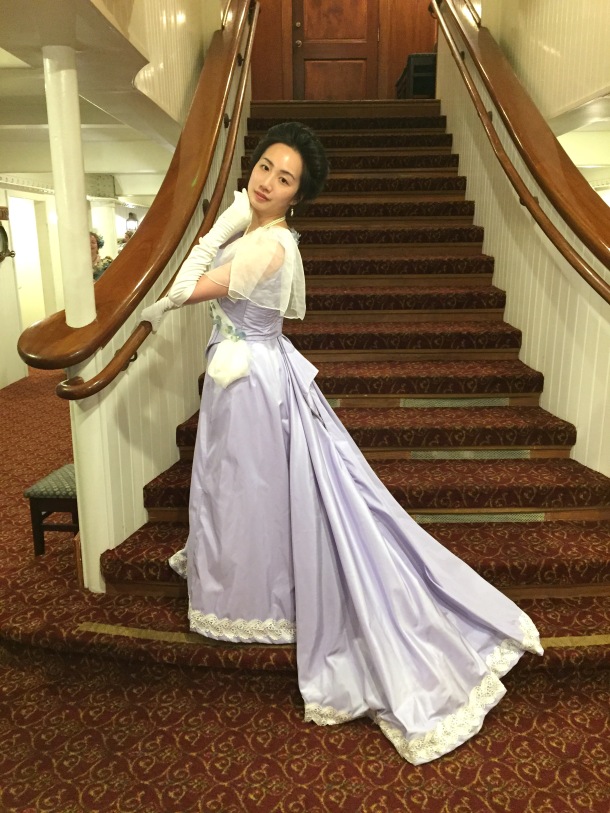
My inspiration was the famous Wedgewood pottery. 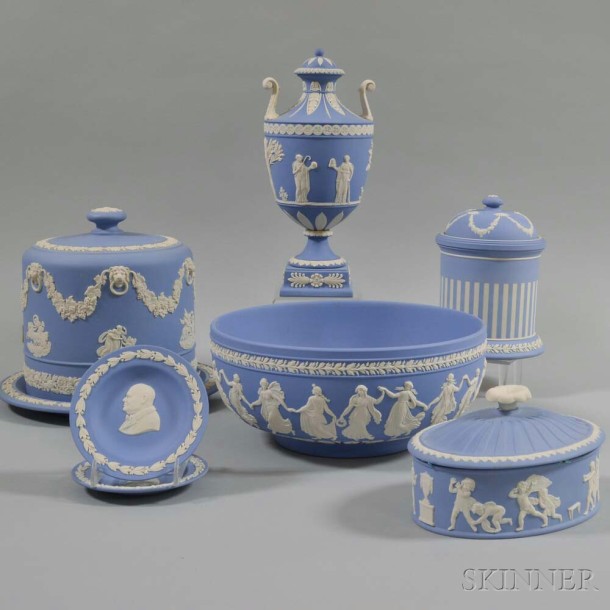
I have some additional appliqués I purchased that I didn’t have time to add for this event, but will for the next wearing to make it even more like pottery. 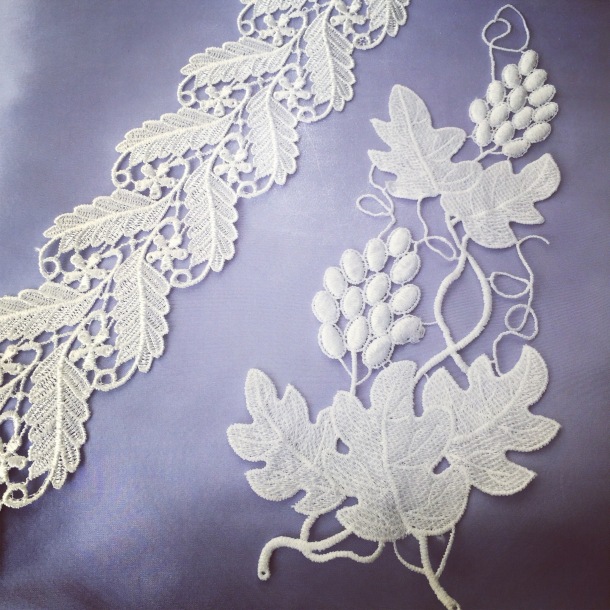
The bodice is made with Truly Victorian’s 1892 ball gown bodice and 1893 bell skirt patterns. I found the fit of both to be good, but the bodice is very long and I had to cut a bit from the bottom, even though I am long-waisted.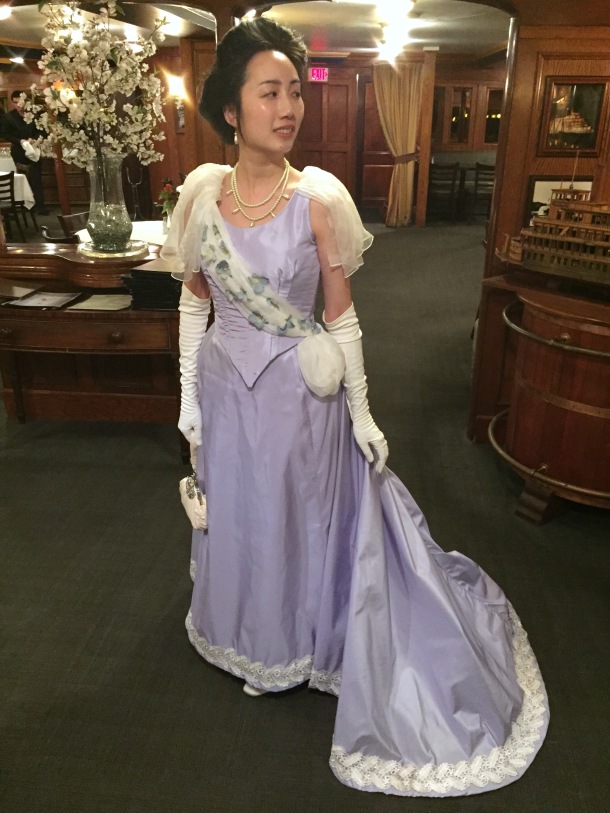
Some bodice in-progress photos that show the amount that needed to be trimmed:


My jewelry is by In the Long Run. My gloves are vintage and the purse is from a bridal shop. I am wearing Tissots from American Duchess.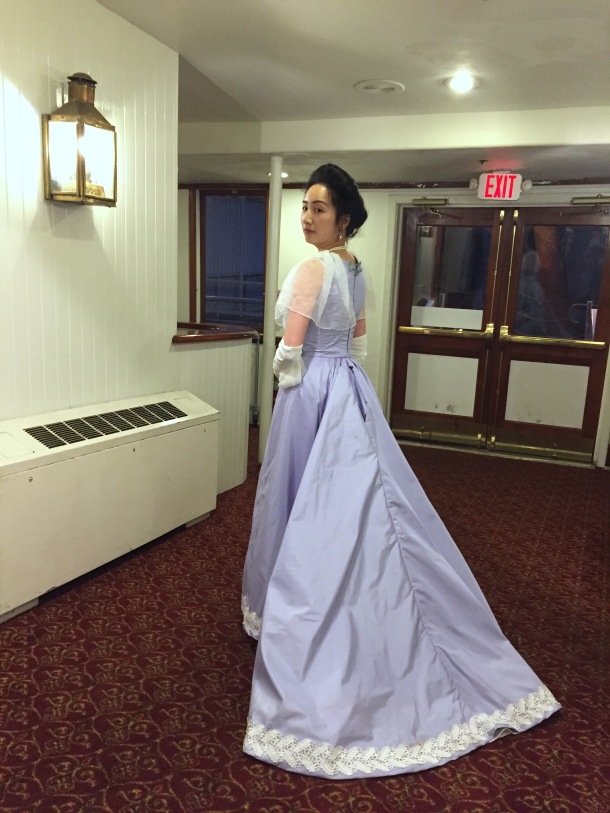
I did not use the sleeve pattern that came with the bodice pattern. Instead I gathered up a rectangle of silk chiffon to make flowing sleeves.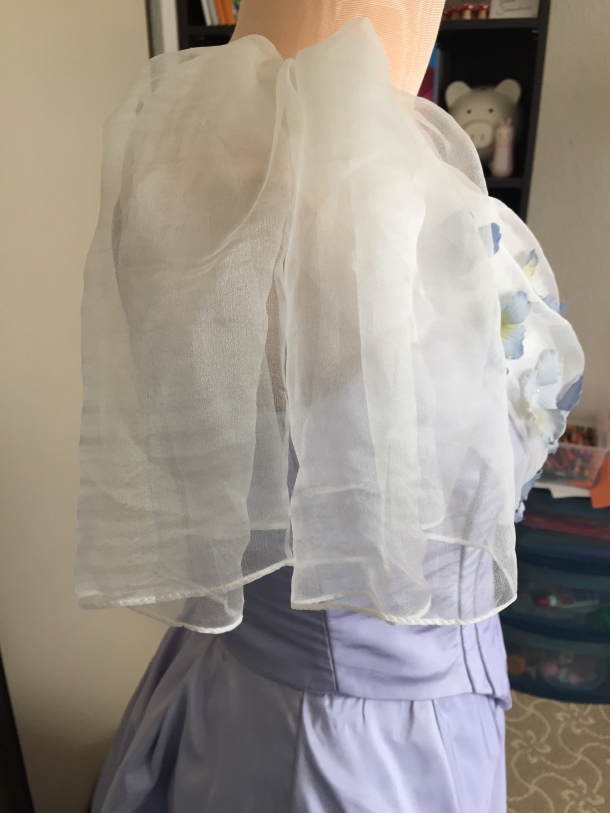
The top was gathered and serged.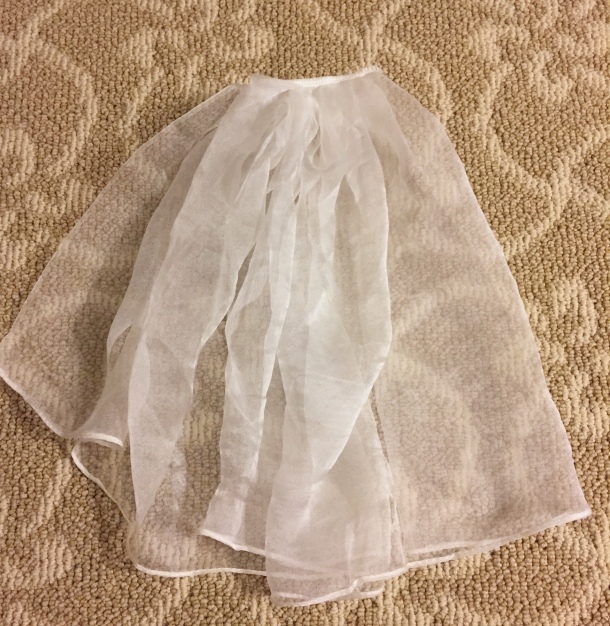
The back closes with hooks and eyes.
I decorated the front with a silk chiffon sash and little flowers that I put faux pearl centers in. 
I would have liked to hem the end of the sash and add little pearls to the edge, but I was recovering from a hand injury and couldn’t do any hand-sewing, so it’s just a pouf for now. Thus I had to get creative with ways to avoid it!
Ways to save on hand-sewing:
- I used a white silk chiffon scarf to trim the bodice, so the edges were already hemmed!
- I serged or machine-sewed any seam I could.
- I hemmed the skirt by machine, and then covered the machine stitches by sewing lace over it.
- Instead of cutting a facing, I used a wide vintage rayon ribbon as a hem facing.
- I used boning that already came with a casing, so I didn’t have to make the casing. I also had casing that had little “fins” on it so that I could machine-sew the boning onto the seam allowance of the bodice.
- I used hook and eye tape instead of individually sewing on hooks and eyes.
- Oh horror: I serged the bottom of the bodice, then flipped it up and held the hem in place by ironing on Stitch Witchery!
Because I flat-lined the fashion fabric to a cotton base, and I couldn’t hand-baste the pieces together there is some puckering. Although it’s not up to my “usual standards” I am still quite proud of what I was able to do with what I could, and I had fun with my friends!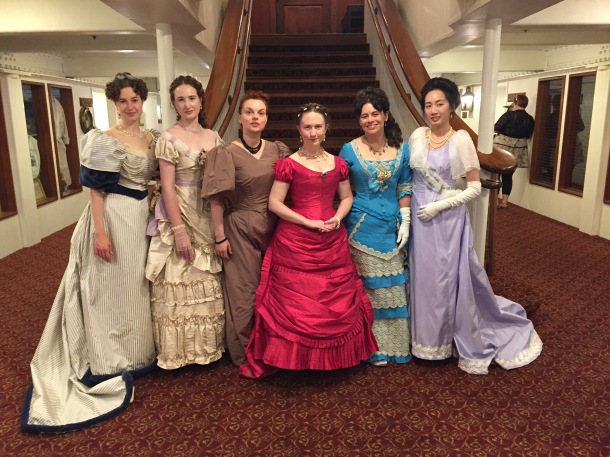
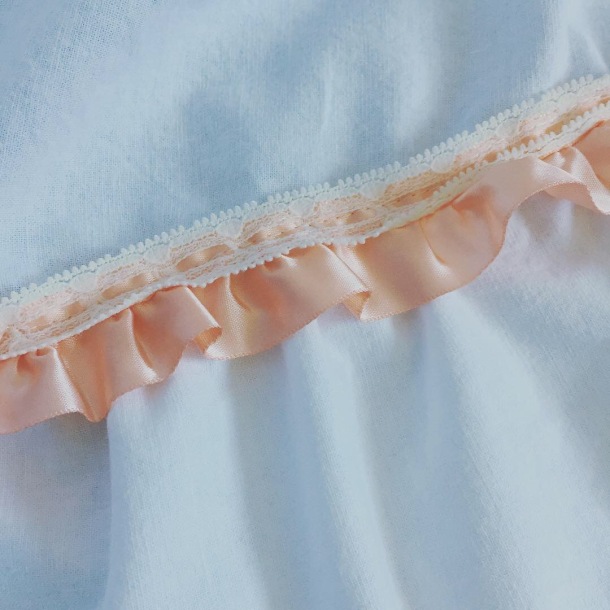
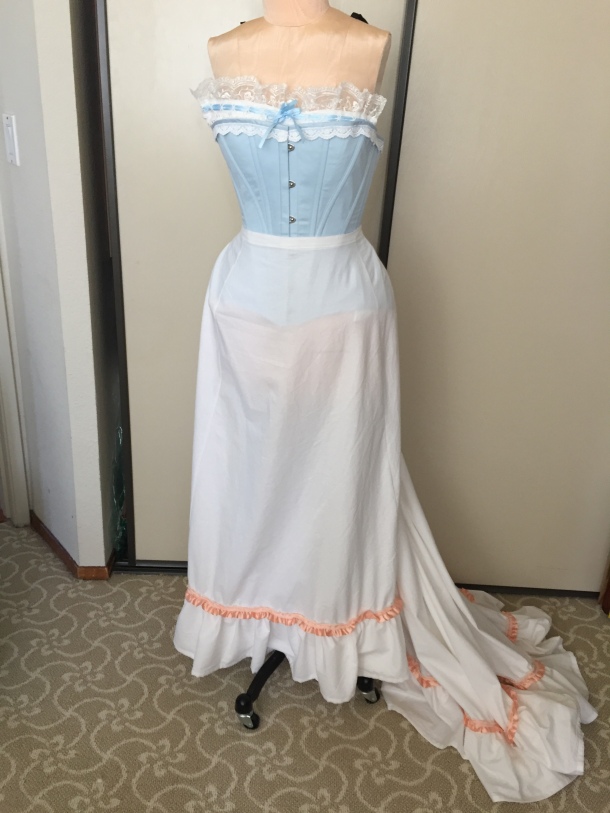
Underneath the skirt I wore a long petticoat based on the Truly Victorian bell skirt pattern, with a big ruffle and trim attached.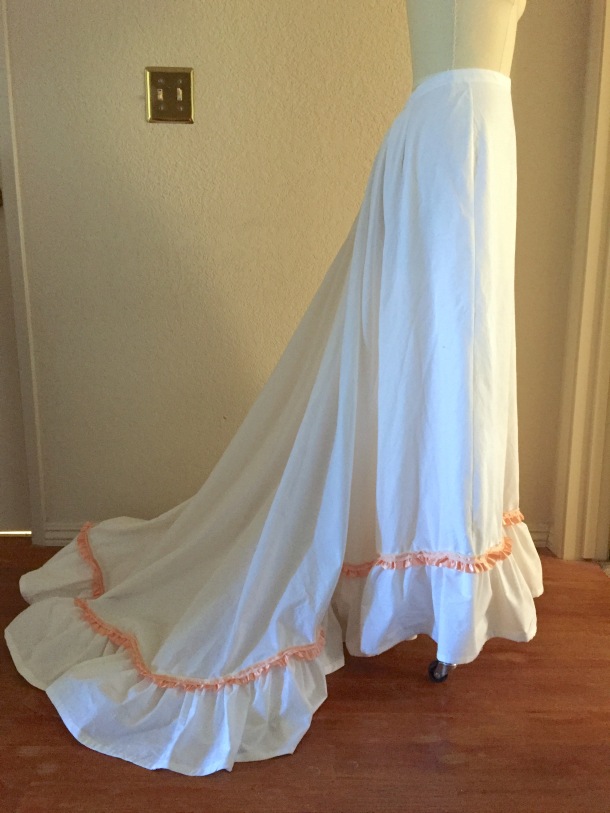
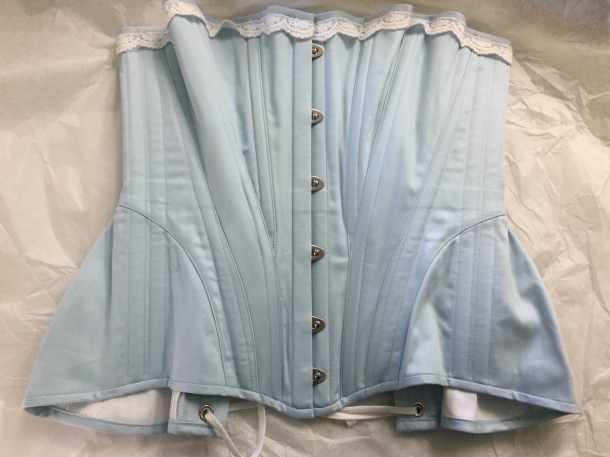
I wore a custom S-bend corset from Redthreaded, with hip pads, and a bust pad. The padding is necessary to achieve the exaggerated Gibson silhouette. I went from an 8 inch differential in my waist and hips to 13 inches, with only a 1 inch waist reduction!

I used the “bust improver” pattern from Wearing History, which comes in 2 sizes. I recommend it to give your girls a little extra something!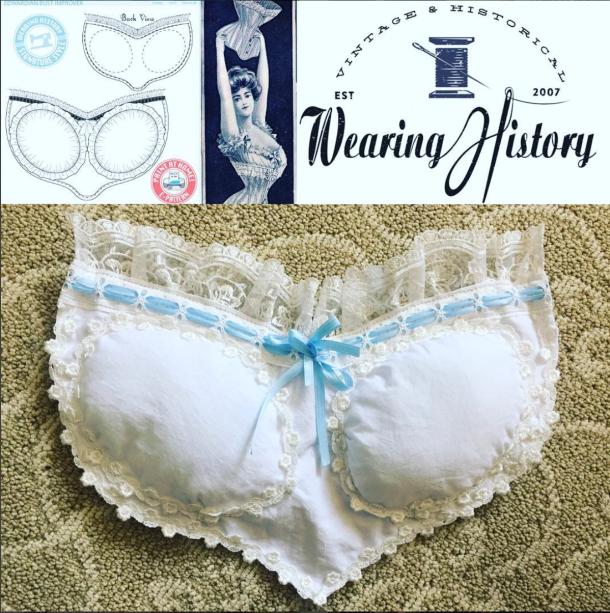
Project costs:
- 8 yards silk taffeta: $113.44 including tax from the LA Fabric District (I still have 3 yards left!)
- 10 yards white veins lace: $34.01 including shipping from Aliexpress
- 15 pairs grape leaf appliques: $36 including shipping from Aliexpress
- bodice pattern: $10.75 from Truly Victorian (digital file)
- skirt pattern: $0 (already used previously)
- vintage rayon ribbon spool: $3
- silk chiffon: $0 (gift from friend)
- 3 yards white cotton for petticoat: $12 from eBay
- pink trim for petticoat: $3 from garage sale
- boning, thread, hook and eye tape, flowers, etc. from stash: ~$10
Total cost: $222.20 (plus I have a lot of silk and lace leftover I’ll probably sell to recoup some costs). Normally I don’t tally the costs until the dress is finished, and I still have to add the grape appliqués, but at this point it’s additional labor and not additional materials, so I added everything up. (When I started this blog my goal was to make things for $100 or less, and I’m seeing costs creep up because of nice materials. Hopefully my next project is a lot cheaper!)
All the hair you can see in the picture below is my own, which is currently shoulder-length. I pinned a big hair rat to the top of my head and two smaller ones on the sides, and then all the hair was pulled over the rats and pinned into place. The messy center was hidden by a faux hair bun pinned on top.
I’m not sure yet, but this might be a nice gala gown for Costume College 2019, when it’s all done!


 12-14-19")

Pingback: 2018 Costuming Year in Review | Fresh Frippery
Reblogged this on By the Mighty Mumford and commented:
WOW—GORGEOUS!