My local costume guild had an event called “Nectar and Nectar and Ambrosia: Day with Dionysus on Mount Olympus” at a winery where Roman and Greek costumes (both fantasy and historically accurate) were encouraged. I challenged myself to make costumes for both myself and my husband in the span of a week, with materials I already had at home. In the end, the outfits really only took a few hours each (with the use of a serger) and a lot of the materials I used were leftovers from other projects or unwanted items people were giving away for free (so this was a budget and eco-friendly endeavor!)
Please note, these are historically-inspired, but ultimately fantasy costumes. They were good enough for the party I went to, but this is a costume tutorial, not a scholarly article. =) 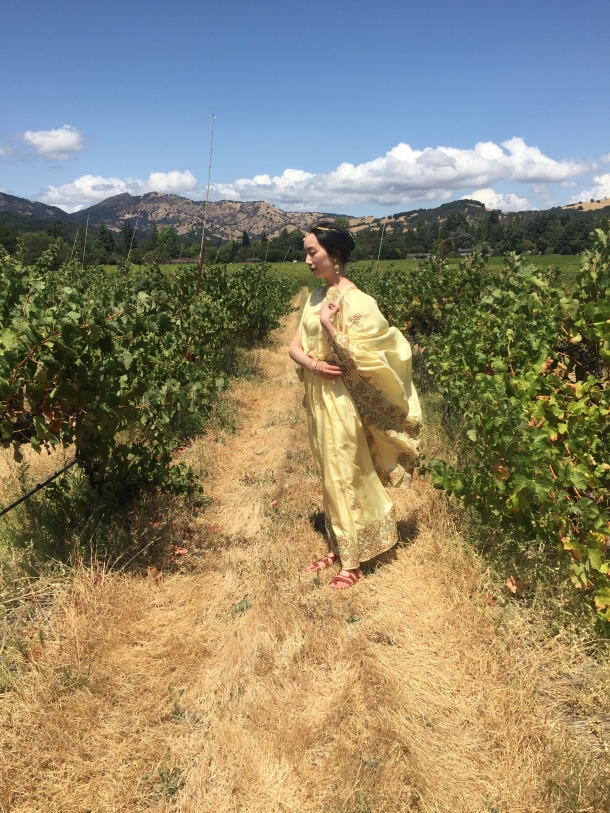
Roman Women’s Outfit
Roman tunics can be rather simple. I got this diagram from a friend and made a short-sleeved version of the bottom figure. As you can see, it is basically a giant tube sewn at the sides. At the top there are areas where you stitch together to make neck and arm openings.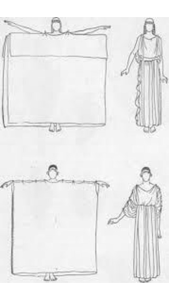
You then add a belt to create the shape at the waist.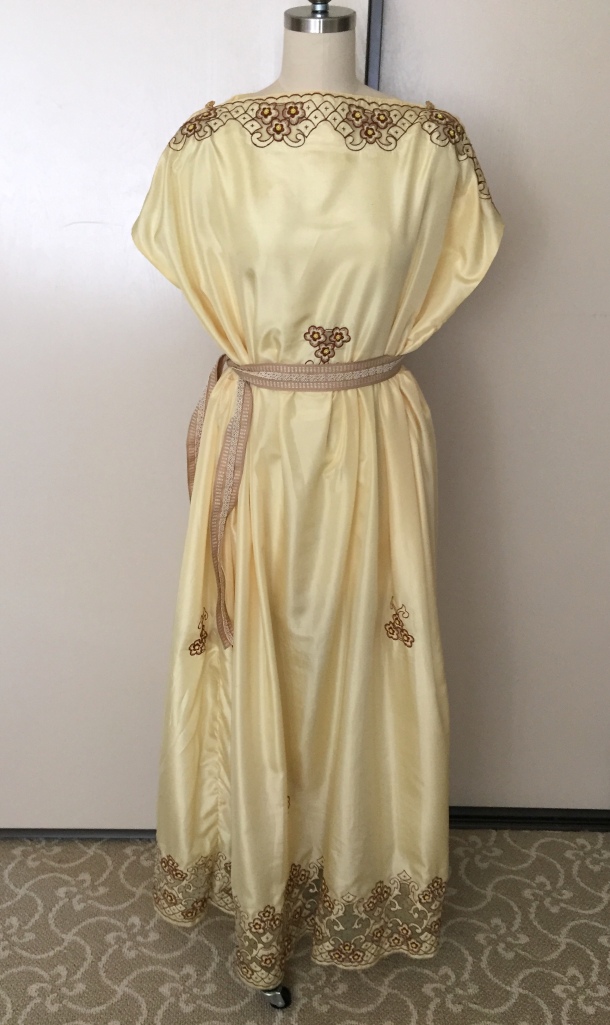
I stitched together parts of the top to allow room for my head, and used some decorative gold buttons I got from a friend. 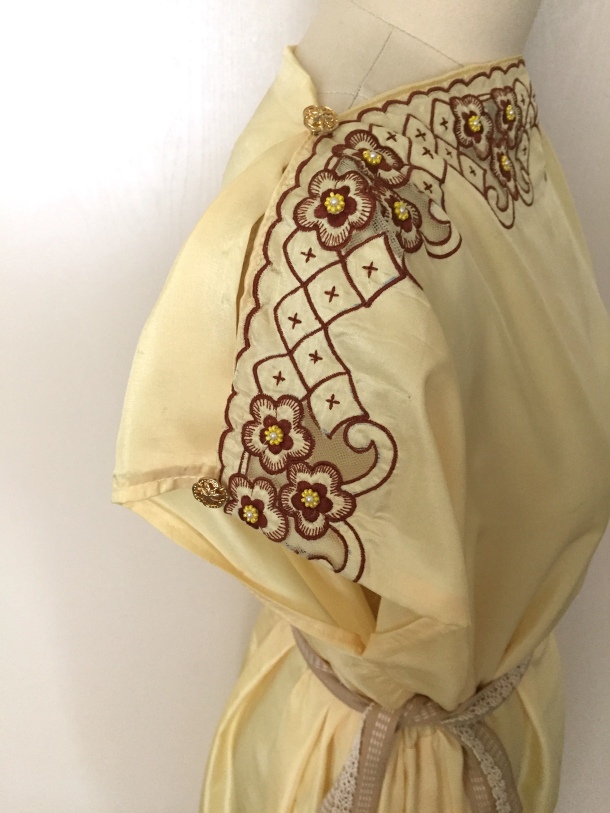
I was gifted a beautiful embroidered silk sari by a friend who was moving and destashing. The sari had a number of snags and holes that I was perfectly fine with for a fantasy party outfit. Maybe it wouldn’t have worked for a ballgown, but hidden in lots of folds it was fine! The sari also had some areas of sheer netting and beaded flowers which are not historically correct for the Roman era, but good enough for me!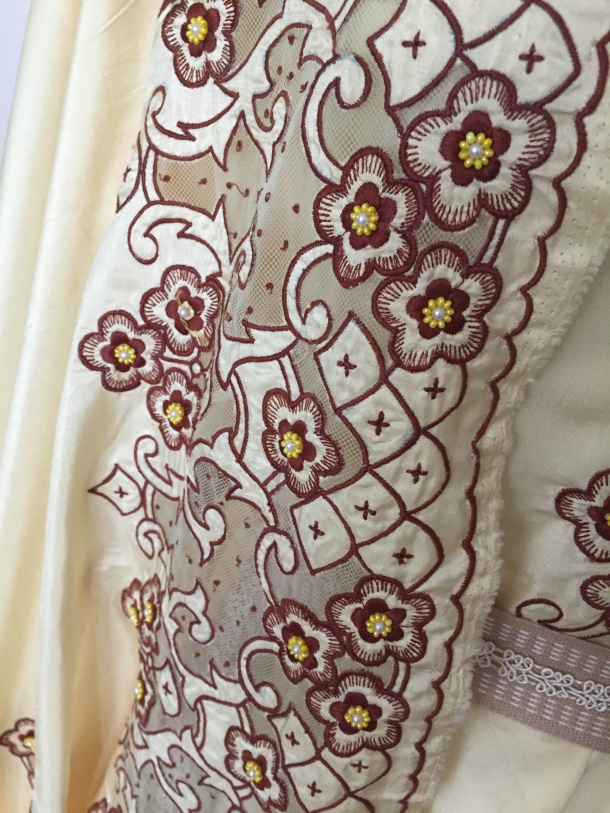
My sari was 6 yards long, but not wide enough to cover the full length of my body. 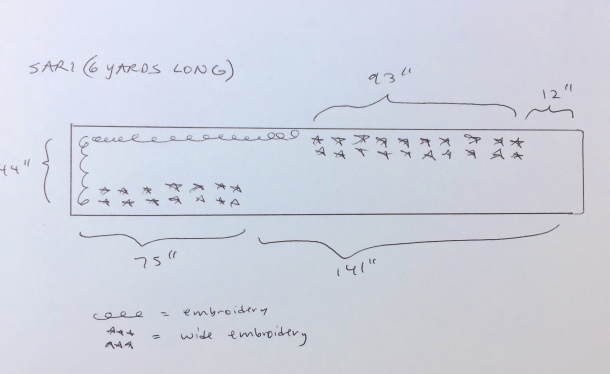 For the simplest sewing, get a very wide fabric (55″ or so) or a solid (so you can use it lengthwise) so you don’t have to have a waist seam or worry about pattern-matching. Since my sari was only 44″ wide and most of the nice embroidery was on the long edge, I had to piece together mine with a waist seam hidden by a belt.
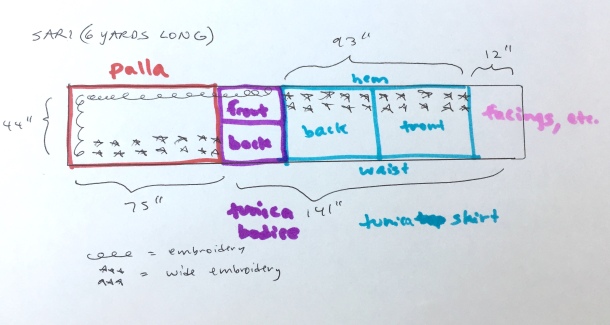
The final width of my top (measured across the embroidery) is 25″ plus seam allowances but of course this will depend on your measurements and how long you want your “sleeves.” (I also have narrow shoulders and limited fabric so I didn’t have a lot of gathering in the front).
So if you have very wide fabric and are not super tall, 1 yard each of fabric for the front and back of your tunic is plenty for many people. Add a few more yards for your palla and you are Roman!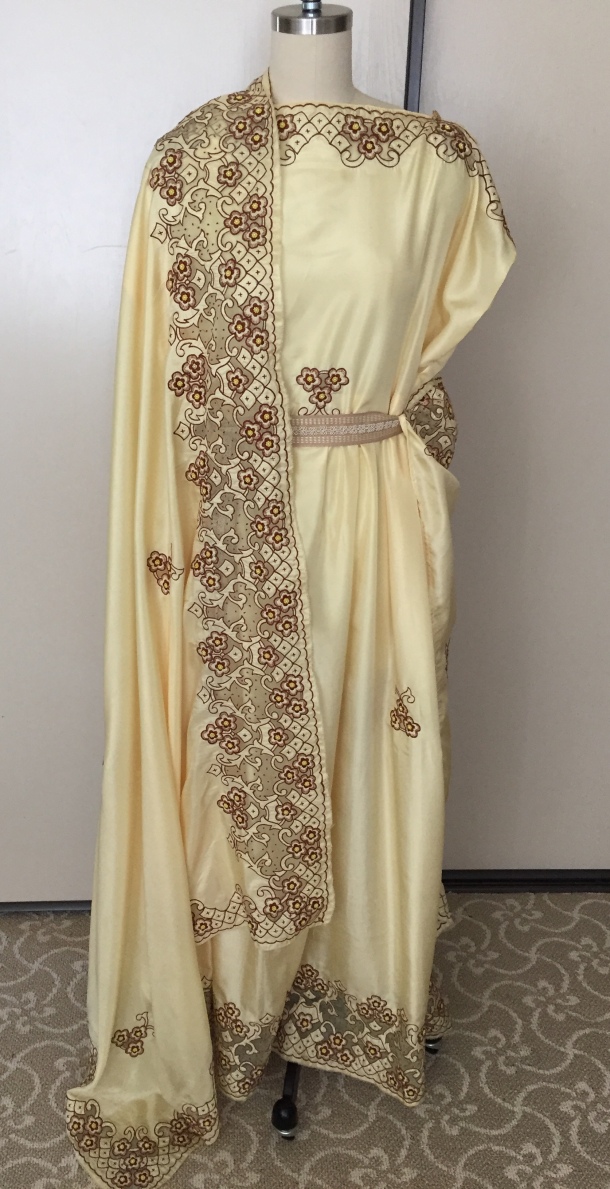

I didn’t have a lot of left over fabric after cutting the tunica, so my “palla” is too short to be fully wrapped around me properly, so I tucked one corner into my belt, then draped it over my opposite shoulder and arm. For reference, mine ended up 76″ x 44″ but I recommend a longer one if you want a fuller look.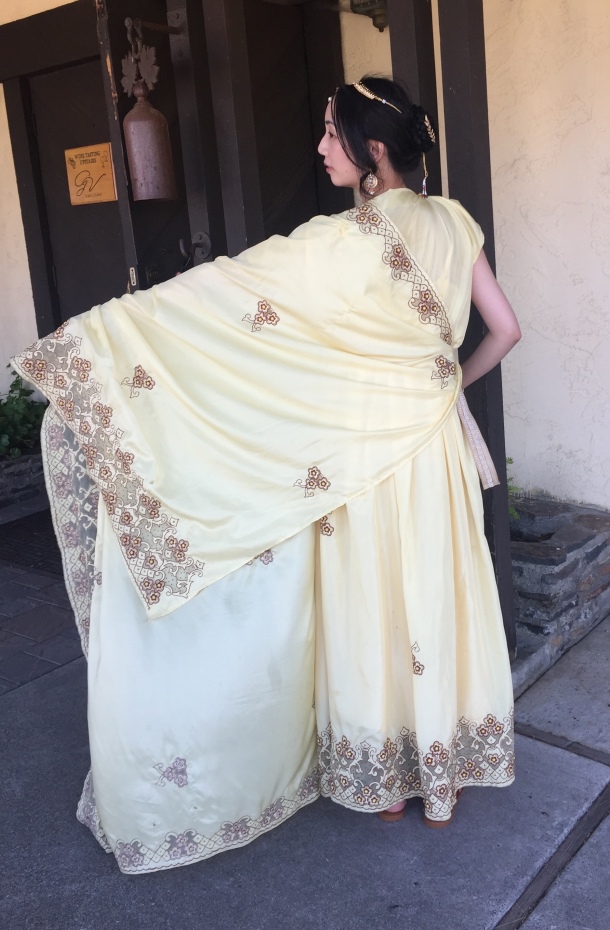
I think the ripples look quite nice when they hang just right.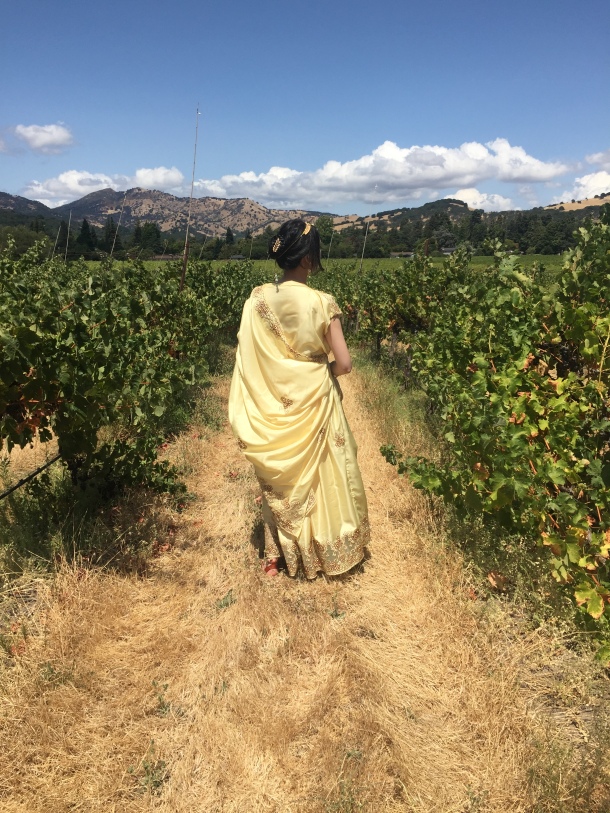
My belt was made from some soft woven ribbon from a gift box. I sewed some gimp braid down the center. The braid was left over from another project. For those of you keeping track, that means so far everything was free!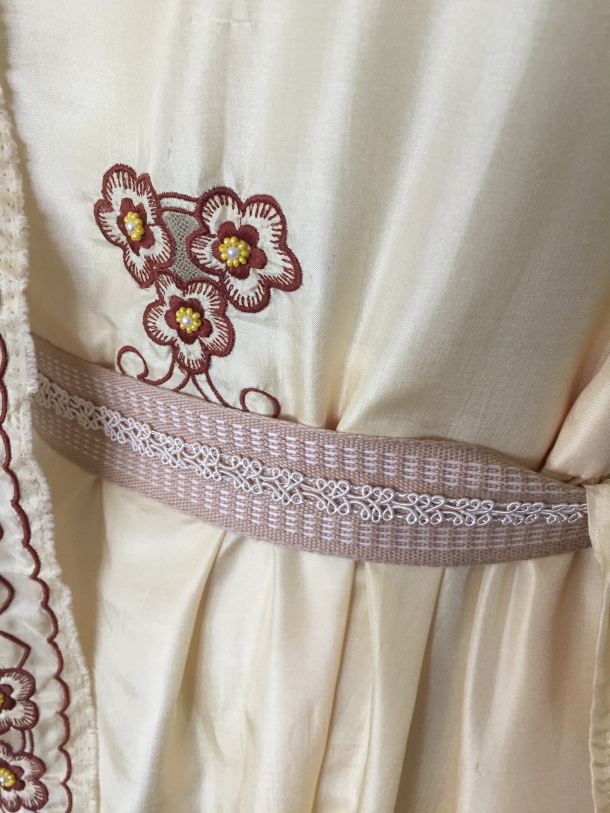
For accessories I wore pieces from an Indian bridal jewelry set I already owned. I wore the necklace on my head with some large earrings and bangles.
I put my hair up and also made a false braided bun with leaf pins that I already owned.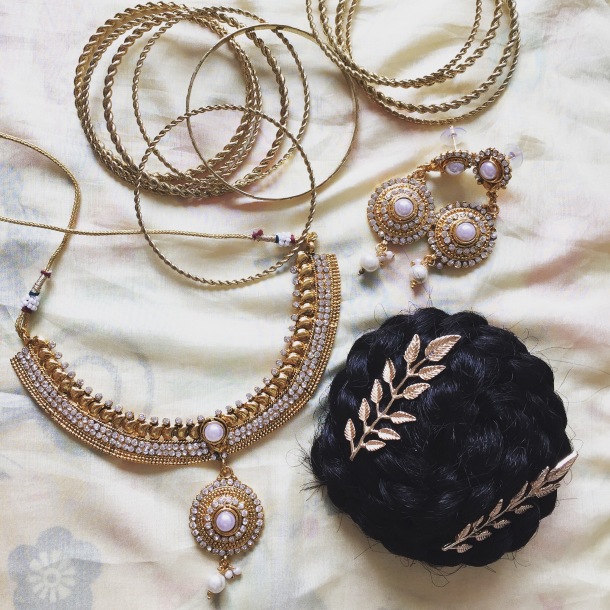
Underneath the dress I wore a full-length slip (that I actually got from a swap party and mended), plus some Roman-looking sandals from Target.
Roman Men’s Outfit

My husband’s tunic is constructed similarly to mine, except it is shorter and has longer sleeves. He also doesn’t have peekaboo shoulders because the sleeve seam is sewn shut, but the neck hole is made the same way. Originally his was 1 yard wide, but he ended up wanting even longer sleeves so I had to add some rectangles of fabric at the top sides like a t-shirt. His is made from white cotton I had leftover from my Gibson Girl petticoat project. I sewed trim across the sleeve and shoulder seams and neckline before hemming the sleeves. Extra trim was tied around his waist like a belt. 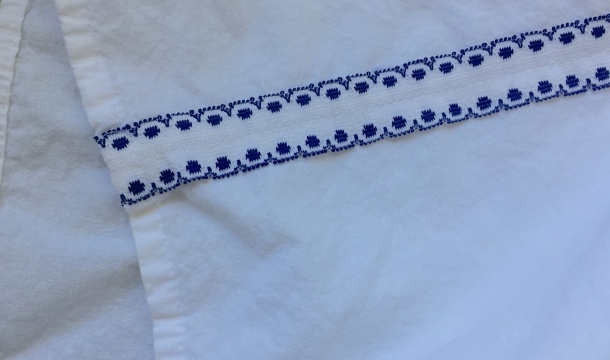
For the first time my husband’s outfit cost more than mine! (Although still it was only about $10 of materials).
I had originally planned to drape some colored fabric around him with a brooch, but he declined the extra layer of fabric since it was a warm day. He also wore sandals from Target. It took us a while to find the largest pair they had in the women’s section. =)
It was a fun event with creative costumes on a beautiful day with friends like Natalie and Kelsey.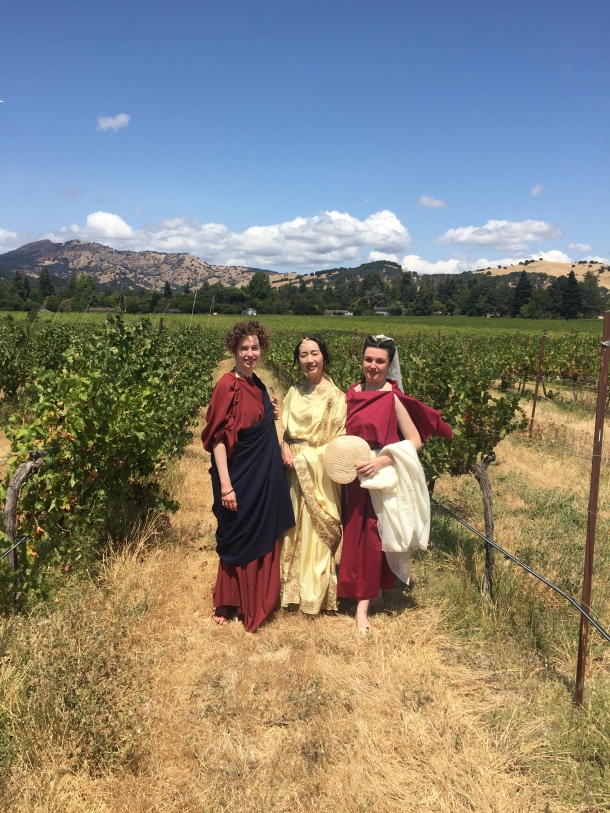
Kelsey and Todd as Caesar.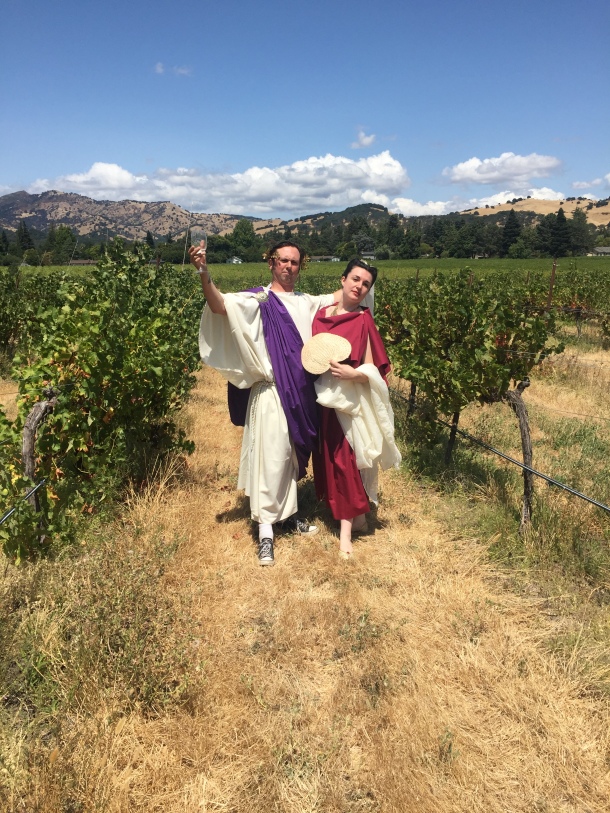
Adrienne and Elizabeth as Artemis and Diana.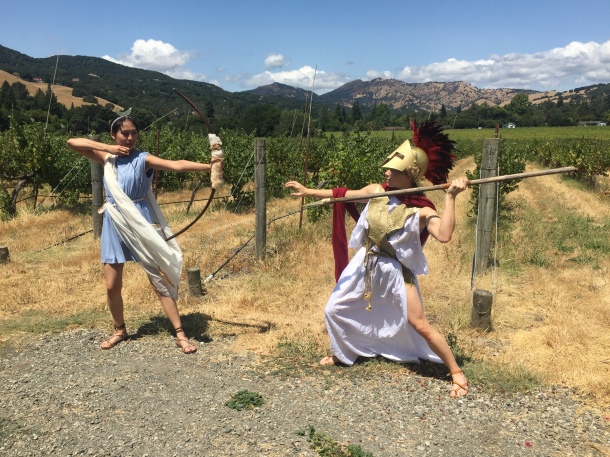
I’m tempted to make more Roman outfits now. This was easy and comfortable, and rather flattering for just wrapping fabric!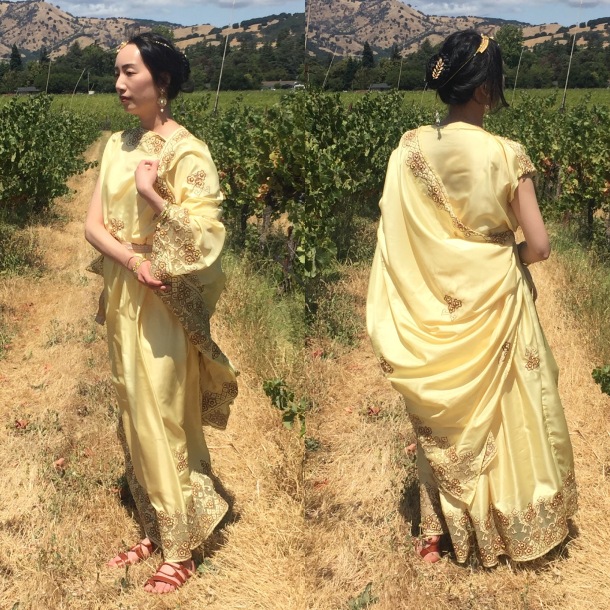


 12-14-19")

Beautiful! What a great use for the used sari, and it looks like it’s in large enough pieces still that you could still reuse it for something else if you wanted. It’s very lovely in this form though so hopefully you can get some more use out of it 🙂
Thank you! Yes, the nice thing about this is I have large fabric sections that I could reuse, but I feel like this costume will get worn again. =)
Pingback: 2019 Costuming Year in Review | Fresh Frippery