The dress is nearly done!
I’m excited that this is nearly complete, with just a few minor things to do. It’s taken a little longer than I thought! Sewing is about learning from your mistakes, and I’ve been doing some learning.
Lesson 1: It’ll stretch more than you think
I accounted for a bit of the stretch of the mesh fabric when cutting out the skirt, but underestimated how much more it would stretch afterwards. I was afraid I was being too careful and the skirt would be a little too short, but after I attached it to the bodice and let it hang for a bit, the heavy beads dragged the skirt down to a length that would have required stripper heels instead of dainty Regency slippers to manage.
Due to the scalloped border I couldn’t hem the fabric at the bottom of the skirt, so as much as it pained me to undo all the hand-stitching I removed the skirt, cut off some excess at the top, removed even more beads, and reattached it.
Lesson 2: What looks good on the dress form doesn’t always look good on you
Redoing the skirt gave me the chance to also redistribute the gathering. Originally I had made the front flat to avoid the dreaded pregnant Regency look, and focused most of the fabric on the sides and back. However, once I put the dress on I realized the extra beading on the sides made me look a little wide and boxy. Here are some quick shots with my phone showing before (left) and after (right) without petticoats.


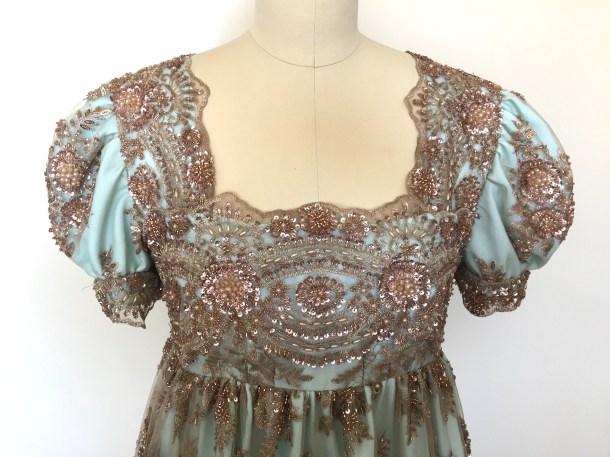
Because of the peculiarities of my figure (mainly the shape and size of my ribs and chest), the version on the left looked better on the mannequin, but not particularly well on me. Normally, to reduce bulk at the waistline I would have cut tapered panels, but could not do that with the beaded fabric. I also wanted it to be fuller than the lining underneath. Since the beaded layer is essentially a gathered rectangle there’s a bit more bulk around the empire waist than I would like, but the new version with redistributed fabric is still a little more flattering on me than looking like a sugary green rectangle.
Although most of the examples of Napoleonic dresses I’ve seen have a flat, columnar front, I did find this extant dress worn by Empress Josephine that is gathered all around.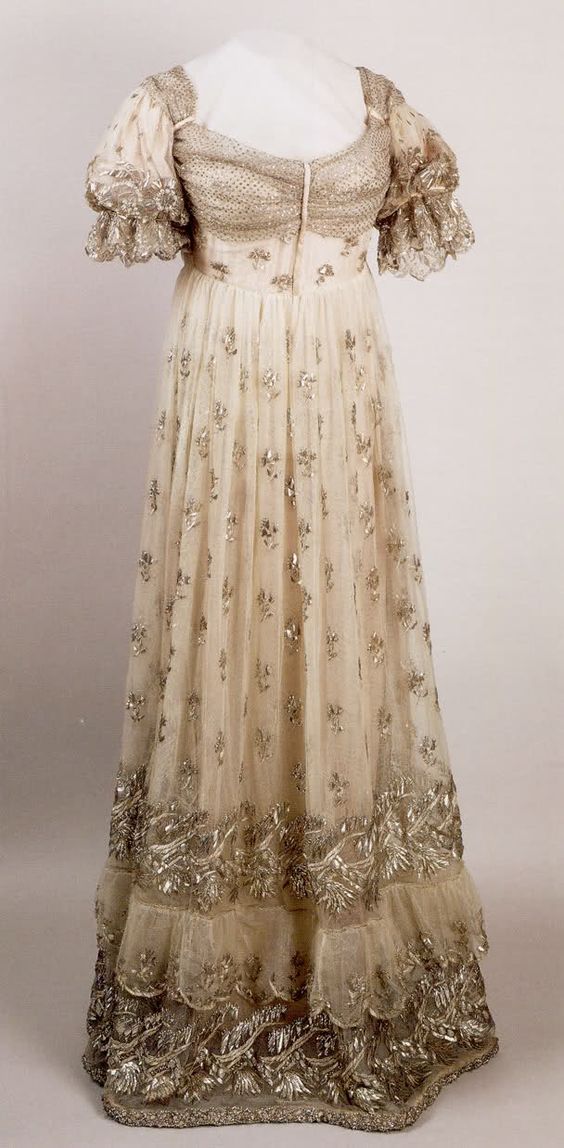
Lesson 3: Working with sheer, beaded fabrics will double your sewing time.
This bag represents only a portion of what I had to carefully unpicked from the seams, darts, and placket panel. There are plenty more that ended up on the floor or hiding in the corners of my house. My next dress will definitely be made of solid fabric!
To minimize snagging on the mesh, instead of hooks and eyes I made covered buttons and loops for the back closure, and added a placket. (Yes, I had to remove all the beading on the fabric used to make these buttons too).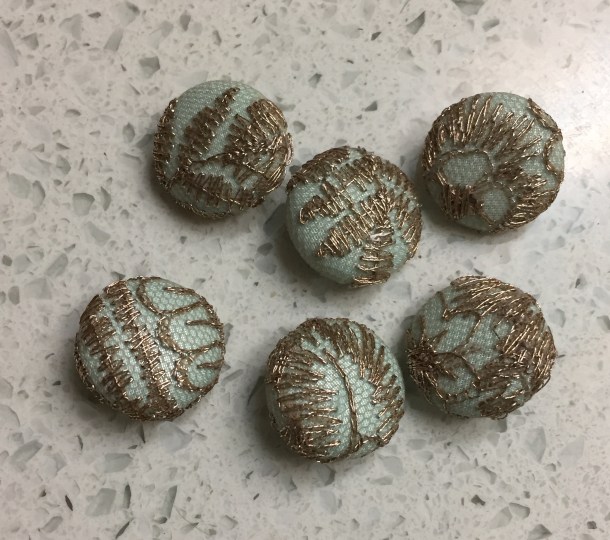
I think smaller buttons might have been a better choice, but that size of button-covering kit was what I had on hand, and I do like having them large enough to have a different pattern on each.
Lesson 4: If you hoard it long enough it will come in handy
Years ago, when I started sewing, I bought a spool of “invisible thread.” It was actually beige nylon and not as invisible as clear fishing line, so I never knew what to do with it until I obtained beige netting fabric! (I’m not kidding when I say I think I’ve had the spool for nearly 15 years).
The beaded motifs are staggered in a way that I had to cut through a few of them to make the center back seam, and the beige nylon thread came in rather handy for putting the two sides together. (I hand-sewed two rows of stitching for extra security).
I would have loved to do a slight train on the dress, but the fabric I had was not wide enough. I will have to make up for it with the velvet court train for the rest of this ensemble!
I still need to bind the raw edges inside, do a little bit of final fit adjustments, snip loose threads, etc. to clean the dress up before I wear it to take photos.
My to-do list:
- Buy materials for the court train: I’m looking for a rose cotton or silk velvet
- Make matching shoe clips for my American Duchess Pemberly slippers (affiliate link)
- Make a Regency diadem; I already have the materials ready!
- Make a reticule out of leftover pieces of the beading. (I have no more of the green chiffon except some small scraps, so I may make the base fabric match the velvet train).
Read part 1 here.


 12-14-19")

Hurrah! Your work looks awesome.
Thank you Kim! I’m glad the work is paying off!
Quite sparkly! I look forward to seeing pictures of the finished ensemble. I’m sure it will be fun to wear, knowing how much effort went into making it.
Best,
Quinn
Thanks Quinn! It will be heavy but fun to wear!
Wow! It looks amazing! Your hard work paid off. Also, I love reading the lessons part. Reflecting on things while sewing is a really good way to learn.
Thank you! I’m glad my ramblings were interesting; I always hope others can learn from my mistakes.
I love seeing other people’s process and how they do things. There is always something to learn from watching others.
Pingback: Beaded Regency Court Dress (Part 3) | Fresh Frippery
Beautiful!!!
Thank you Sherry!