Near the end of the summer I started on a wool Tudor kirtle to wear for a last minute outing to a Faire. I was so busy sewing that I didn’t blog about the process along the way, but took photos so future me wouldn’t have to repeat the sad mistakes of past me.
I am using patterns from The Tudor Tailor by Ninya Mikhaila and Jane Malcom-Davies to make the wool kirtle and the linen smock. It’s a great book with clear diagrams and historically accurate patterns. (You will have to know some basic drafting and how to scale things to yourself. I lucked out and am close to the measurements of the person the patterns are based on). I bought my copy of the Tudor Tailor on Amazon (affiliate link).

This is the example shown in the book, which is back-lacing. (Mine is side-lacing). More variations on lacing, the shape of the neckline, and sleeves are in the book.
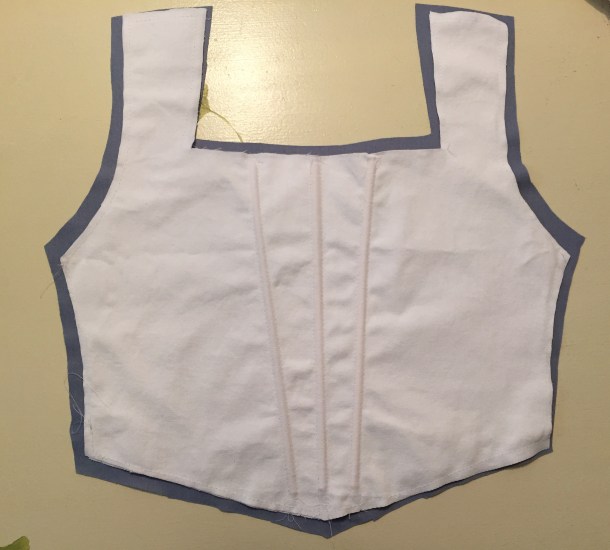
My kirtle bodice is made of a layer of blue worsted wool, a cotton canvas interfacing, and a linen/cotton blend lining. At first I thought it would be a good idea to put in a little bit of reed boning down the front for structure. I was wrong.(Here are the wool and canvas layers before being sewn together).
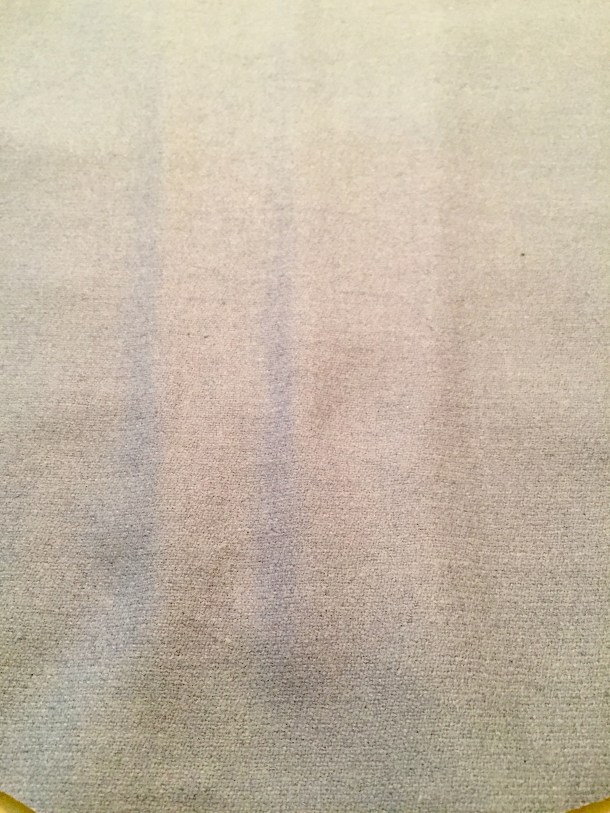
First, boning is not actually needed. Upper class clothing of the era could be highly structured, but the middle class look I am going for has a softer silhouette, and in some period portraits you can see the creases in the front of the bodice. Second, I was using a fine worsted wool, which is not very thick, and you could see the lines of the reed on the outside.
I took out the reed and pinned the canvas to the worsted wool, folding the extra fabric of the wool over the canvas.
After stitching those together by hand to keep the stitches from showing on the outside of the garment, I put the lining over the canvas and stitched that by hand as well.
Before I began I thought, “Hey kirtles have an easy shape, it shouldn’t take too long!” I sadly underestimated the amount of hand-sewing required if you are particular about having your stitches show.
Here is the outside when finished. (It looks a little wrinkly on the table, but it’s because it’s not actually flat, and should be slightly curved to fit a human body). The left side is the front, and the right side is the back. I made a slight point in the front bodice, but it can be cut to be curved or straight across.
I made this bodice to lace on both sides, so I put eyelets on each edge of the front and back pieces. My usual technique is to use metal eyelets that are then bound with matching thread.This gives me a guide to keep them even.
Next up, skirt successes and fails!


NIce! I am enjoying your WIP photos.
Thank you! Many of my recent outfits have been re-wearings, remakes, or quick projects that it feels nice to have an actual progress post.
Yay – kirtle! I wonder if the reeds showed because the wool was so fine. Some day, I’ll get back to making the smock and partlet… Probably the night before the next event.
Yes the wool I used was a probably suiting weight so a bit too thin for reeds. I still need to make a partlet and sleeves!
Was your worsted pure wool or a blend?
Hi, I used pure wool.
Looks great! I’ve made a back-lacing kirtle from that book, but I think if I did it again I’d do side-lacing.
Thank you! I’m doing side-lacing because I think it’ll be more versatile. I can wear other garments on top without front-lacing showing or asking someone to help me lace up the back.
Pingback: Tudor Kirtle (Part 2): The Skirt | Fresh Frippery
Pingback: Tudor Kirtle (Part 3): Kirtle and Smock | Fresh Frippery
thanks
thanks,you helped me with my project
You’re welcome! I’m glad this was helpful.
Beautiful kirtle, very well done! I’m on kirtle #4 and still struggling! I was wondering where you got your hat? I’m in the market for one like it 🙂
Good luck on your project! Do you meant the straw hat? I used a small 18th century bergere and you can find those on Etsy.
Pingback: What Is A Tudor Bodice? The 18 Top Answers - Ecurrencythailand.com