Tag Archives: costume

1830s Romantic Dress (Part 5): Bodice

I haven’t done a lot of sewing in the past few weeks because I started work again and have had some long hours. However, here is a sneak peek at the bodice in progress.

bodice

I put on the puff sleeves and started the sheer ones. The neckline has lace. I still need to fuss with the fitting (since the heavy sleeves are pulling things down), the gathers and the cuffs on the sheer sleeves.  The front will be embellished with some little pink flowers.

1830s Romantic Dress (Part 4): Waistlines and Hemlines

I have hemmed the skirt from floor-length to ankle-length to make it more like the fashion plates of the day. Plus, it will be easier to walk and dance in! I also ruffled 2 rows of the embroidered tulle lace and sewed it around the bottom, using 12 out of the 20 yards I purchased.  Here is a sneak peek at the hem.

IMG_1801I tried on my overbust corset, and although it fits just fine, the pressure on my chest is rather uncomfortable since I’m still nursing. Currently I’m trying to decide between wearing an underbust corset as a foundation, or just making the dress to be worn sans corset to be extra comfortable.

However, I am sure that the waistline of the bodice needs to be raised considerably. The TV455 pattern is very long-waisted, even if you did not want the high-waisted look of the late 1820s or early 1830s. This is a picture of the bodice in progress, after I already cut off several inches of fabric all along the bottom. I still need to shorten it more. The bodice looks rather baggy because it is still missing darts, and is also larger than my dress form.

IMG_1804

I am using hook-and-eye tape for the back closure, reinforced by some plastic boning.


1830s Romantic Dress (Part 3): Bodice

So far, I have been working on the bodice and done the following:

1. Made a pre-mock up and mock-up: Generally, I use the mock-up to line the finished bodice, but since I am working this time with a shape new to me, I opted for a “rough draft” using scrap fabric to get a general idea about the sizing.

2. Cut out the silk fabric and linen lining, pinned down the gathers, and serged the pieces together. The TV455 pattern directions call for a fashion fabric, interlining and lining, but I am afraid it will be too bulky to have so many layers. Plus, If I flat-line and serge all the edges I can alter the bodice more easily should I need to.

3. Pinned and stitched the bodice pieces together. I am in the process of hand-sewing the neckline gathers so the stitching doesn’t show on the outside. Here are some photos of the pieces pinned before sewing (without the darts put in):

The front bodice pieces.

Image

All pieces, minus the sleeves.

Image

The inside.

Image

A close-up of the linen interior and serged edges.

Image

Some comments about the sizing: The TV455 pattern runs large! According to the pattern, I am a size C, but I found when making the pre-mock-up that the pieces are sized rather generously. I decided that either a size B with the darts taken in a lot, or even a size A with small darts, would fit better. You can see there is a lot of extra fabric.

Image

There is significant overlap in the back.

Image

(Some archaeological comments to myself about the scraps: The green satin is from a 2006 Dickens Fair dress, and the floral cotton is from a spring jumperskirt worn to a friend’s wedding in 2009. Both dresses have since been sold).

1830s Romantic Dress (Part 2): Sleeve Support Poufs

For my 1830s dress I made a pair of sleeve supports, aka sleeve poufs/poofs/puffs. The TV455 pattern does not include a pattern for sleeve poufs, so I had to make up my own. If someone has some good instructions for an easier or more historically correct method I’d be very interested in it!

The TV455 pattern for the Romantic dress suggests using 2 layers of netting for the beret (evening) sleeve. For the gigot (day) sleeves the pattern suggests you make a “sleeve crinoline” using the beret sleeve pattern, using lining and netting fabric gathered to armbands. There are no instructions on making a stuffed pouf, but I wanted a little more support in case the sleeves got crushed.

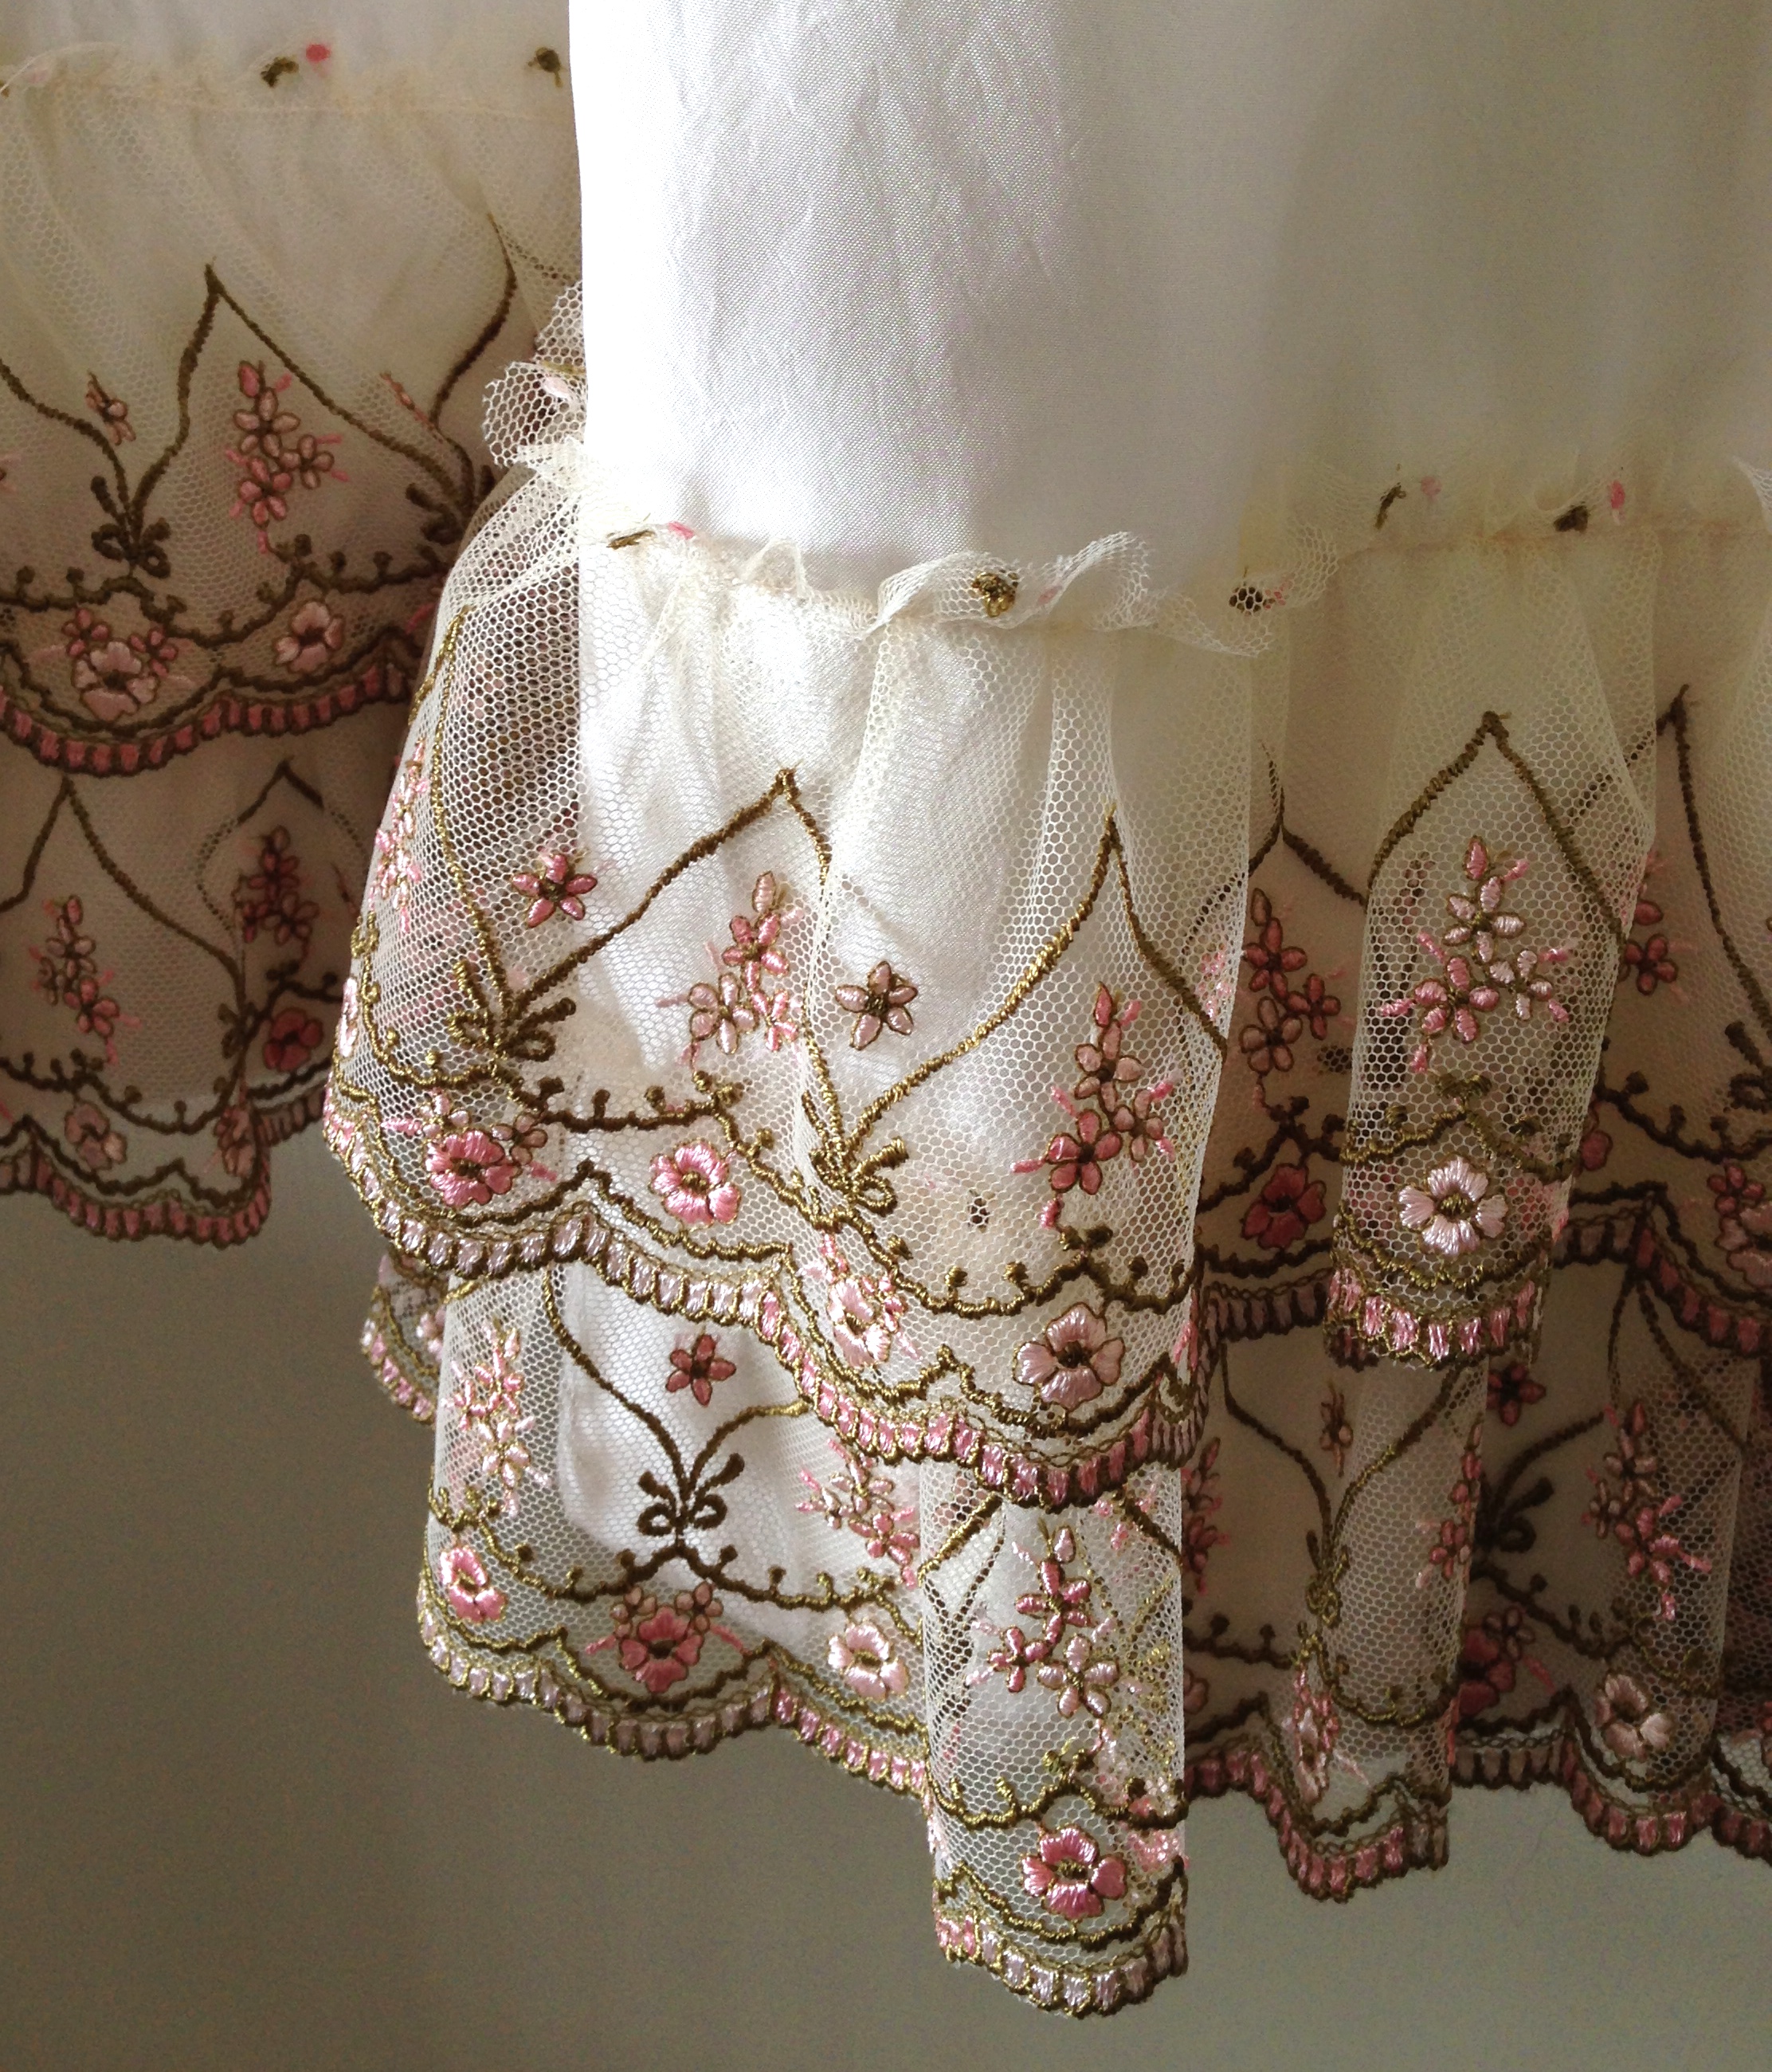
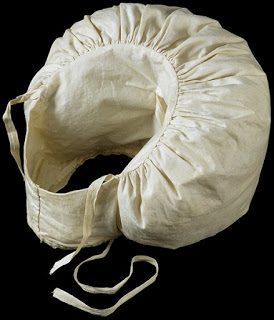
This is an antique pair from the Victoria and Albert Museum, from about 1830.

sleevepuffs

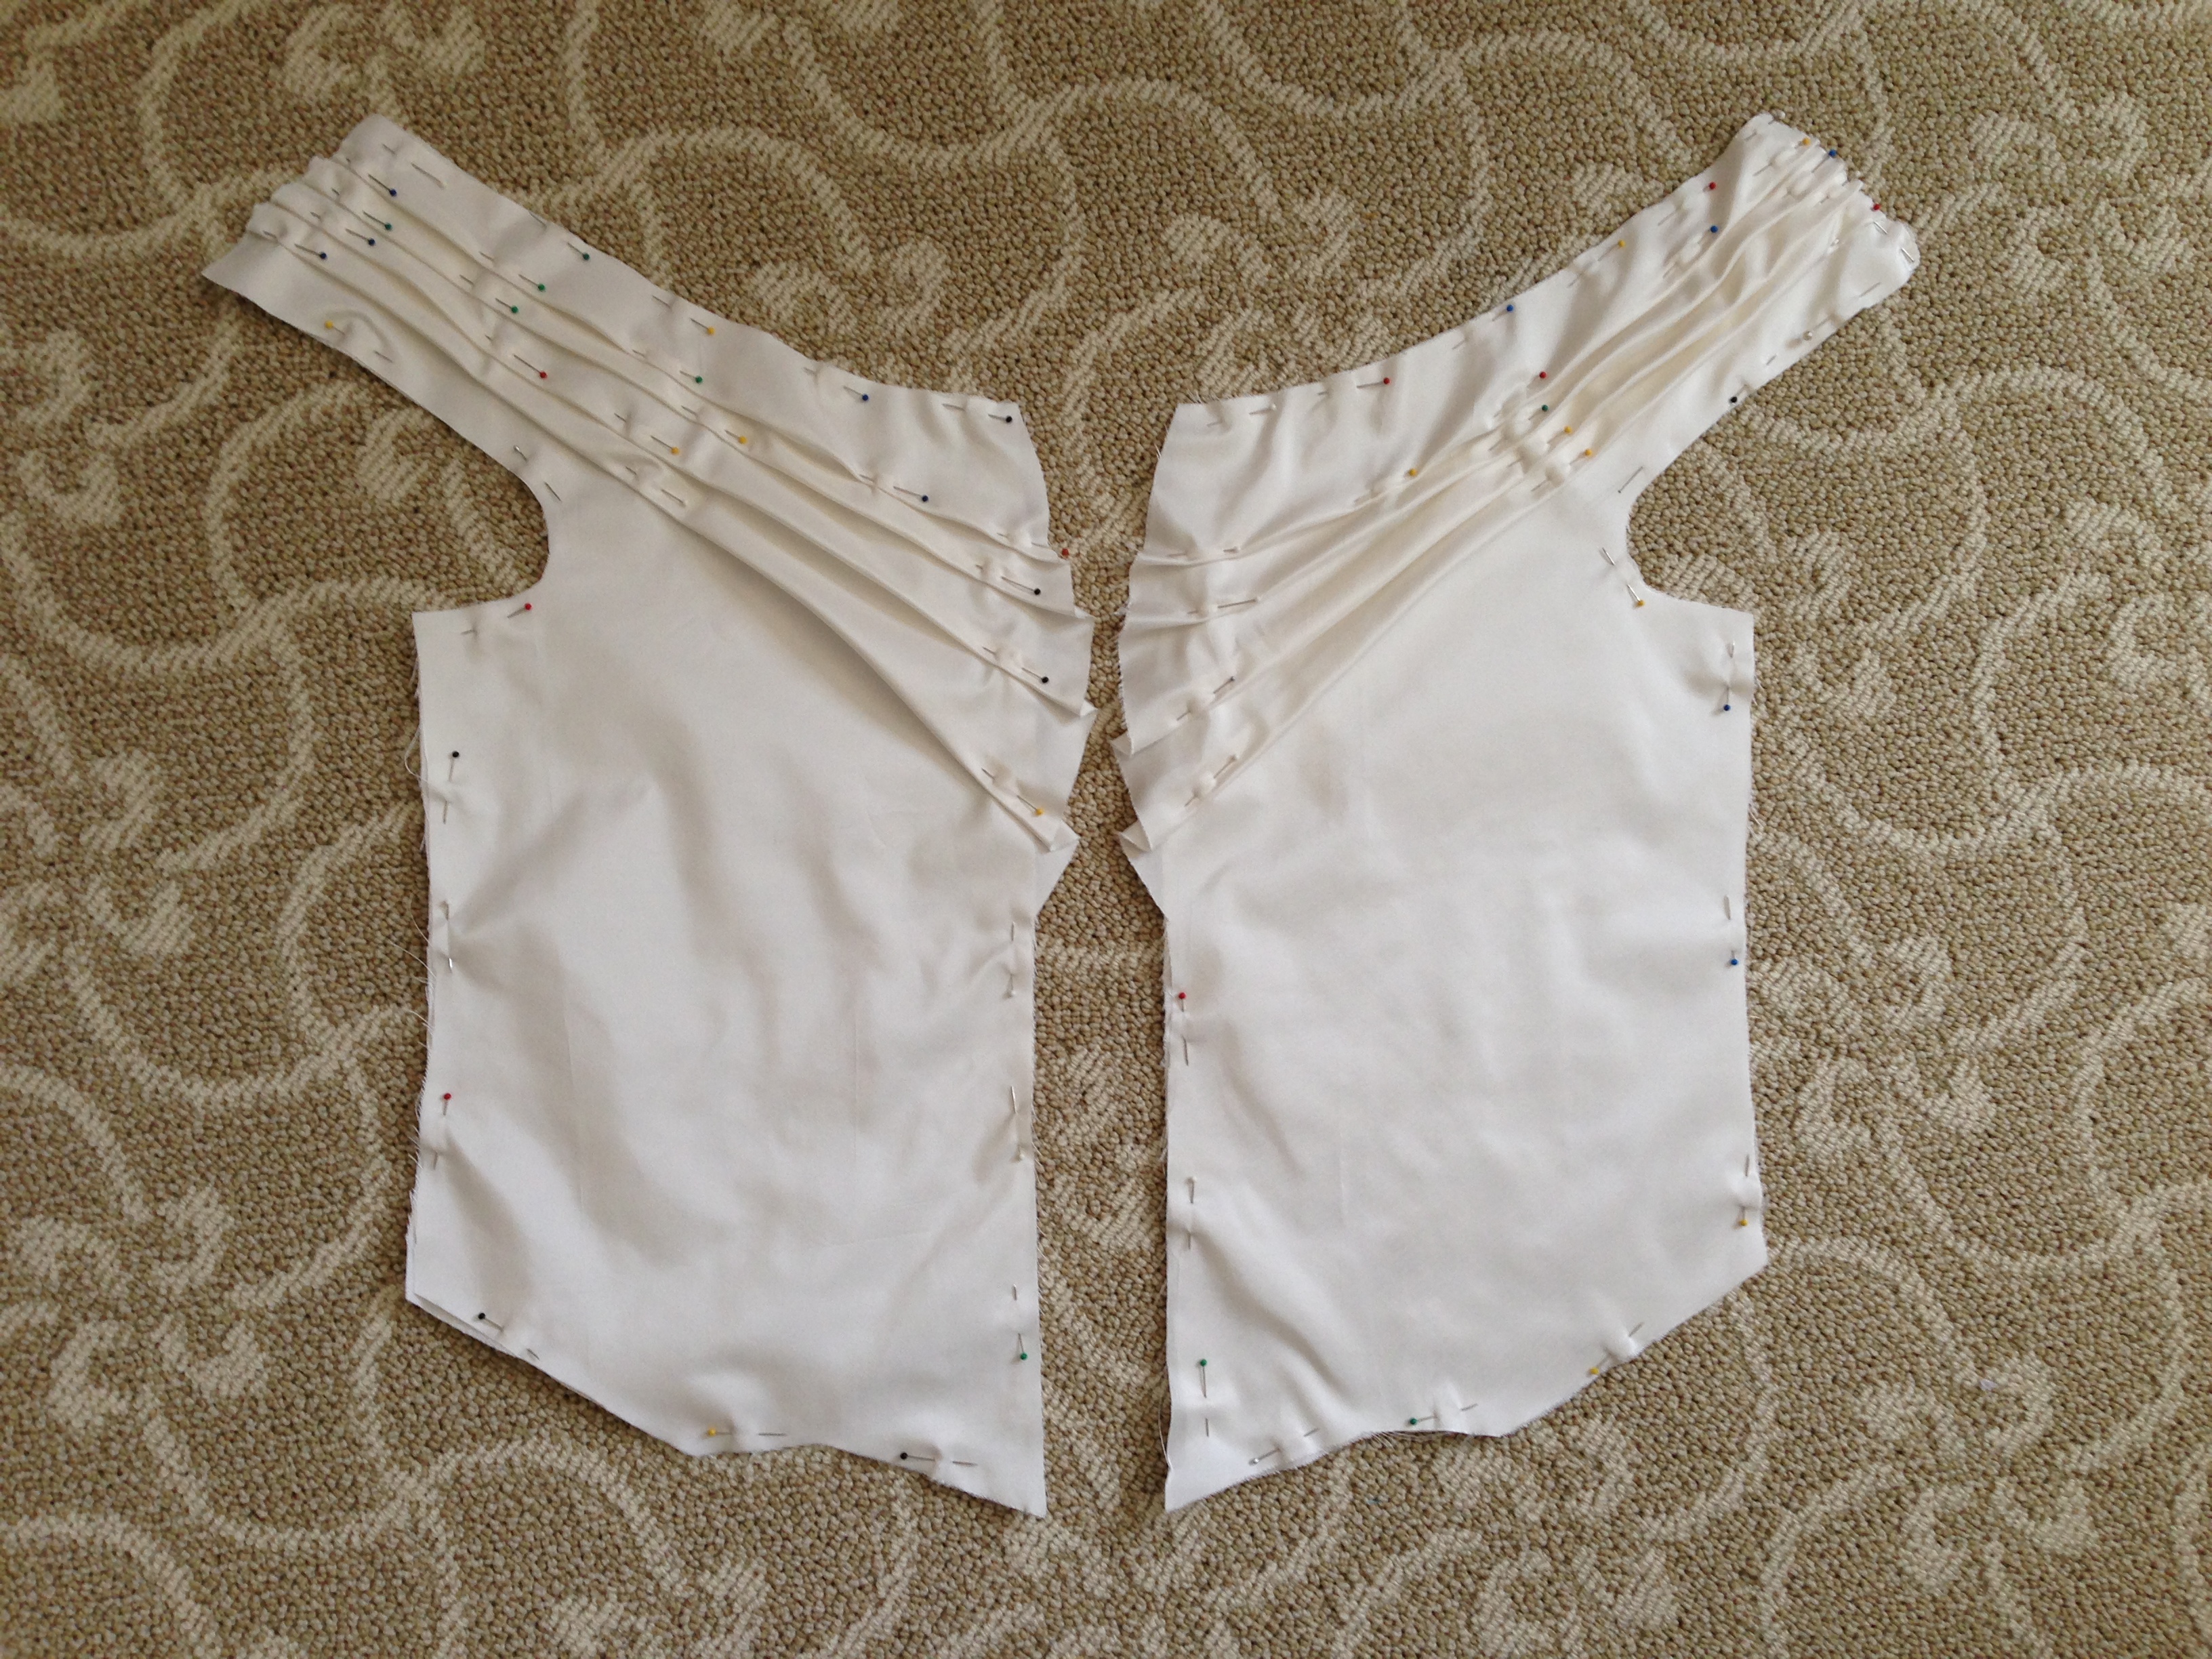
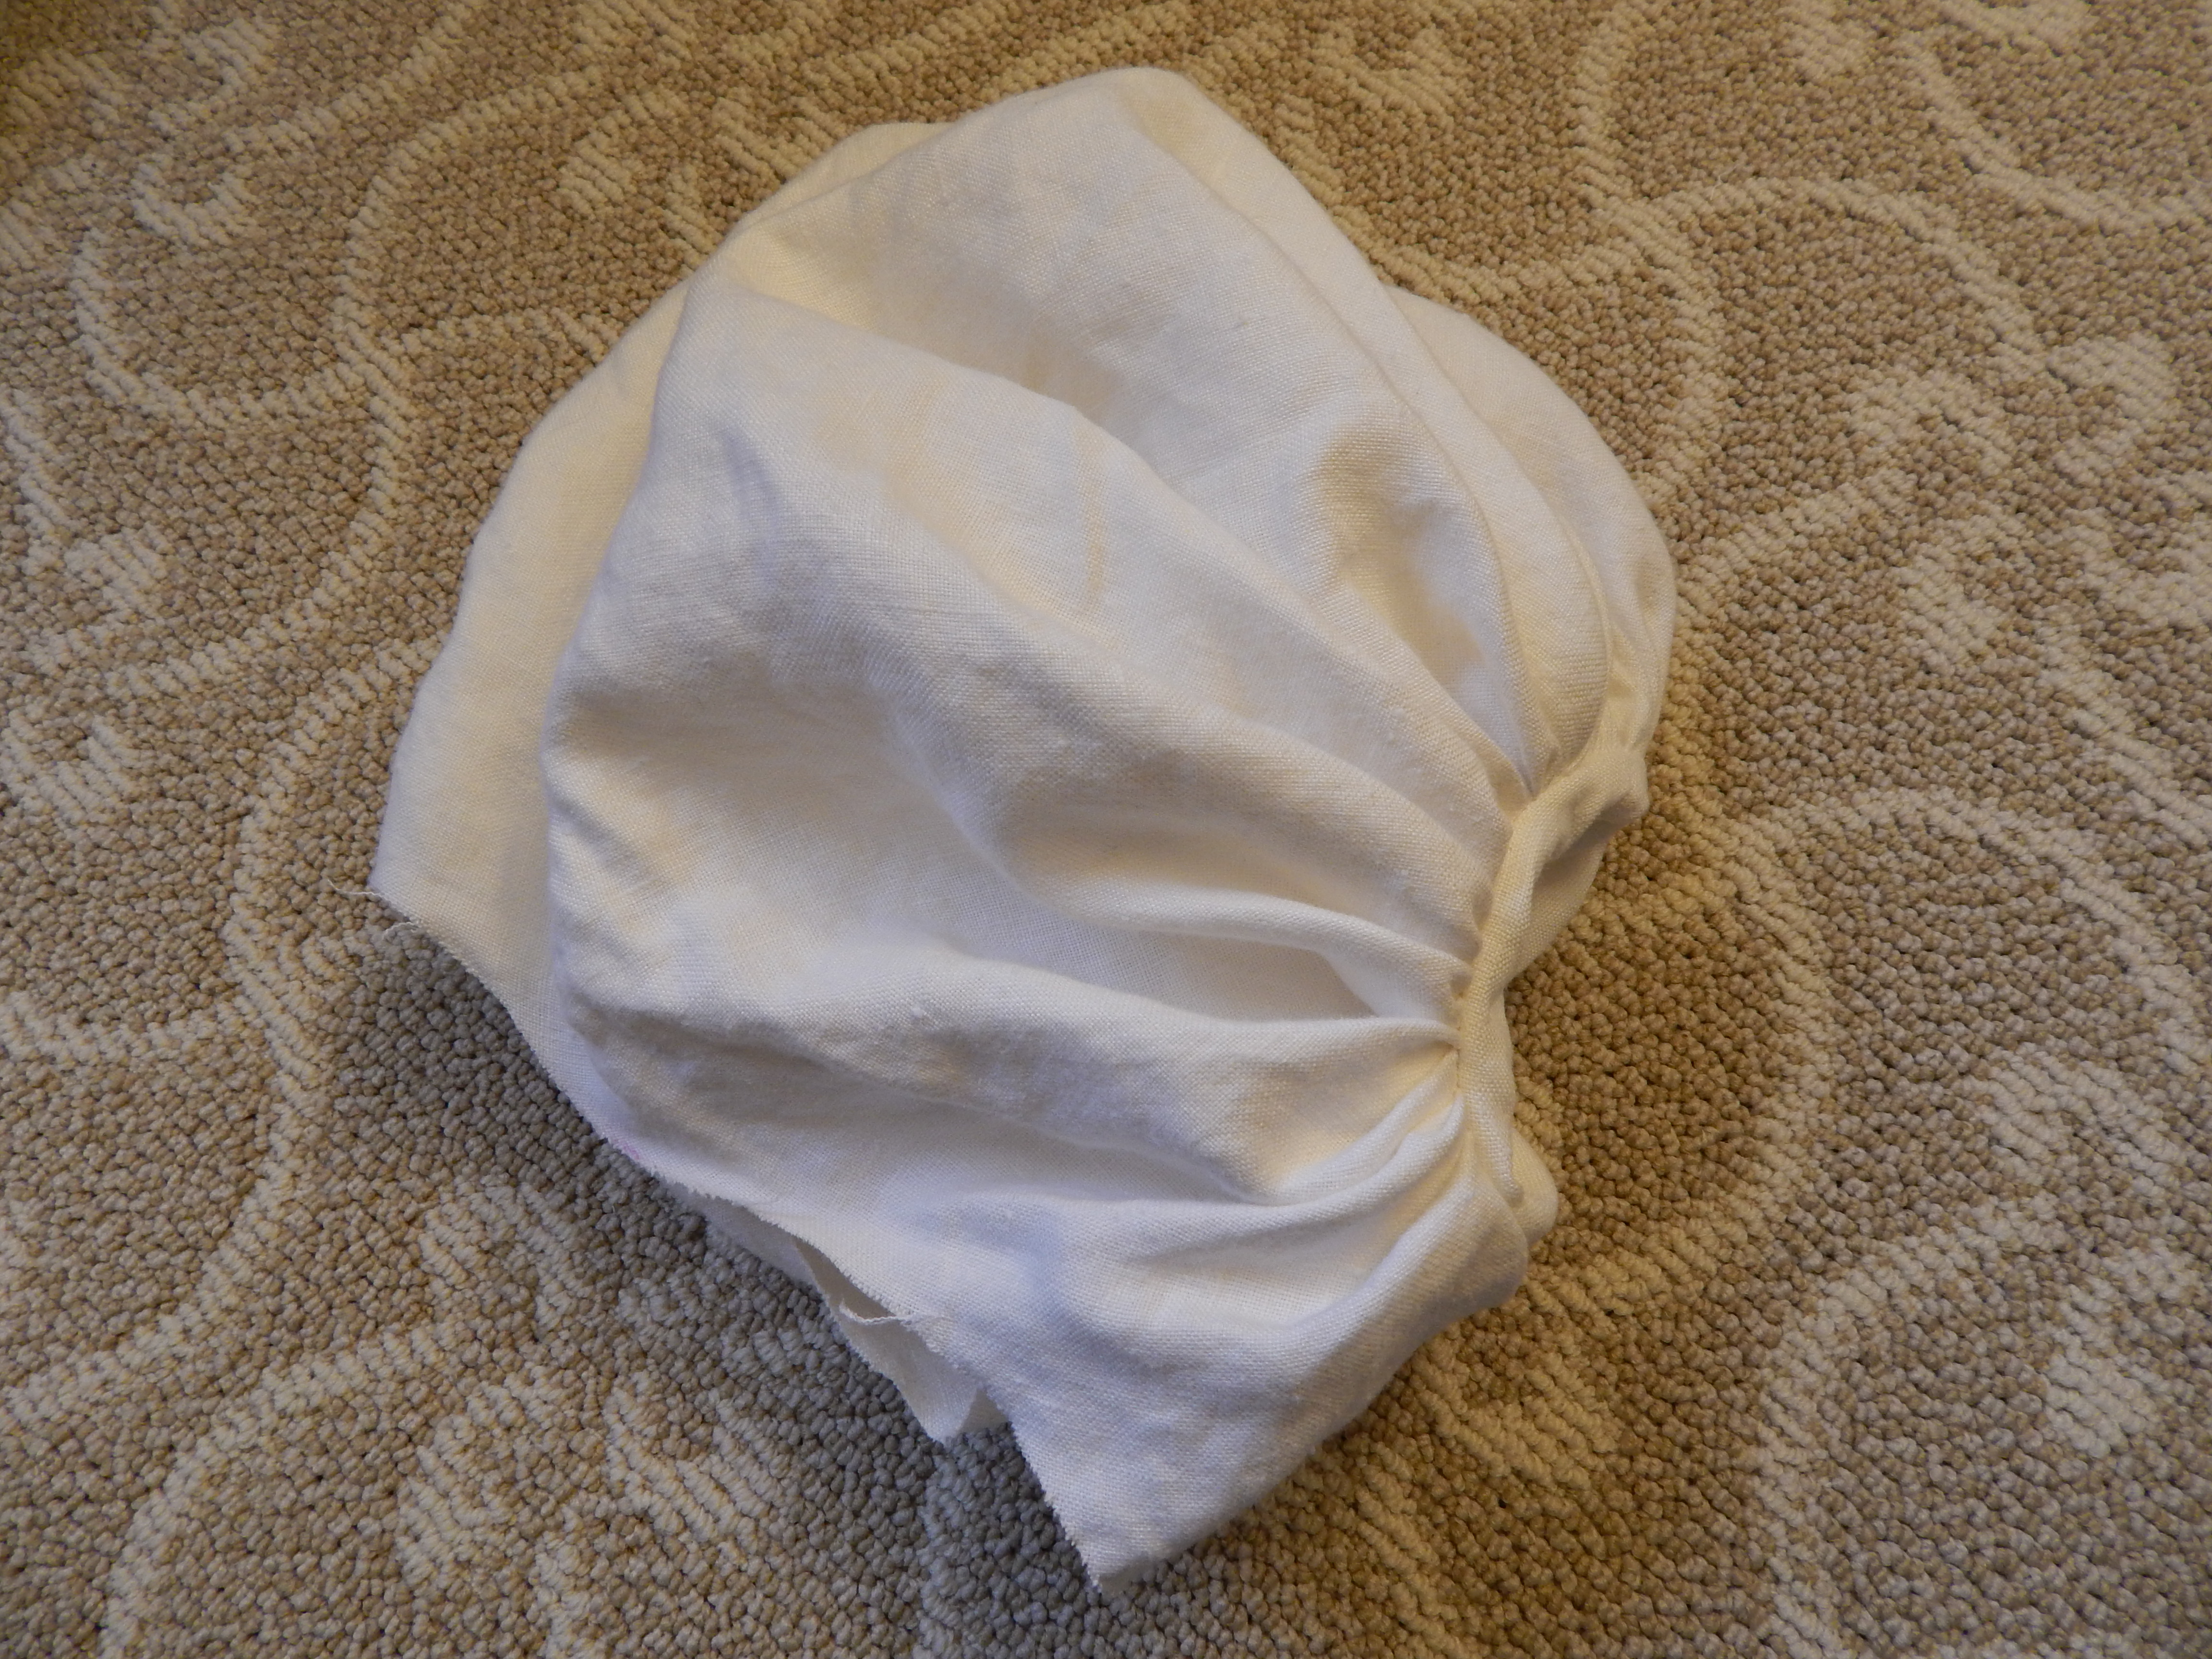
The TV455 pattern has a very large, mostly circular shape for the sleeve. The outside circumference is meant to be gathered into the shoulder seam, and the inner circle is gathered onto an armband. I cut two of these out of a thick linen.

DSCN0452

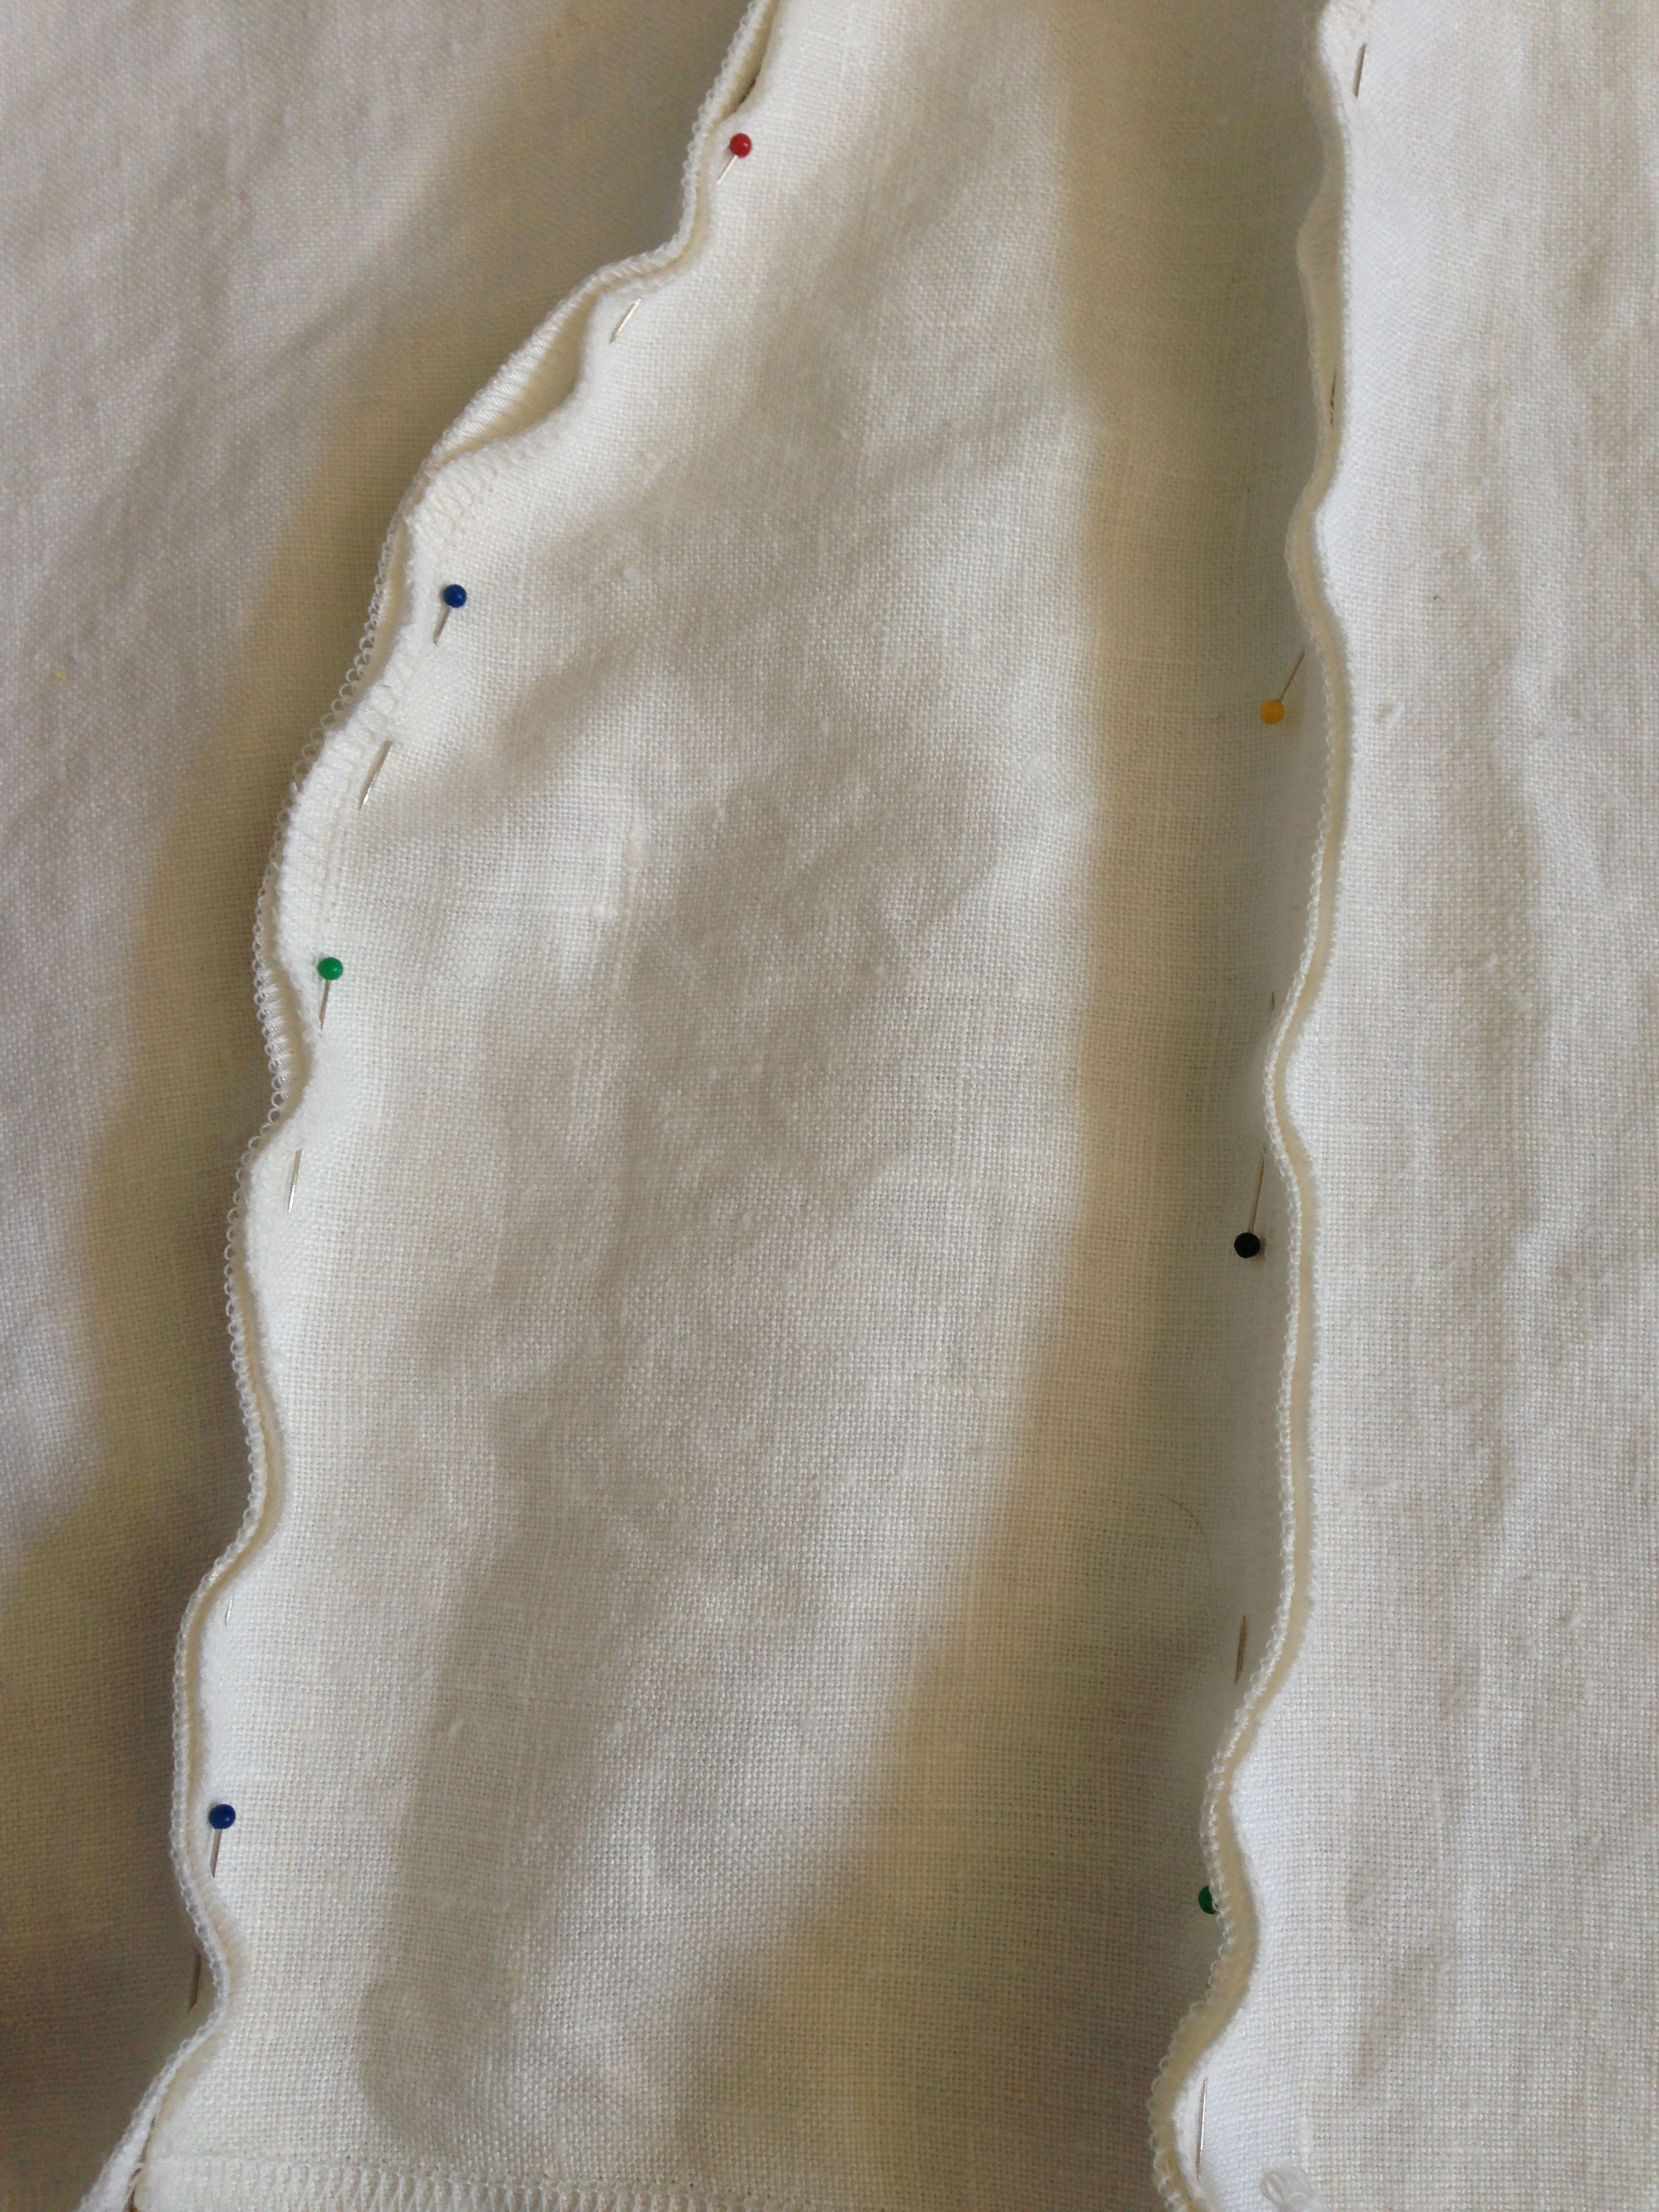
Instead of gathering the material into a bodice, I gathered it into a tube of fabric about 4 inches wide, and a little larger than the size of my upper bicep. (On the left side you see the raw edges of the circular hole that was cut out of the big circle).

DSCN0453

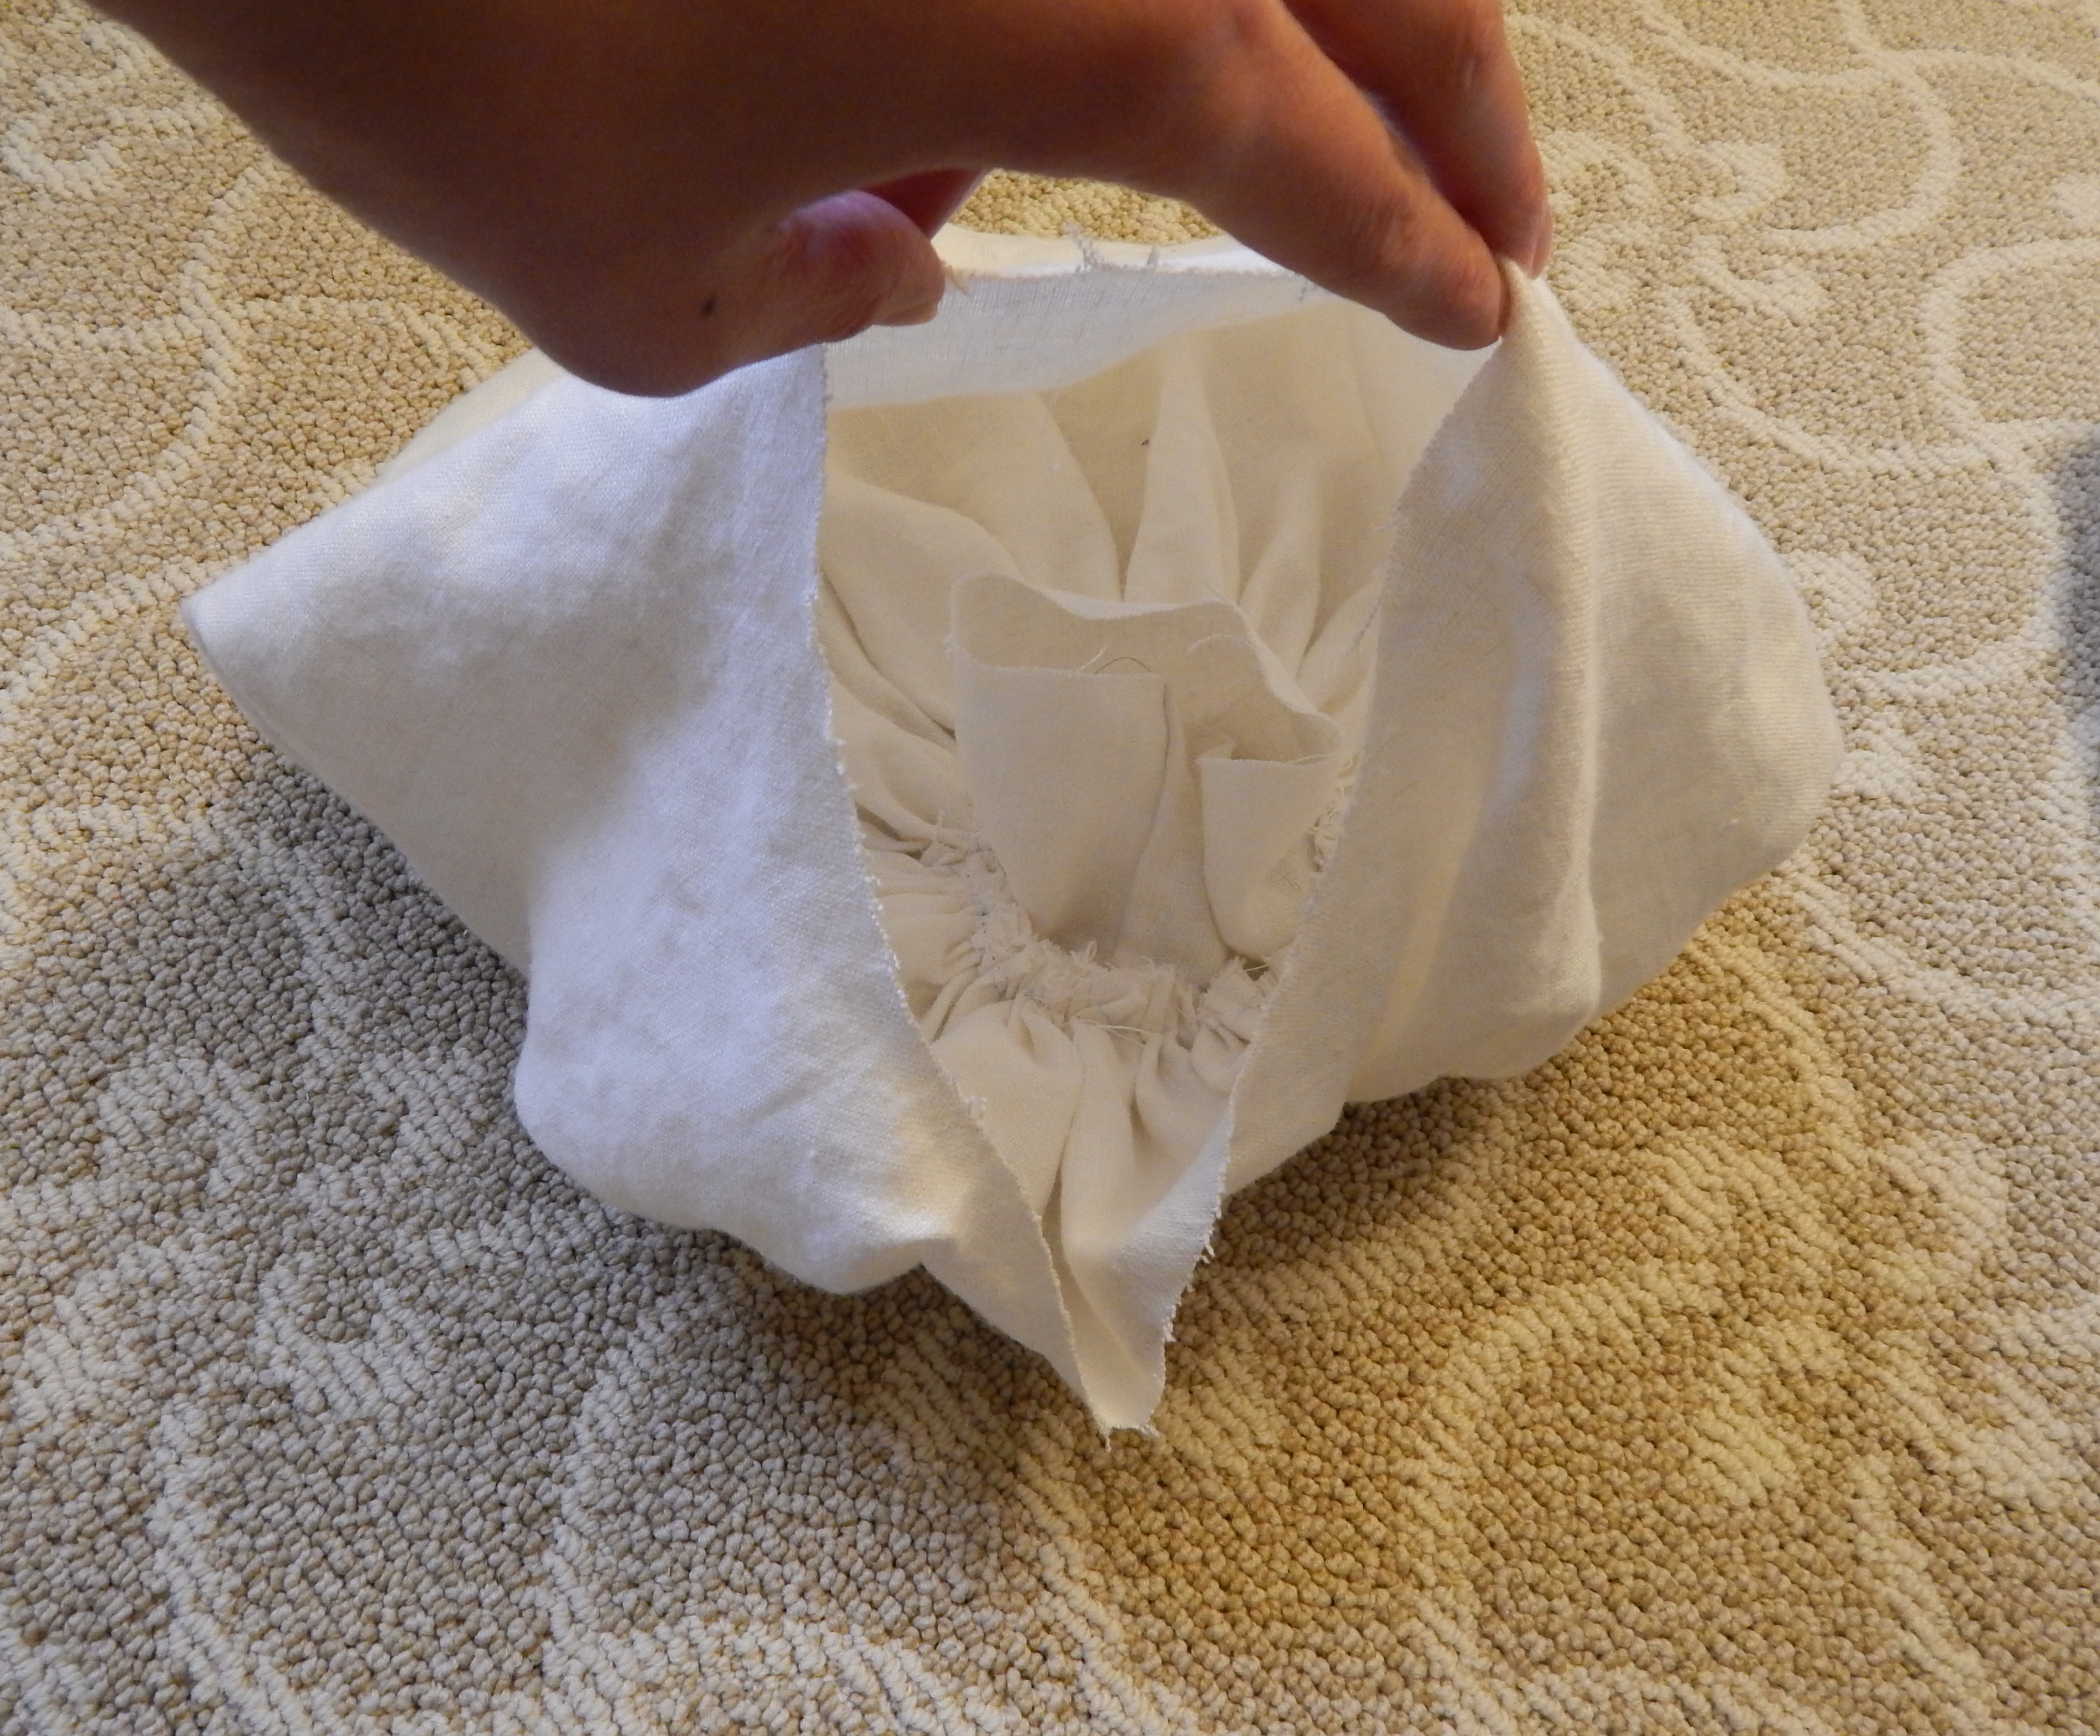
The tube then gets pushed into the middle of the pouf shell.

DSCN0455

Here is a view from the hole.

DSCN0456

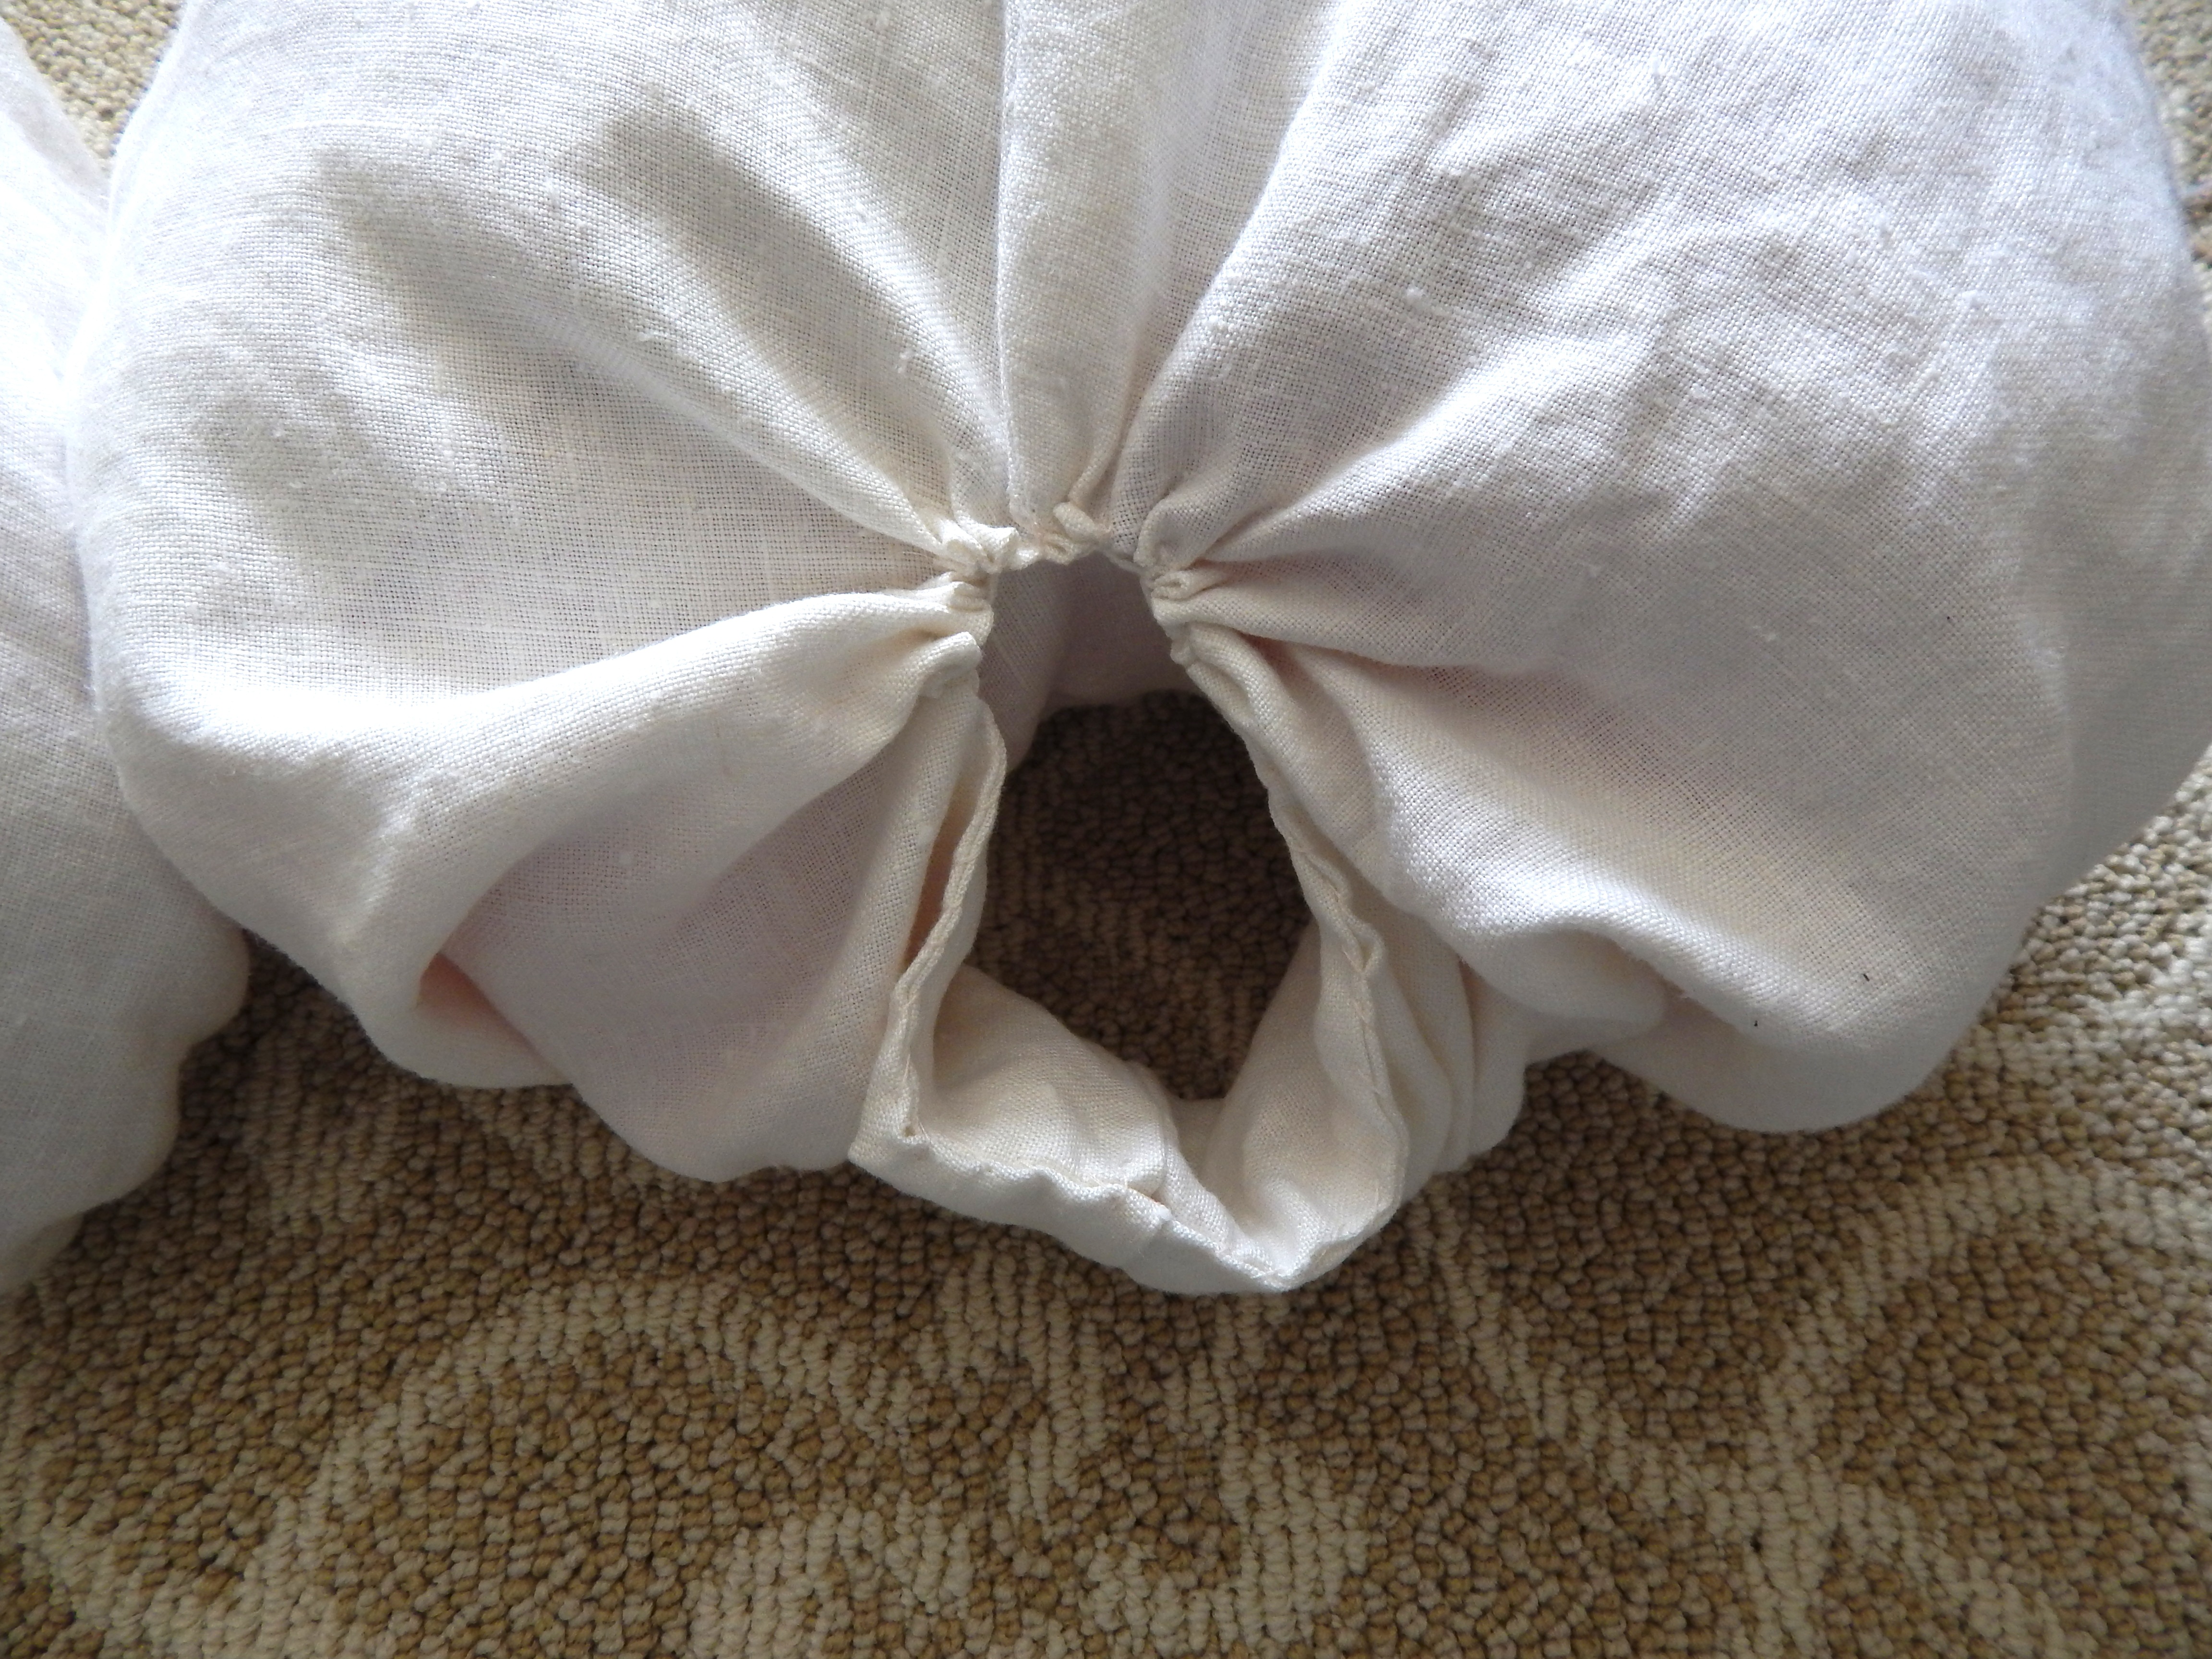
I then stuffed the inside with scraps of tulle and organza left from previous projects, including a 2005 Halloween costume and 2007 Victorian ballgown. (I think this means I hoard fabric too long, and it was nice to use up a lot of scraps for this project! The linen was also pieced together from leftovers). Using cotton batting or polyfill would make a plumper and more solid pouf, but I wanted to keep these very light.

The stuffing was placed around the tube of fabric, and the bottom portion was left unstuffed. (Note: My linen was fairly opaque, but if you use a thinner fabric you will want to stick to light-colored stuffing).

DSCN0460

After stuffing, the edges were whipstitched closed, with the top portion gathered slightly.

DSCN0466

Here is the view from the other side, where the tube was first sewn on. I still need to sew on some ties, but I am waiting to finish my bodice first. Then I can figure out if it will be more comfortable to attach the poufs to the corset or bodice.

DSCN0464

Since this is my first set of sleeve poufs, and I was unsure of the shape, I used the sleeve pattern I had. However, I am sure there’s a better way to make these using less fabric. If I were to make another set I would probably draft a shape resembling a bread loaf with side tabs as the outer shell, and a smaller oblong shape for the inside cuff. That would reduce the bulk at the bottom as well.
2018 UPDATE: I’ve made much better sleeve supports using the American Duchess tutorial and pattern. You can read about my experience and new 1830s silk dress here. 

1830s Romantic Dress (Part 1)

As previously mentioned, the ladies who did the Gibson Girl dresses last year are doing 1830s for the April Gaskell Ball. I made a Pinterest board with ideas for gowns and hair.

Here is my planning sketch, based on an extant gown with sheer sleeves. Unfortunately, I do not know the source because the image was found uncredited from Tumblr.

1830s sketch

My materials will be ivory silk taffeta (left over from my wedding dress), embroidered laces from Etsy and eBay, and pink ribbon flowers left over from a Gatsby dress project. I am hoping to piece together enough fabric from my stash for the lining.

IMG_1401

I am using the Truly Victorian 455 pattern for the bodice, with a slightly different sleeve. I will be using the beret sleeve pattern, but might make it slightly smaller since it will be under a sheer sleeve.

1830s pattern

I am not using the TV455 pattern for the skirt, because I am upcycling part of my wedding dress. I am doing this for several reasons.

1. It will match the leftover fabric I am using to make the bodice.

2. I haven’t worn the dress for several years, and never got around to dyeing it a different color, so at least this way part of it will appear in public again.

3.  The dress was custom-made for me by a friend of mine (who sells Regency/Victorian/Steampunk menswear in her shop), and is very special, so I don’t want to give away or sell the gown.  However, I can’t wear the dress as-is because during my honeymoon a family member decided to soak my dress in the bathtub instead of taking it to the drycleaner like I wanted, and the silk taffeta literally shriveled up. I spent a lot of time steaming most of the wrinkles out, but could not save the ruffles. They are now sad, wrinkled and limp, instead of crisp and happy, and don’t look right on a formal ballgown.

4. It’s a shame to let so much silk go to waste!

I have cut out the pattern pieces, and am now slowly picking out the stitches to remove the rows of ruffles from the skirt. (Thankfully, the beautiful bodice is still in good shape and can be worn again).

weddingPhoto by Lydia Chen Photography.

Navy Regency Bonnet

I’ve finished trimming my straw Regency bonnet with navy and white striped grosgrain ribbon, which I used to decorate the brim with puffed loops, make chin ties and a cockade. The center of the cockade has a faux pearl button, and there are 3 white ostrich feathers.

bonnet side

bonnet

It is a stovepipe shape, although not a particularly elongated one.

bonnet top

The inside is decorated with venise lace.

bonnet inside

It is my first try at a cockade ornament of this style, and this tutorial at Idle Hands was very useful. I found pinning the cockade on a mousepad when arranging the loops helpful since I do not have a cork board. (I did not iron my loops flat though, because I wanted them to mirror the puffs on the brim).

Costume Planning for 2014

This is a tentative list of items I’d like to complete next year. Looking at this all typed out it seems a little ambitious, so I’ll have to see how much I get done!

Navy Regency pelisse and matching bonnet

I have all the materials and I cut out the pieces, but stopped when the event (GBACG Tall Ships Adventure) I was making the set for got cancelled. Then I got too busy with work and baby things.

Deadline: TBA

1830s Romantic ballgown

The group of ladies who did the Gibson Girl dresses last year have decided our theme for the April Gaskell Ball is 1830s. I am planning to use the Truly Victorian 455 pattern.

ImageDeadline: April 26, 2014

Vintage 1940s AAGBPL baseball uniform

I haven’t decided on a team, but it will be something cute and comfortable to wear for Saturday classes at Costume College.

Deadline: CoCo 2014 (August 1-4, 2014)

18th century court gown

This is for the Saturday night ball at Costume College. I have no idea whether I will make something from scratch or reworking this gown if I run out of time.

Image

Pastel Regency gown

There is an ice cream social at CoCo, and I would like to wear something that has a dessert color scheme.

Fancy bloomers

I already have a corset, and need some spiffy bloomers for the “Sunday Undies” breakfast at CoCo.

Fantasy Tea outfit

Most likely I will recycle an existing outfit for the tea party at CoCo, but with some new accessories if I have time. I may wear my silk 18th century-inspired cream outfit.

Image(Photo by Sally Norton)

Gatsby Style – Maternity Version

Last week I went to the Gatsby Summer Afternoon, a yearly event put on by the Art Deco Society of California. The dress code is 1920s or 1930s summer daywear. You’ll see a lot of dropped waists, flowy chiffons and fabulous hats!

Being pregnant I couldn’t fit my dress from last year, and I didn’t want to spend too much time making a dress that would fit me for such a brief time, so I decided to modify an existing dress.

ImageRead on to see the before and after. Read the rest of this entry

GBACG Tissot Bustle Picnic

Yesterday I had a very lovely time at the Greater Bay Area Costumer’s Guild Tissot Bustle Picnic, held at Ardenwood Historic Farm in Fremont, CA.

I wore my dress with a pouch made from matching fabric, a parasol from Angelic Pretty, and a top hat made by Triple Fortune. I ran out of time to make a matching bonnet, but I have the black straw base started at least!

ImageFrom the front you can start to see a bit of my baby bump. =)

ImageThere were many beautiful outfits at the picnic. (Click on the link to view lots of ruffles and colors!)

Read the rest of this entry

Recycling a Polonaise into a Bustle Dress

In June I am going to the GBACG Tissot Bustle Picnic, but I do not have time to make a new bustle dress from scratch.

I am going to recycle an old dress into a newer one, which will hopefully leave me time to make accessories like a matching hat and reticule.

A few years ago I made a simple polonaise-inspired dress. It was a little sad and limp. I think I may have only wore it once because I am having trouble finding decent pictures of it. Here is one my friend Kim took:

Image

I recently realized it might have a fresh new life as a bustle dress. I experimented with 3 different sizes of bustle pads and decided on a medium one:

Image

I tucked it up on each side, added a petticoat and it’s already looking more bustle-y!

Image

I did not have enough of the linen toile fabric when I made it to do pattern-matching, but I still have a few scraps left. (I had about 2.5 yards of 45″ fabric). I am going to do some fiddling around with the leftover pieces of fabric to add some more frill to the back, and also experiment some more with tucking and pinning.

Image